


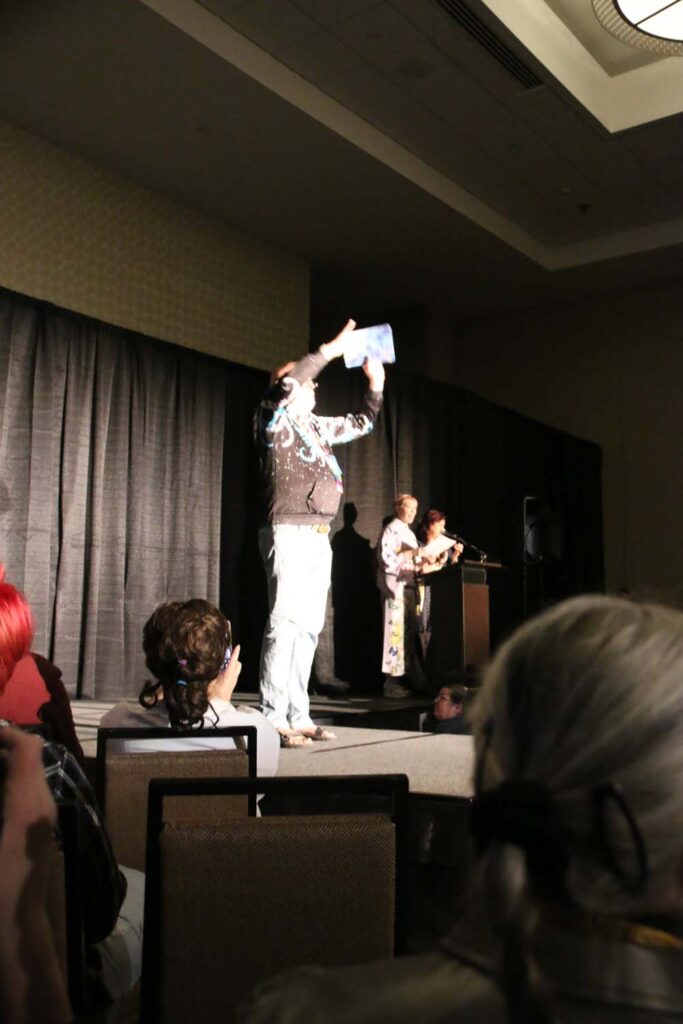
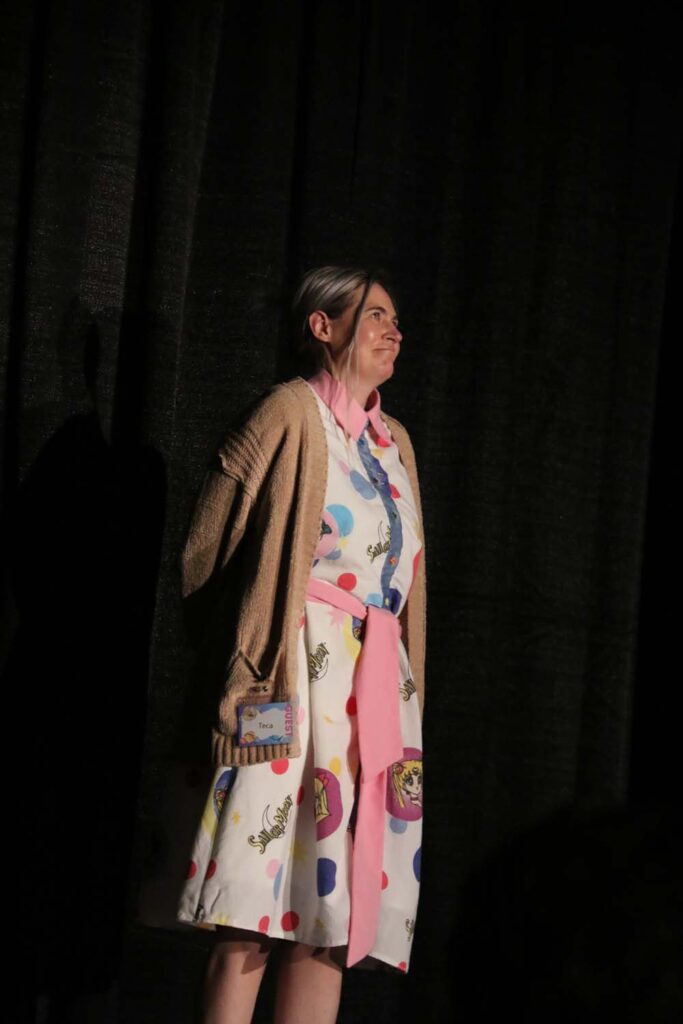
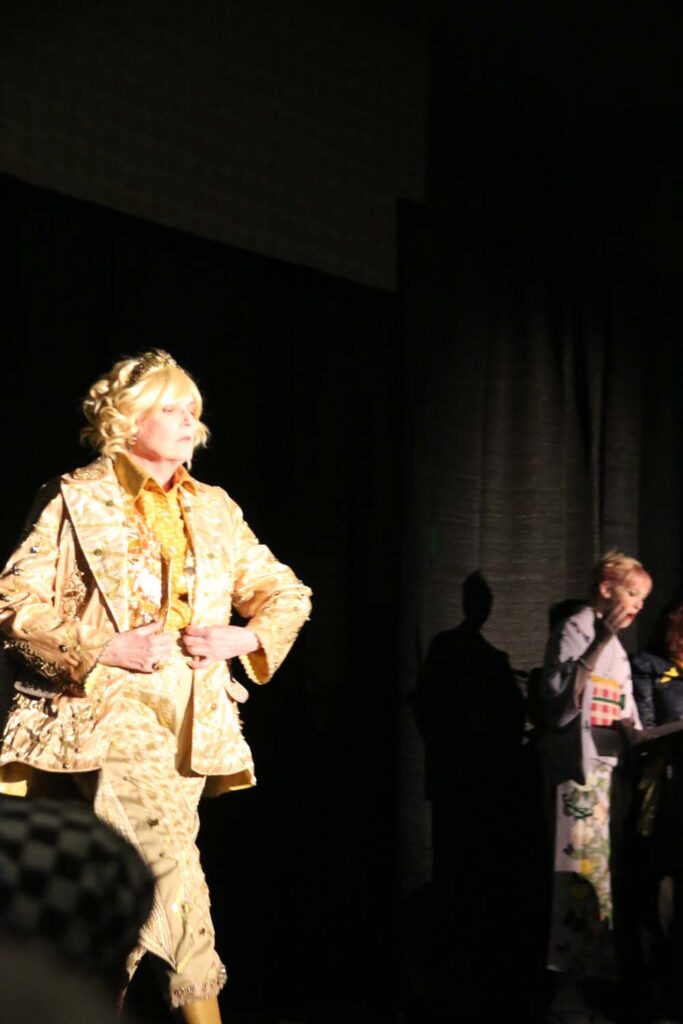
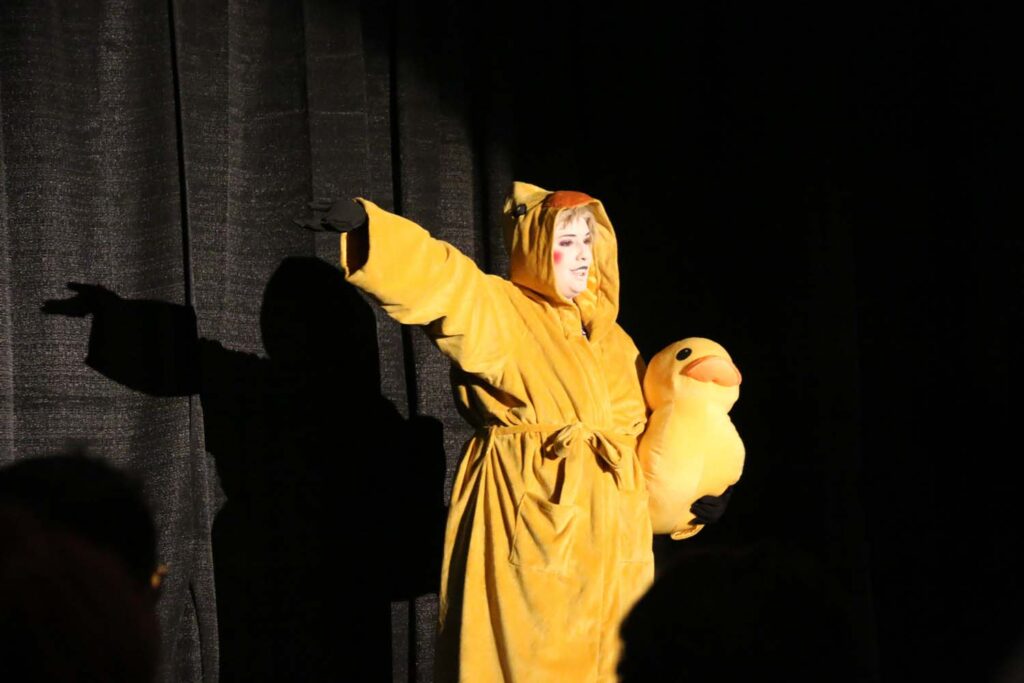
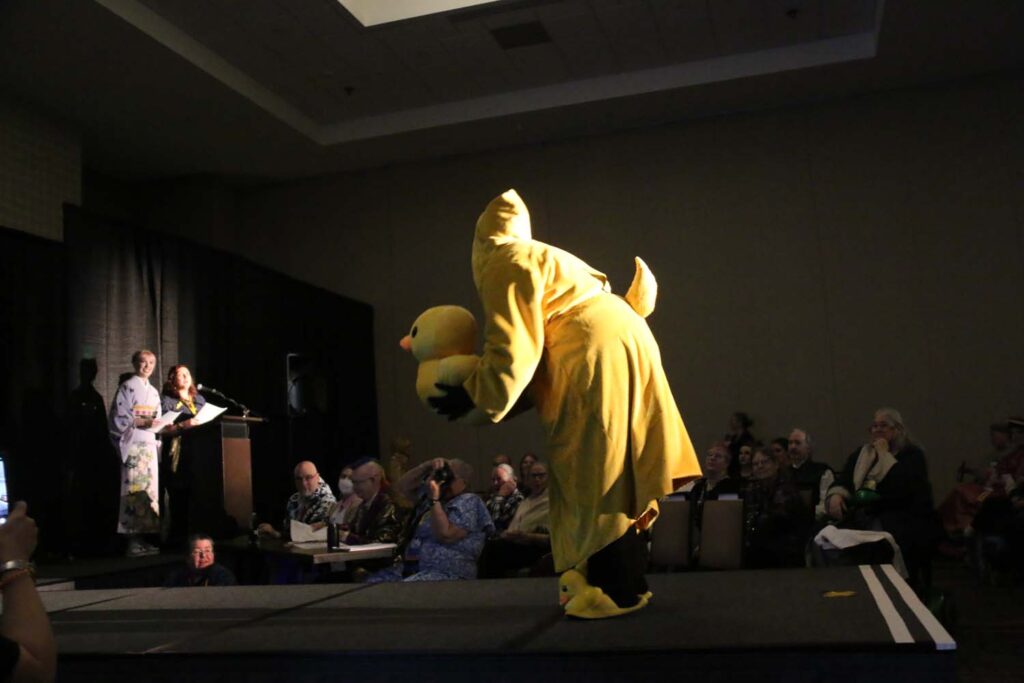
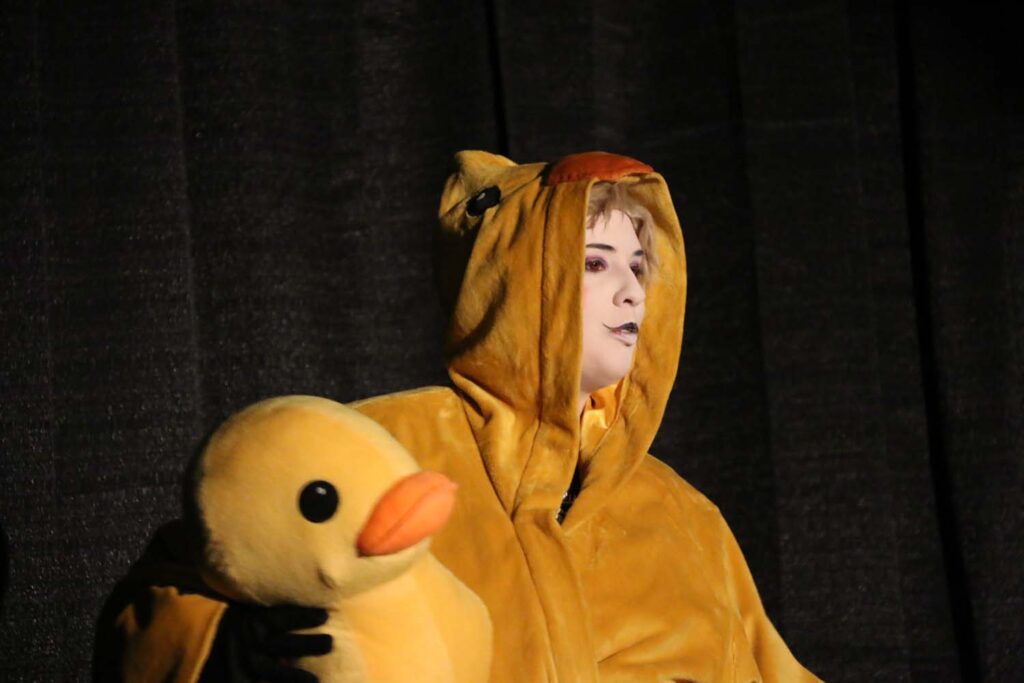

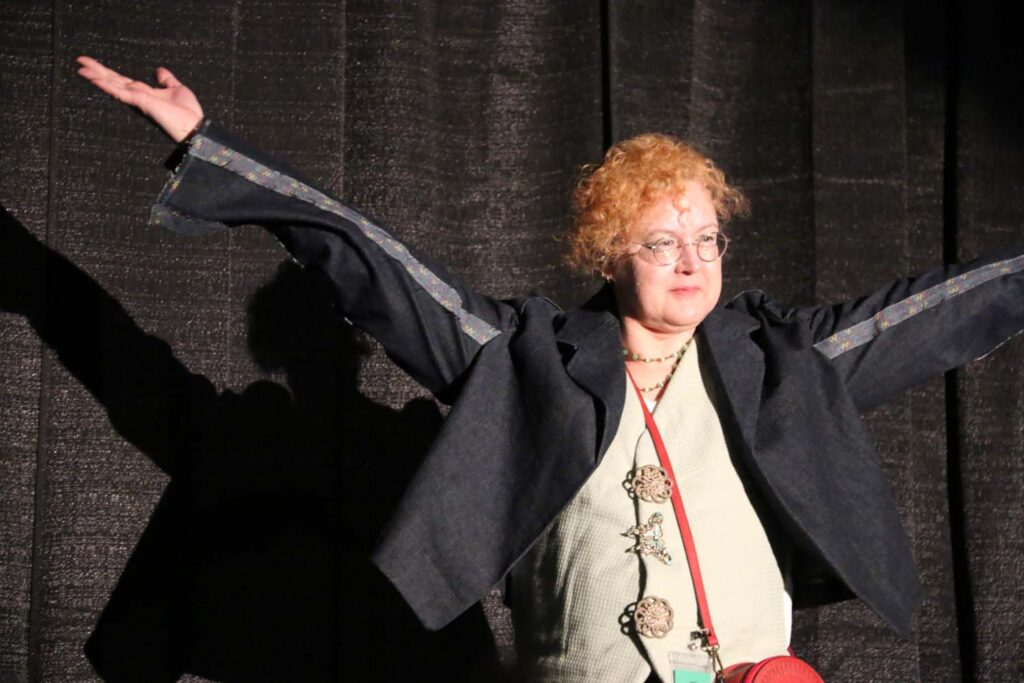
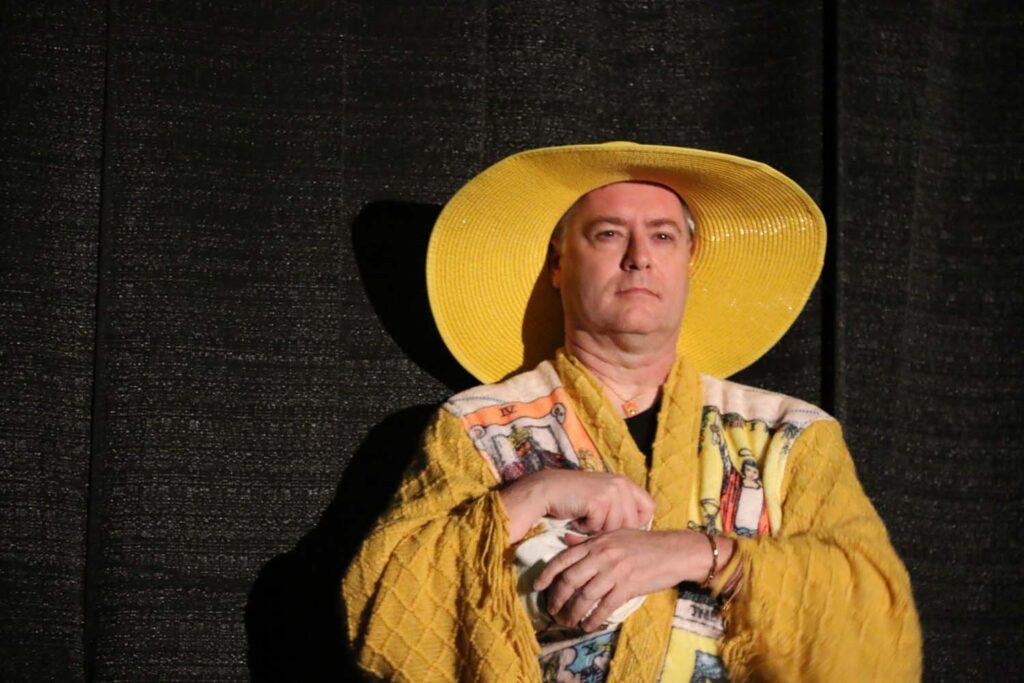
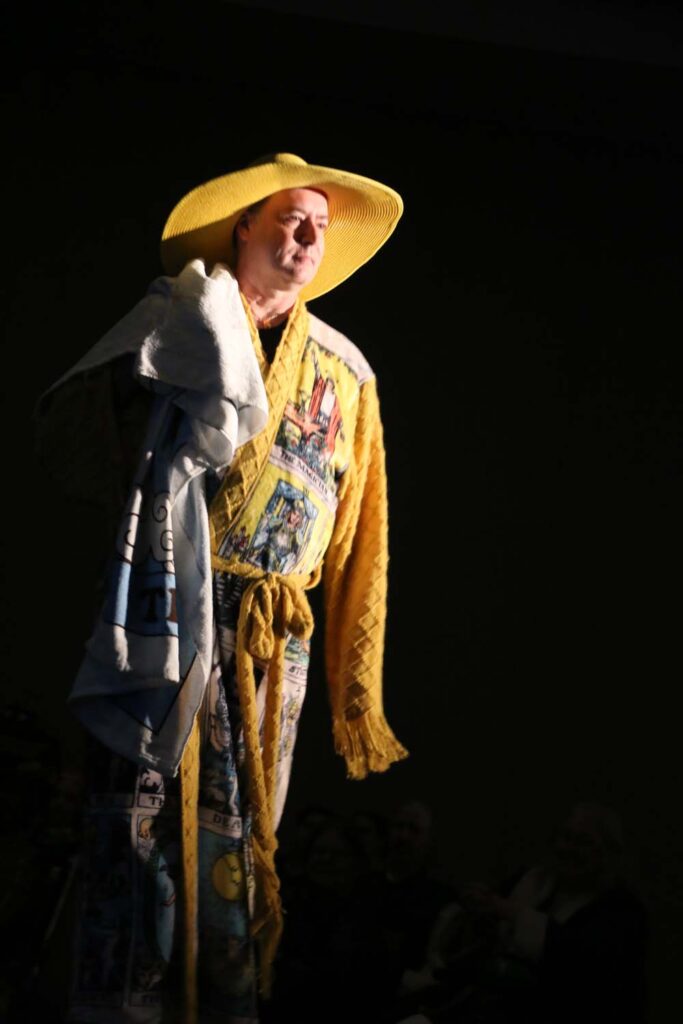


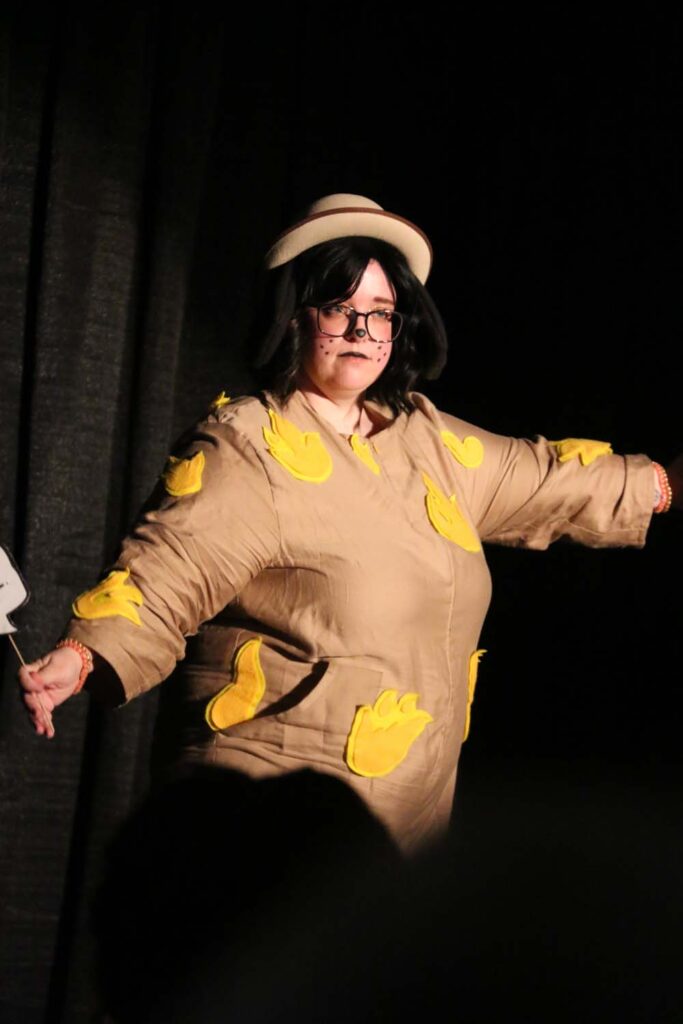
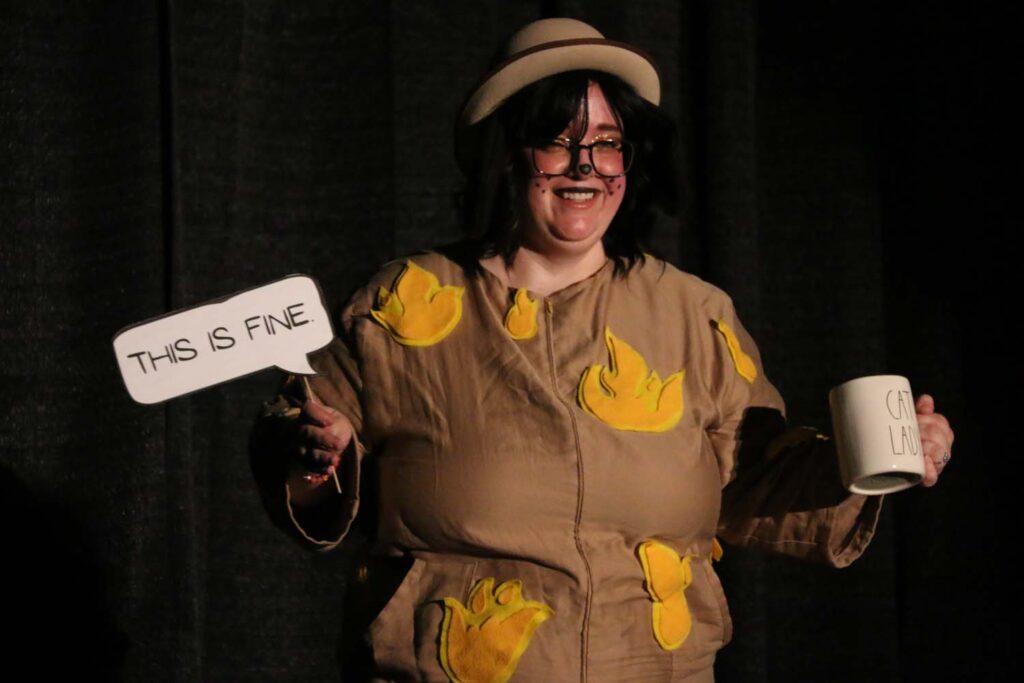
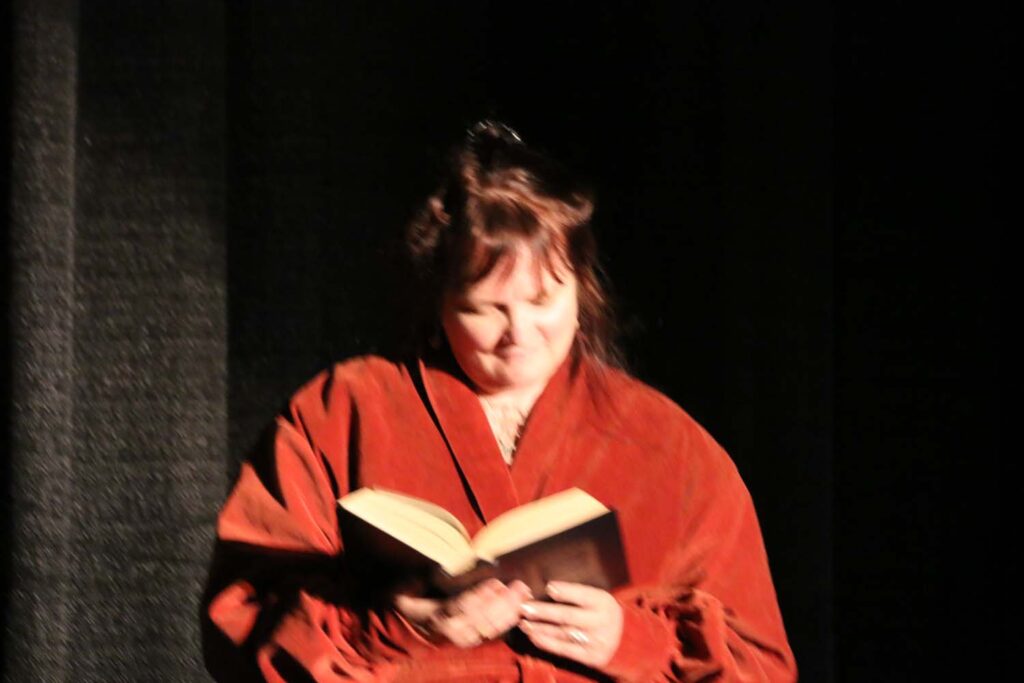
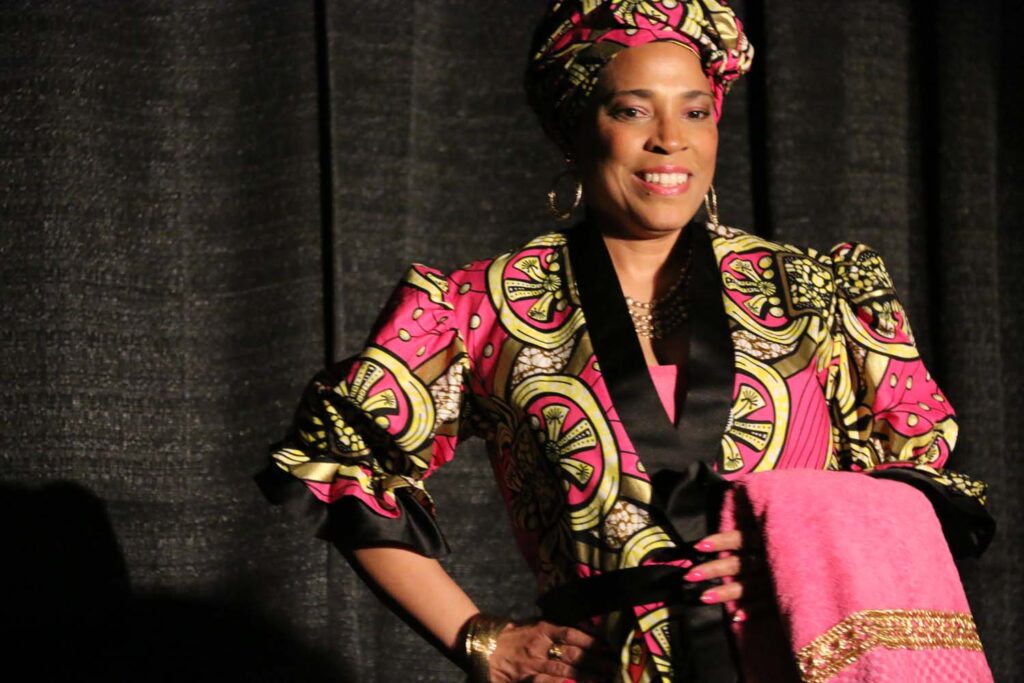
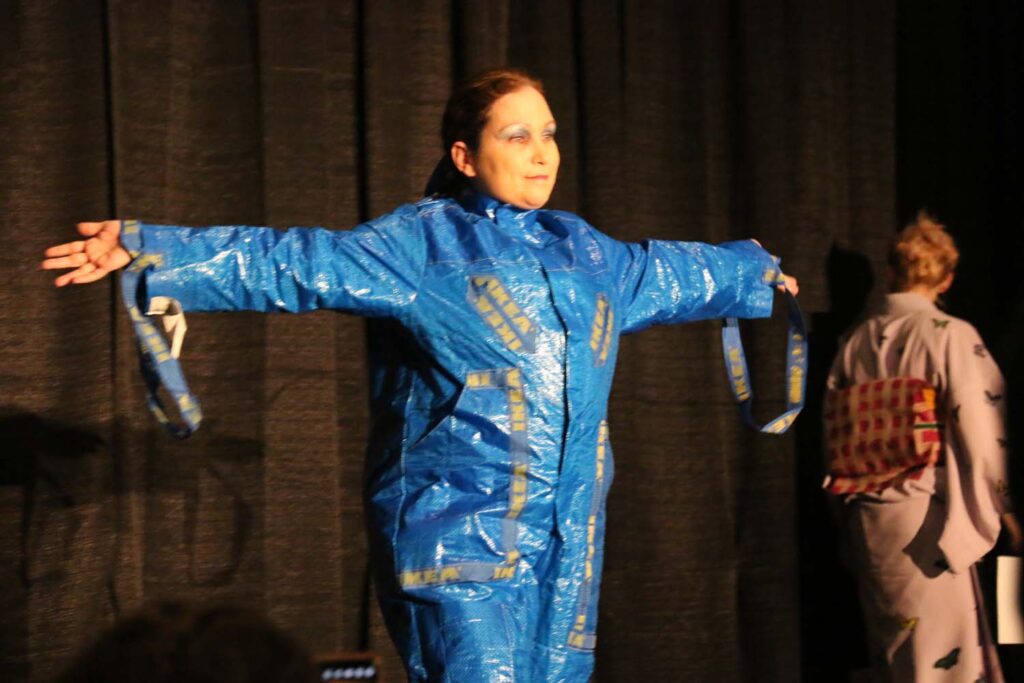
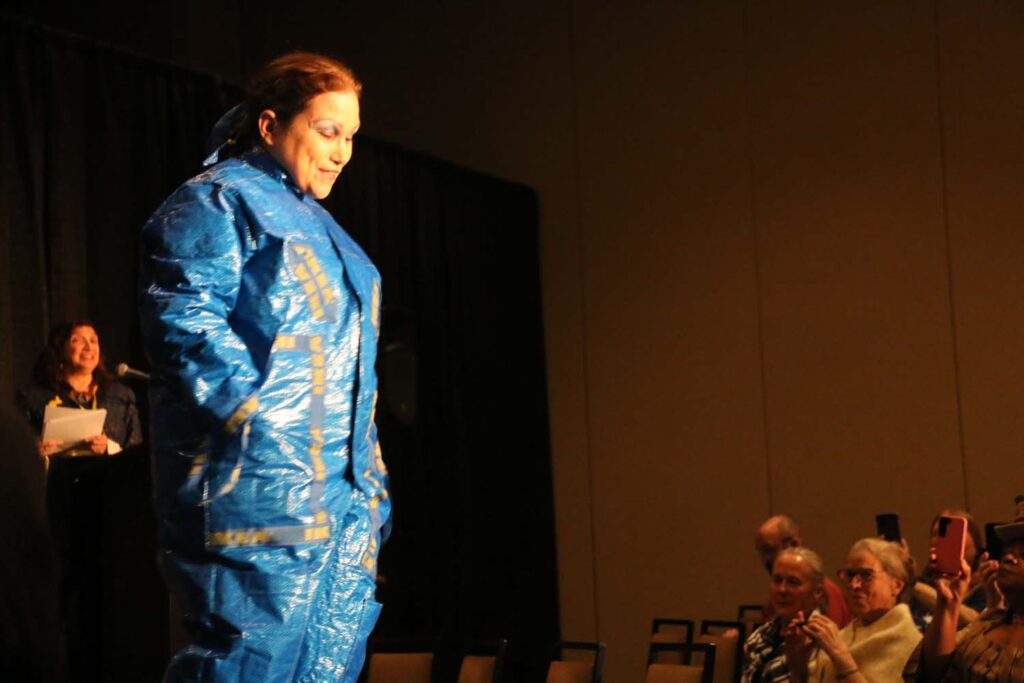
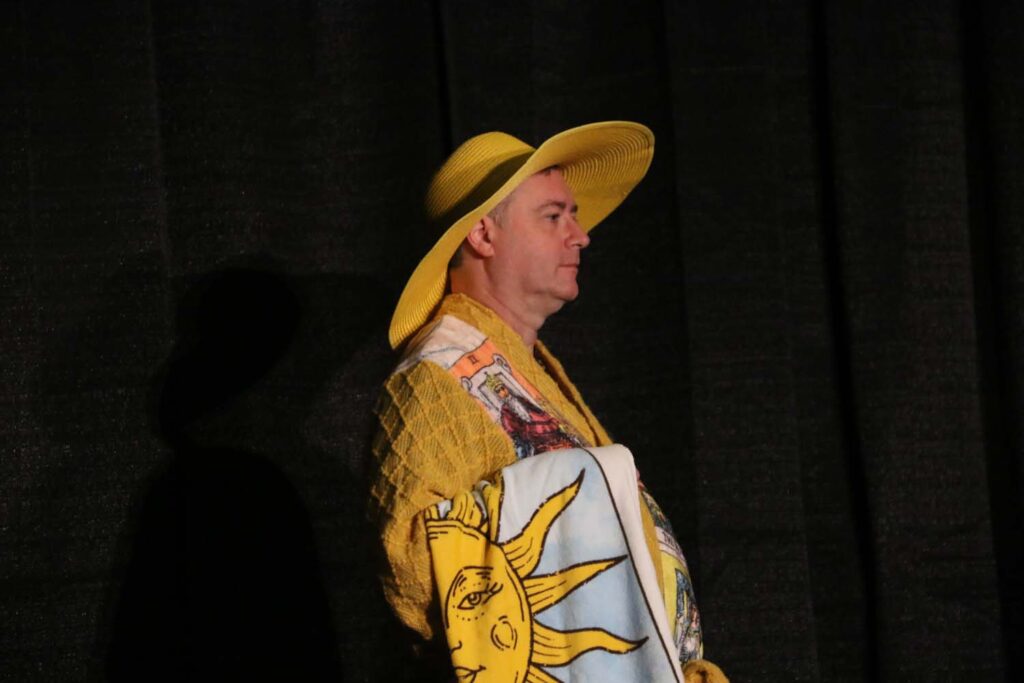
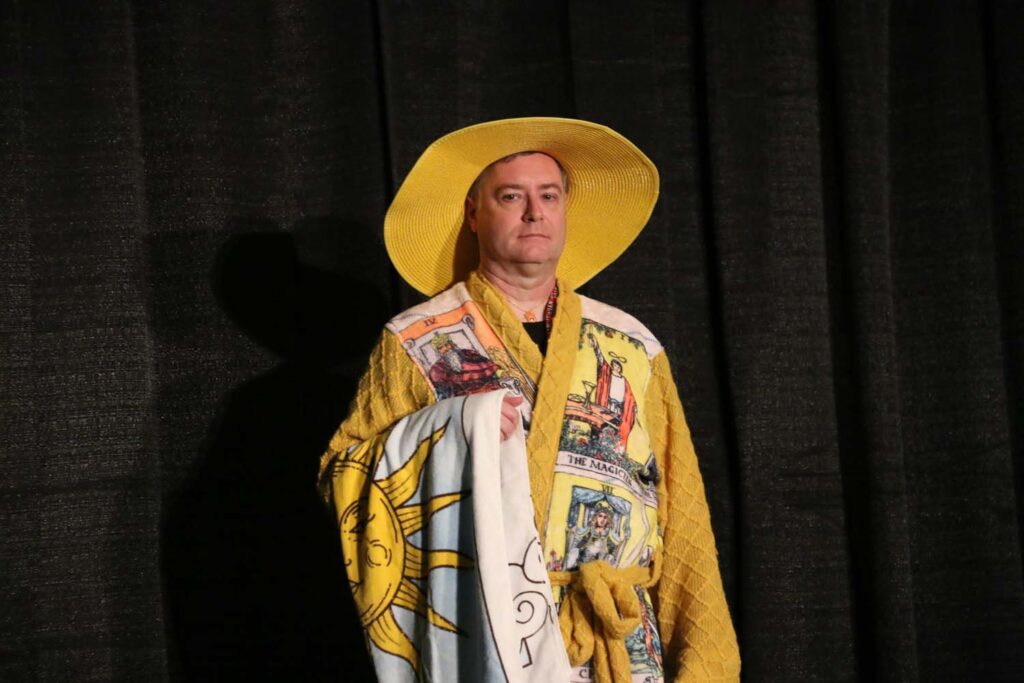
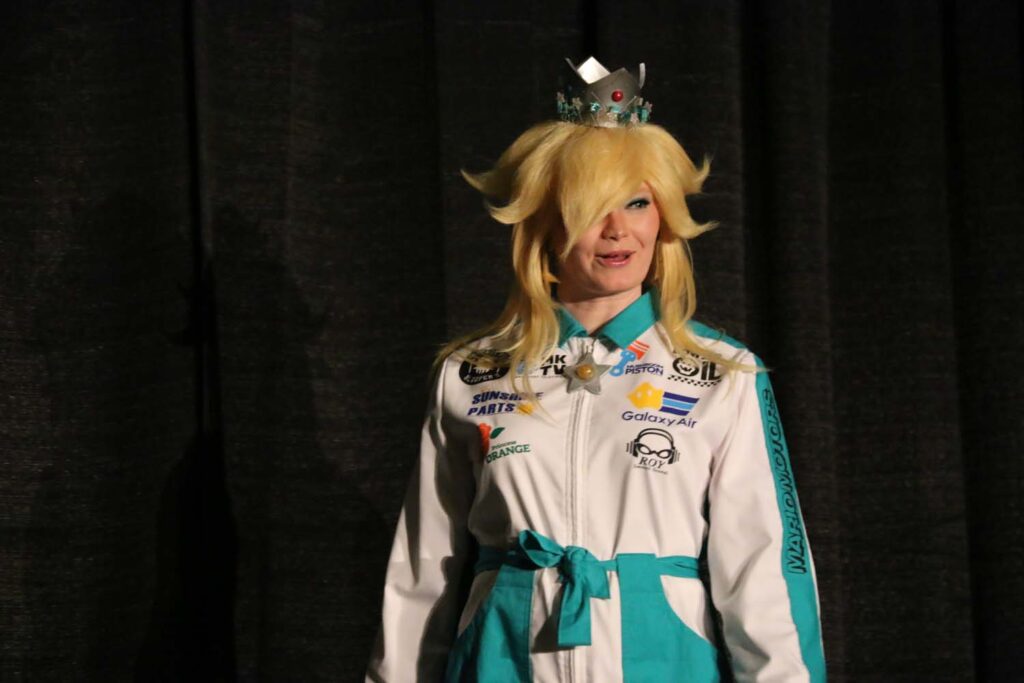
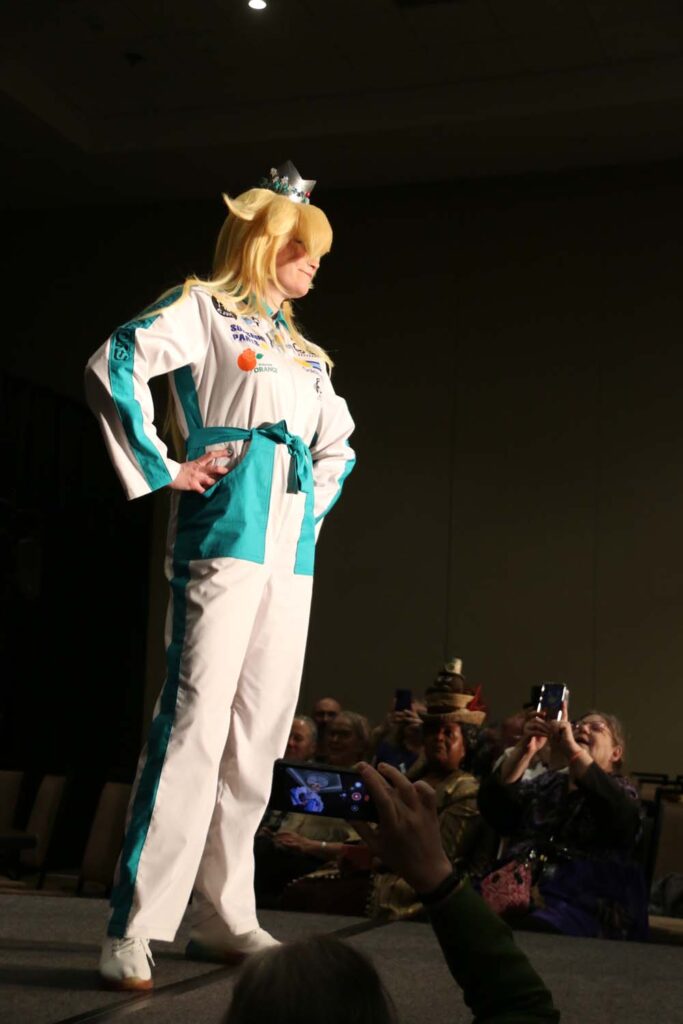
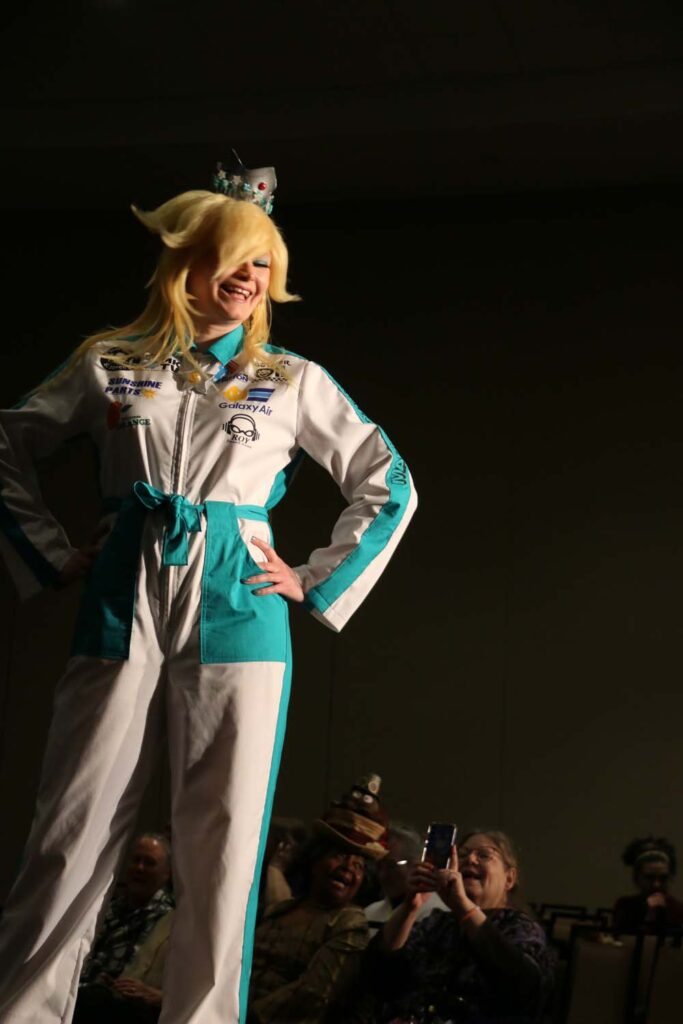
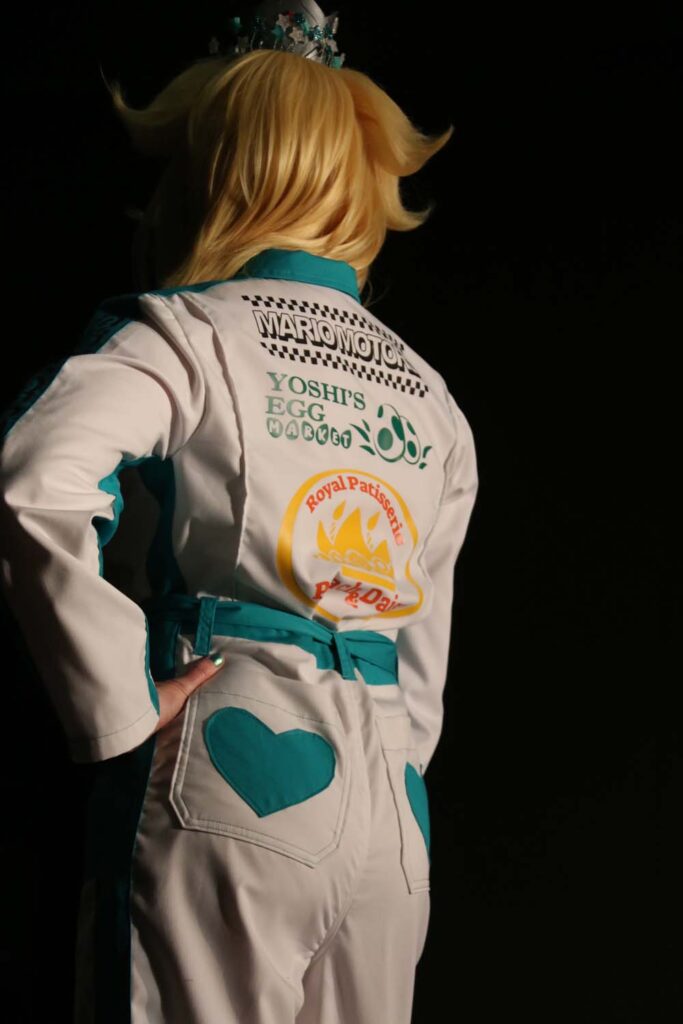

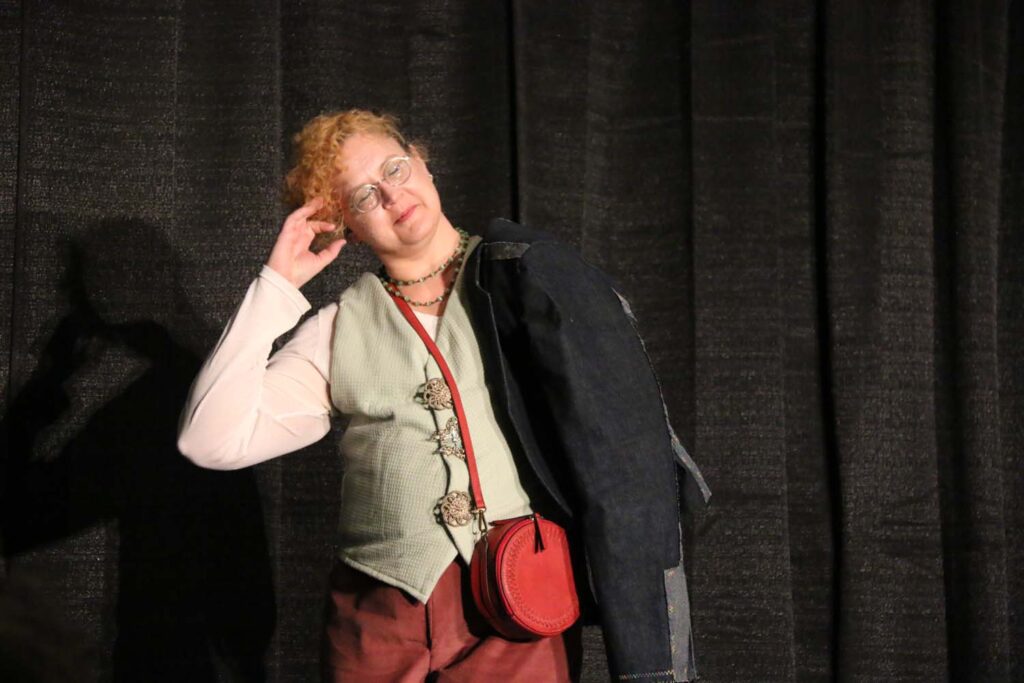
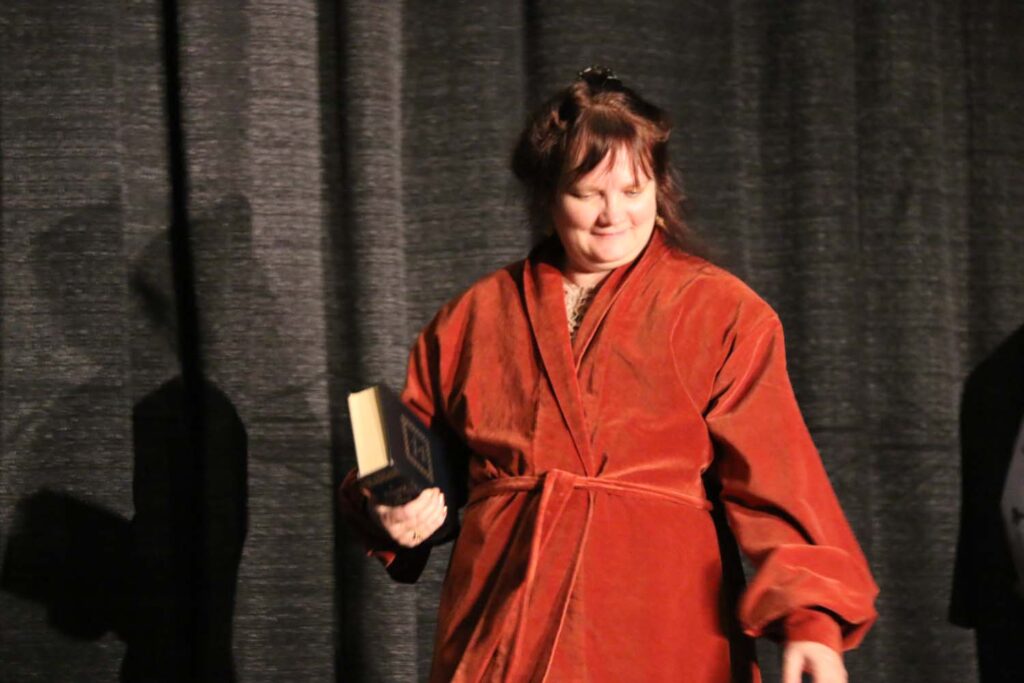

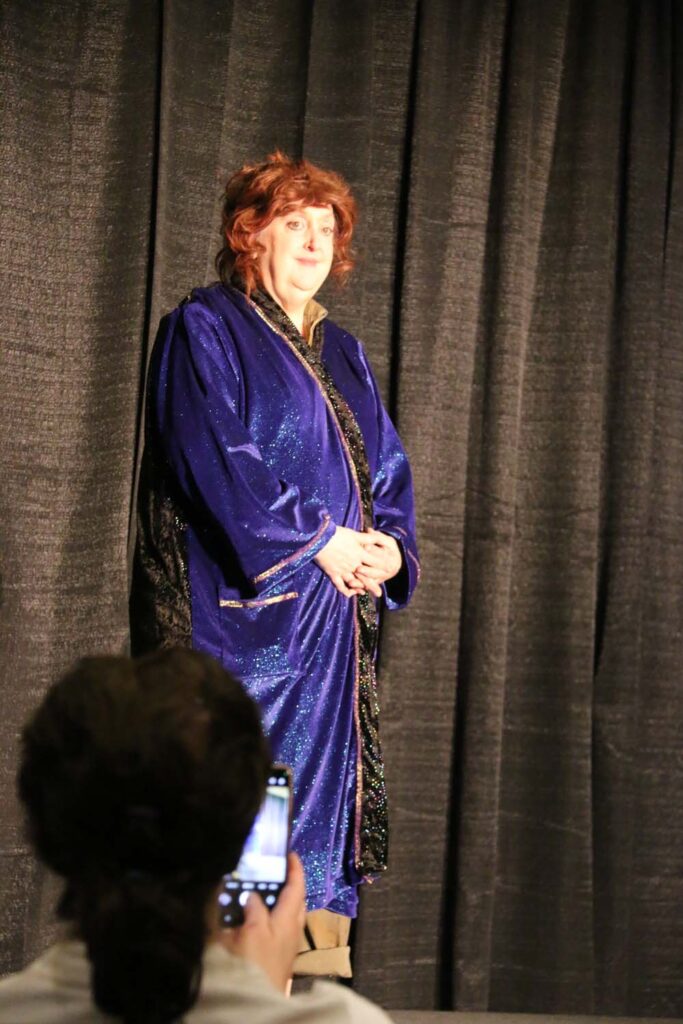
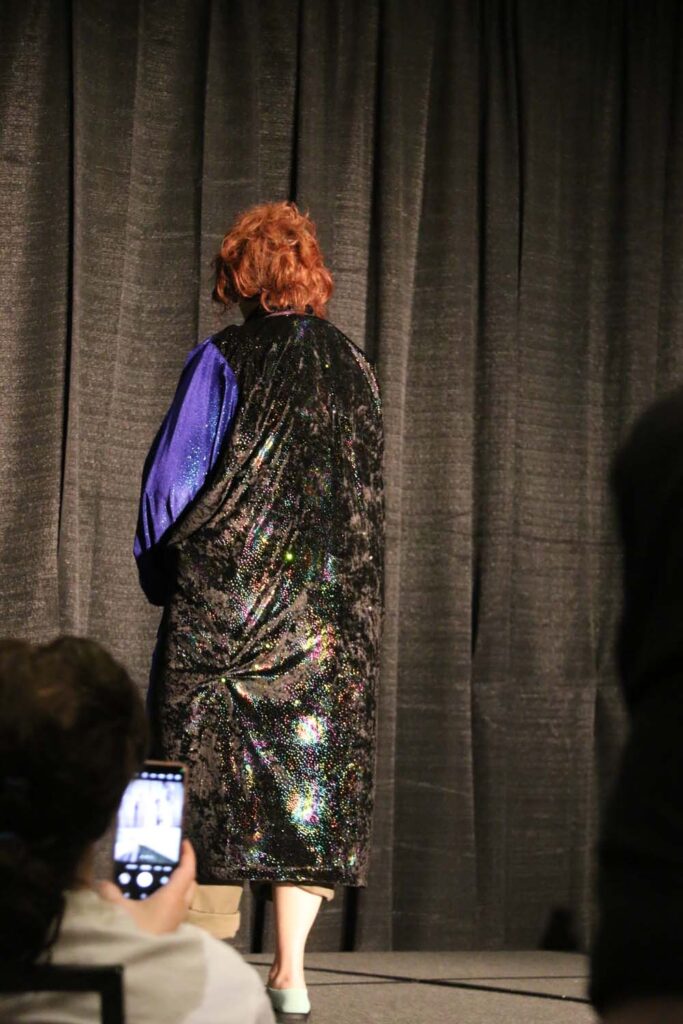

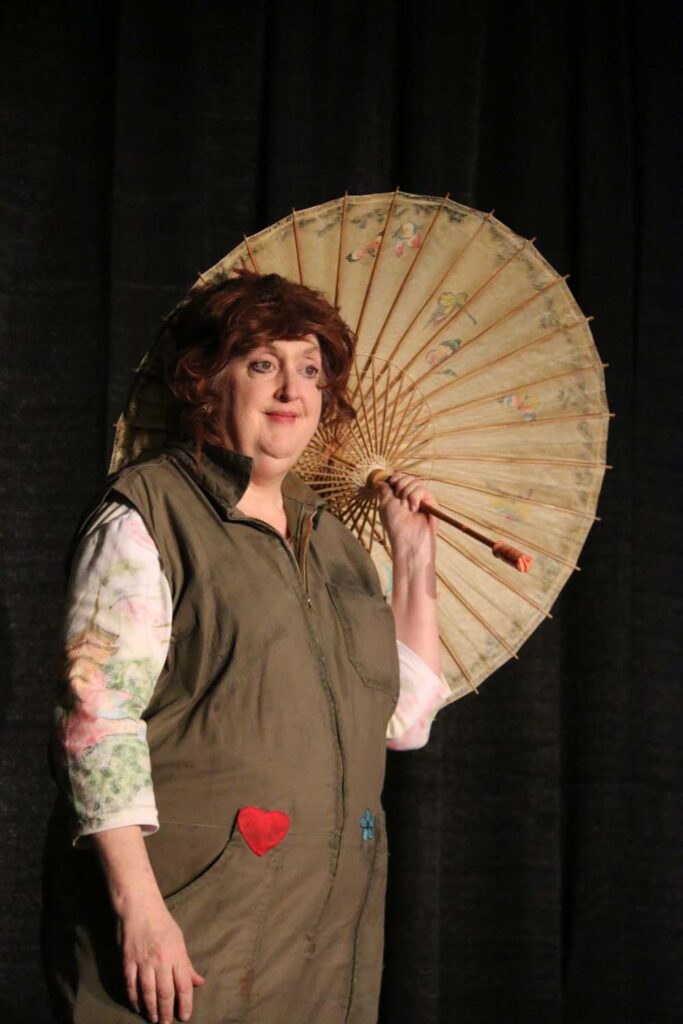
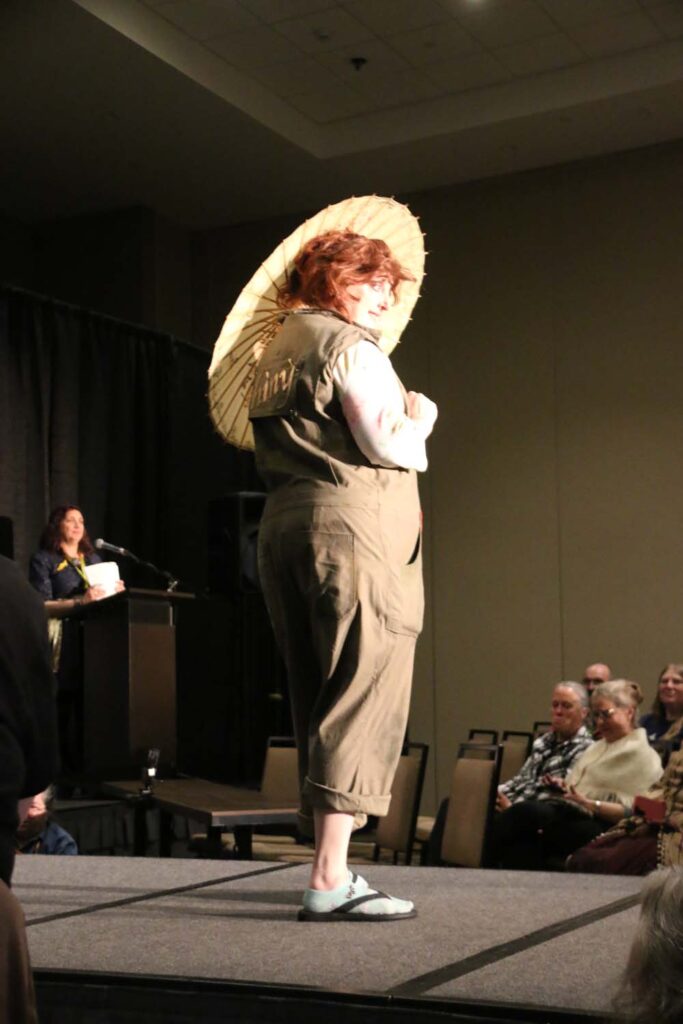


As with all Costume-Cons, the focus is on costuming in all of its varieties — SciFi, Historical, Anime, Cosplay, etc. The Friday night social is an opportunity to see old friends and make new ones, as well as see the Single Pattern Contest. The Single Pattern contest is a variety of people making their version of a specified pattern (usually one of 3-4), and showing it off to the crowd. This year’s patterns included a 3-piece suit, a bathrobe, and a jumpsuit. 17 folks showed off outfits made from one (or even two!) of these patterns.
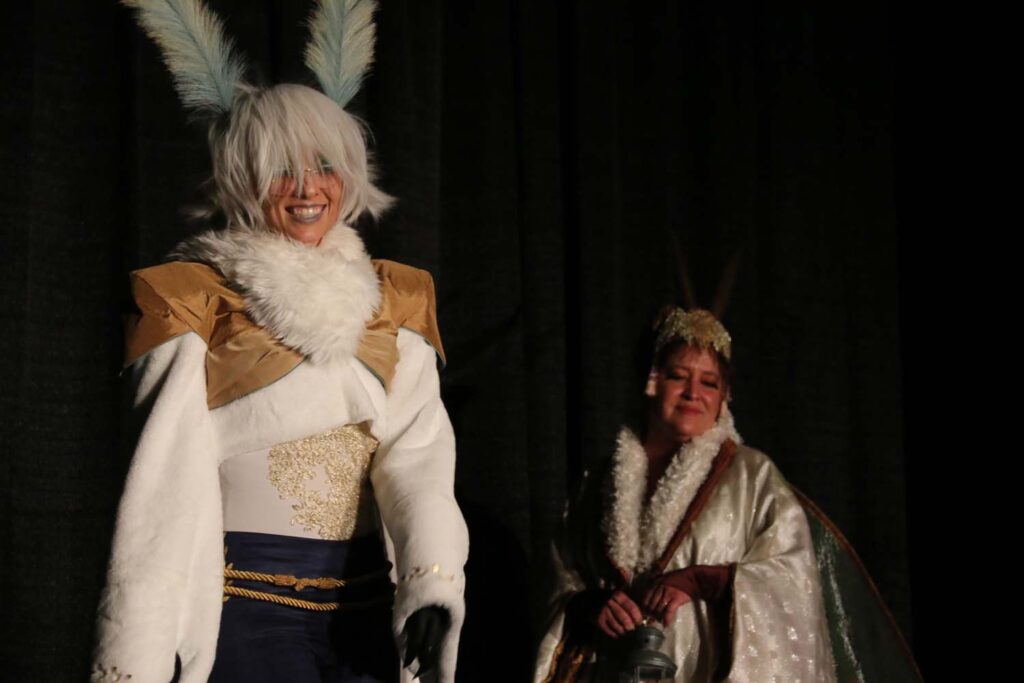
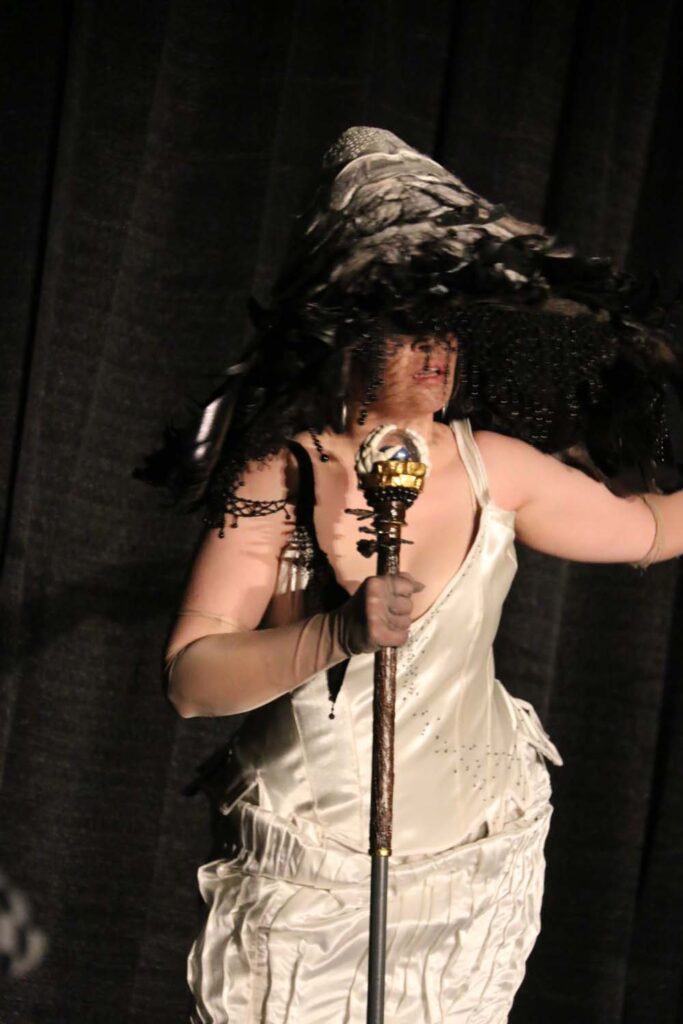
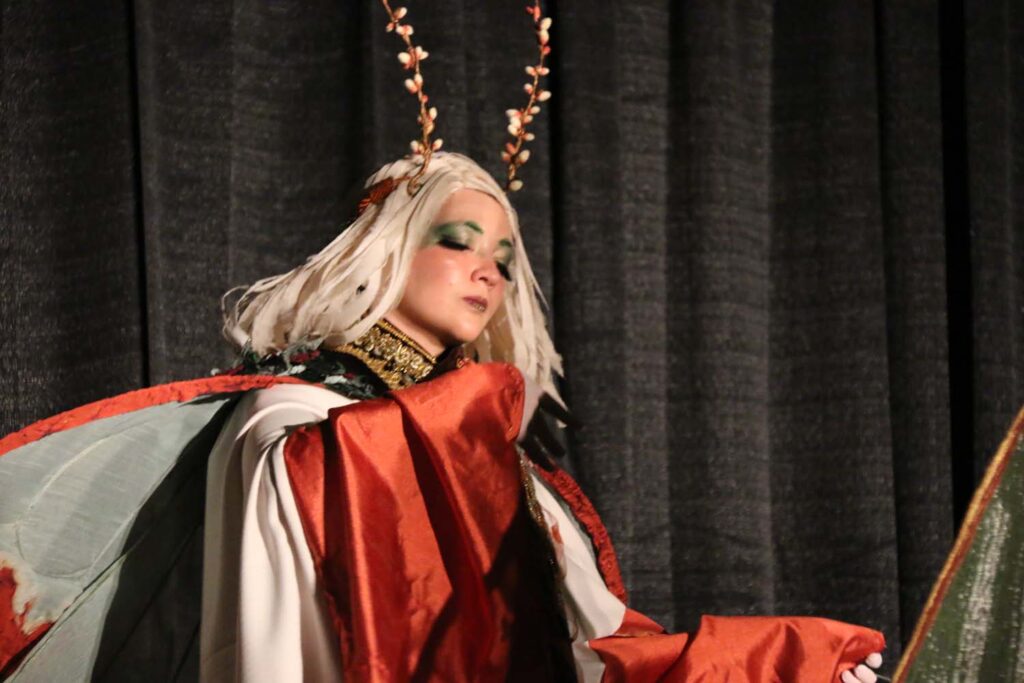
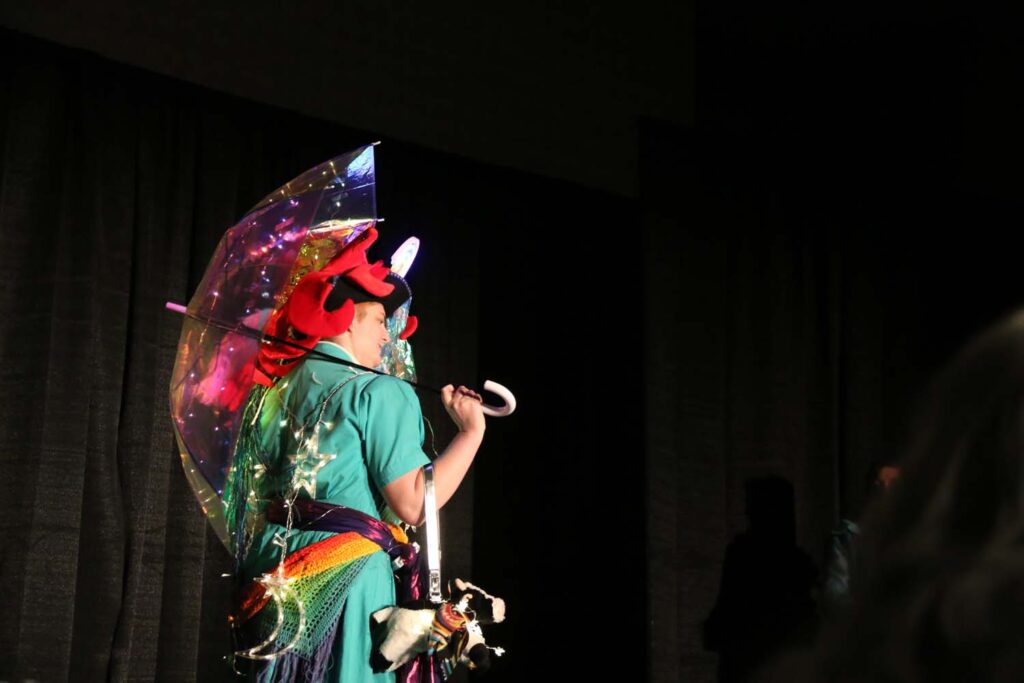
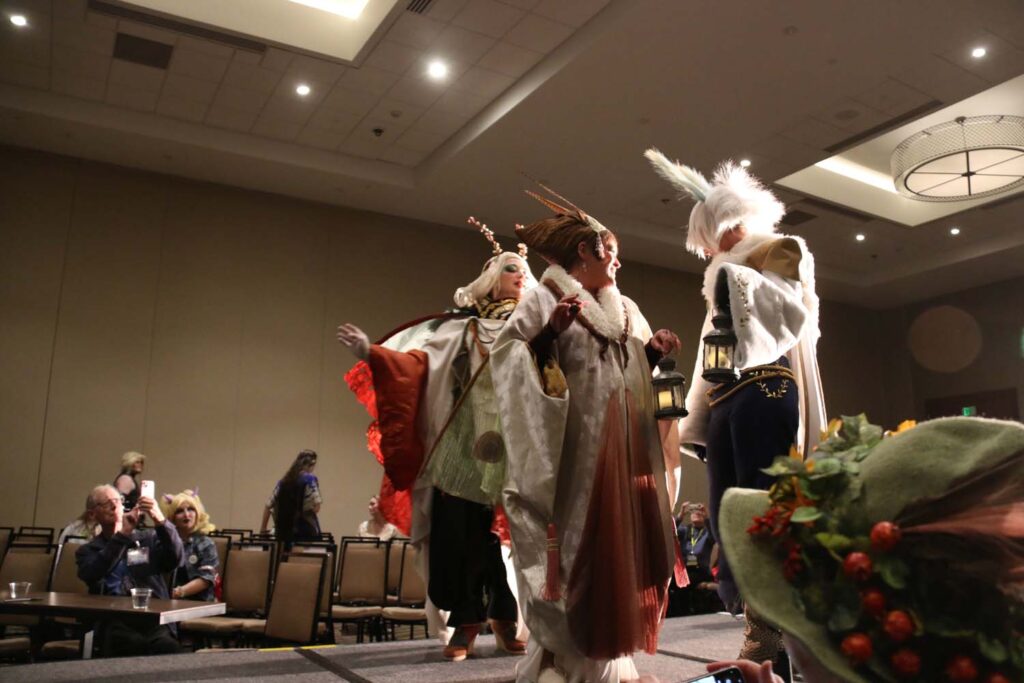
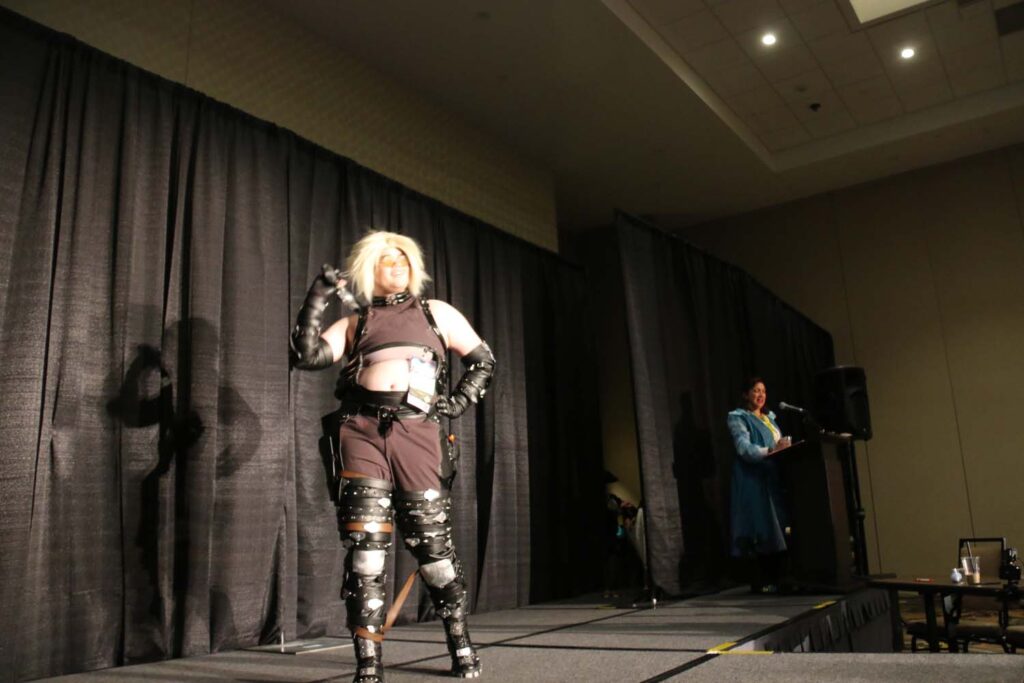
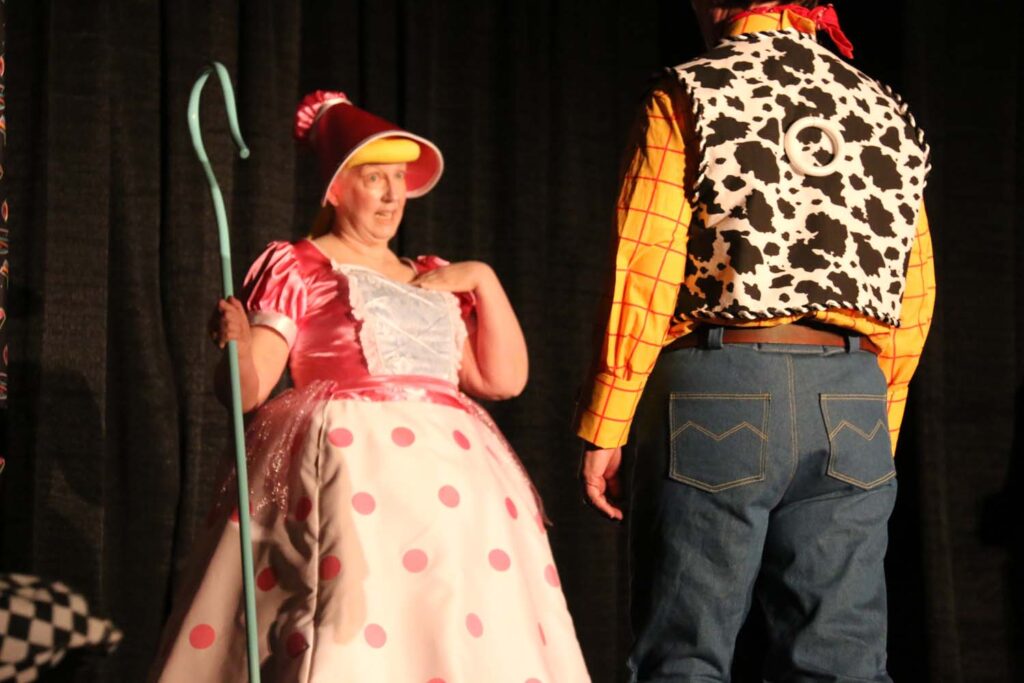
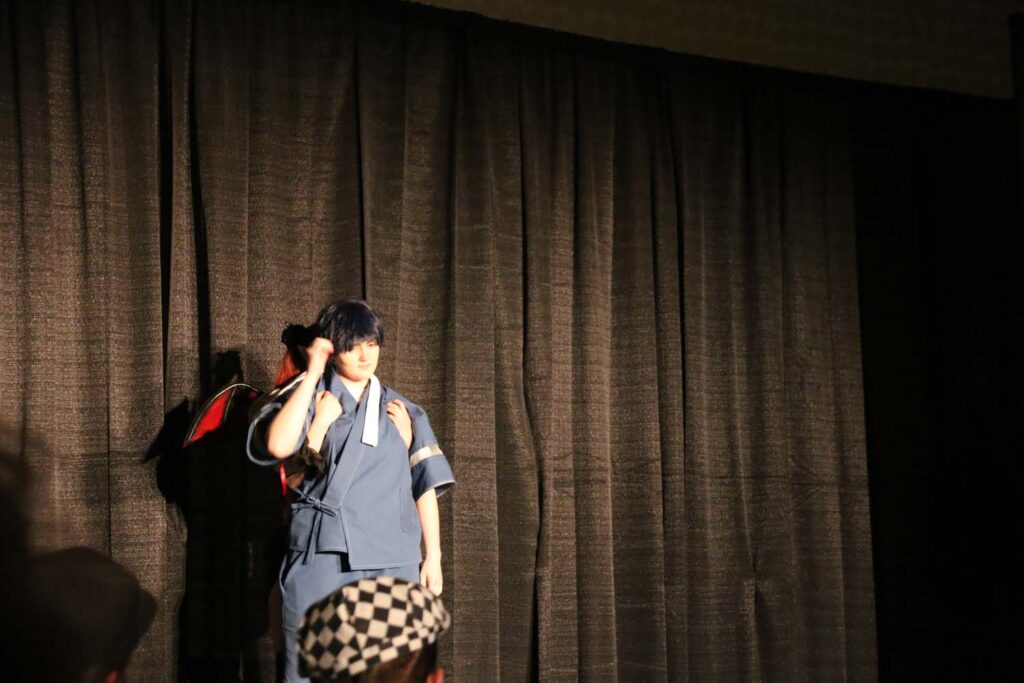
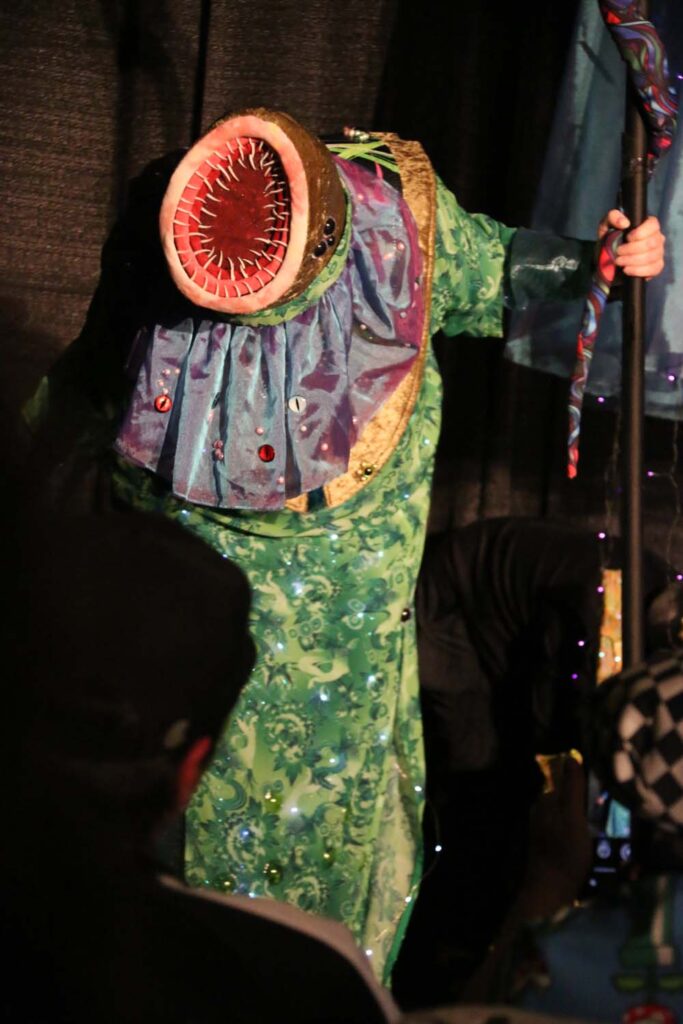
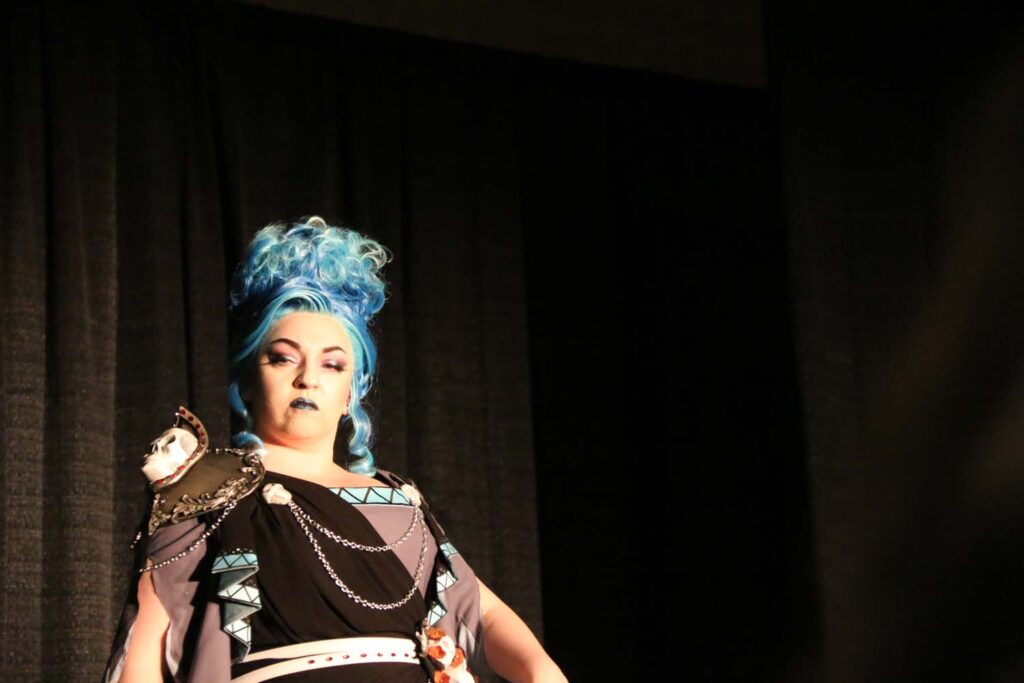
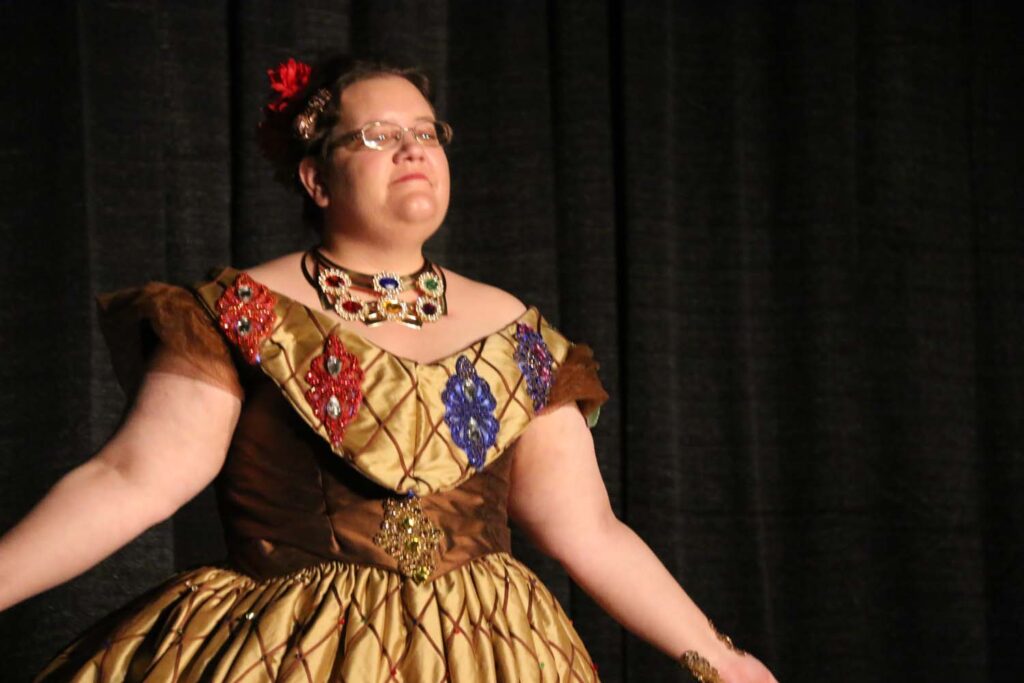
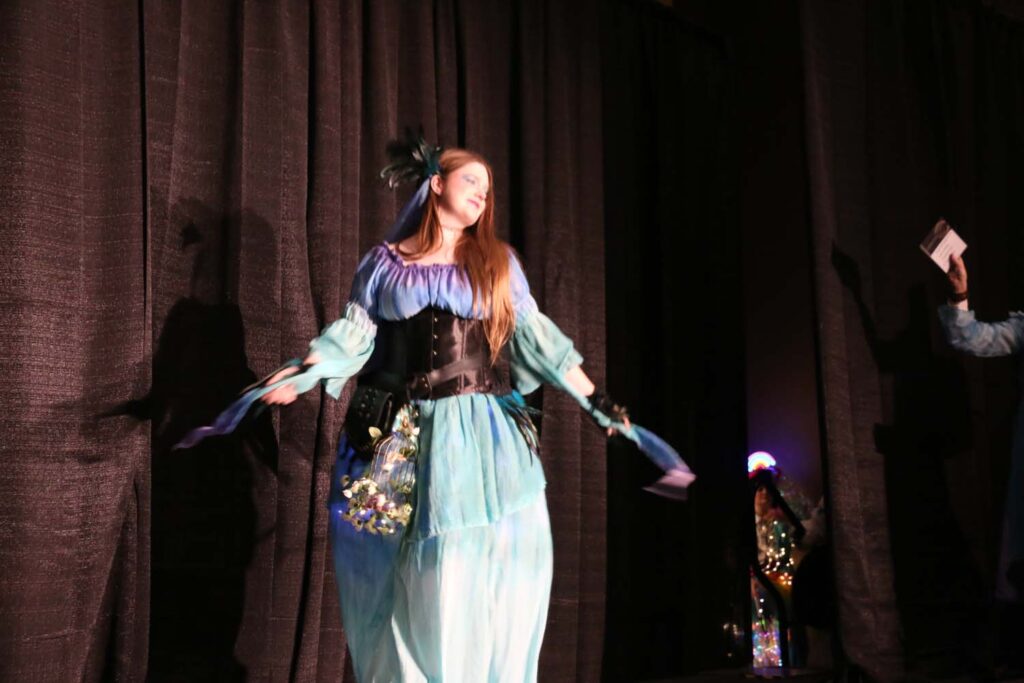
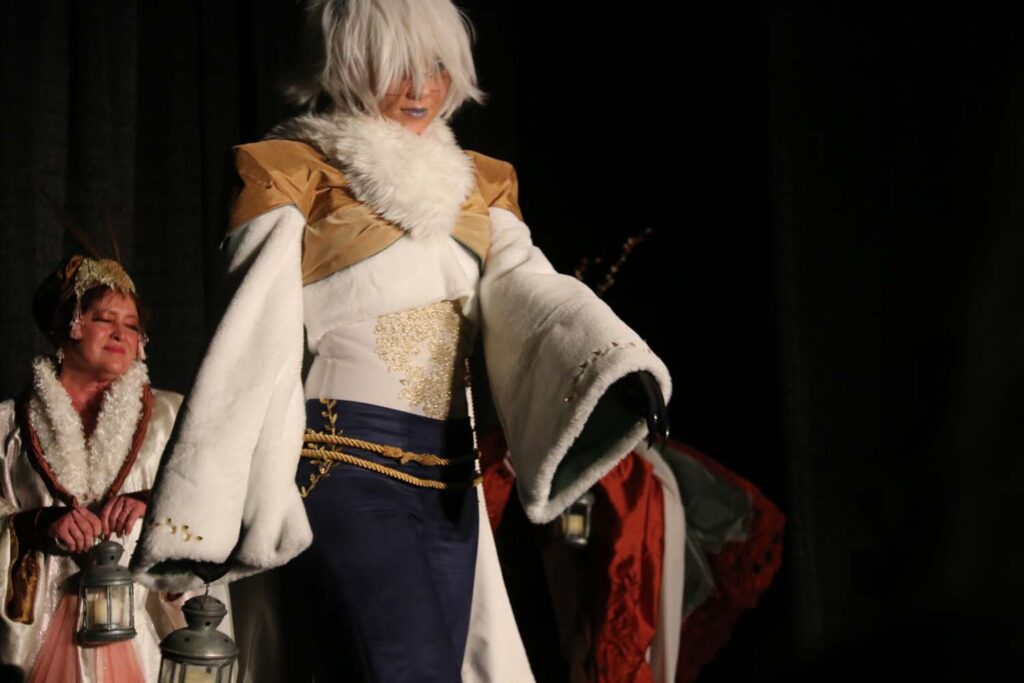
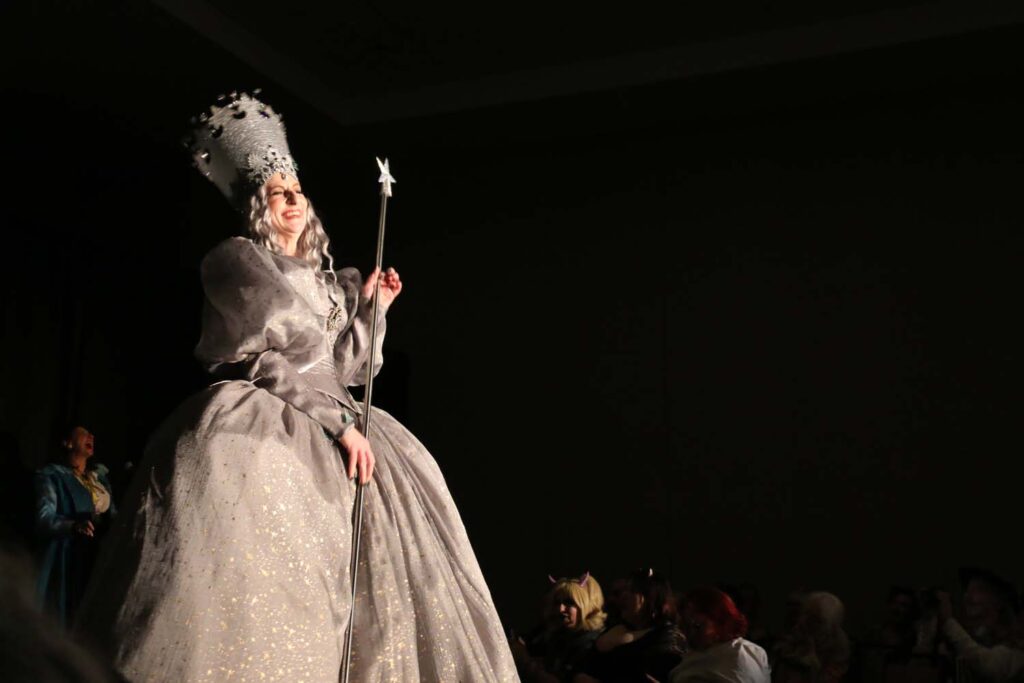
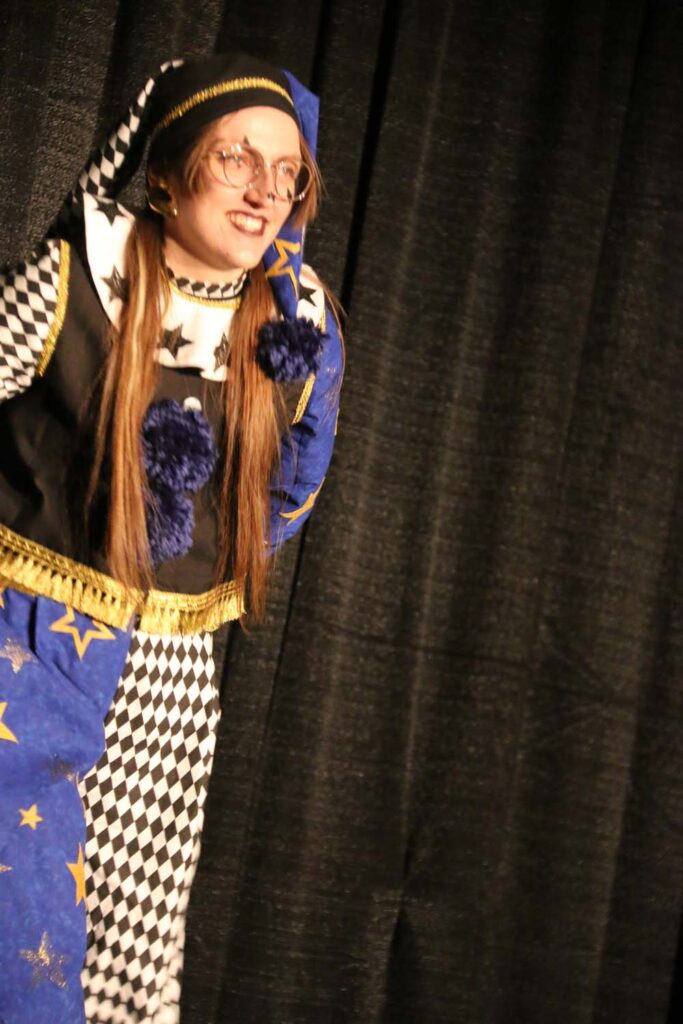
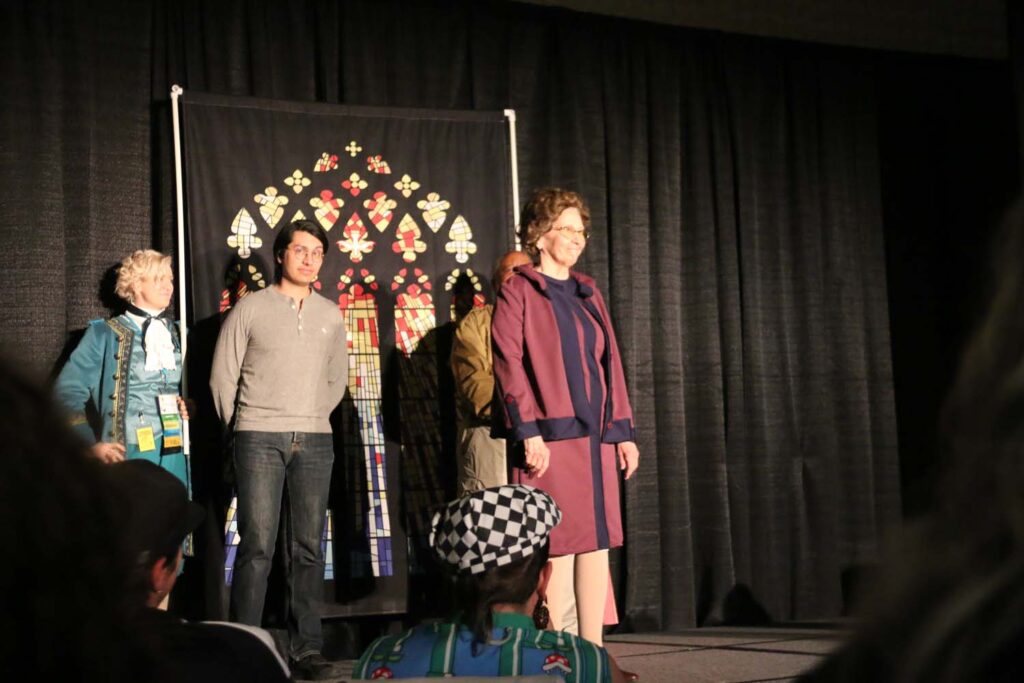
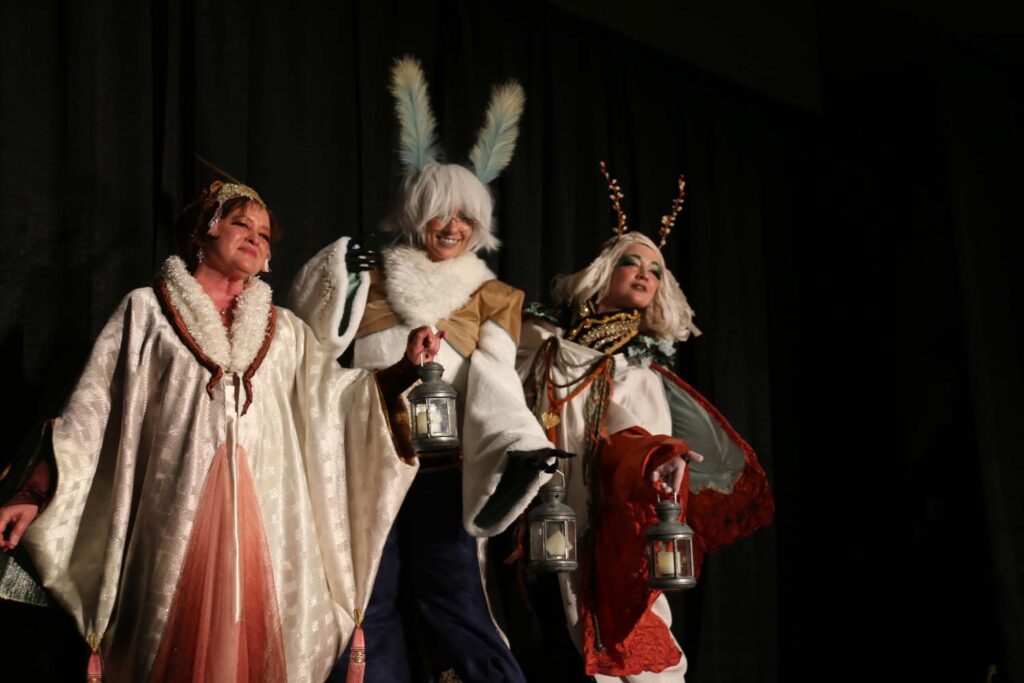
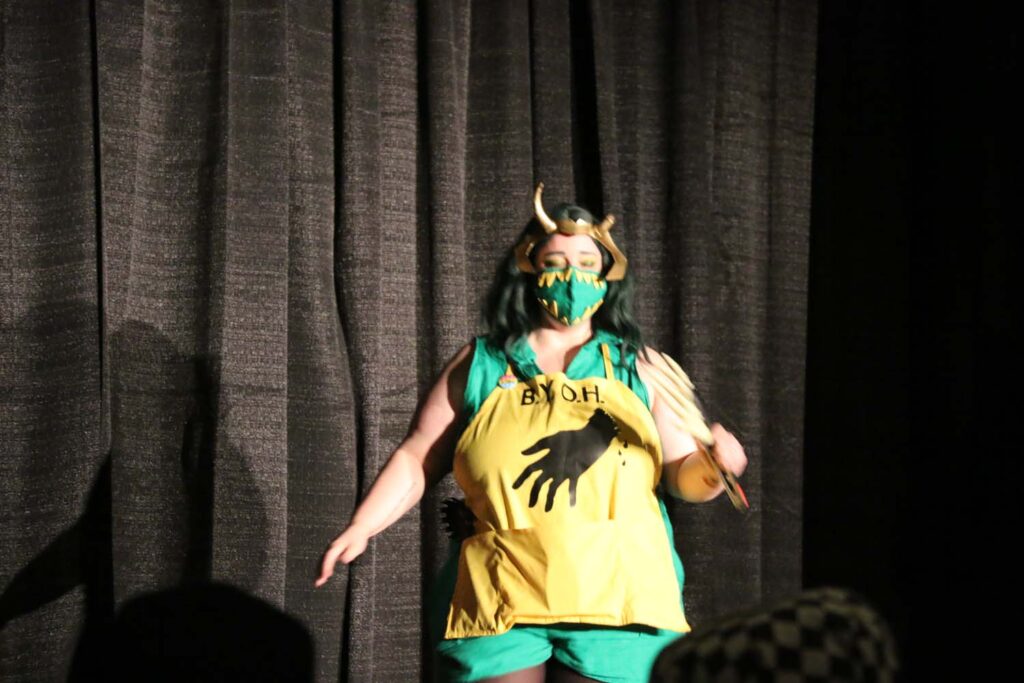
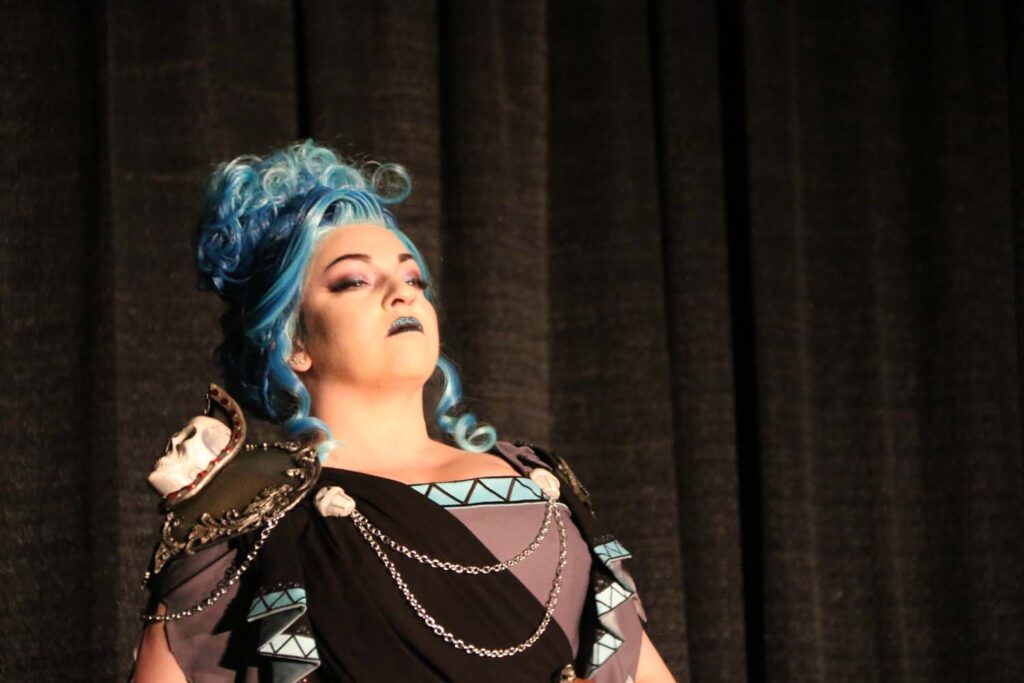
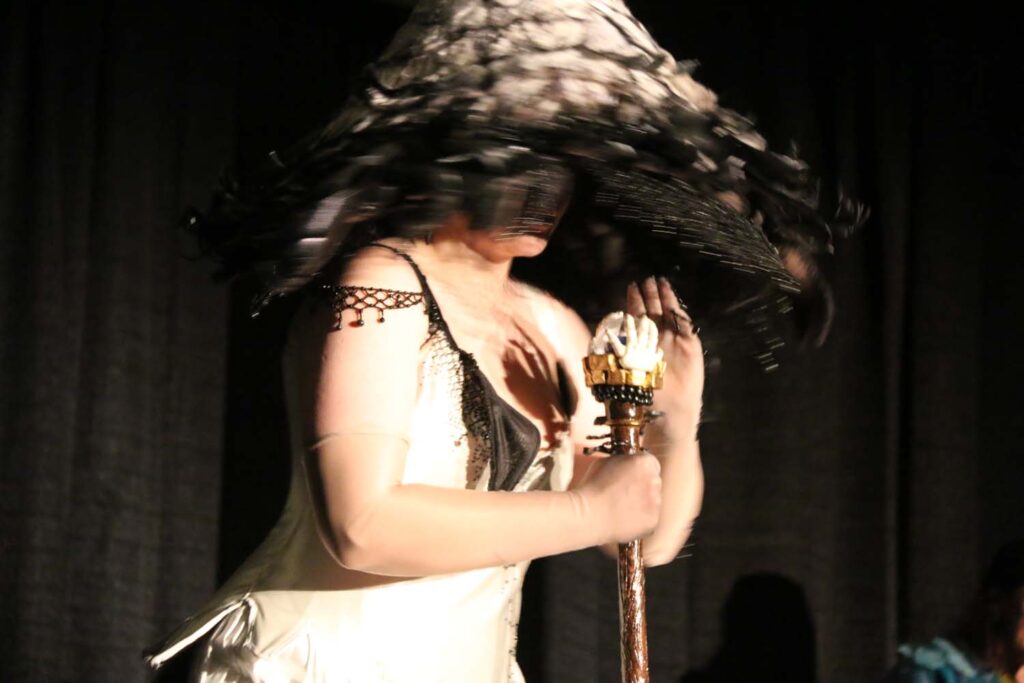
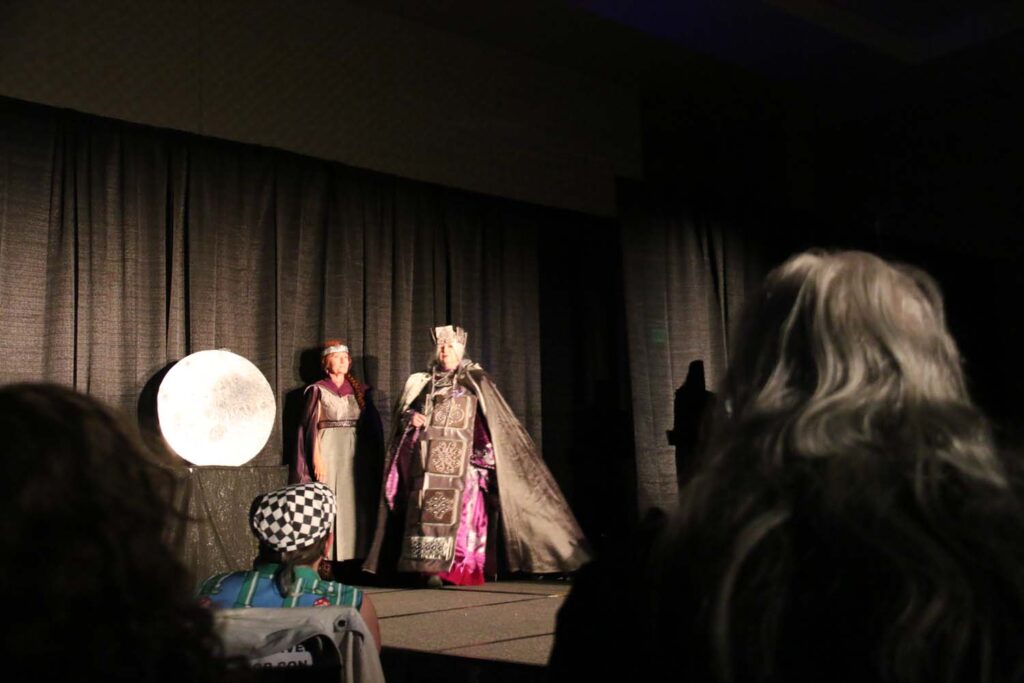
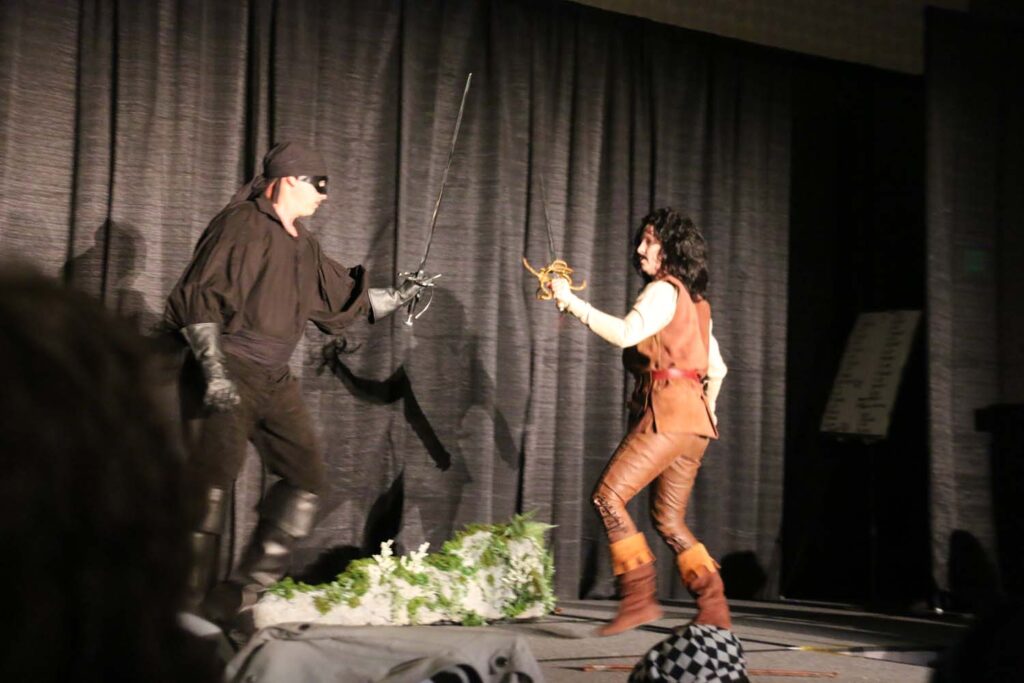
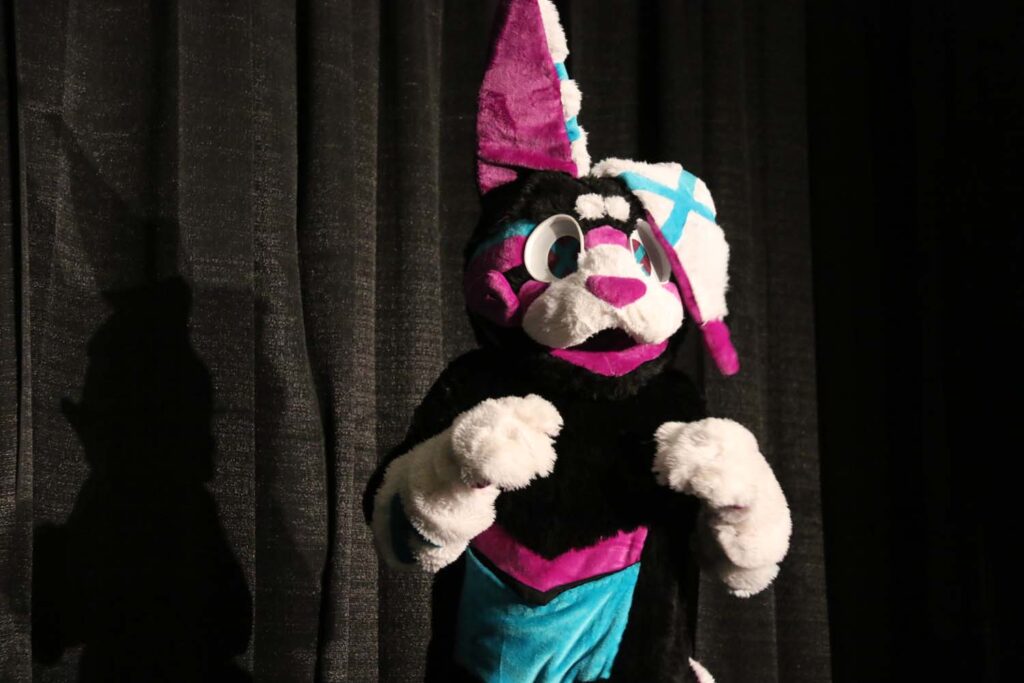
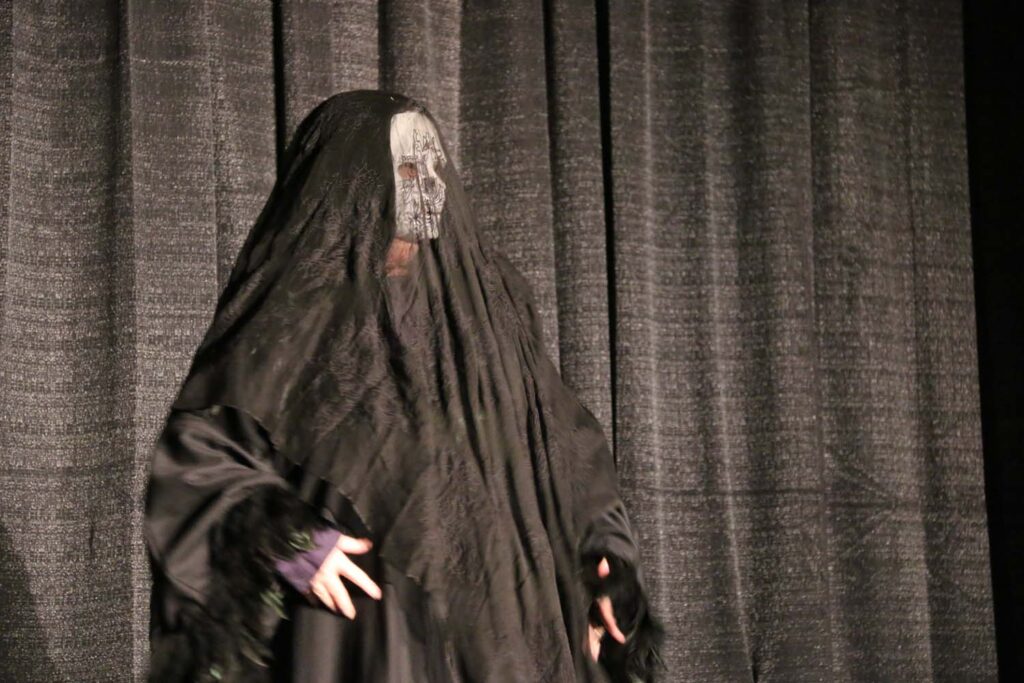
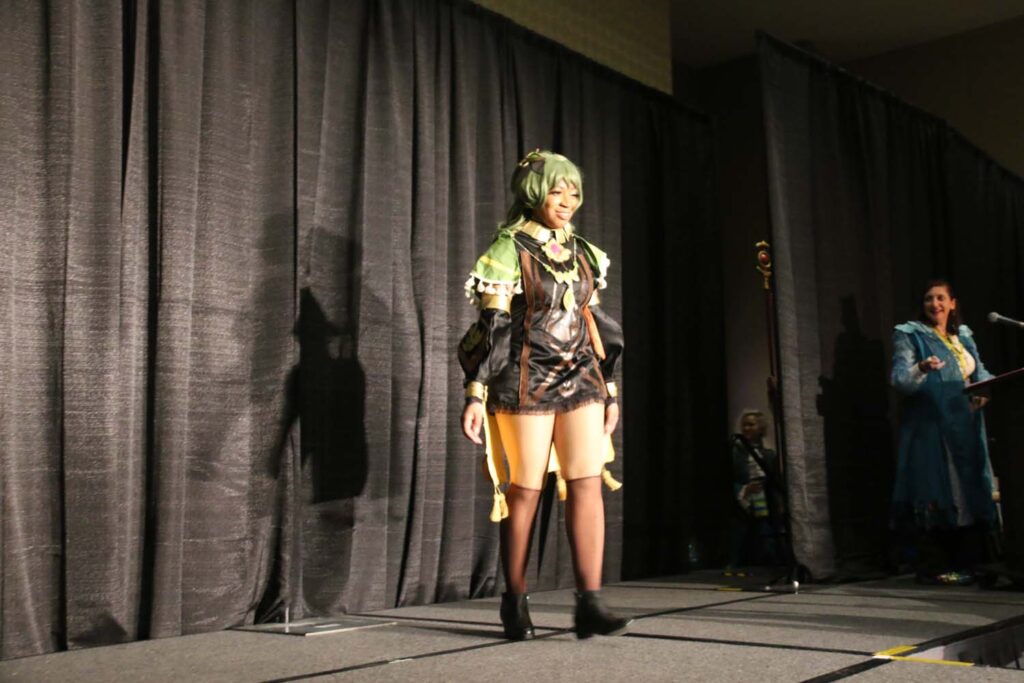
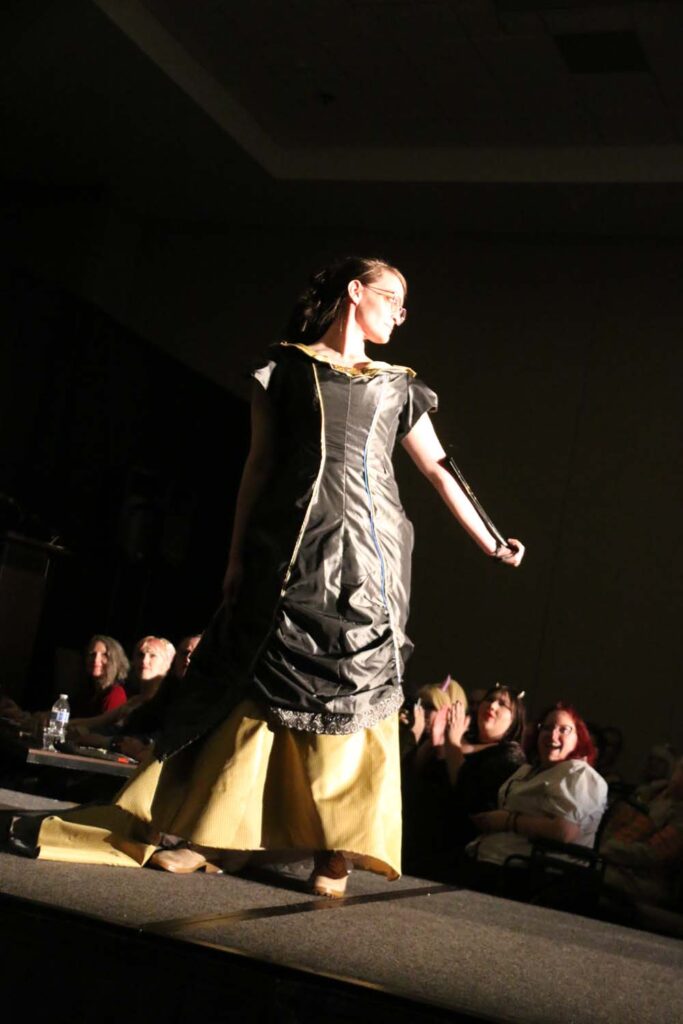
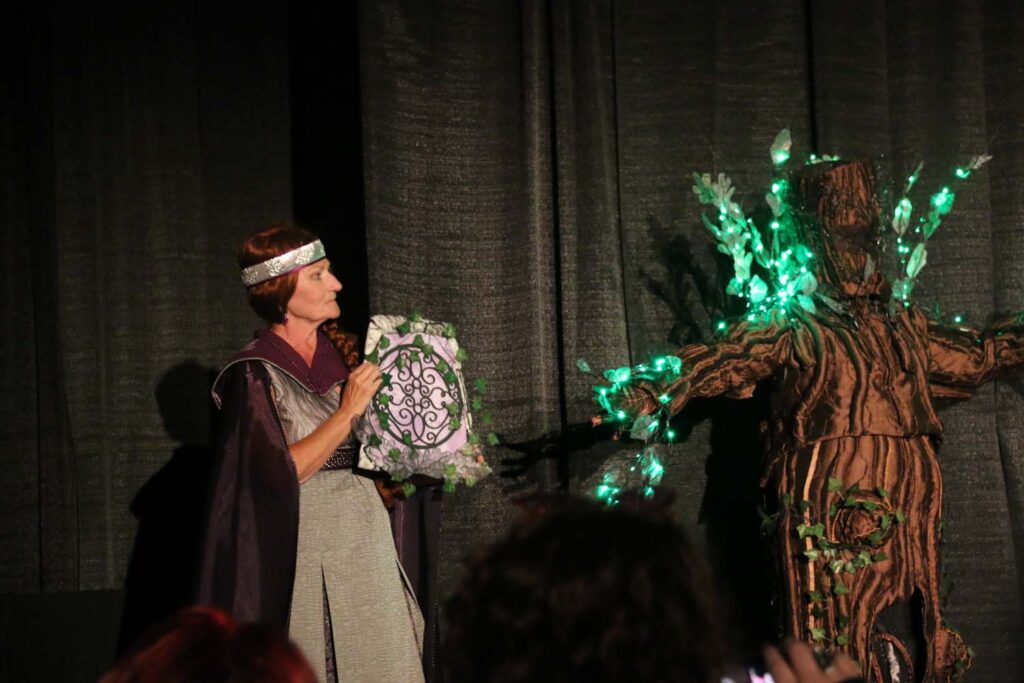
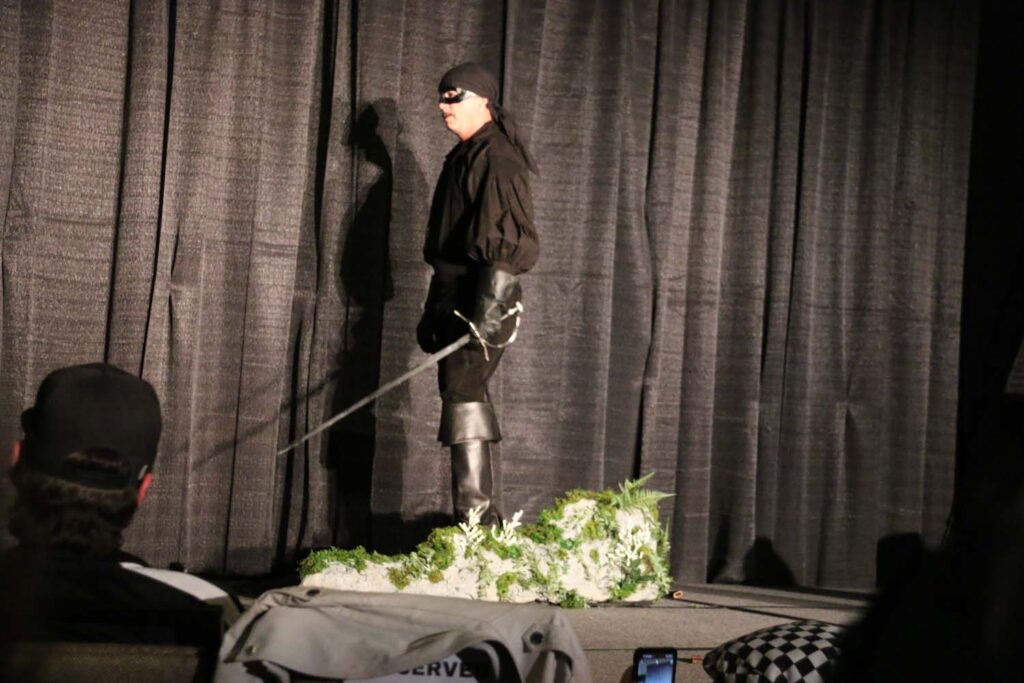
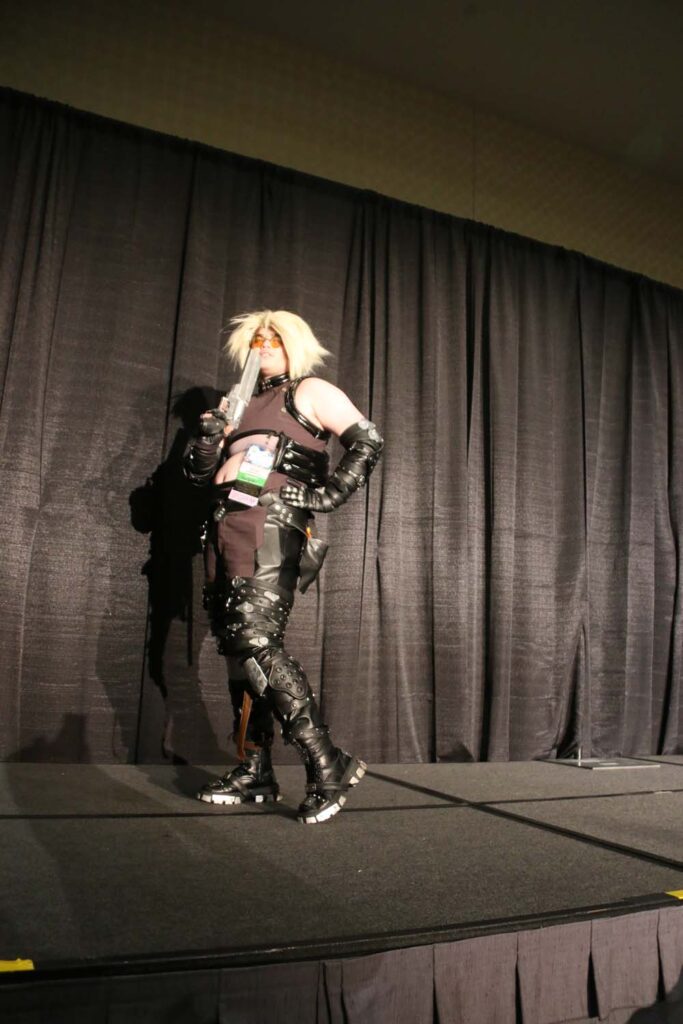
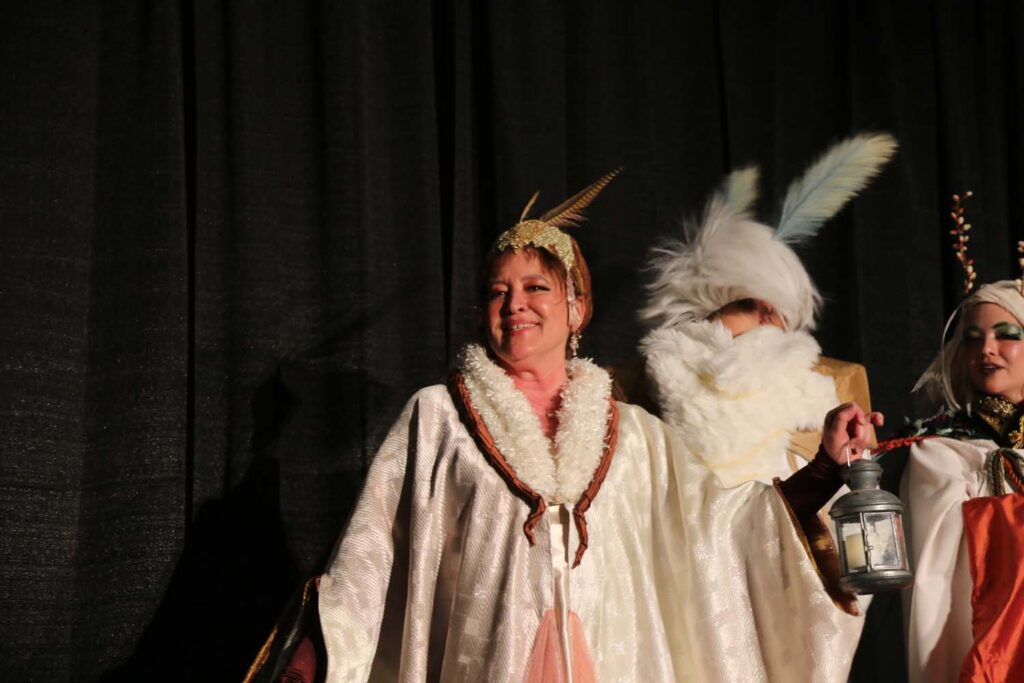
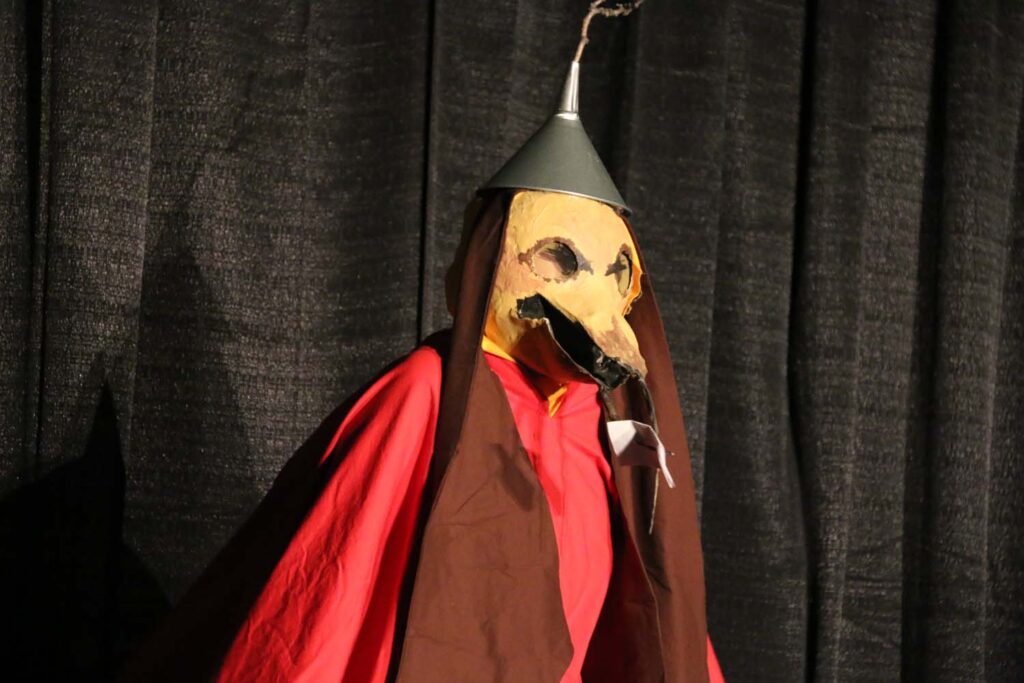
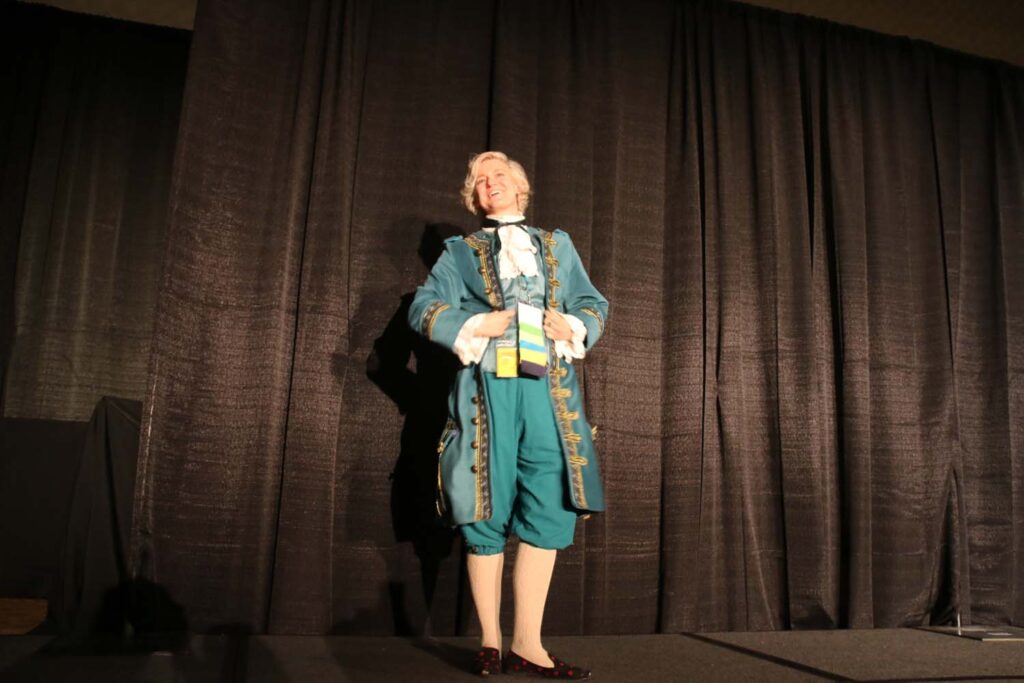
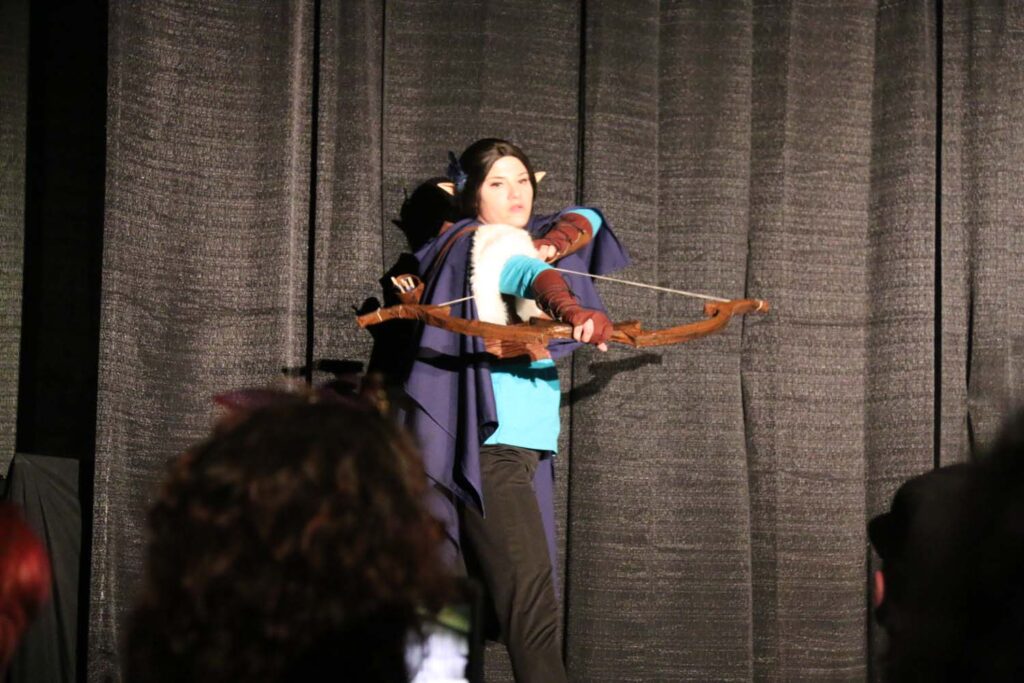
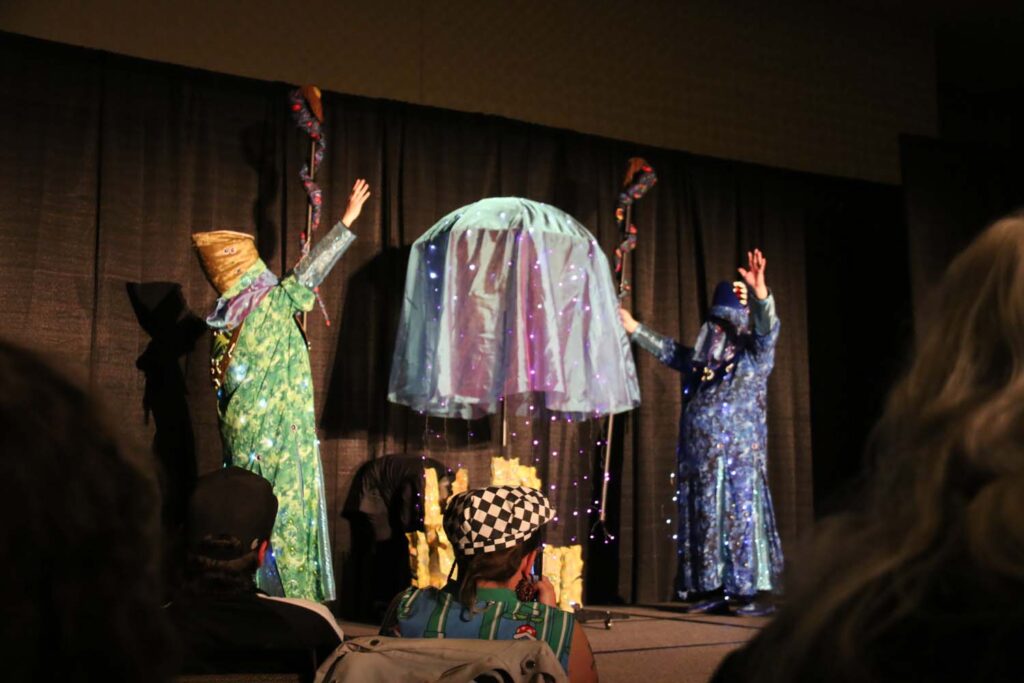
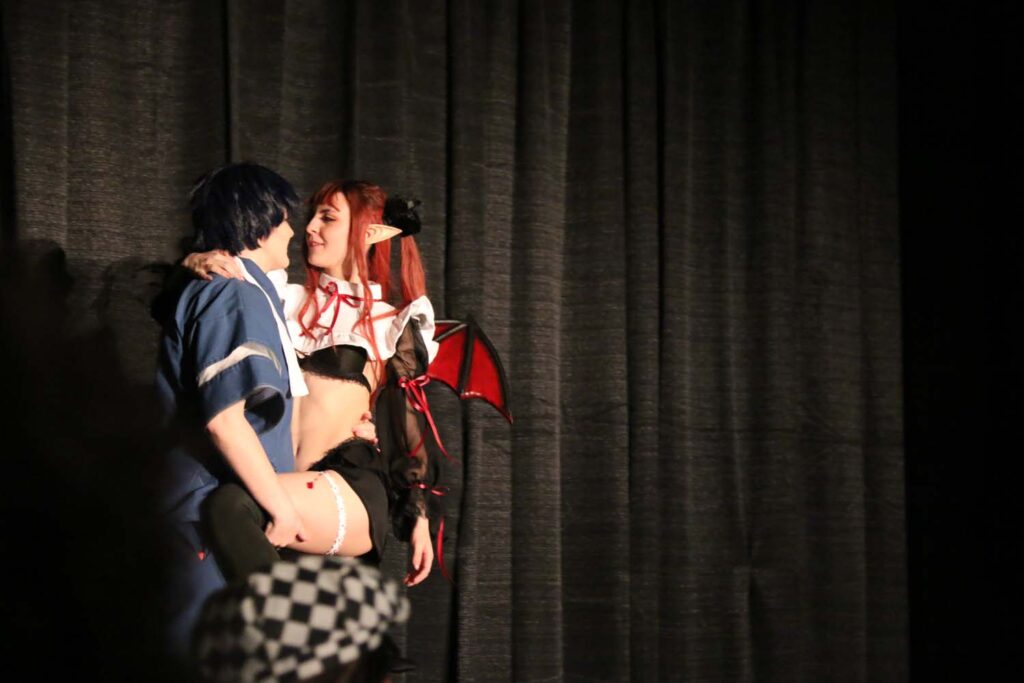
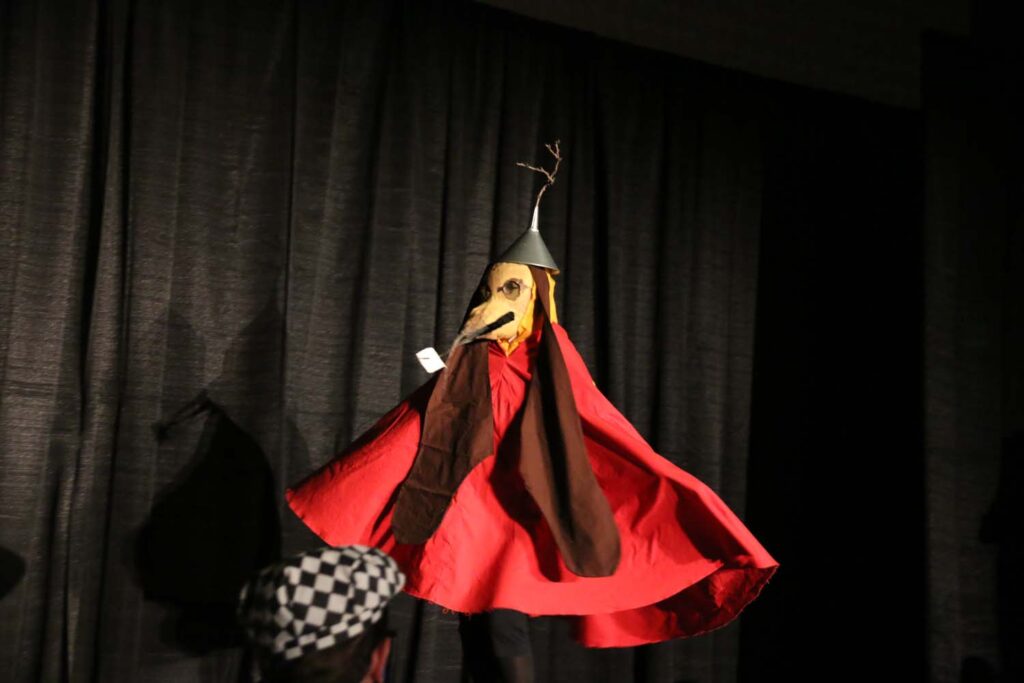
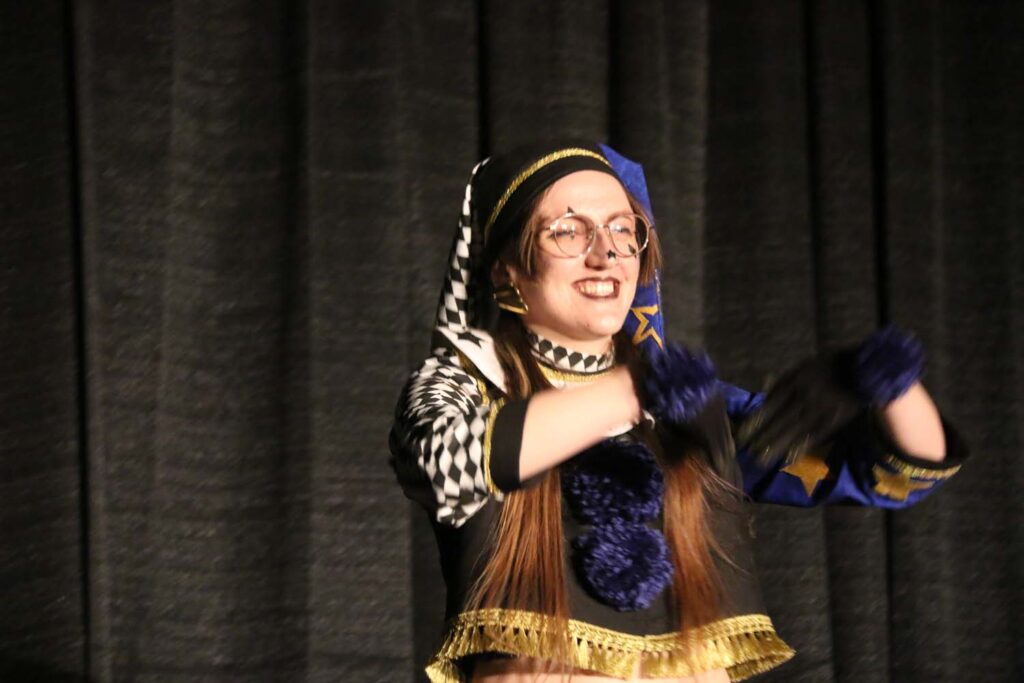
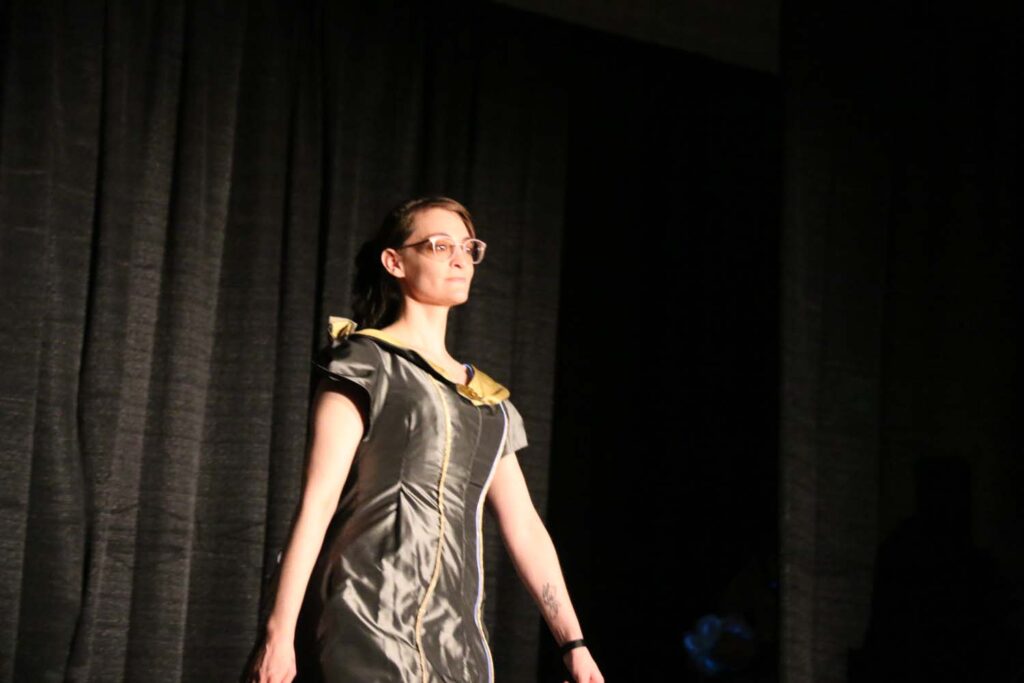
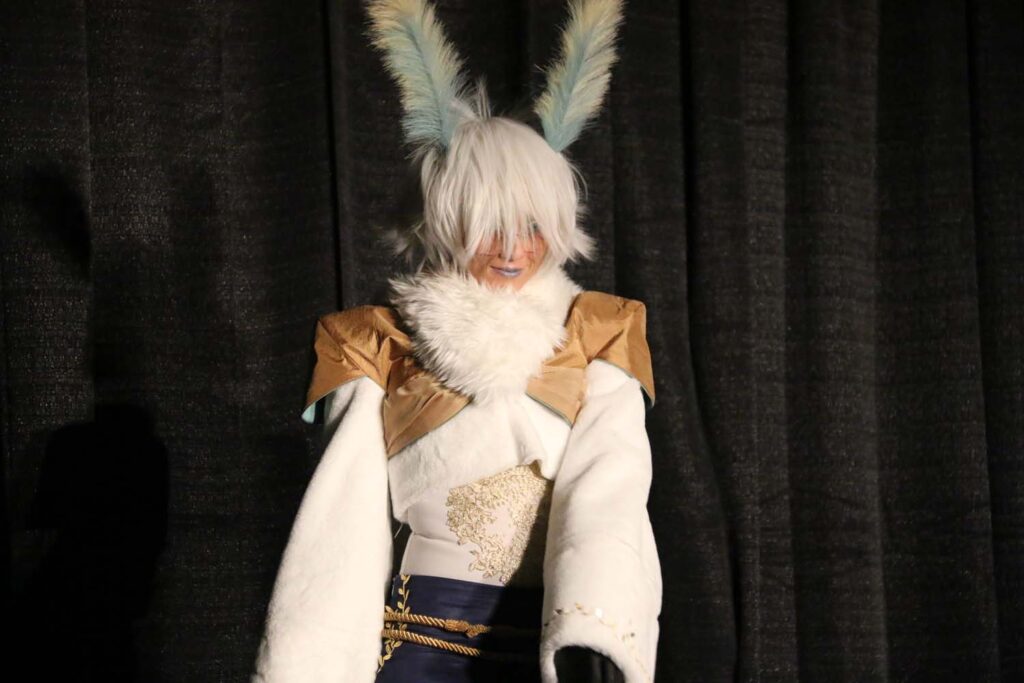
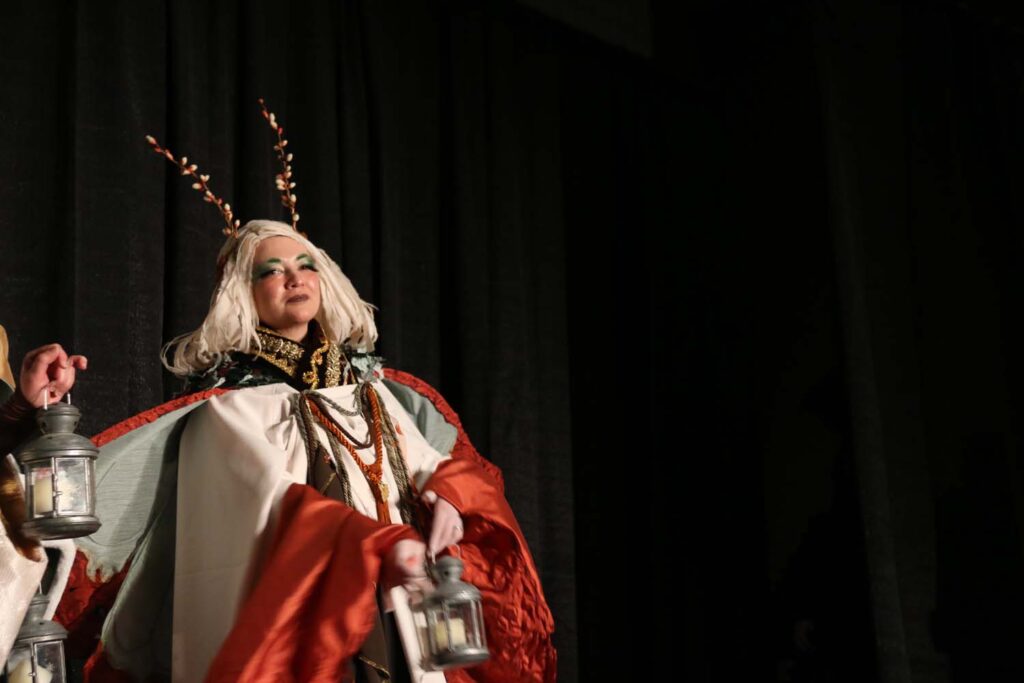
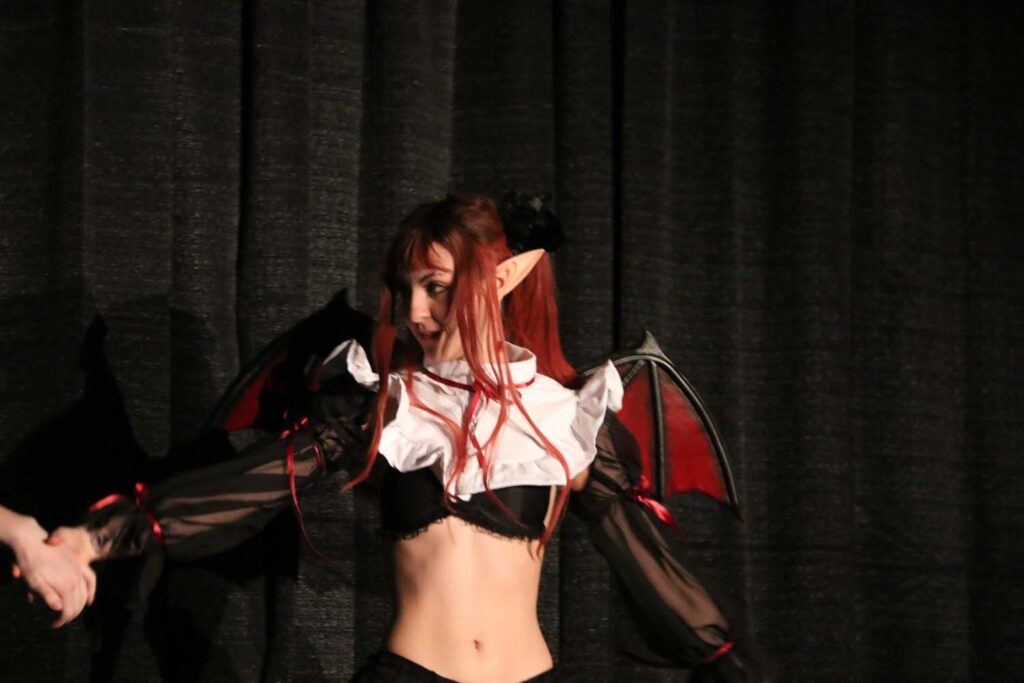
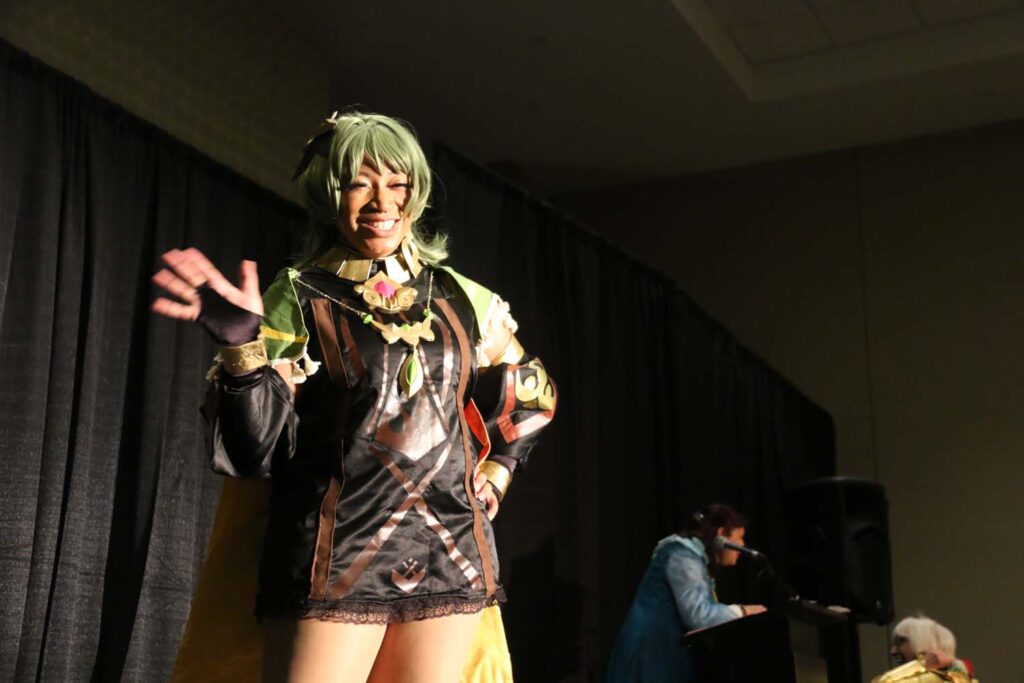
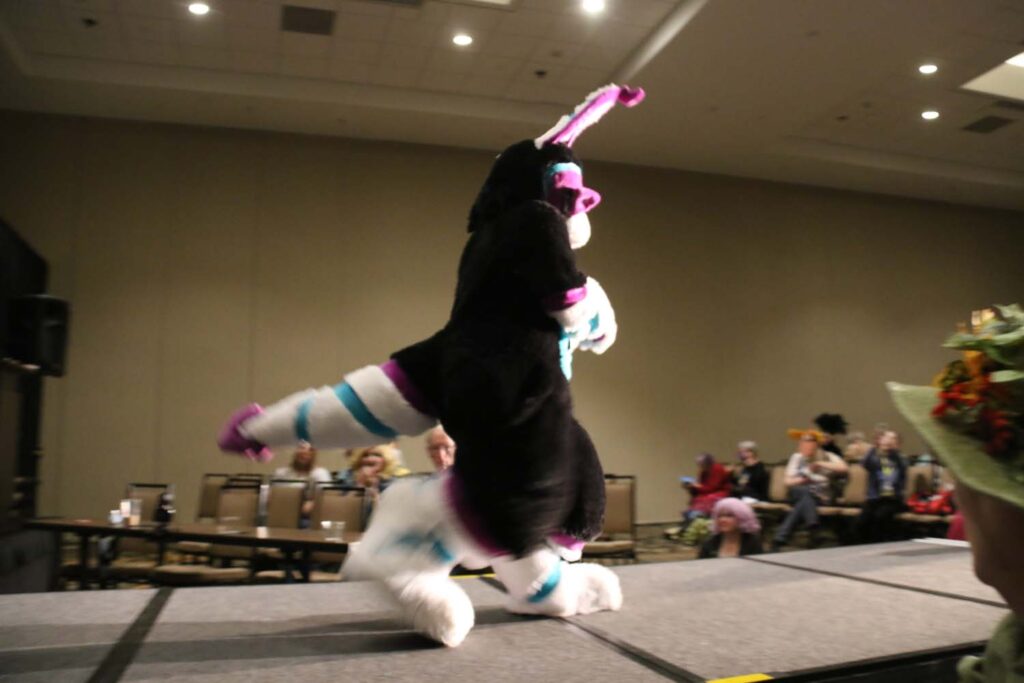
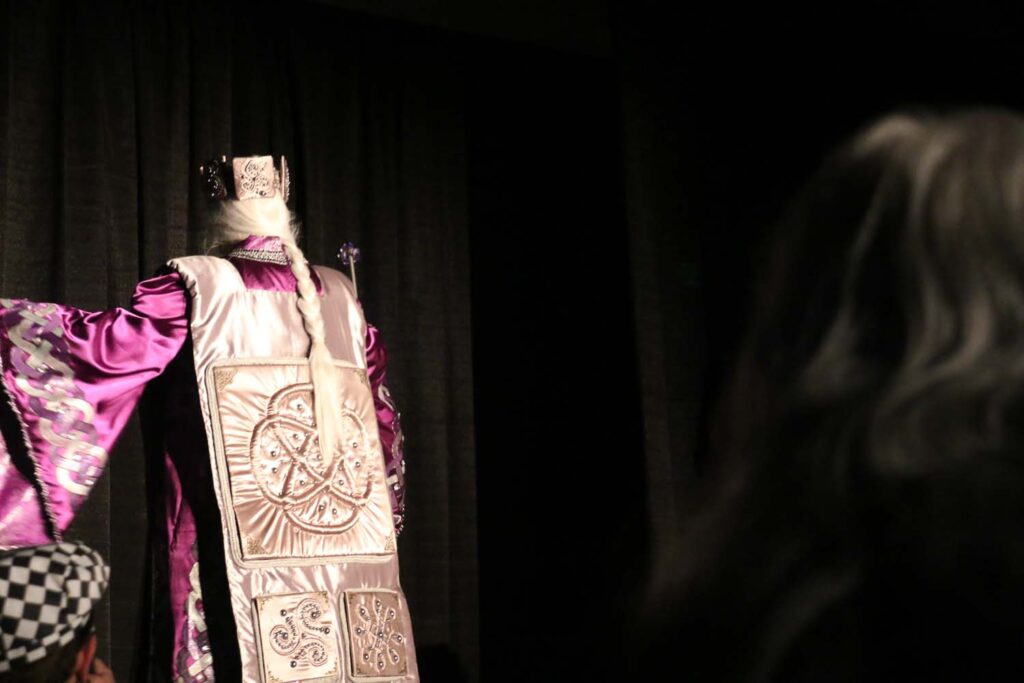
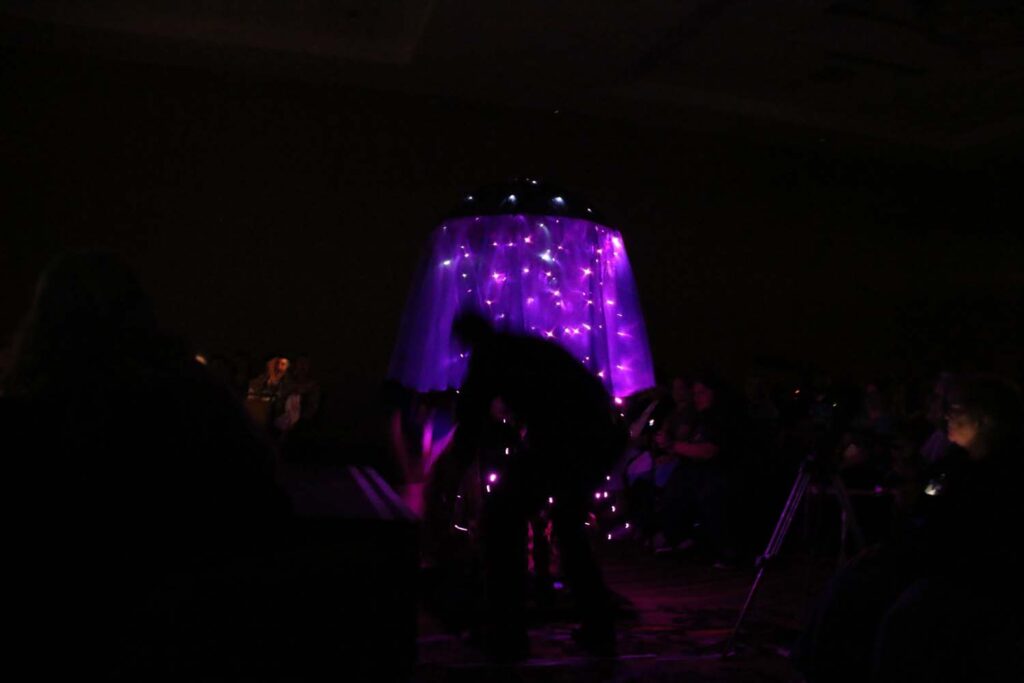
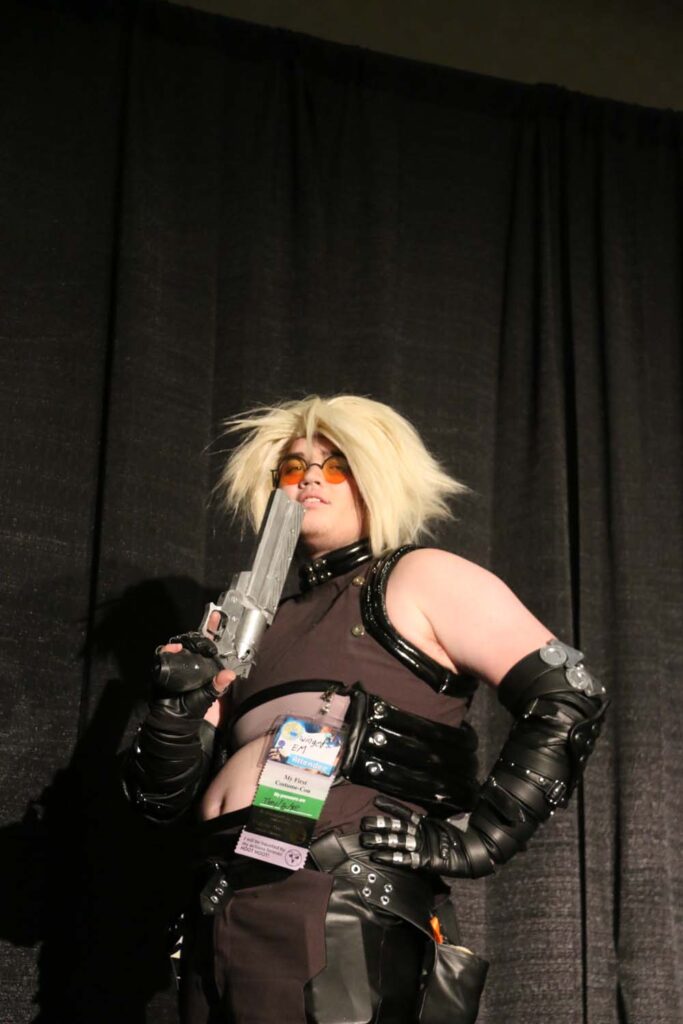
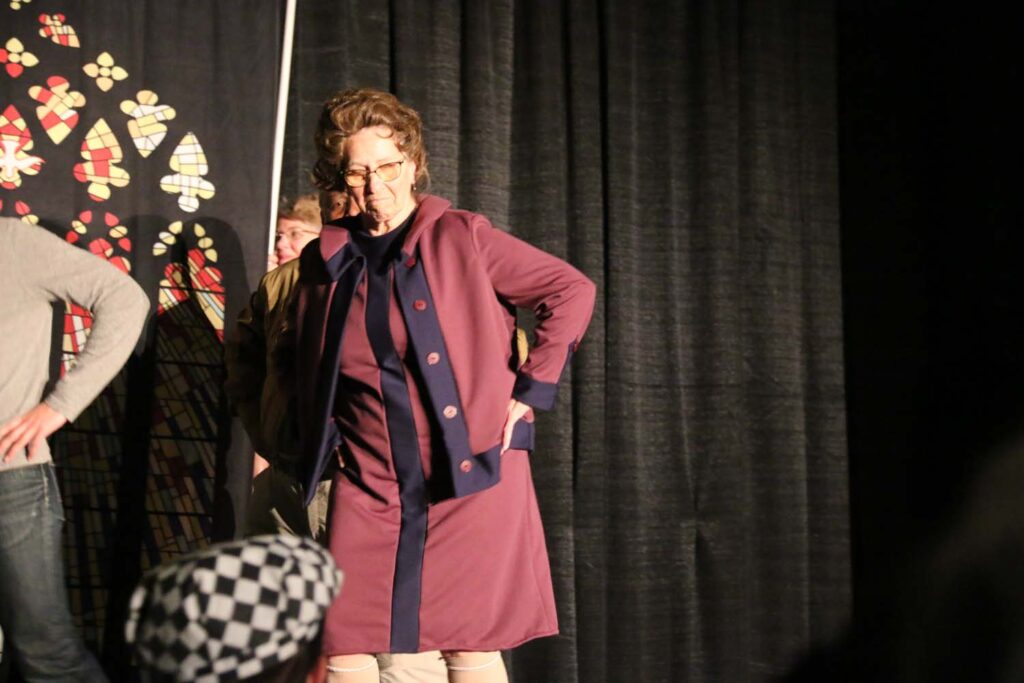
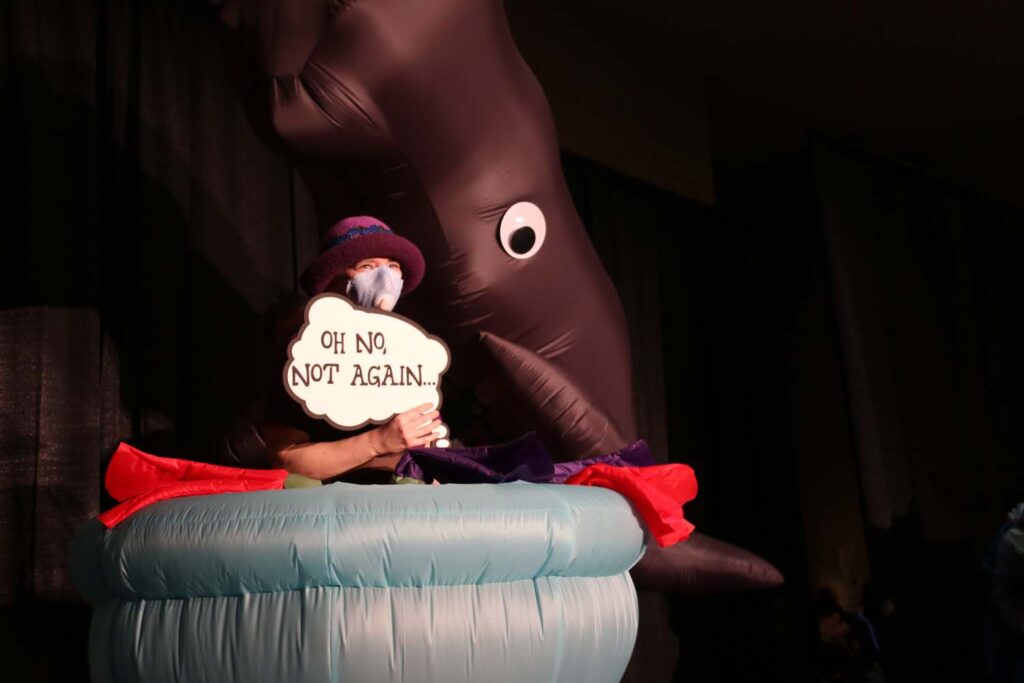
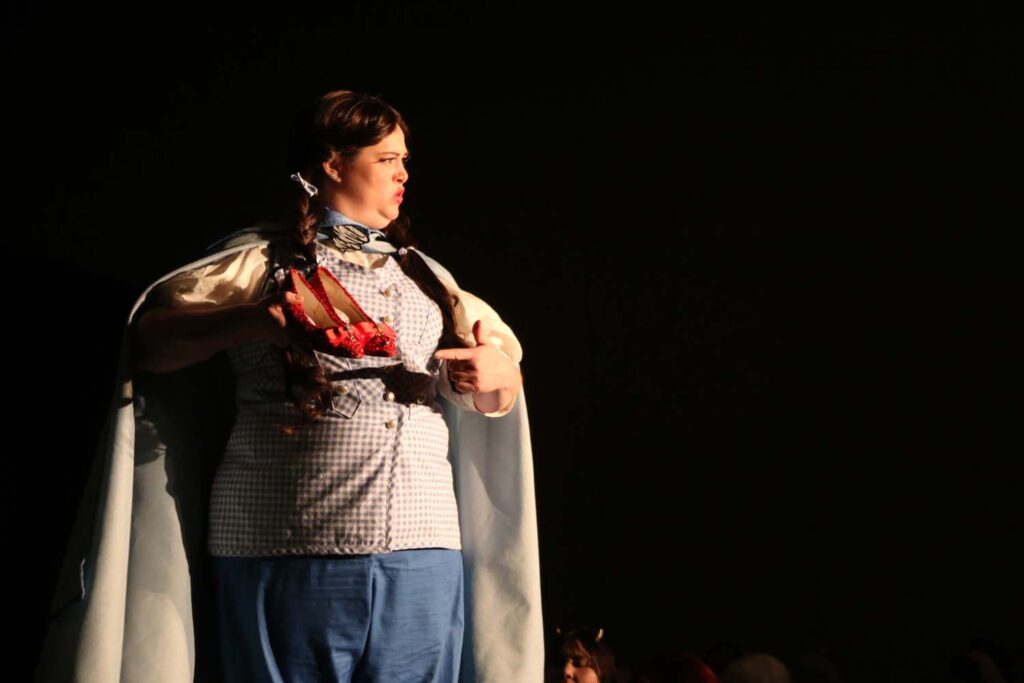
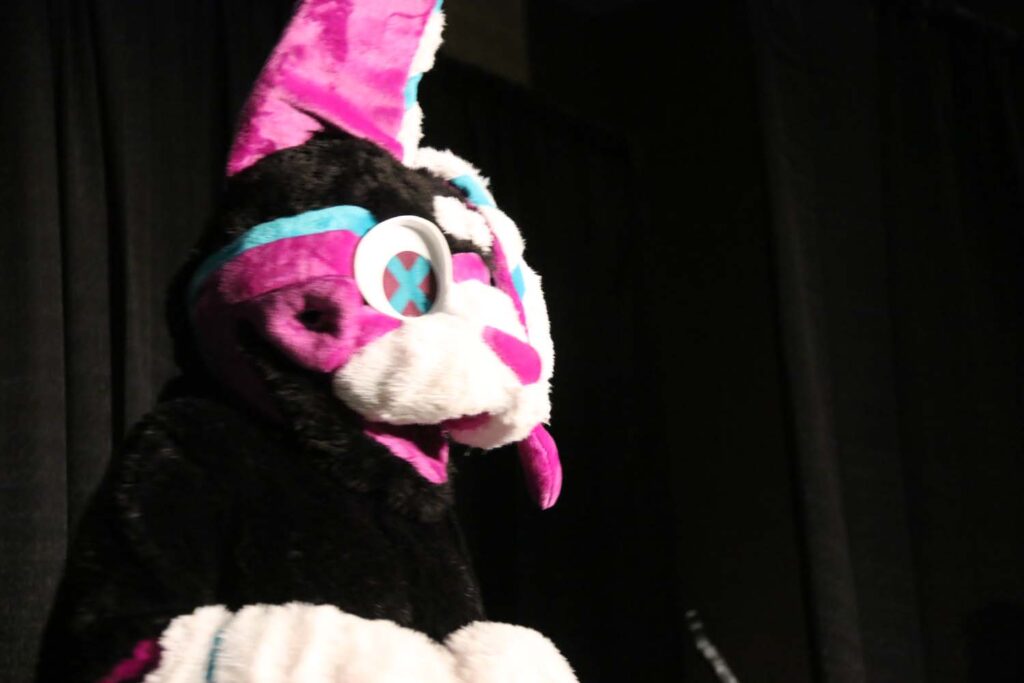
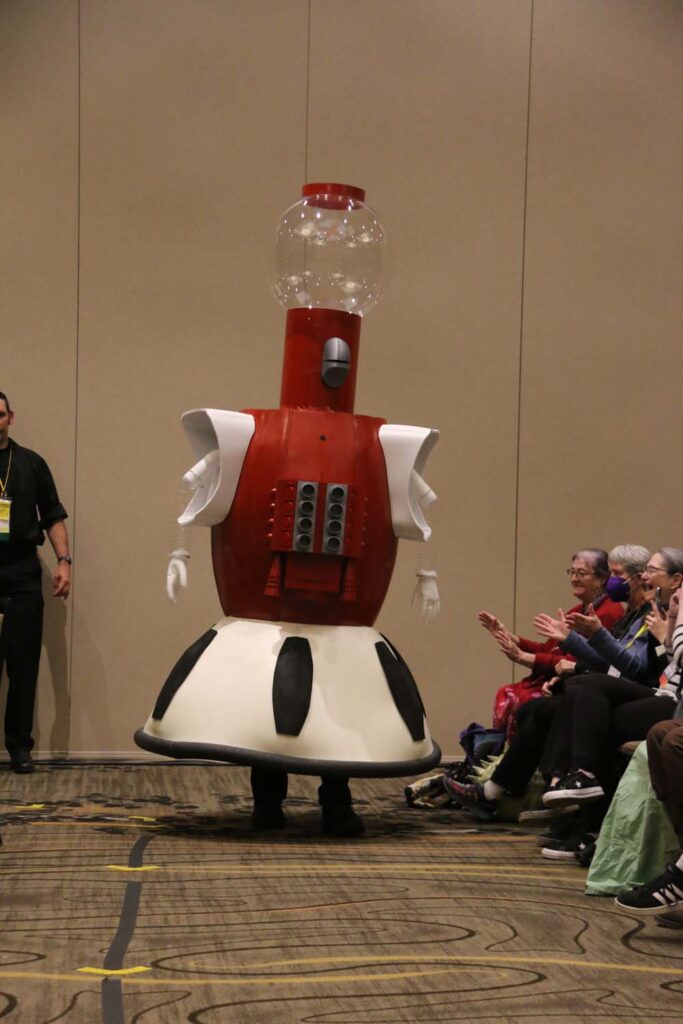
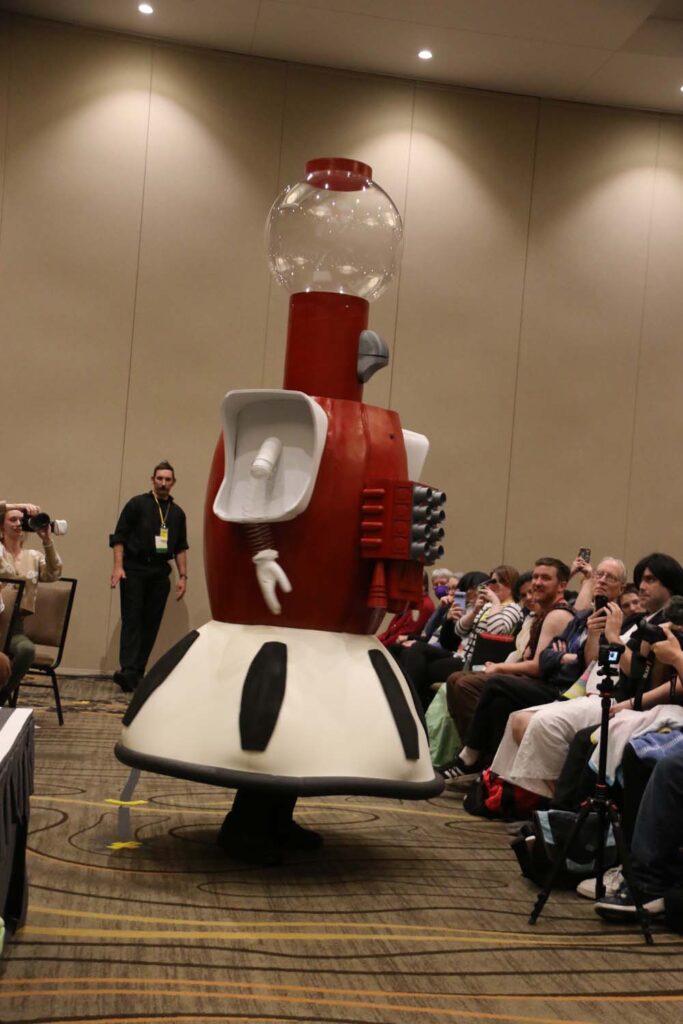
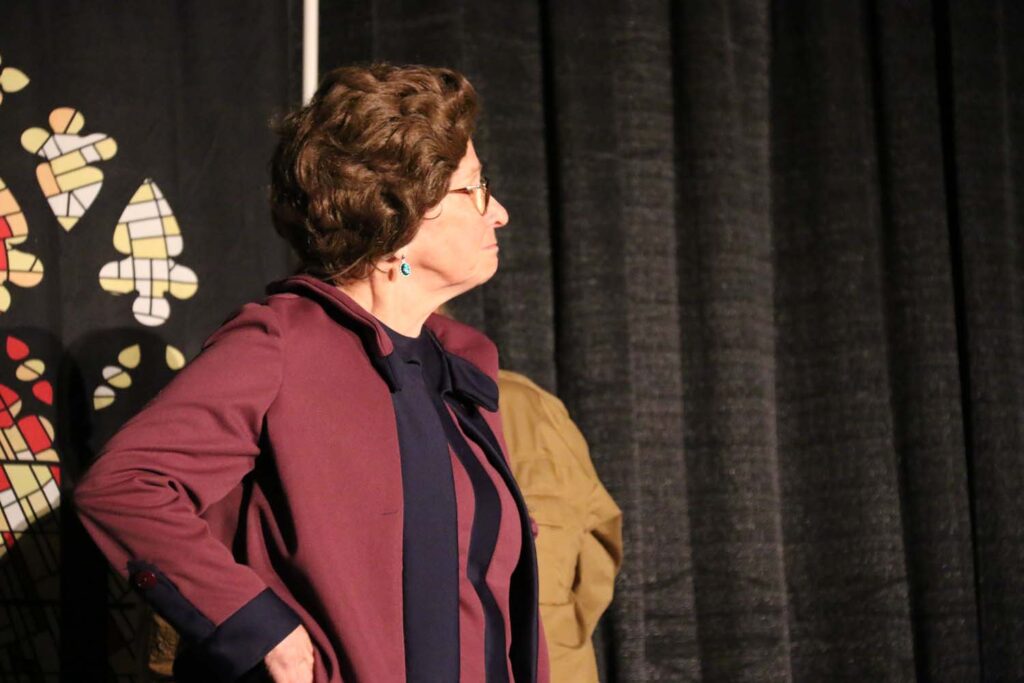
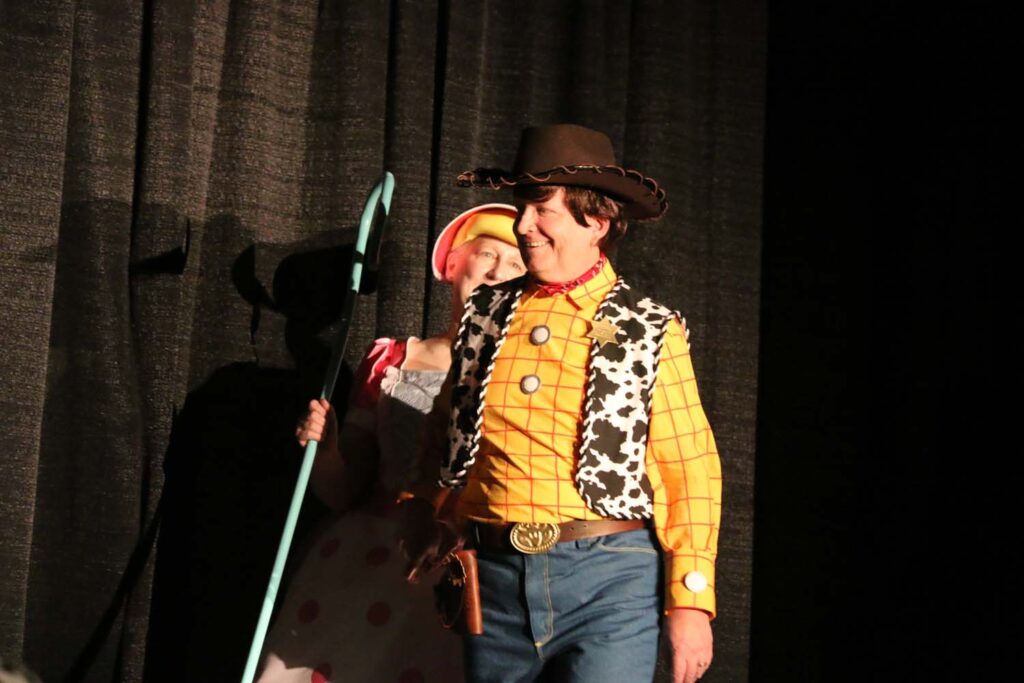
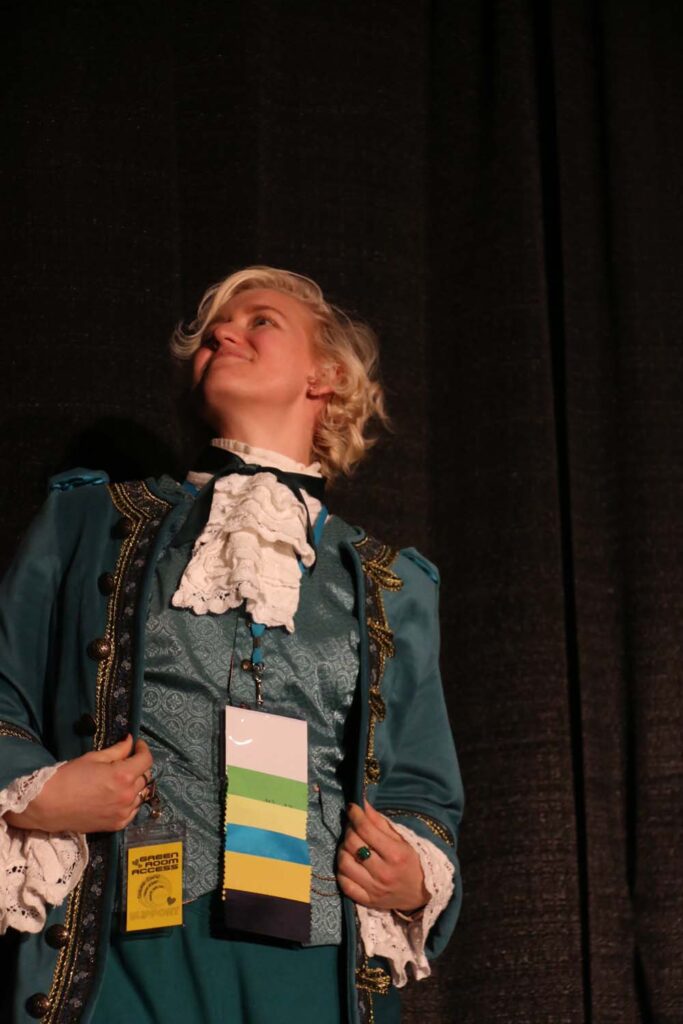
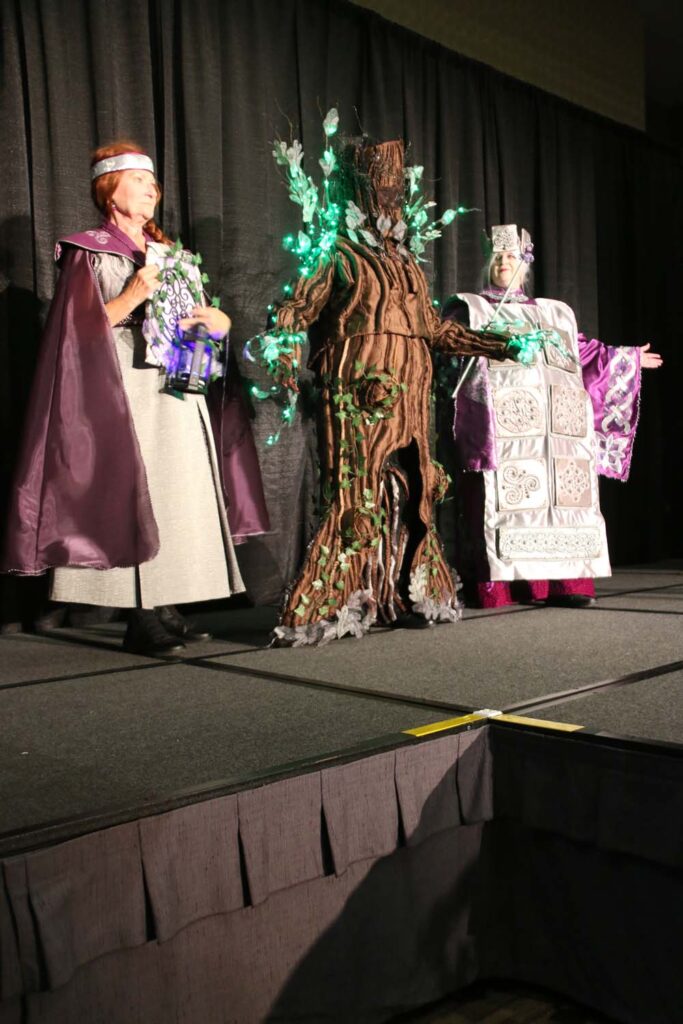
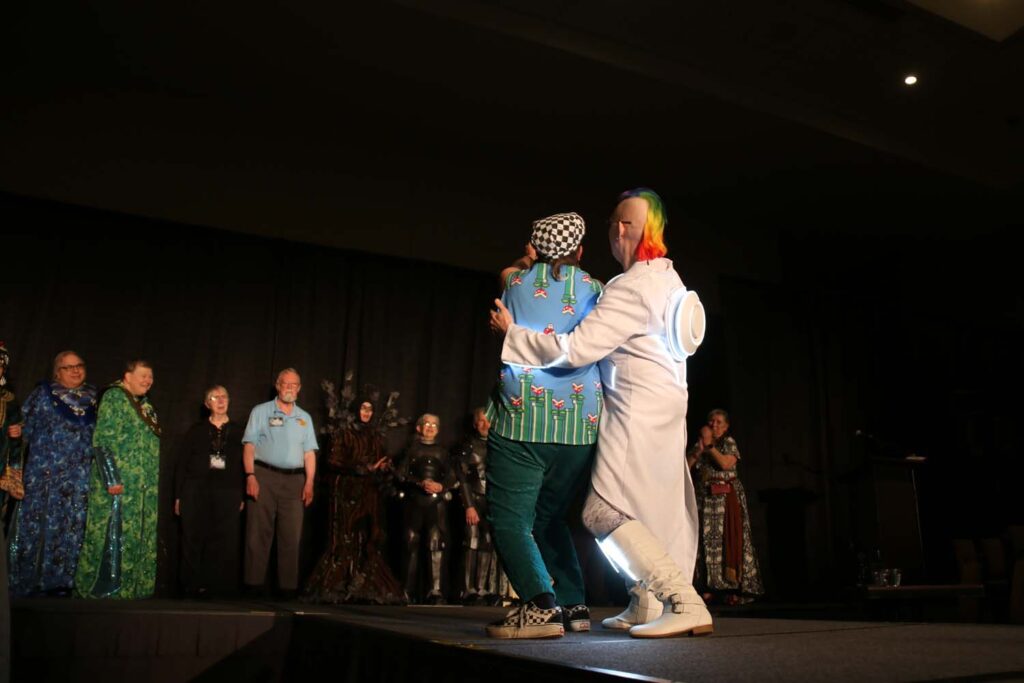
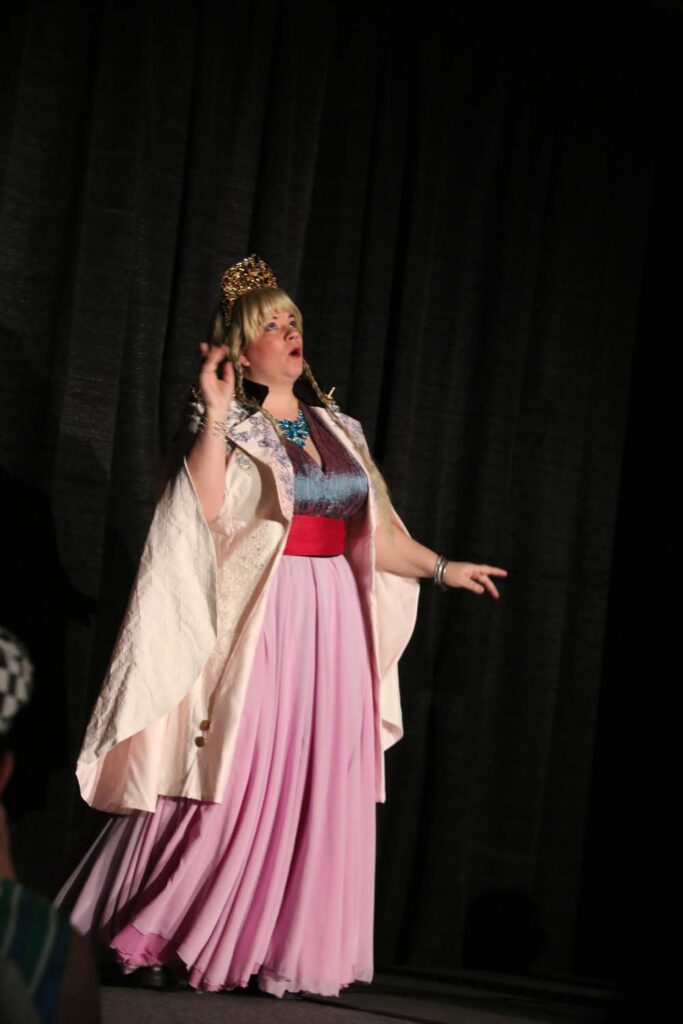
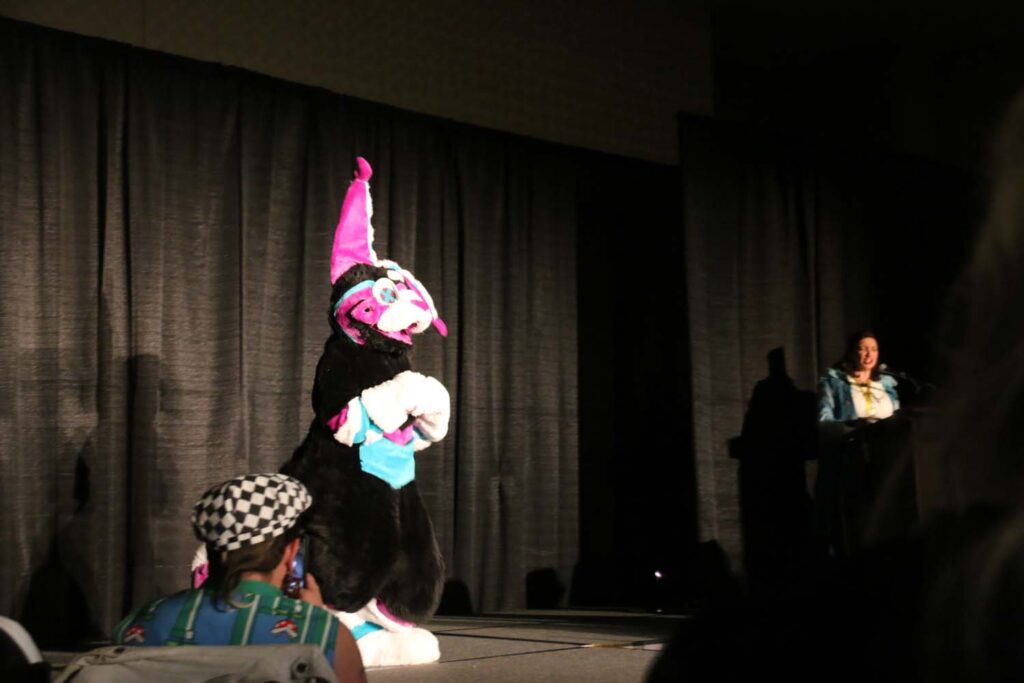
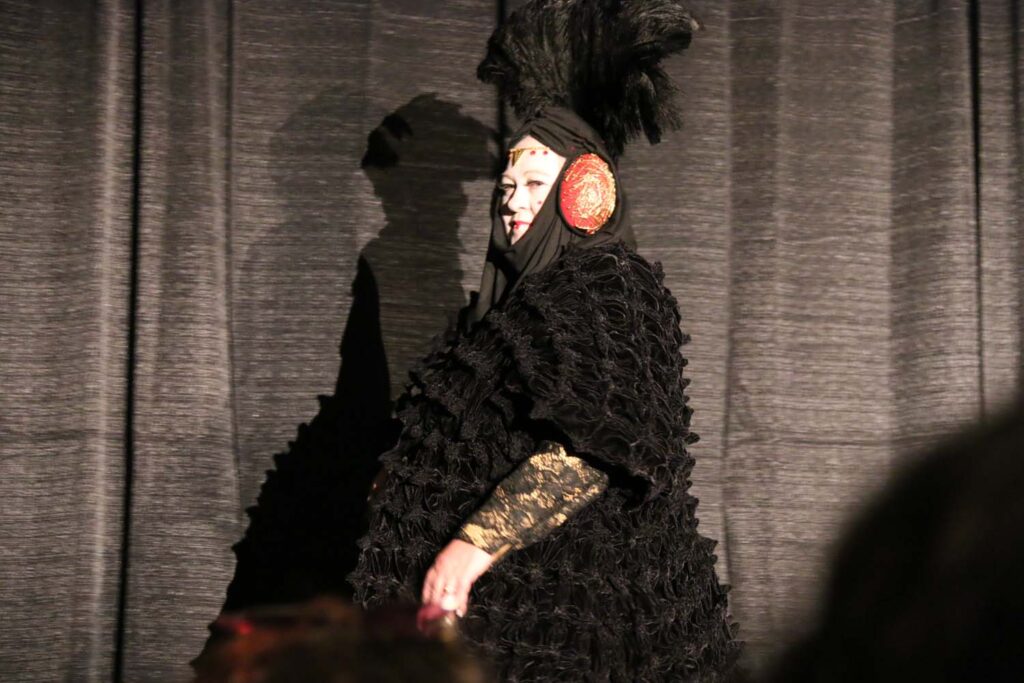
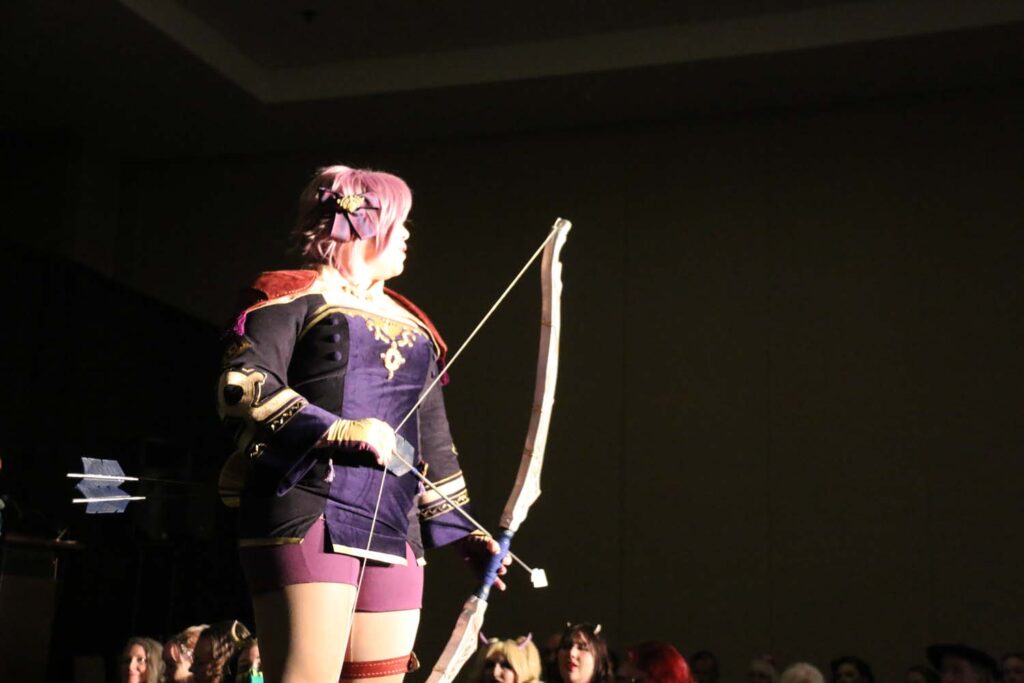
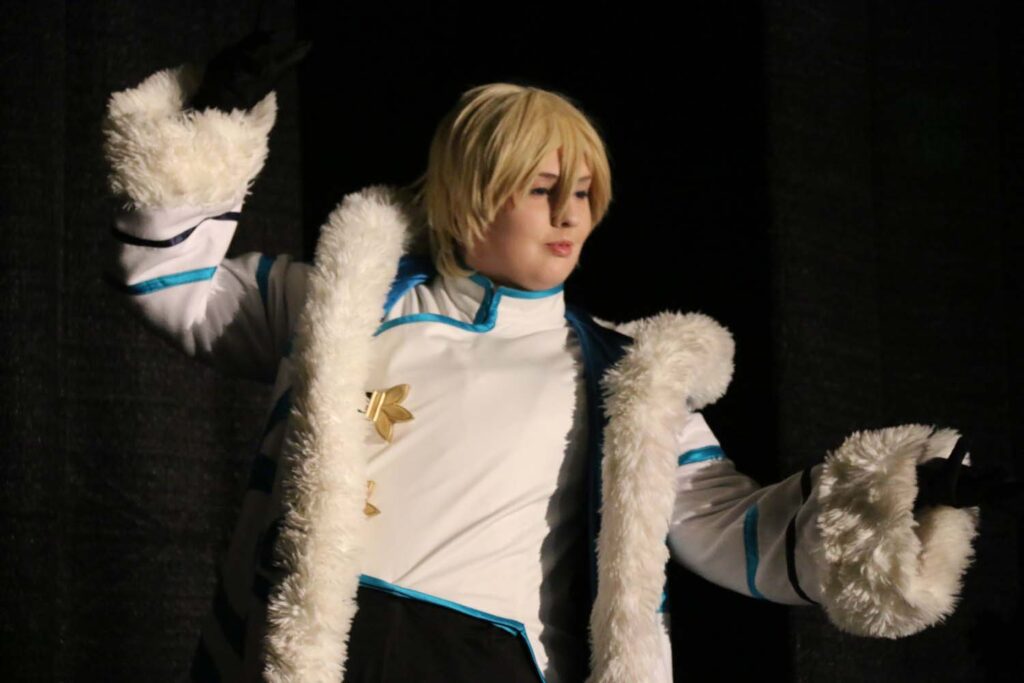
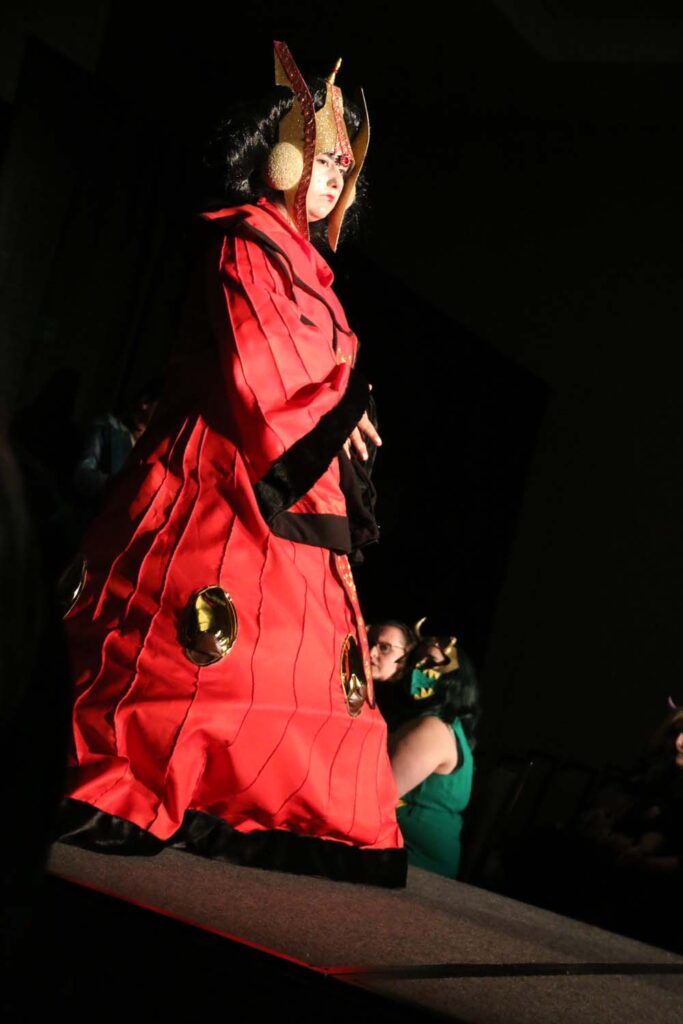
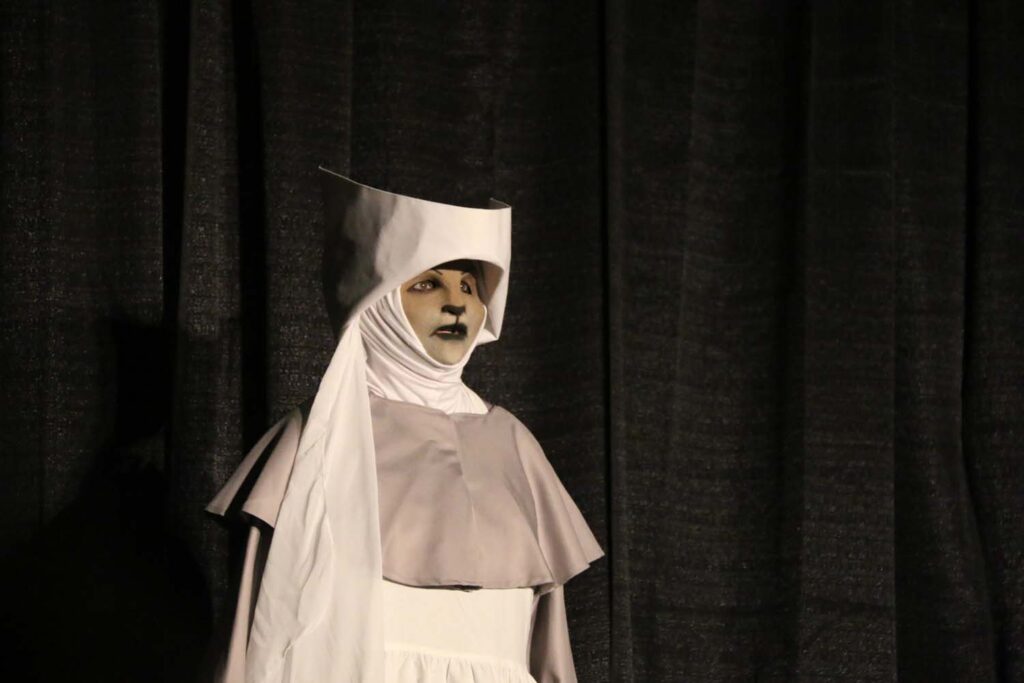
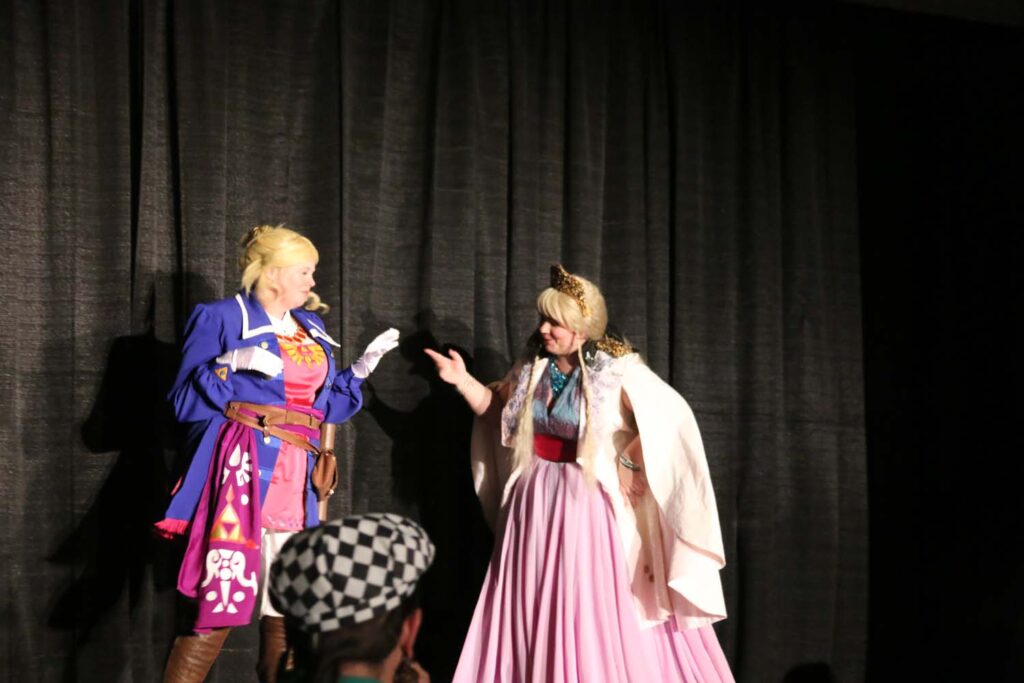
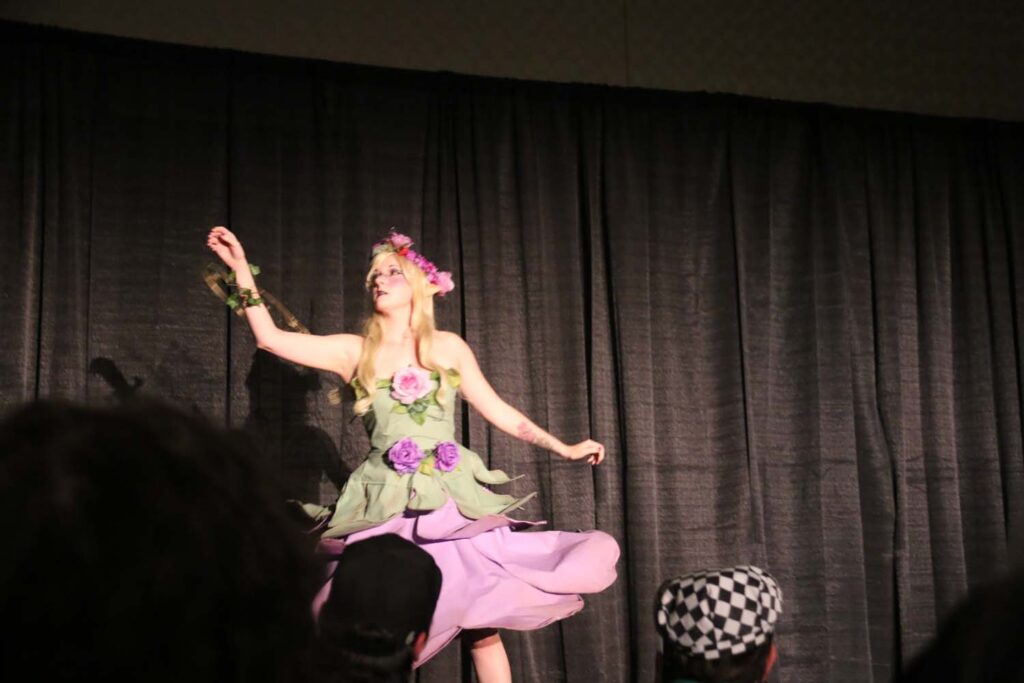
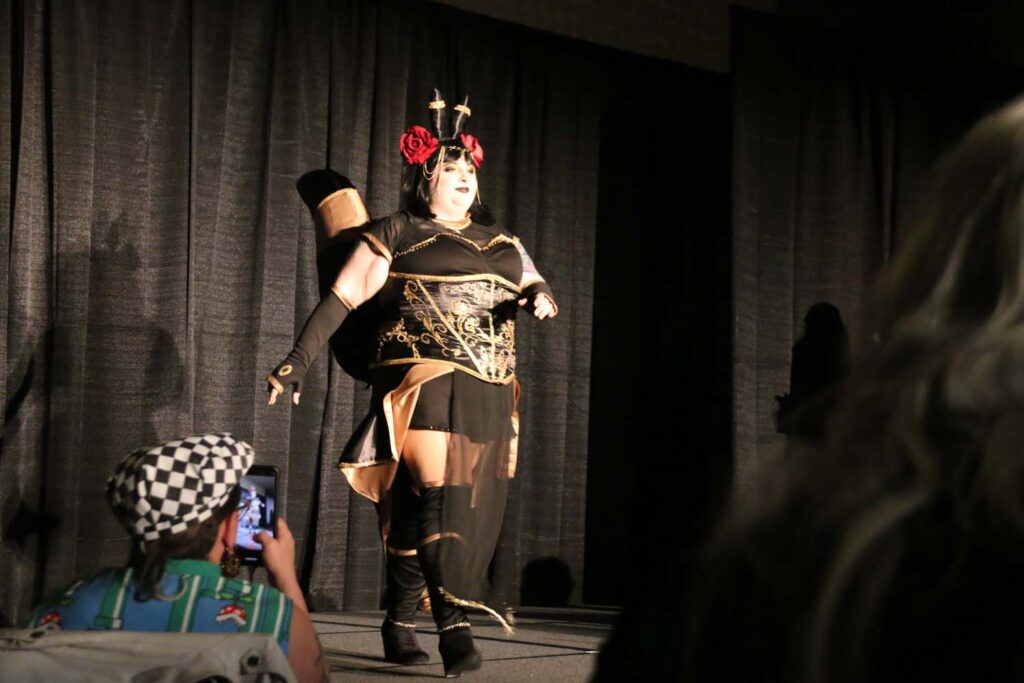
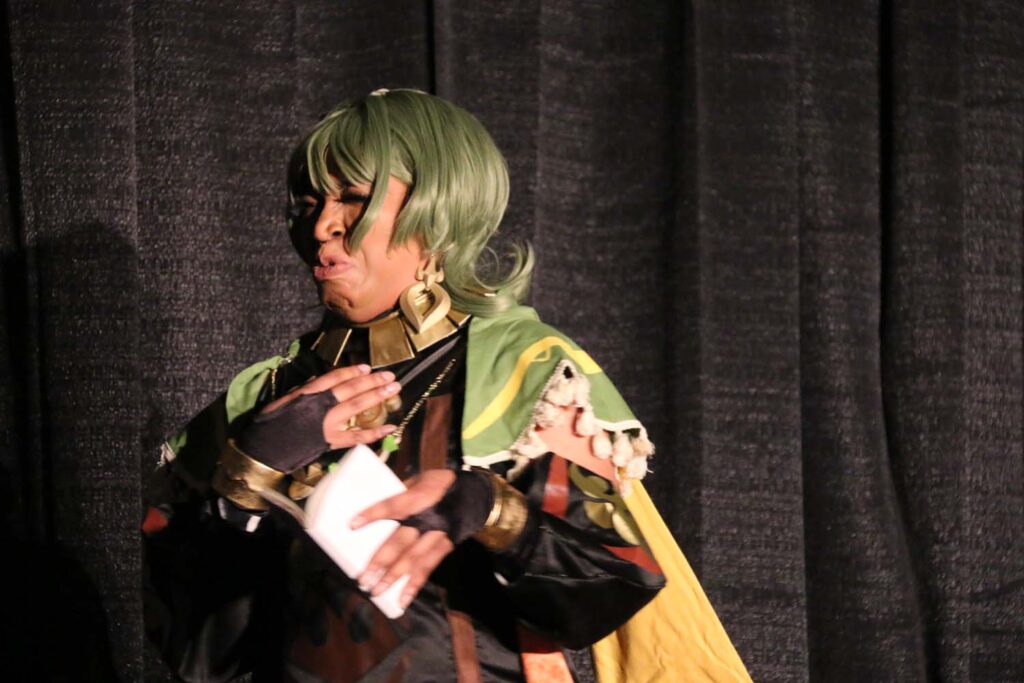
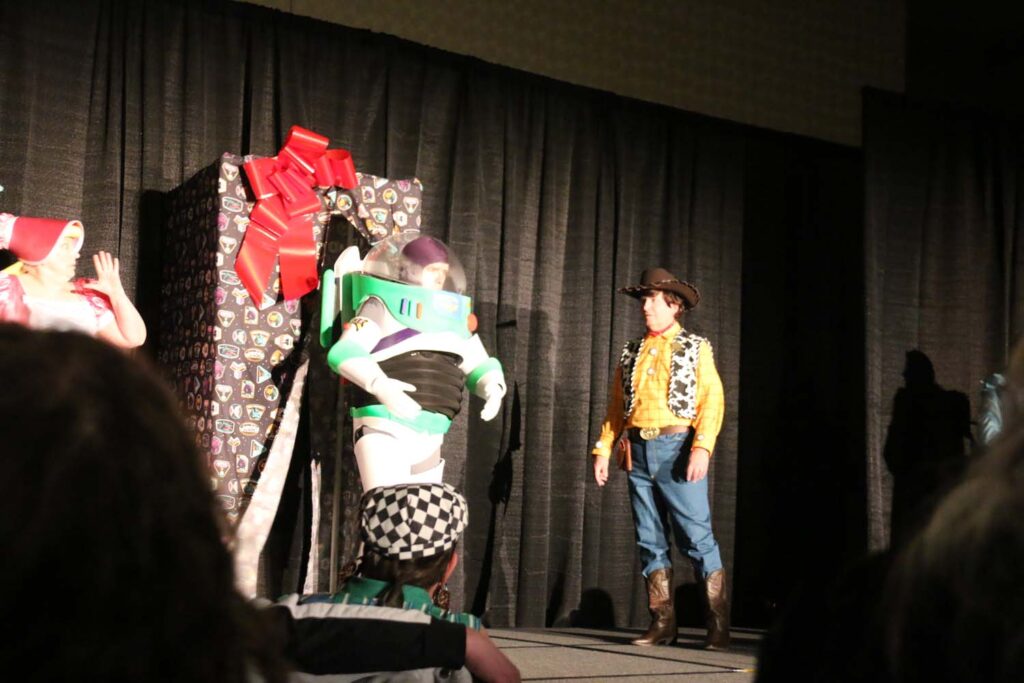
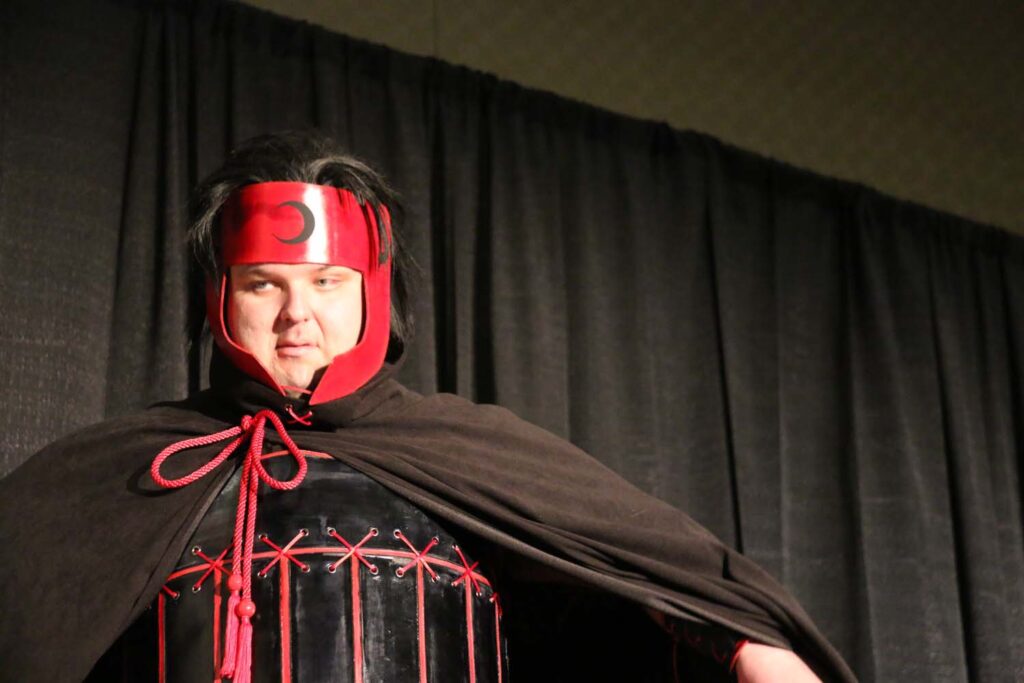
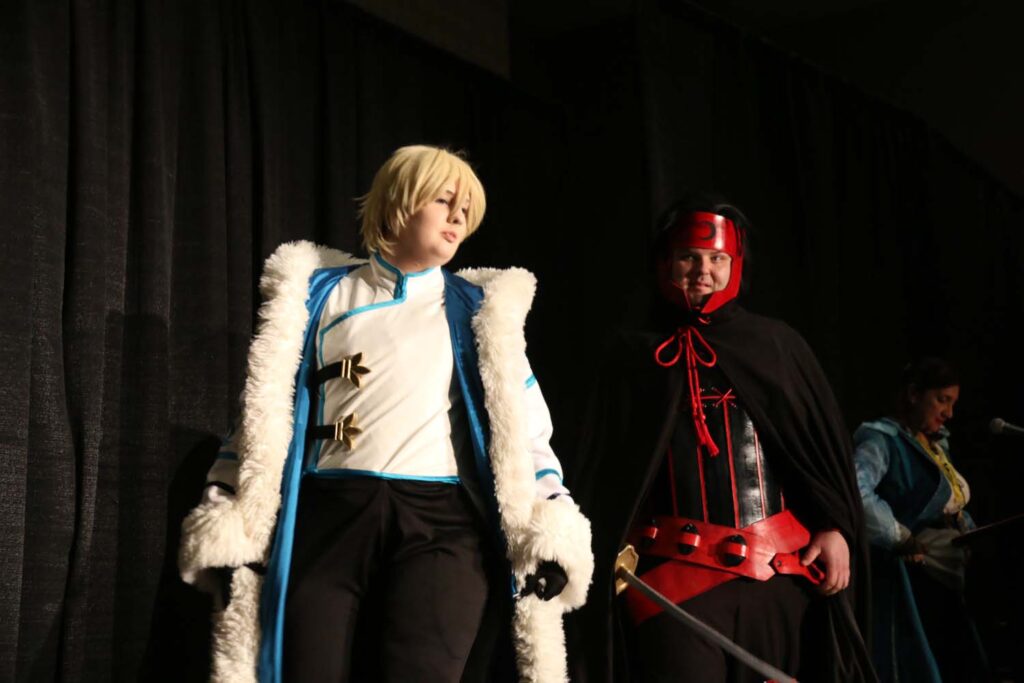
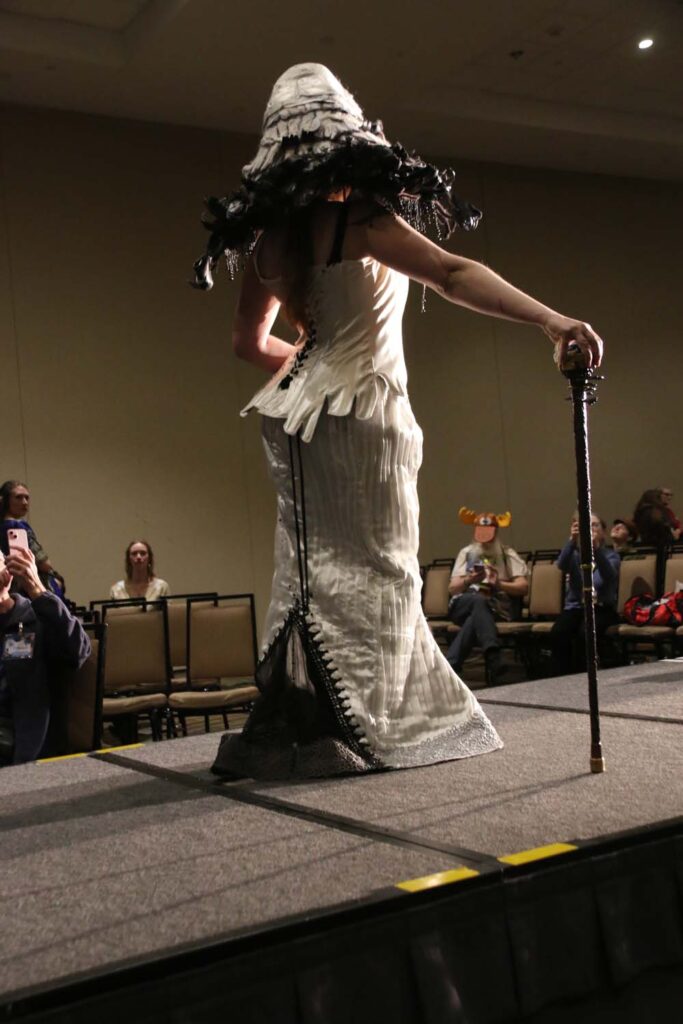
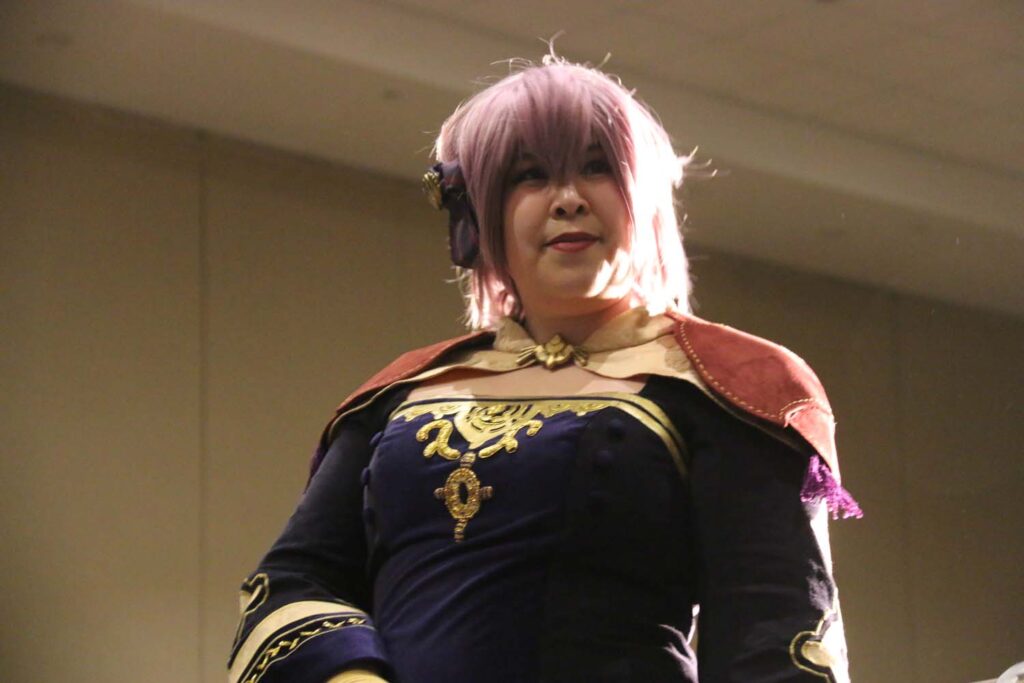
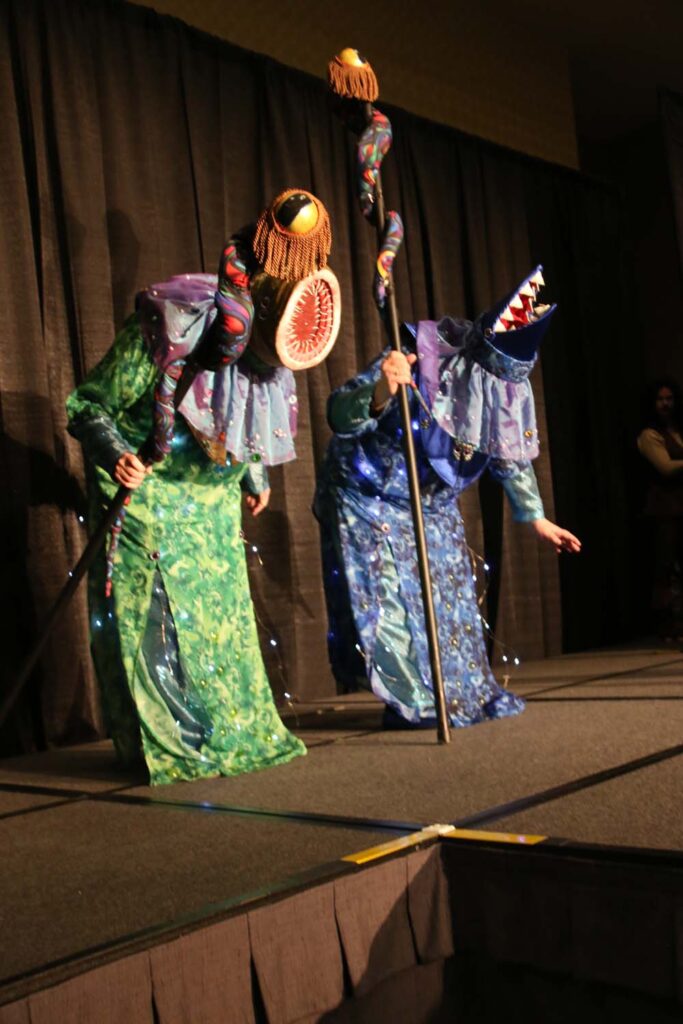
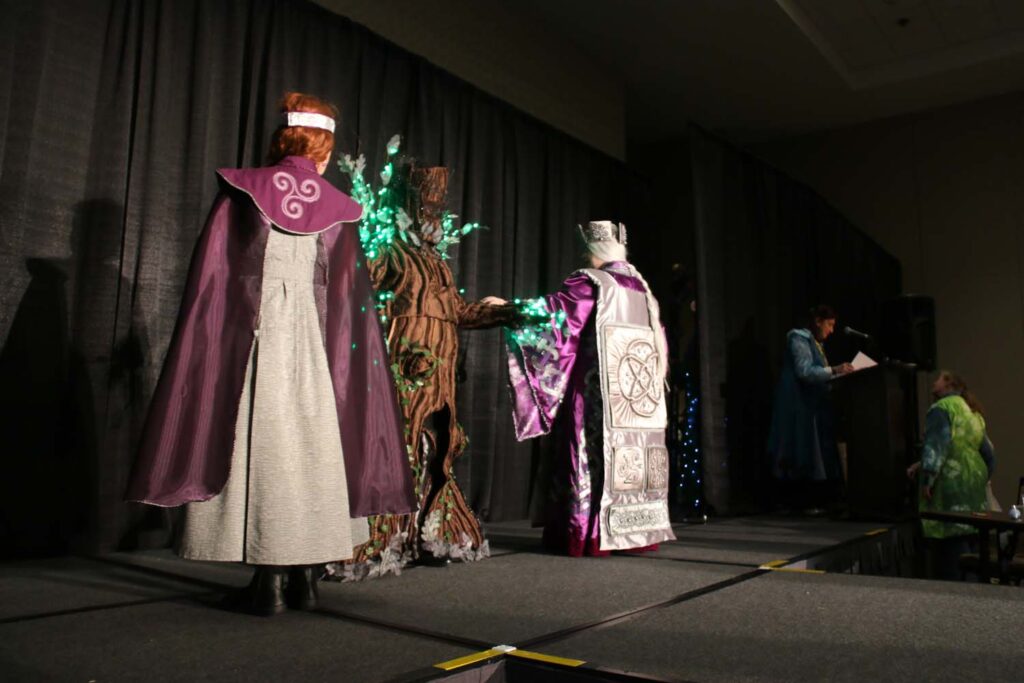
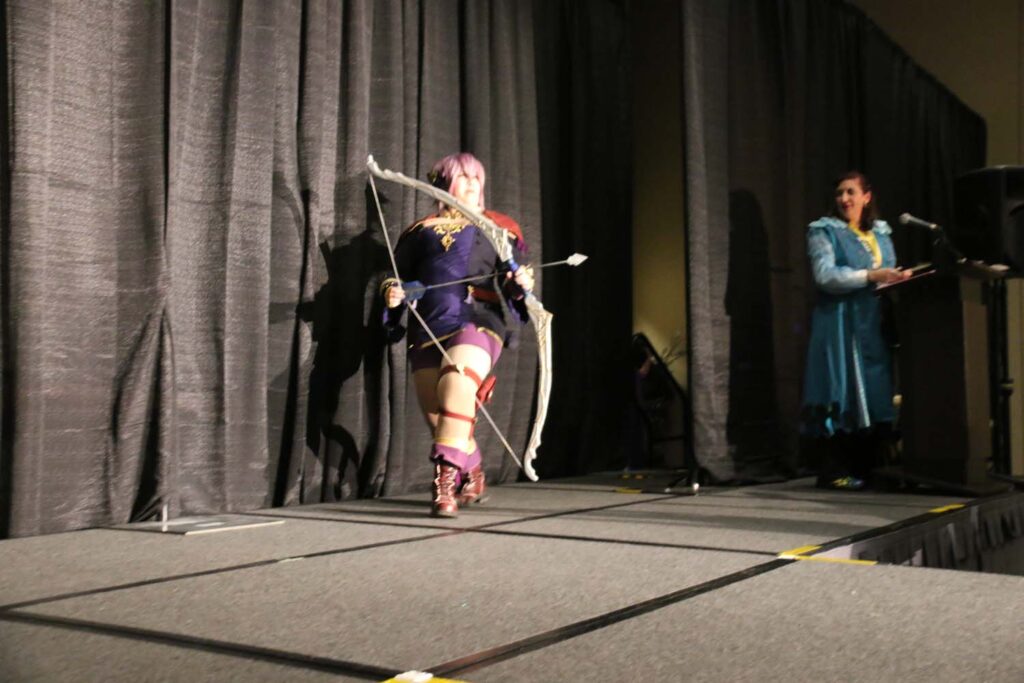
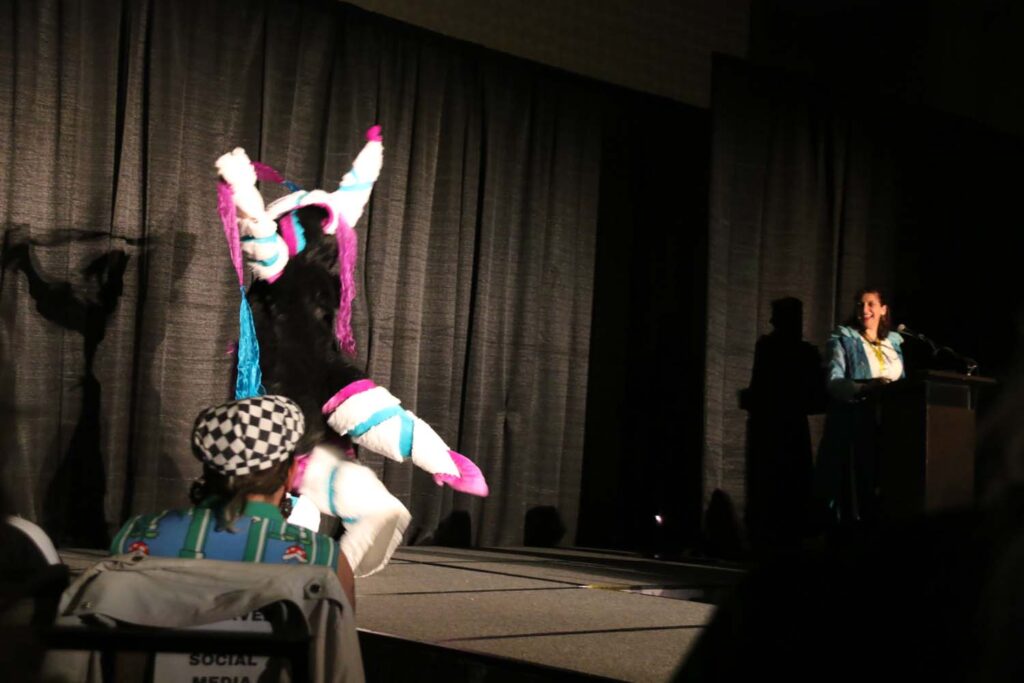
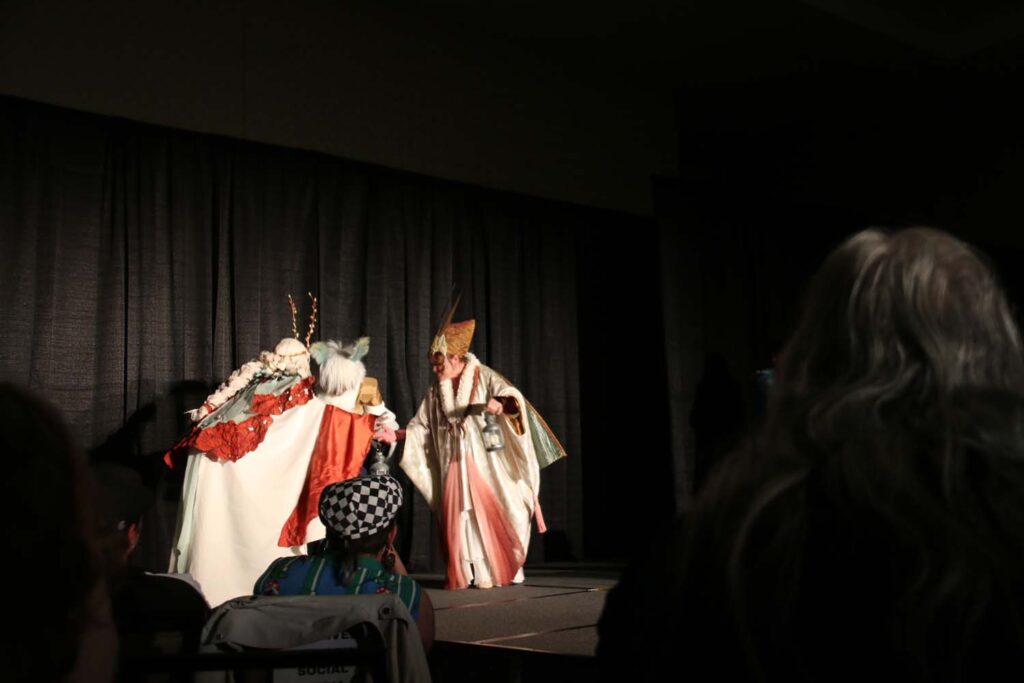
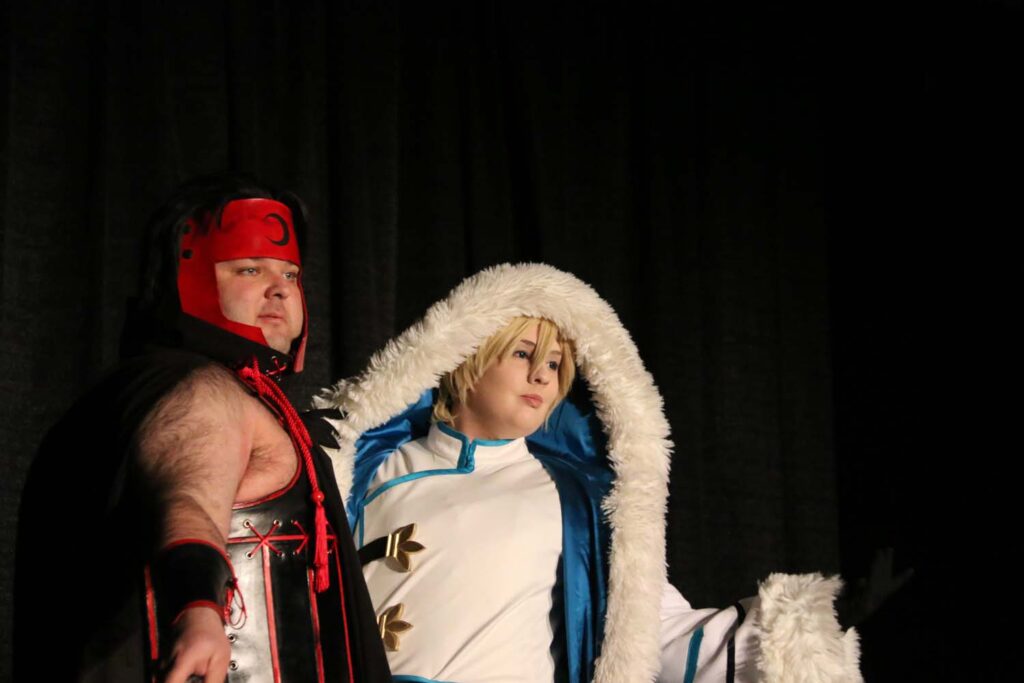
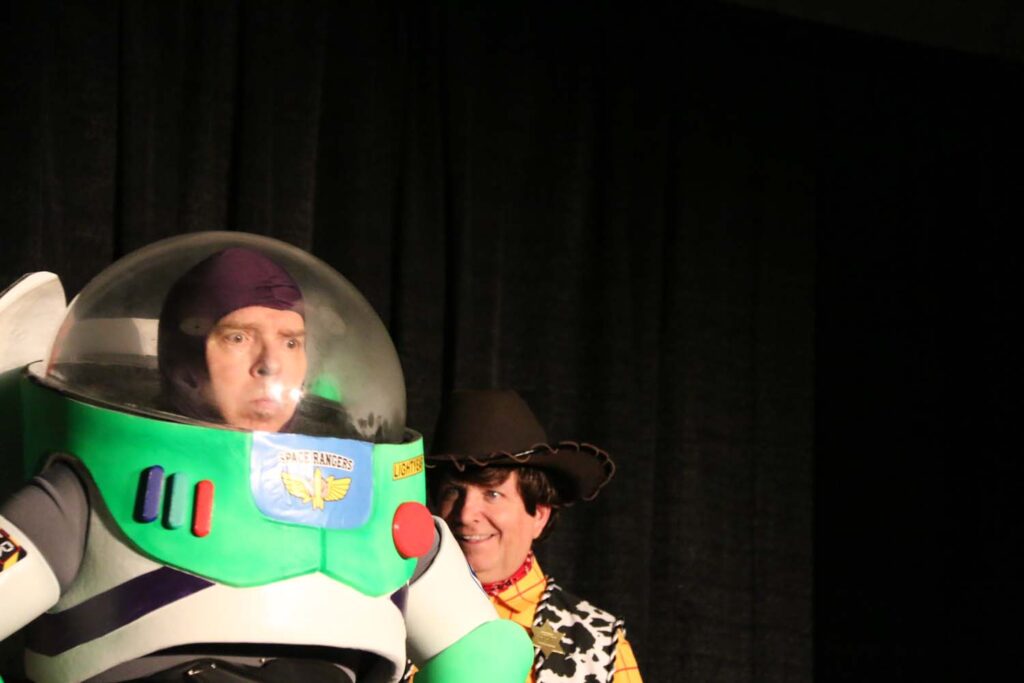
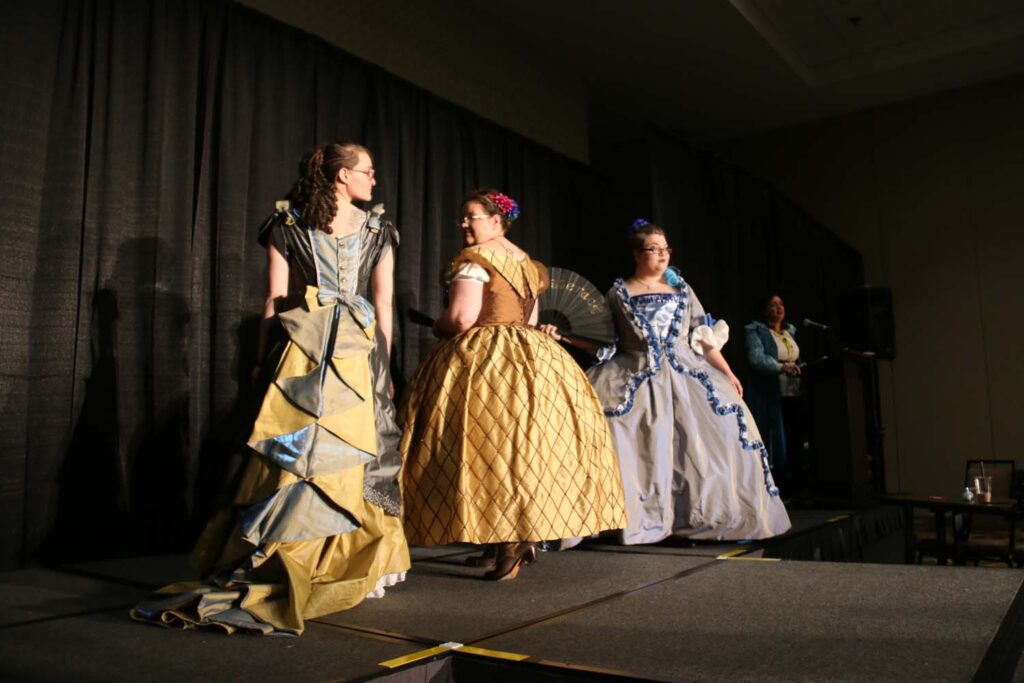
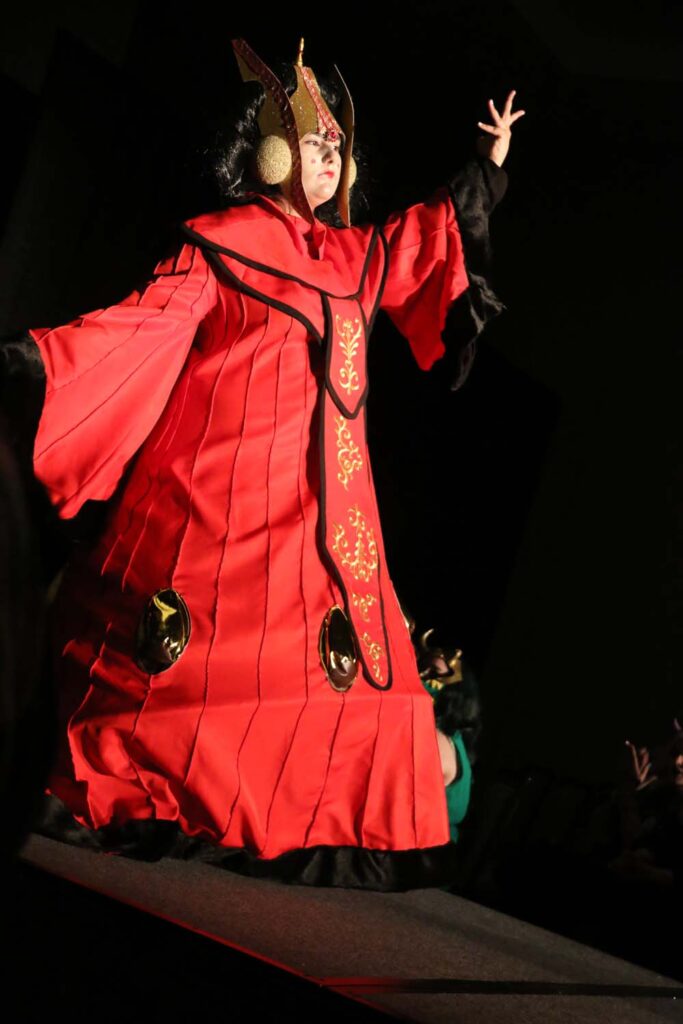
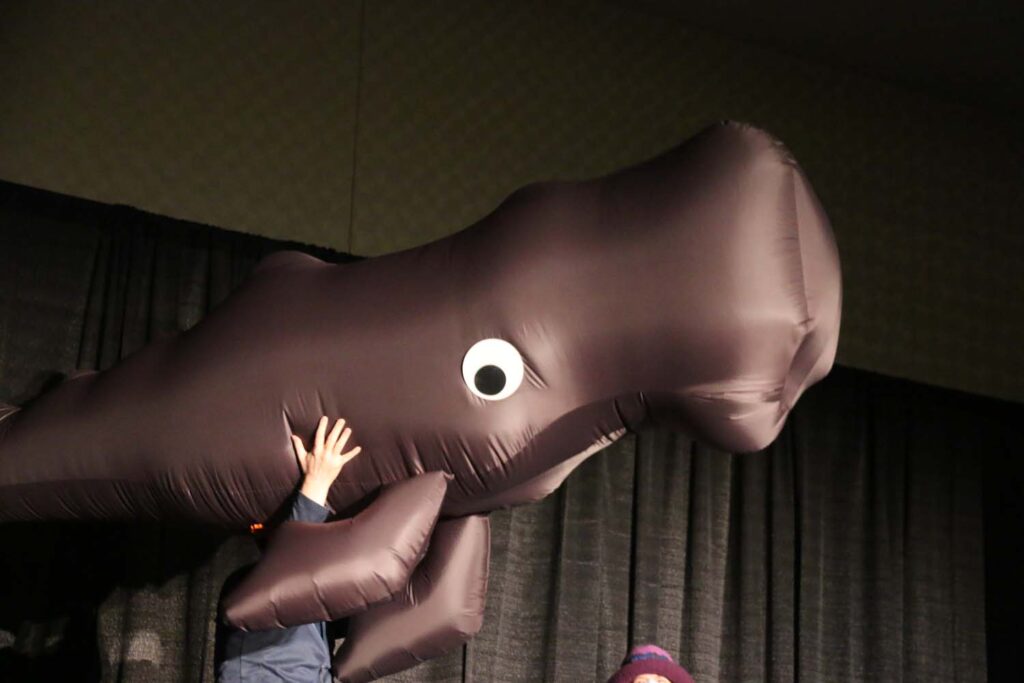
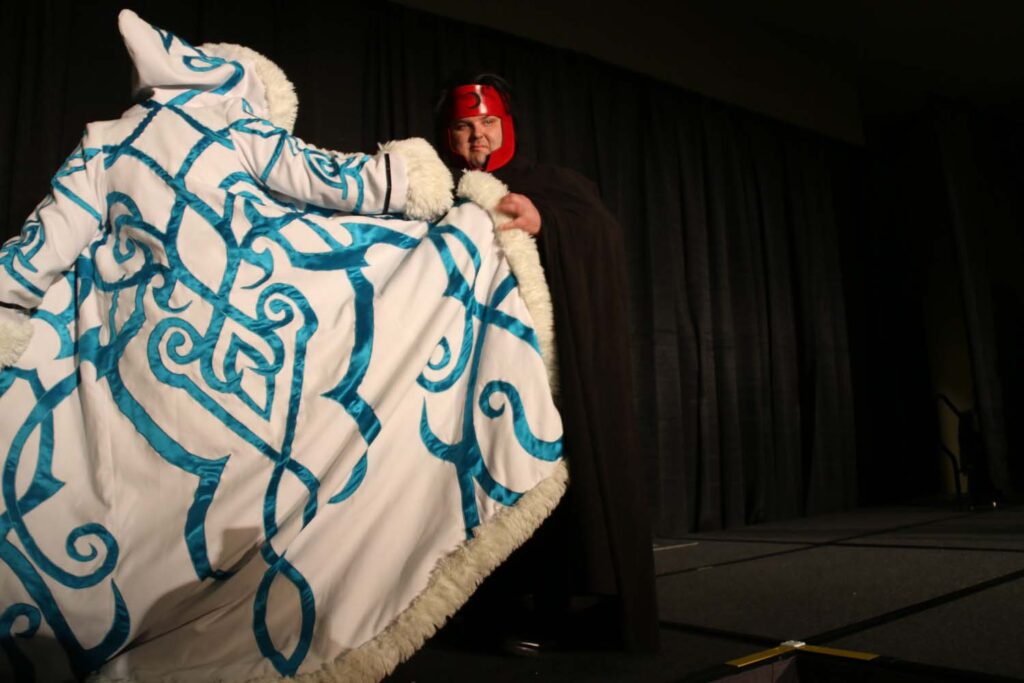
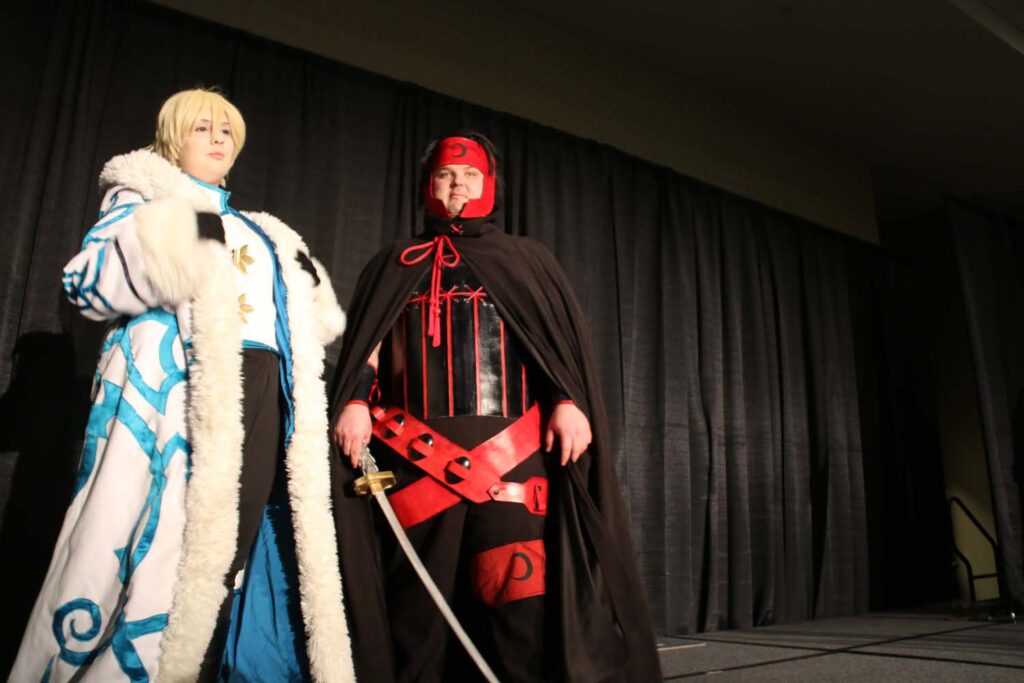
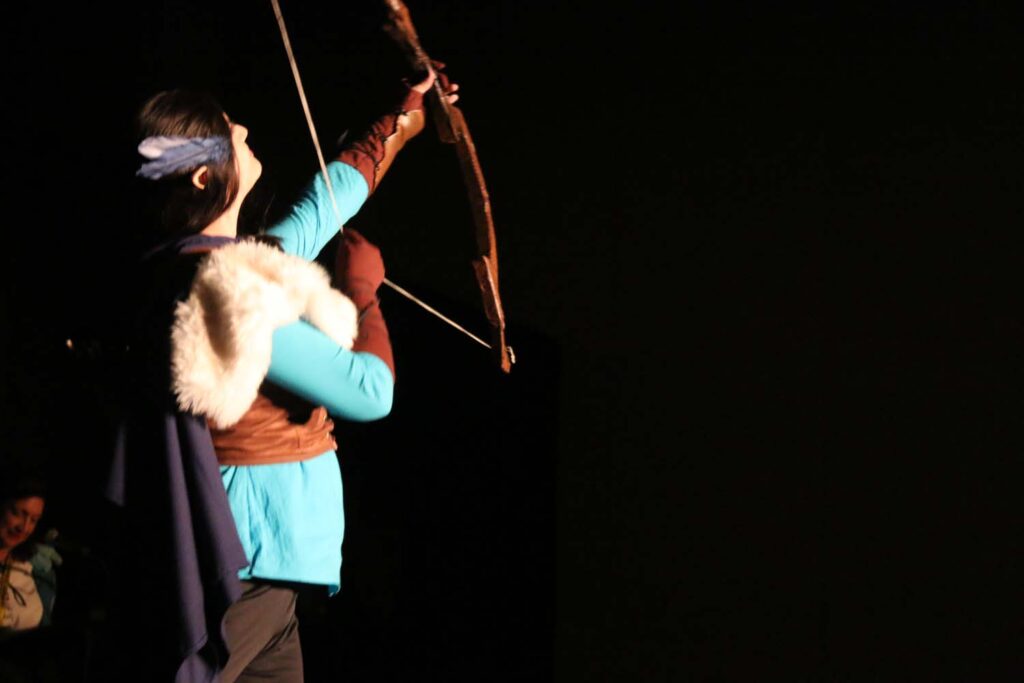
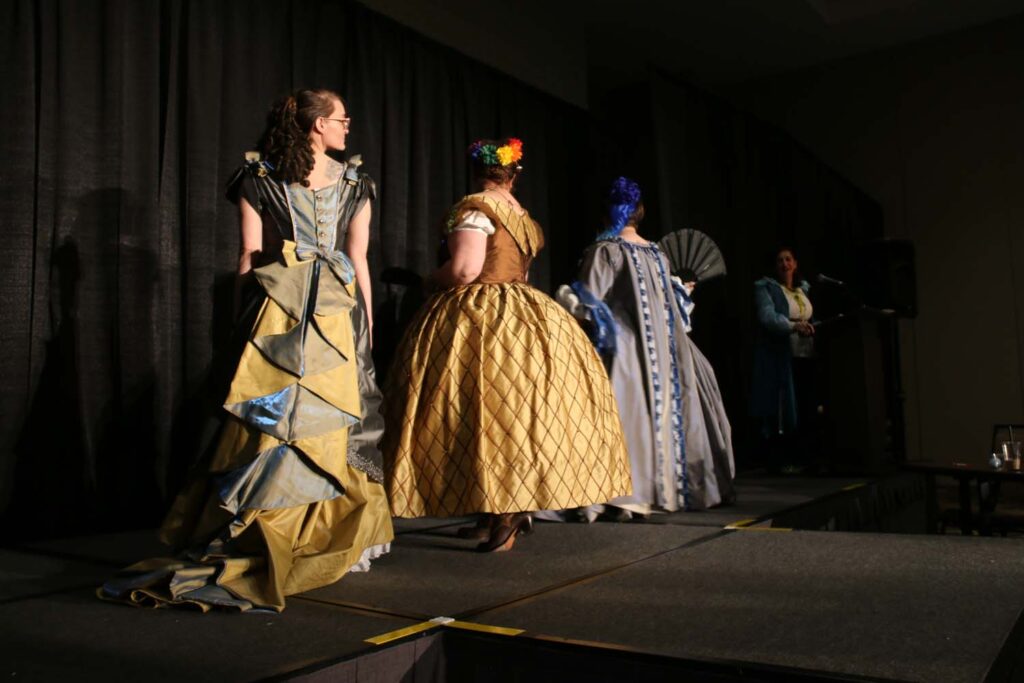
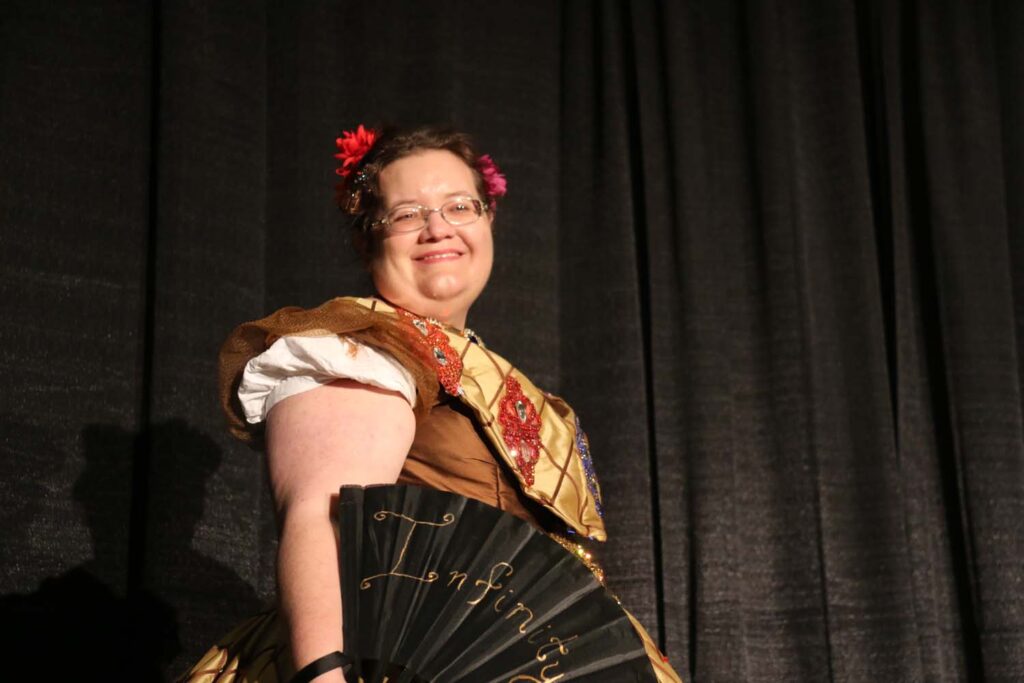
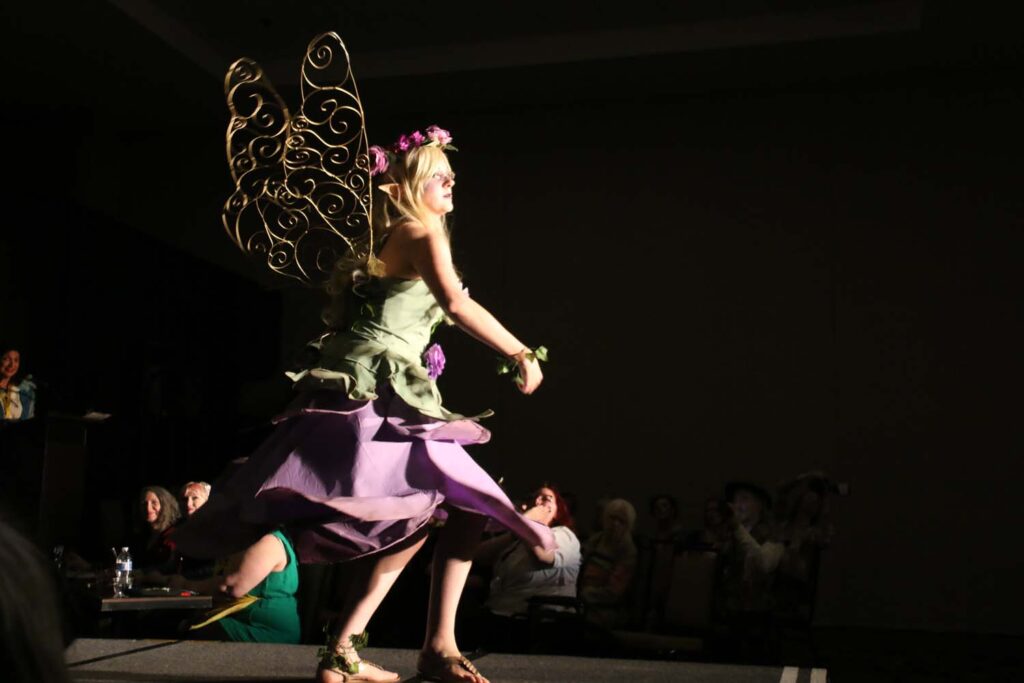
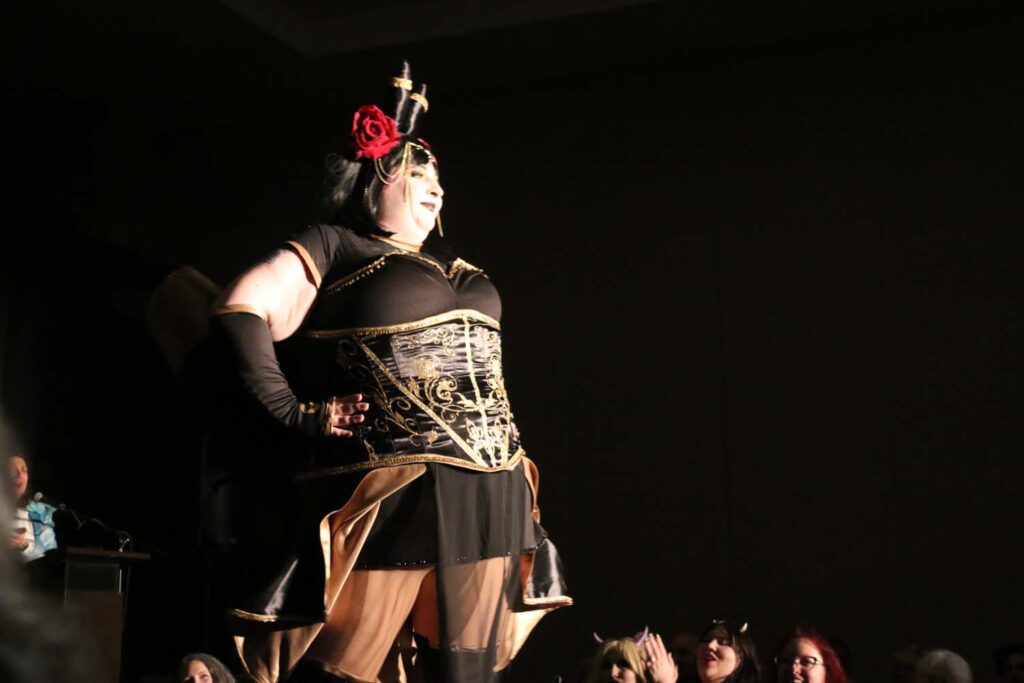
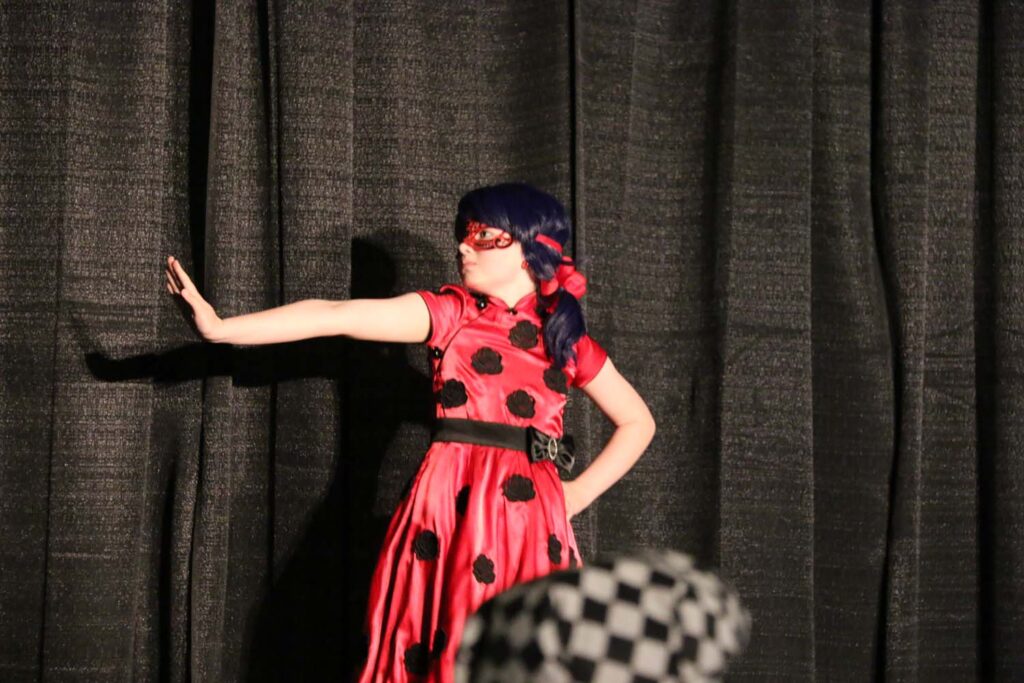
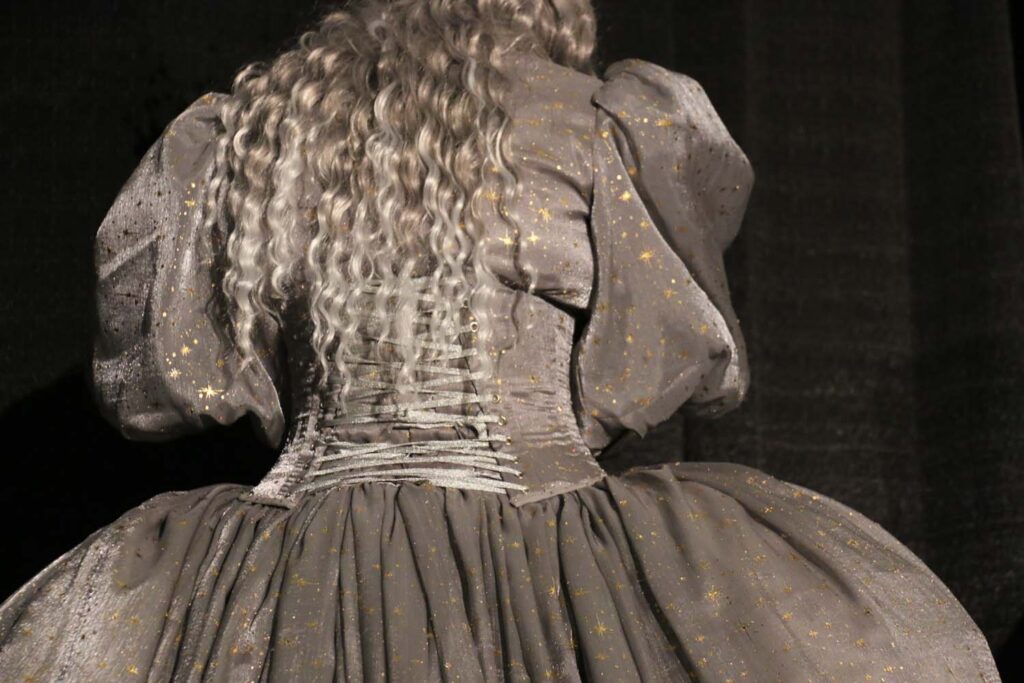
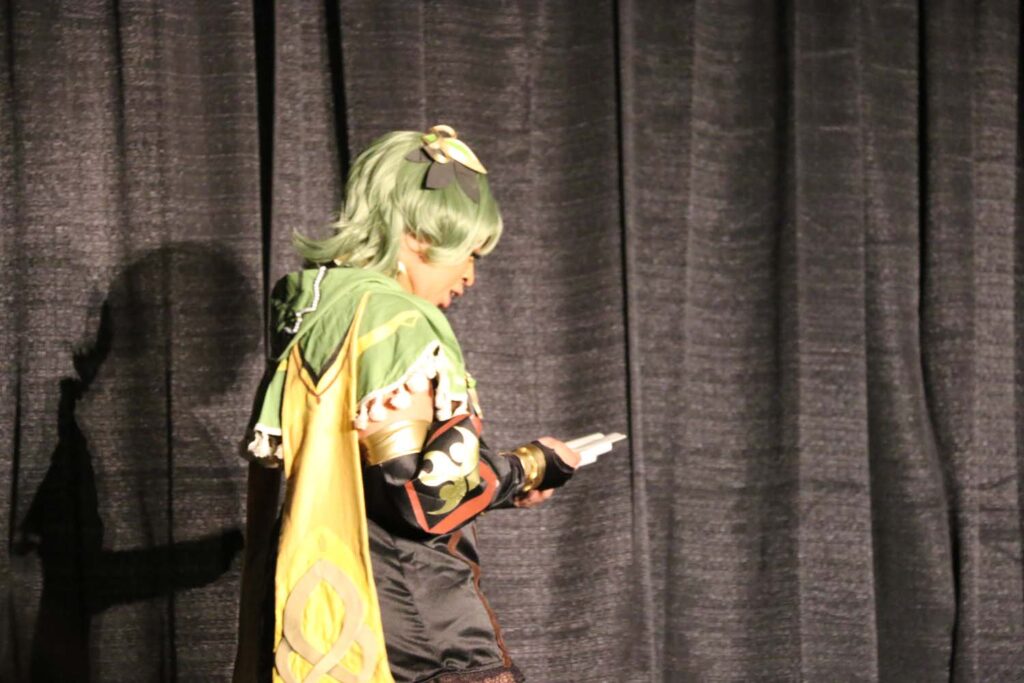
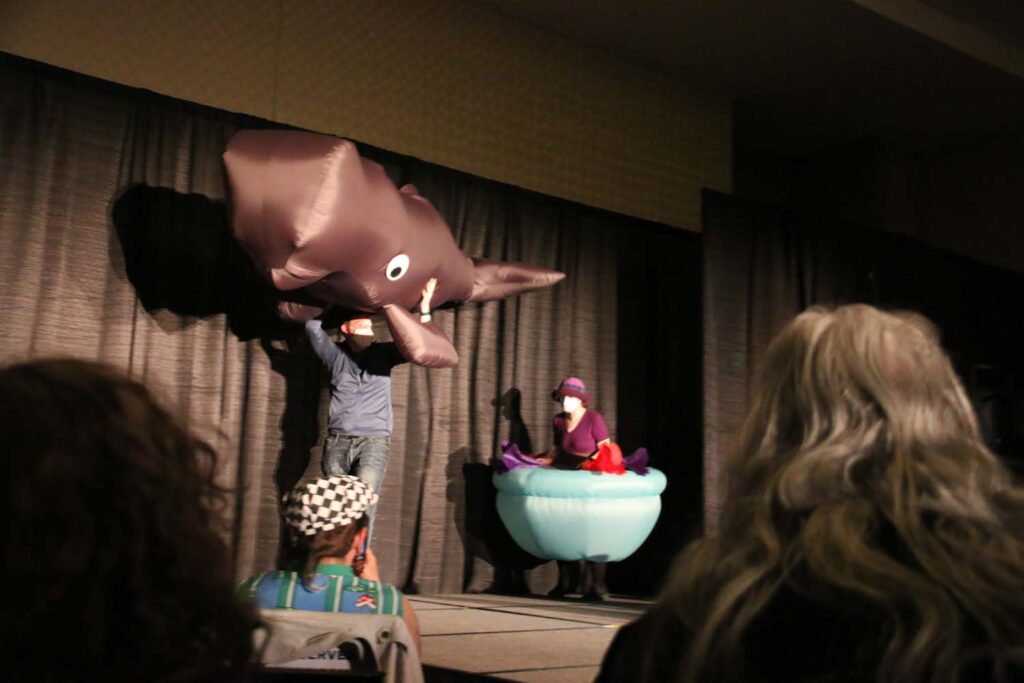
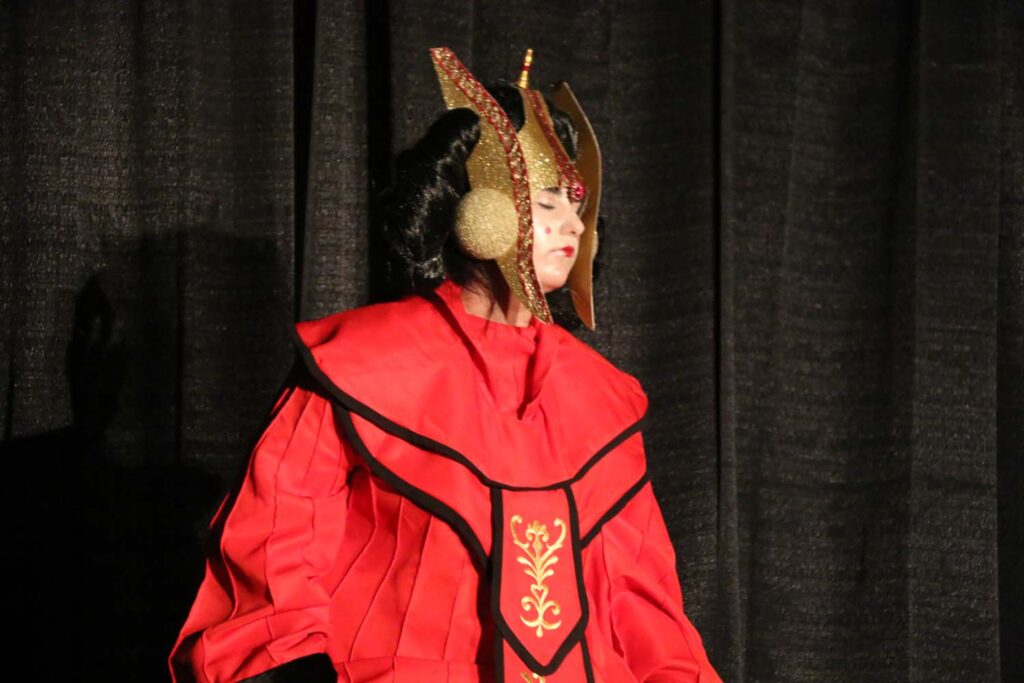
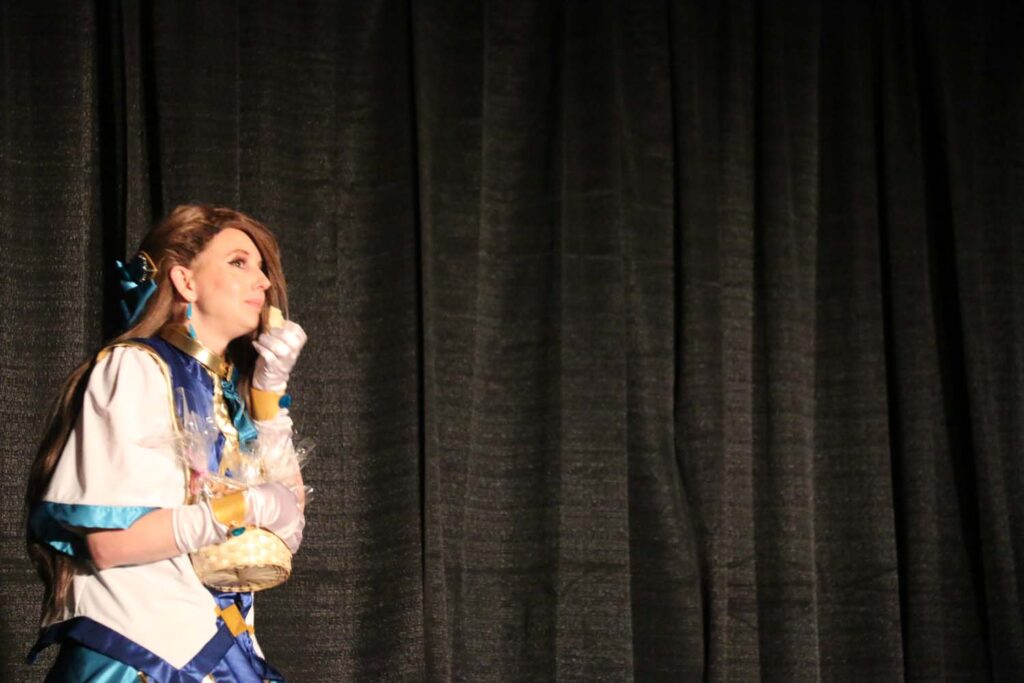
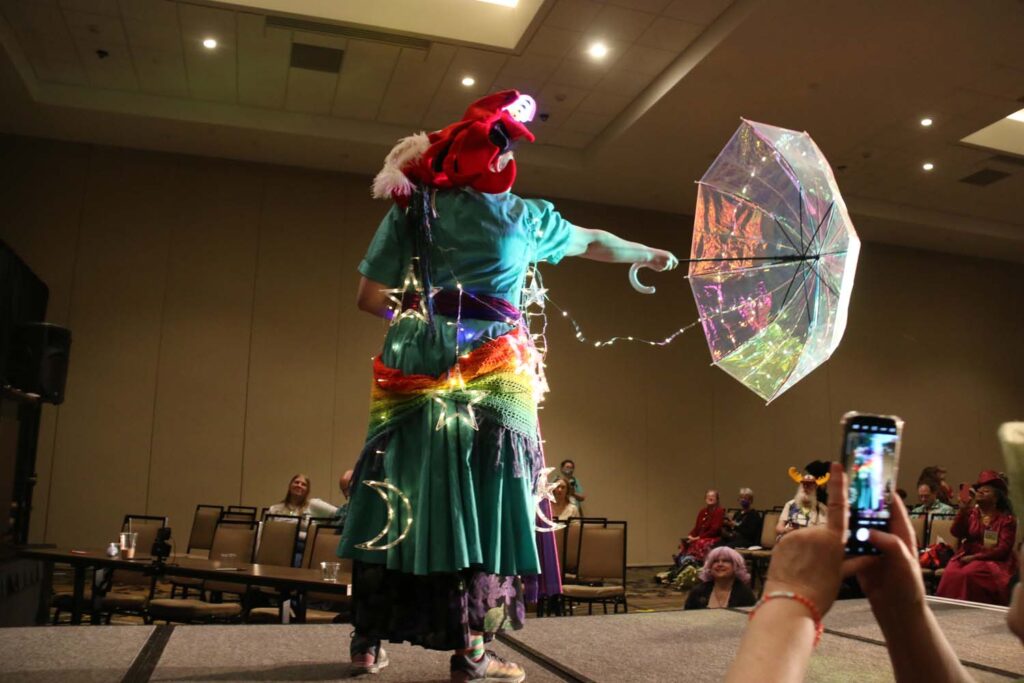
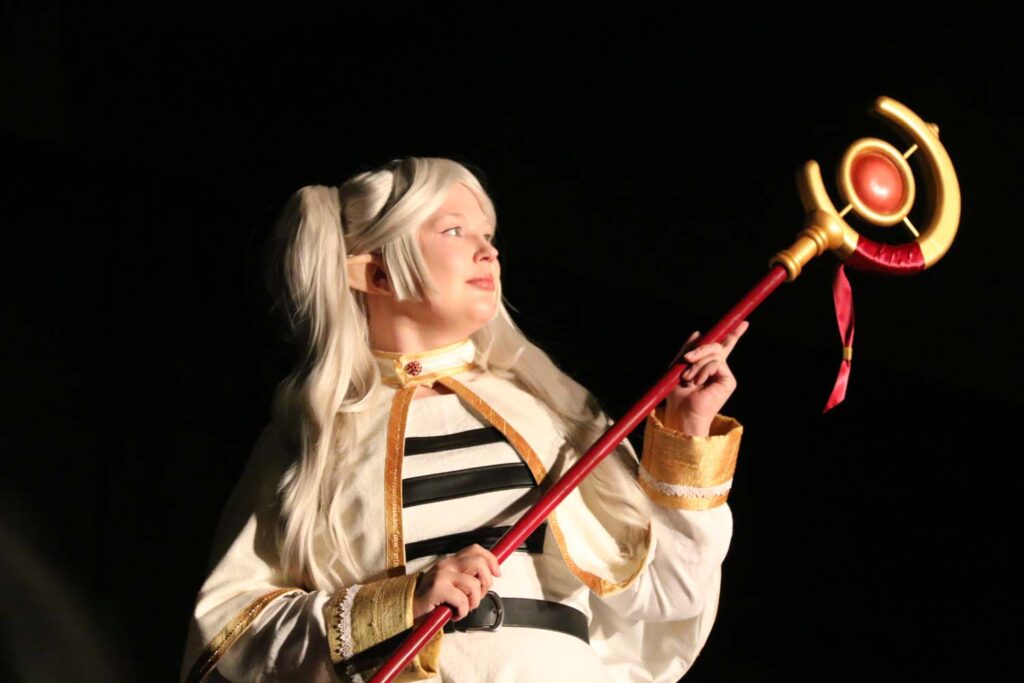
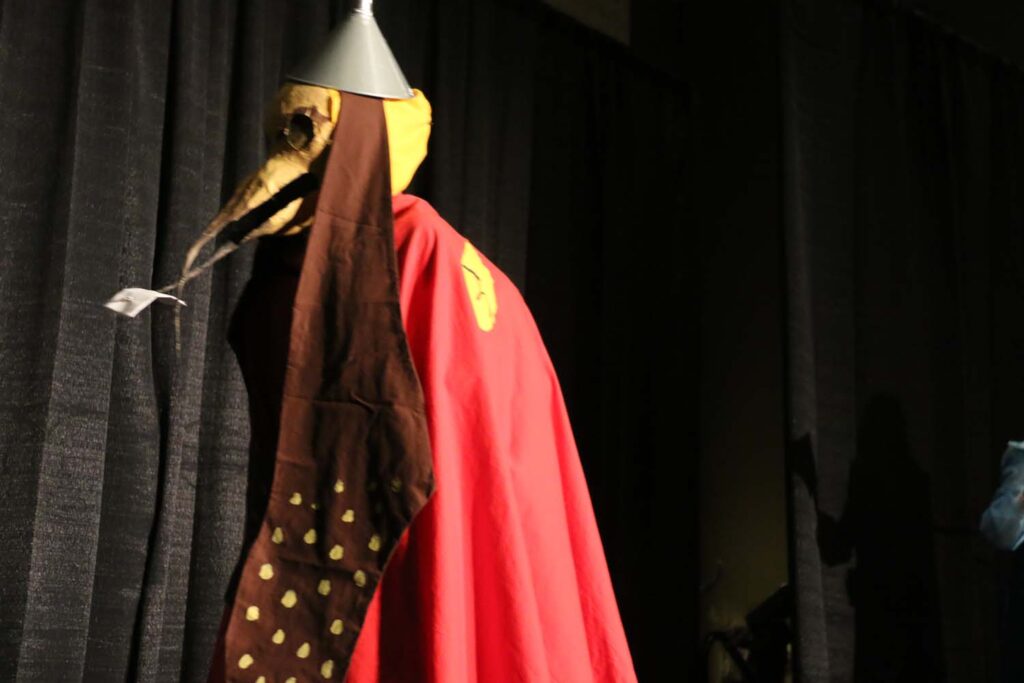
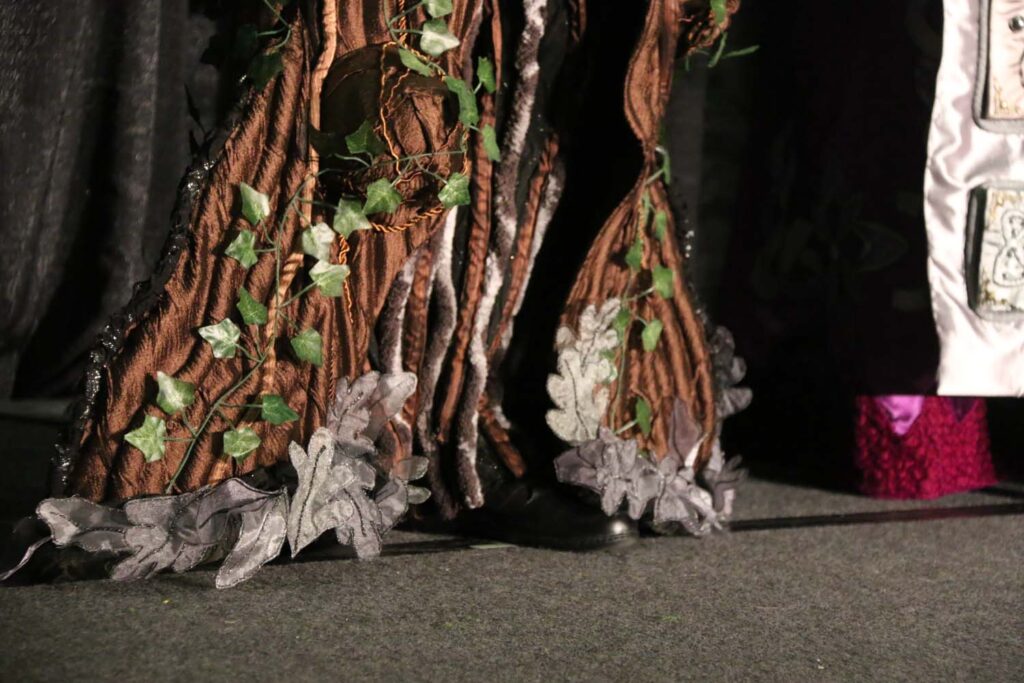
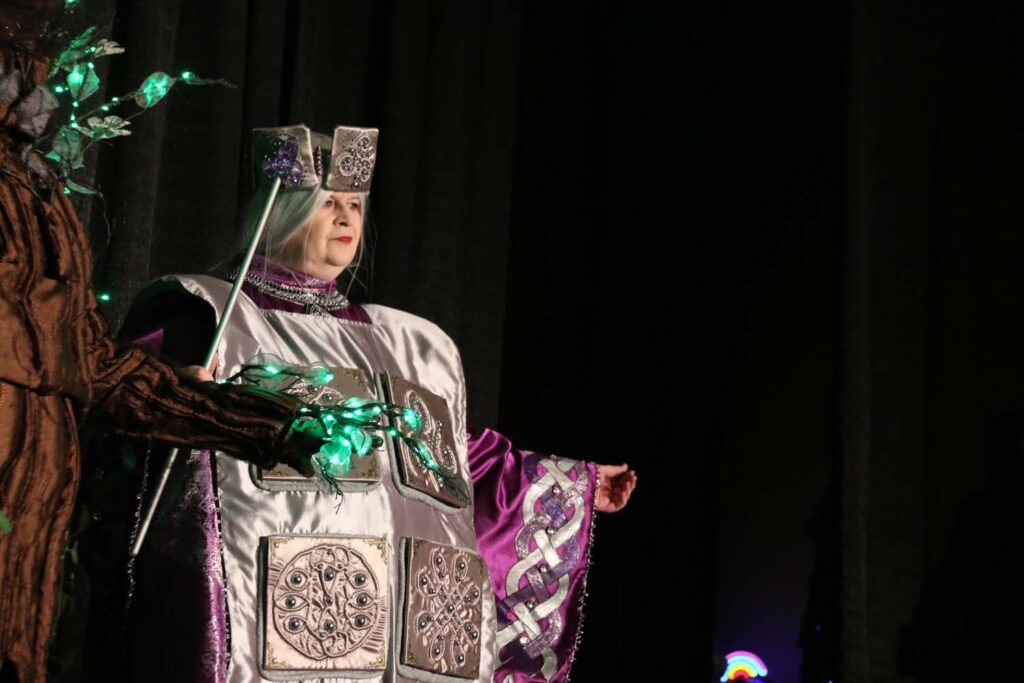
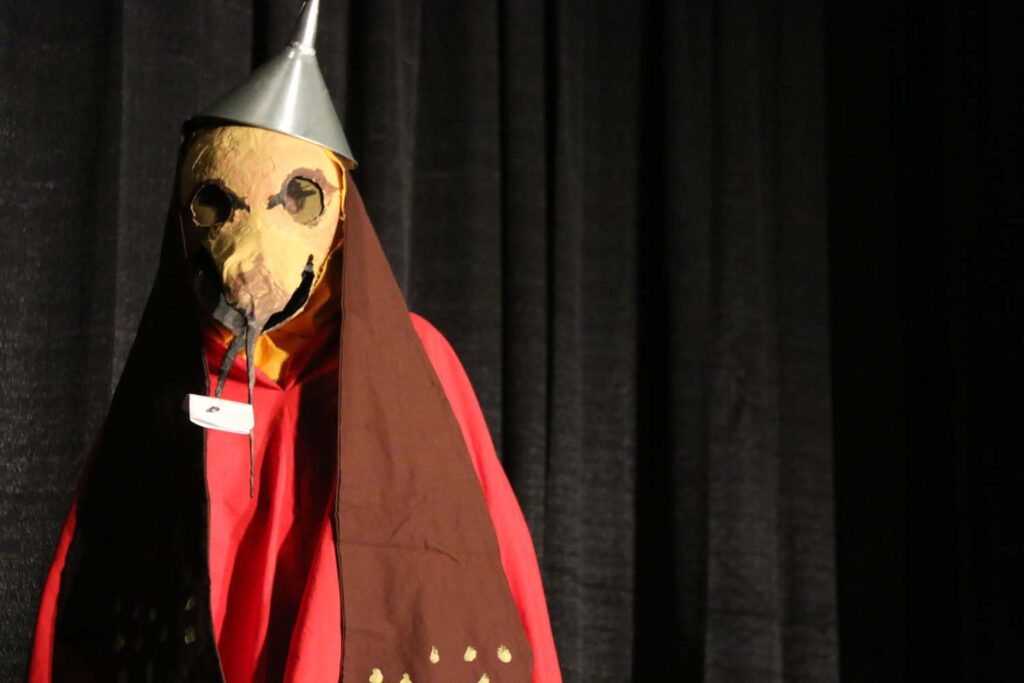
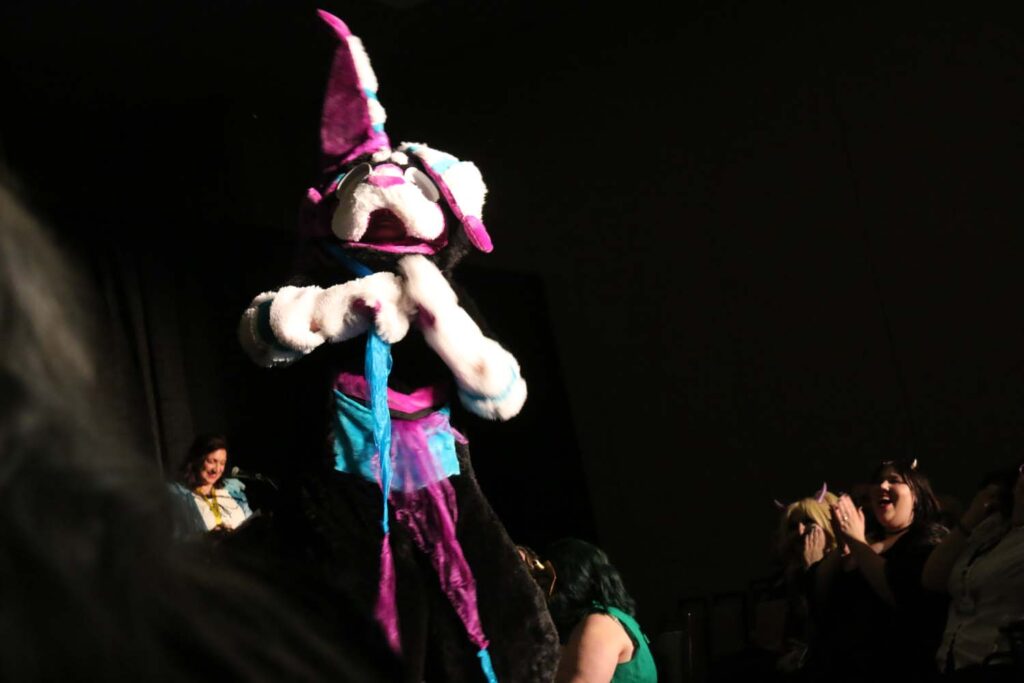
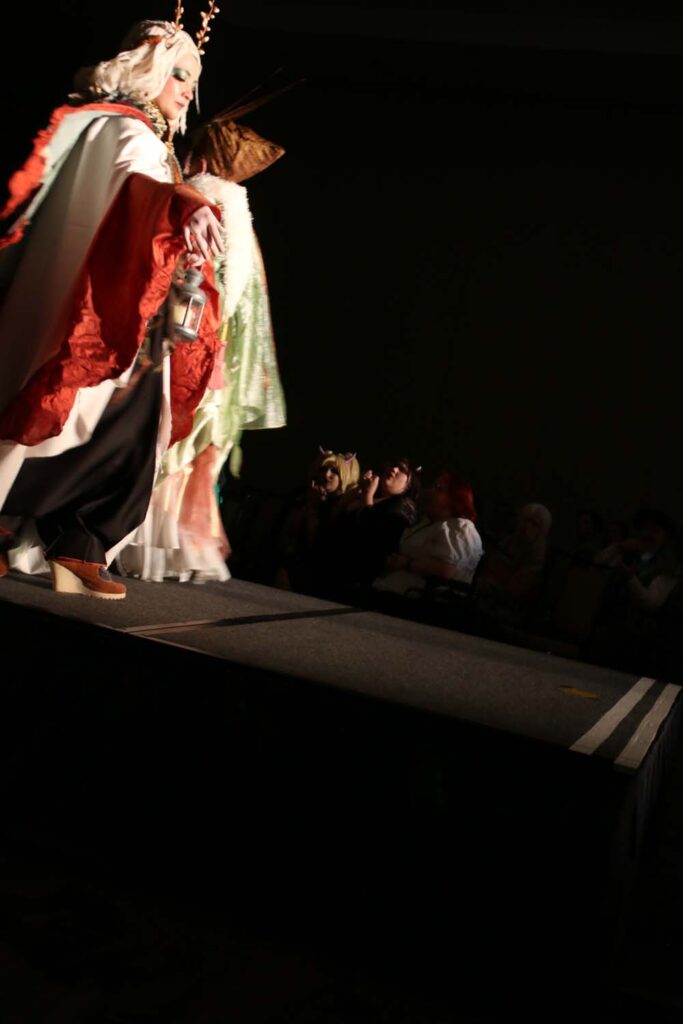
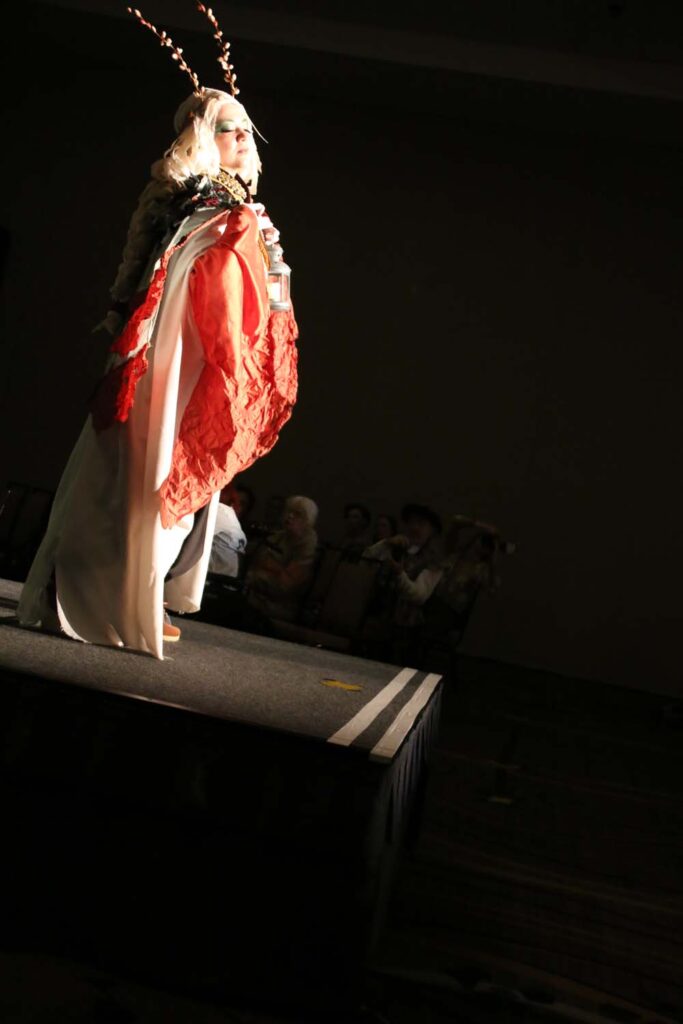
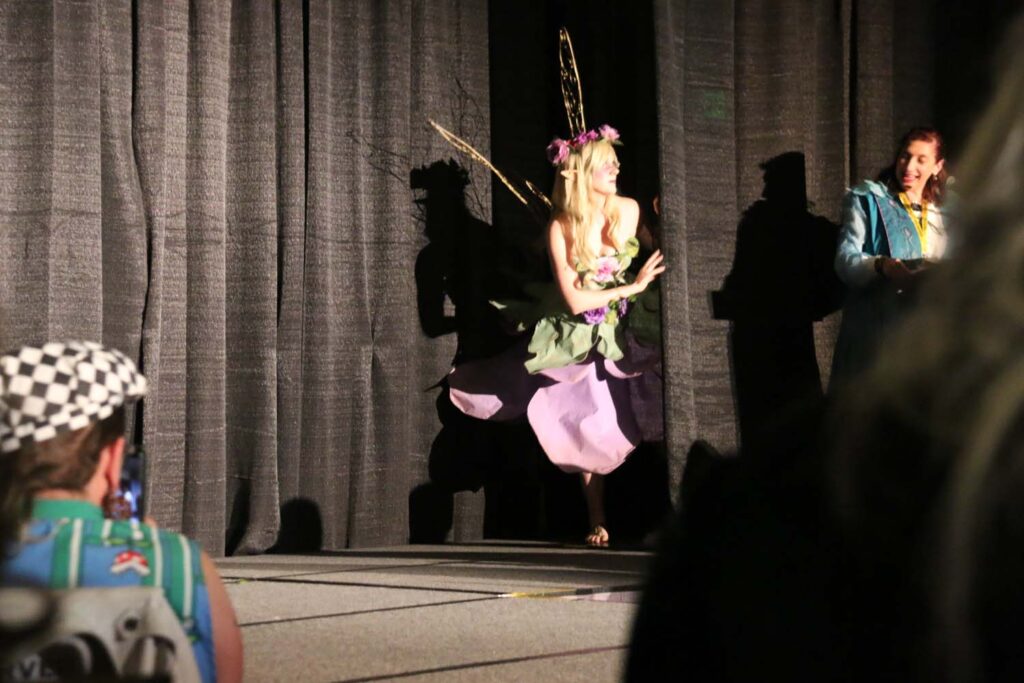
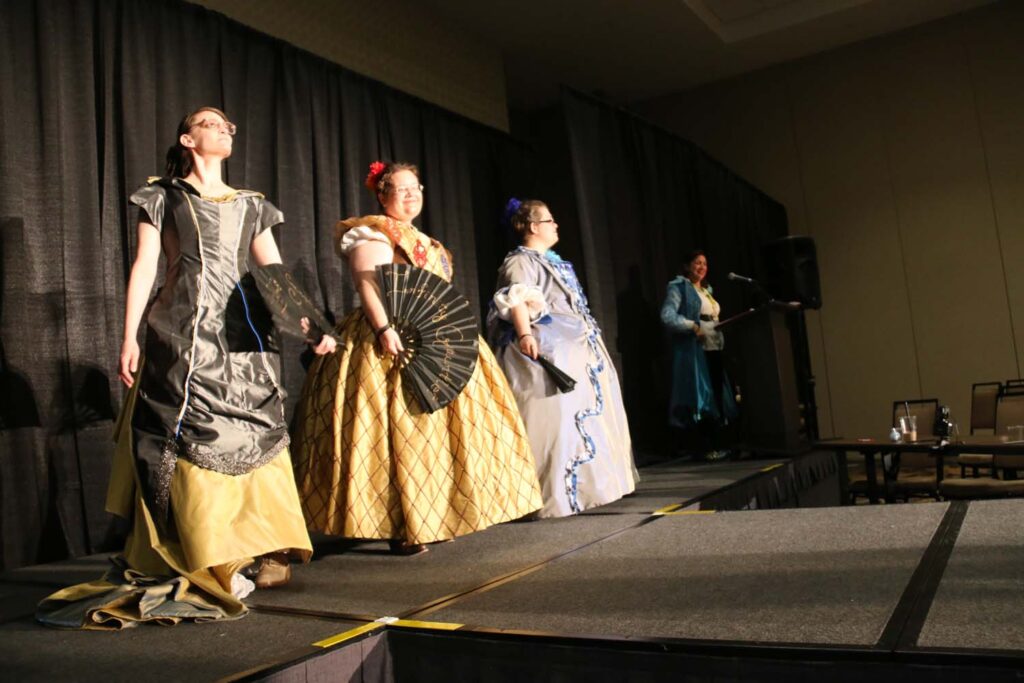
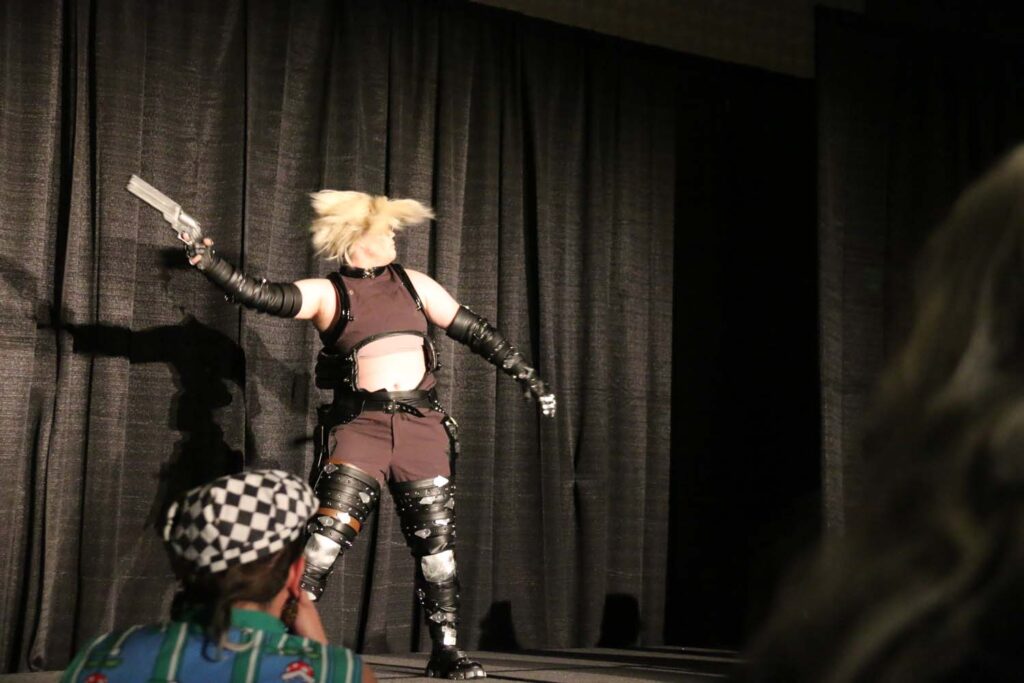
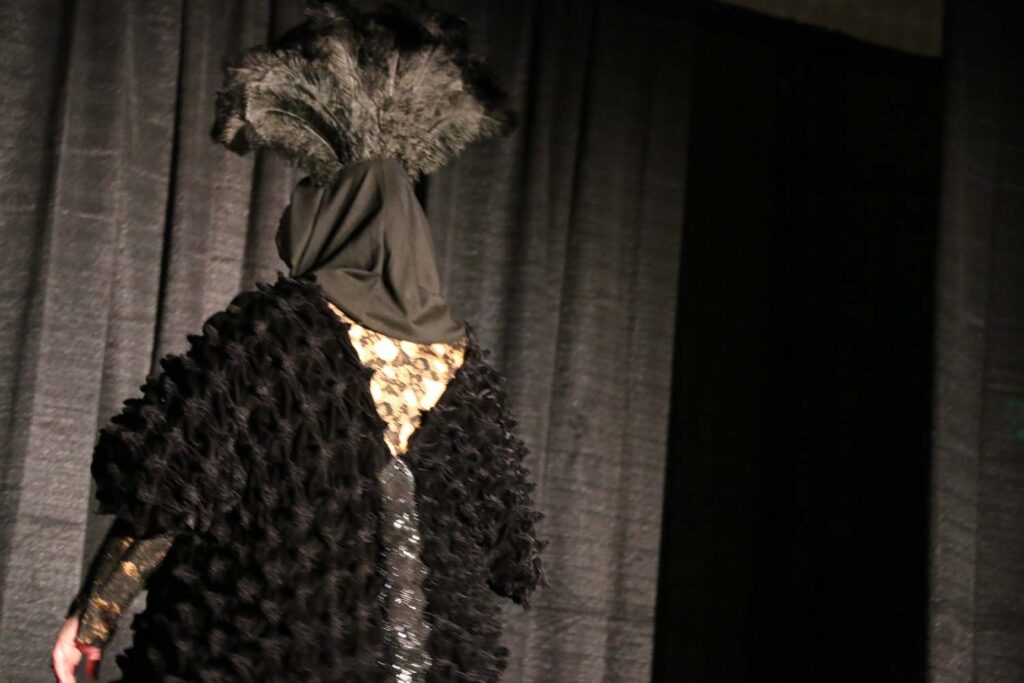
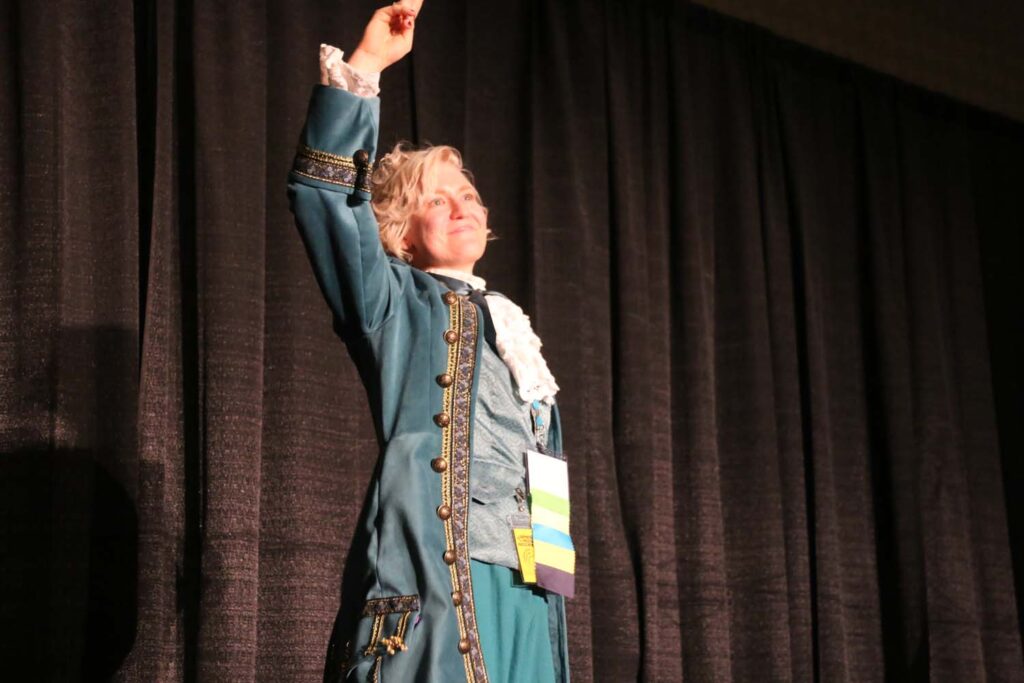
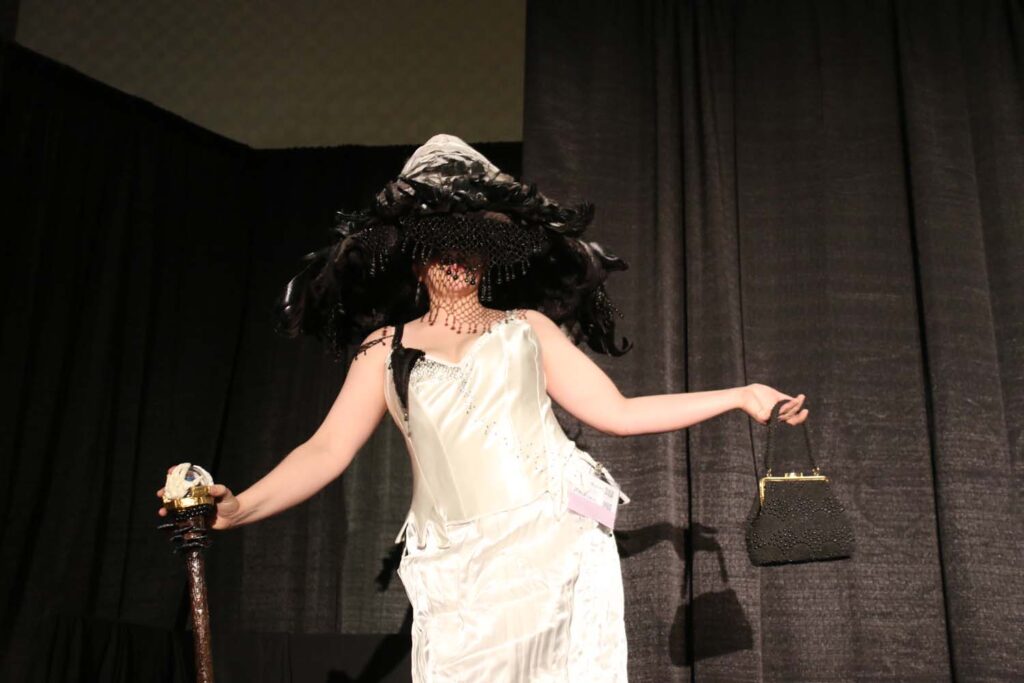
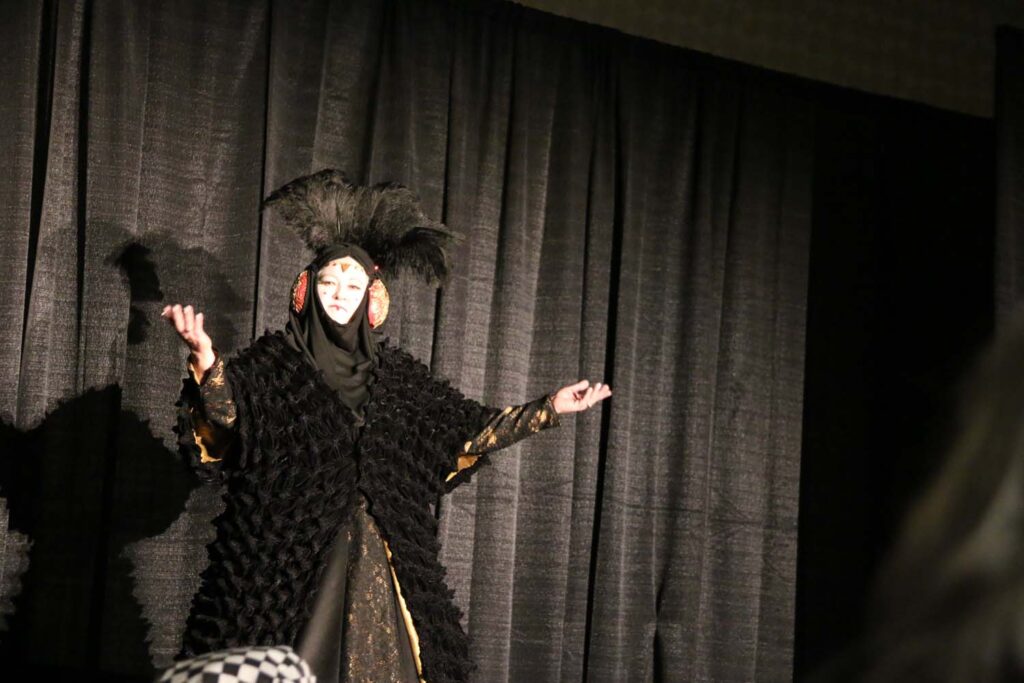
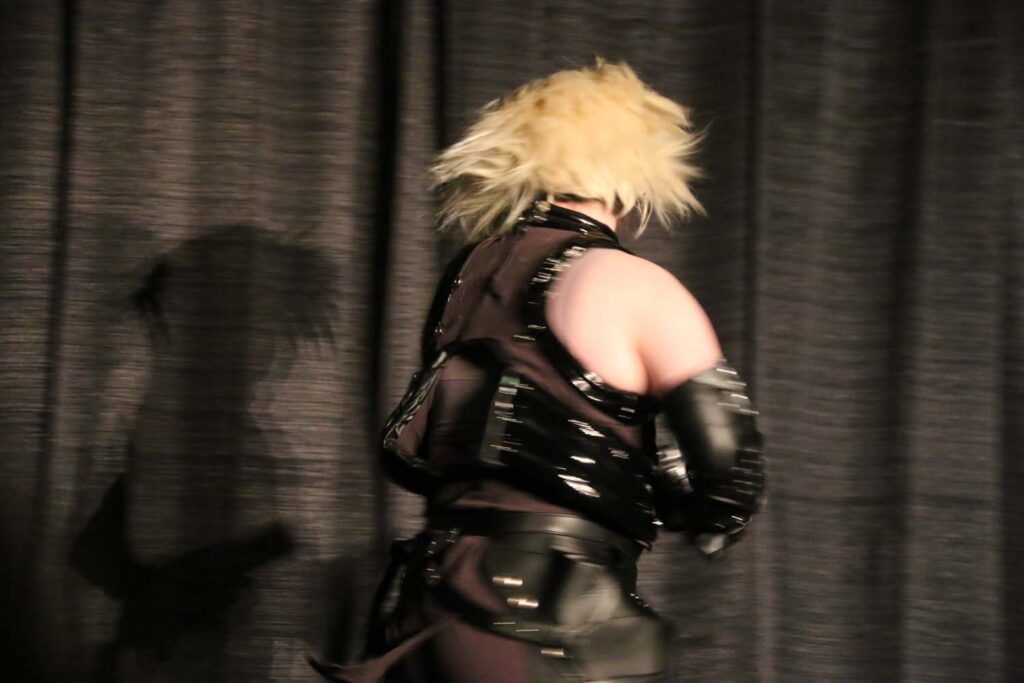
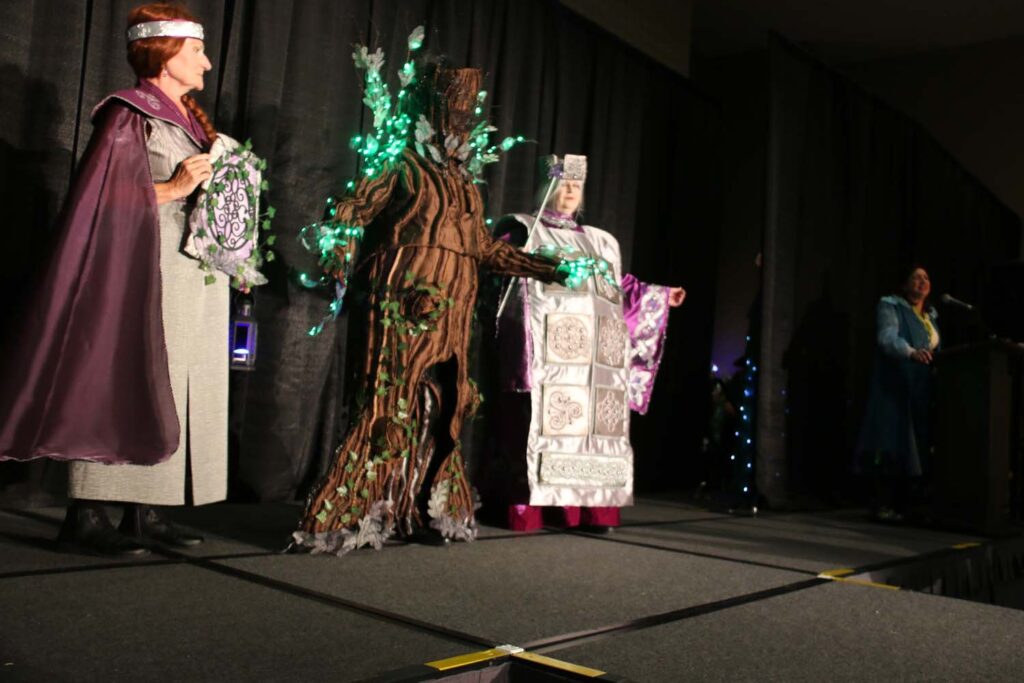
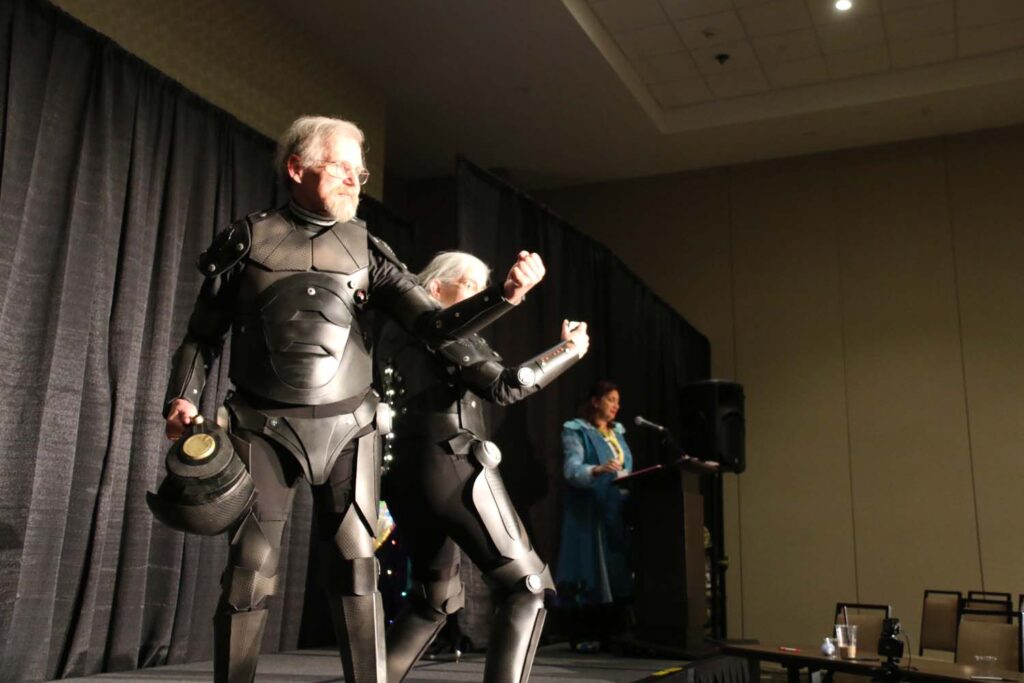
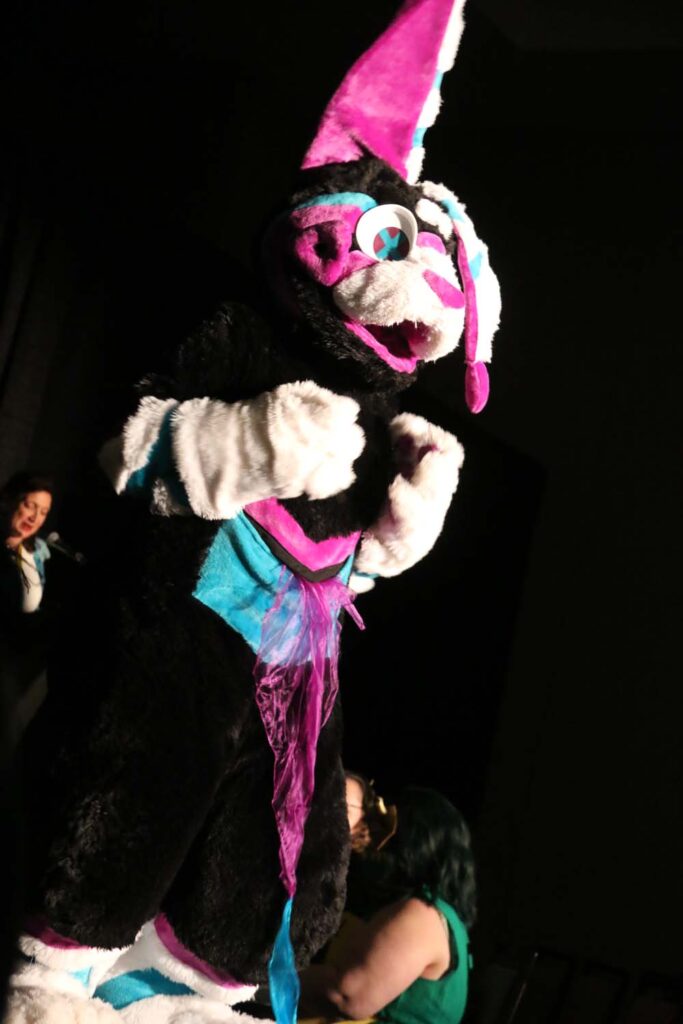
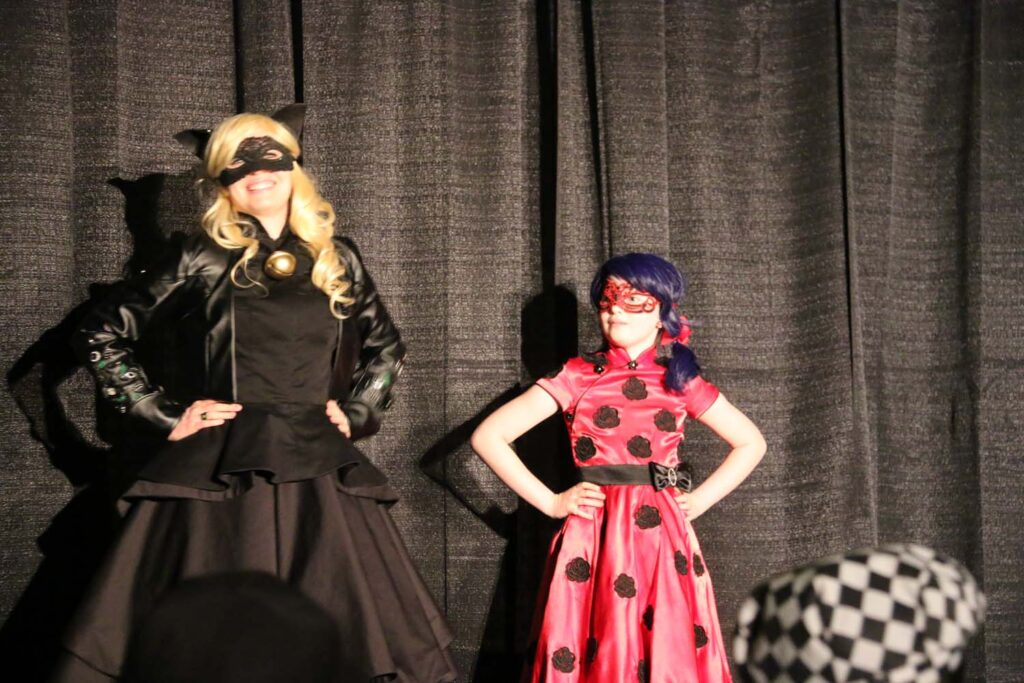
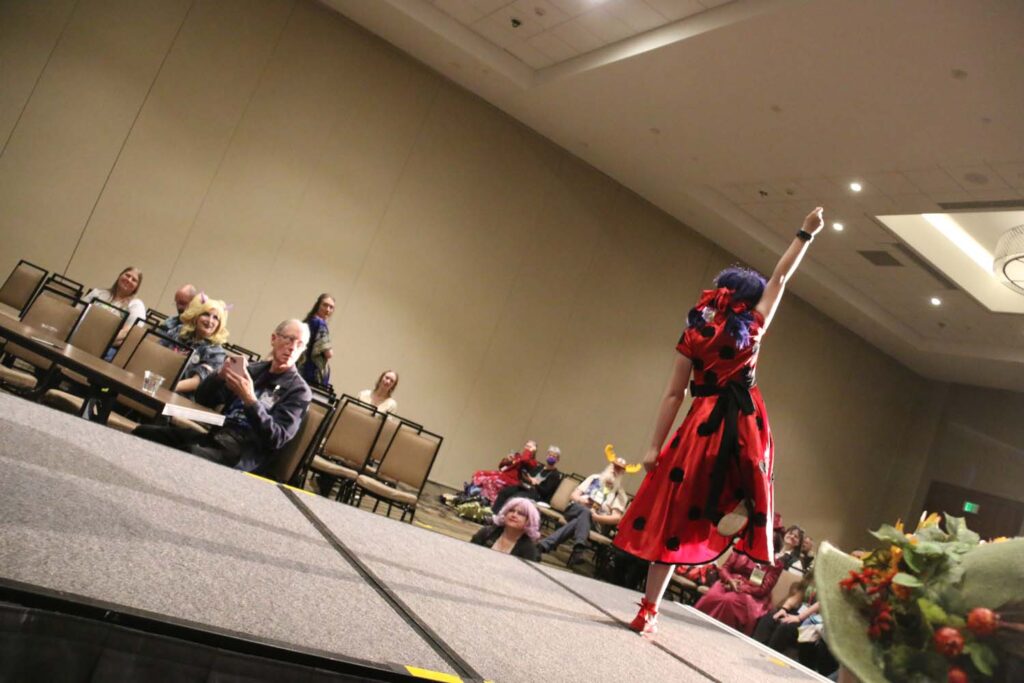
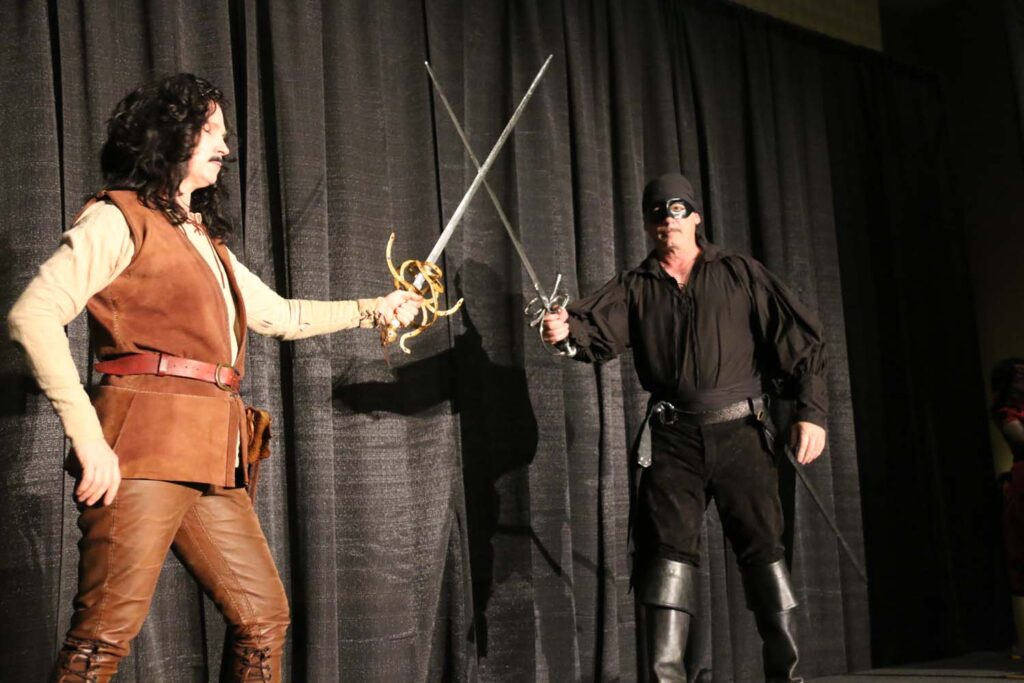
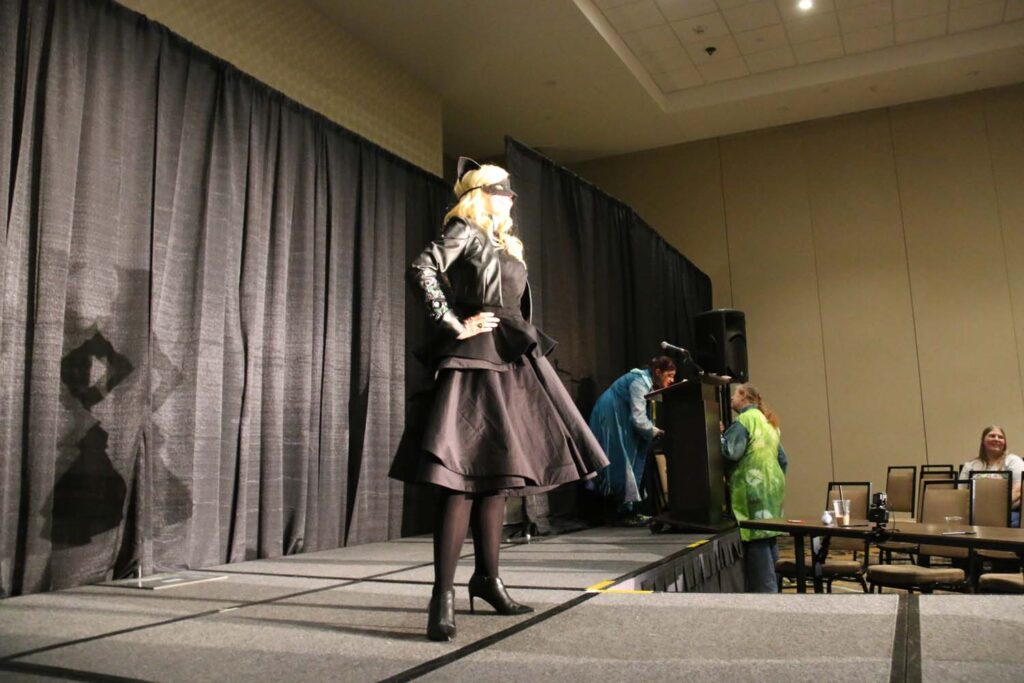
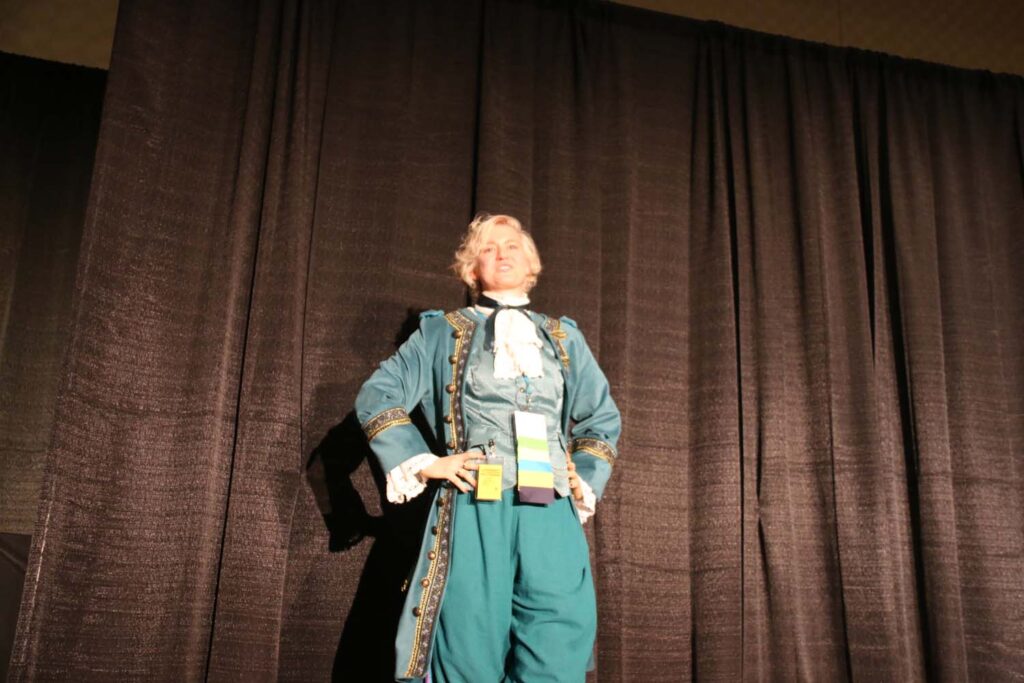
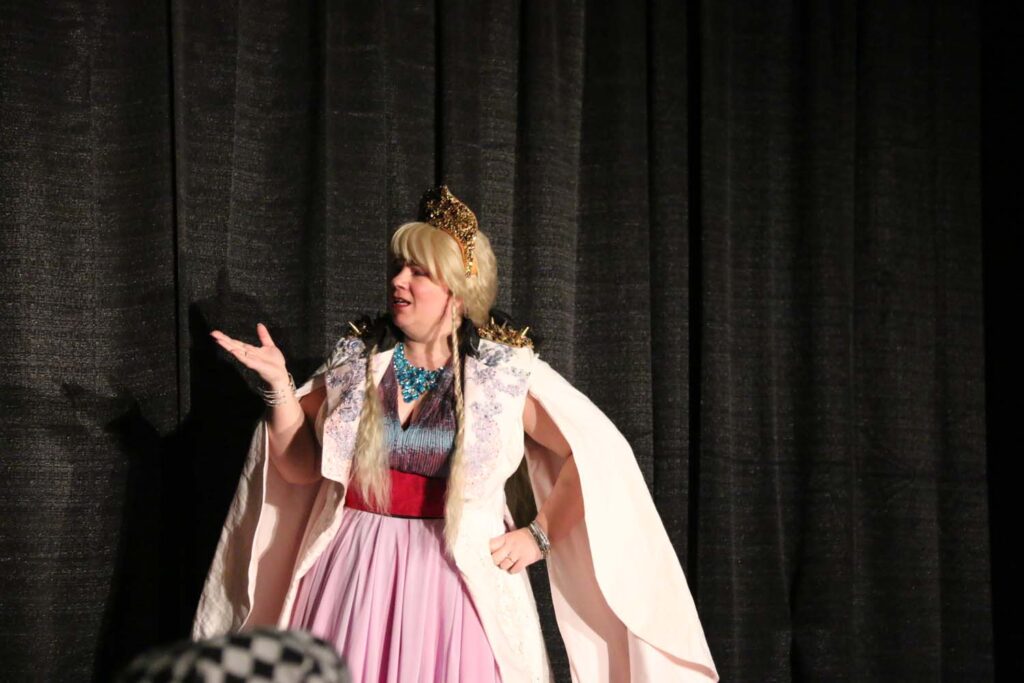
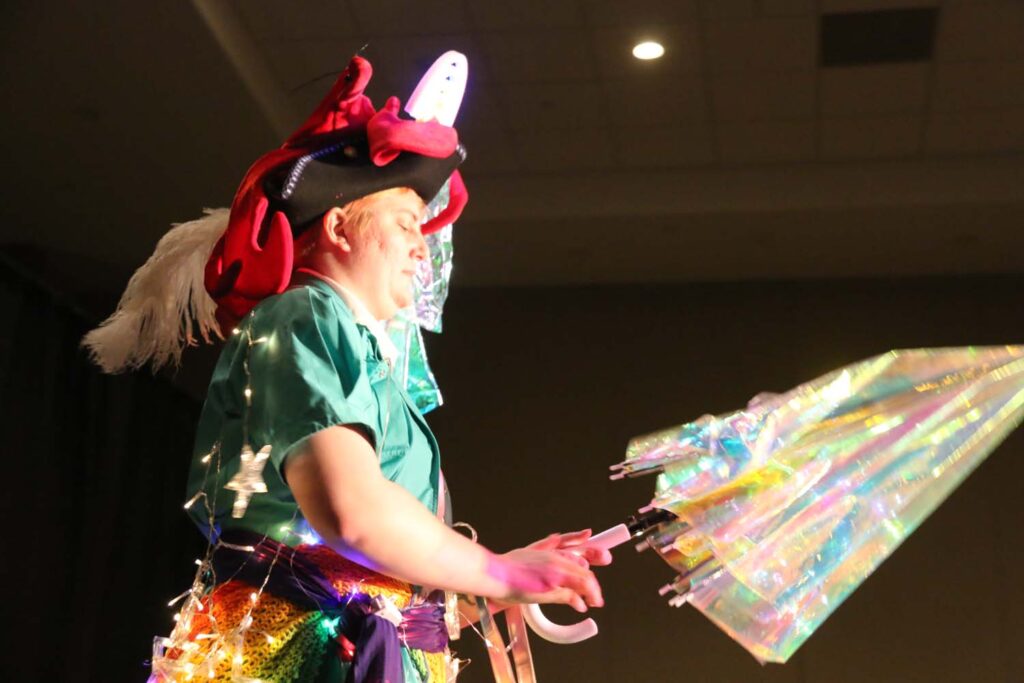
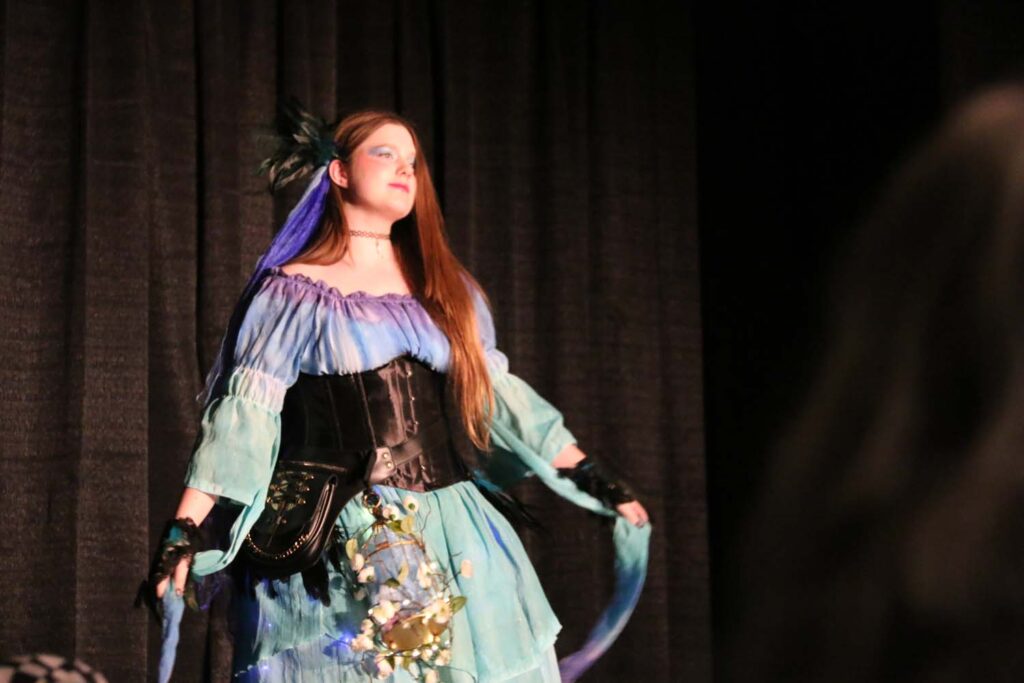
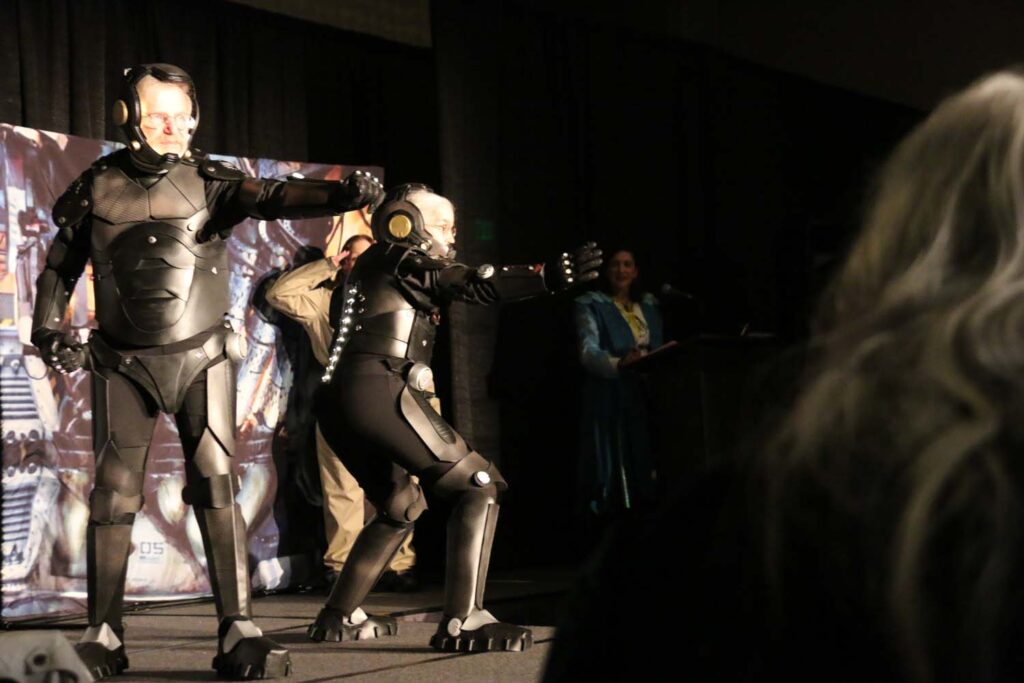
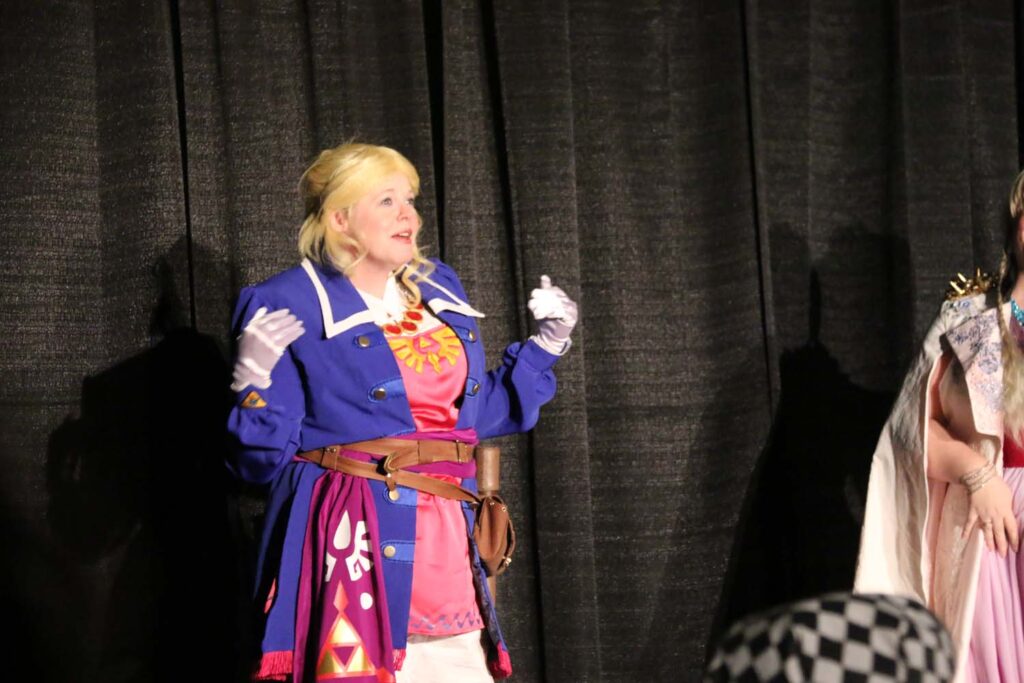
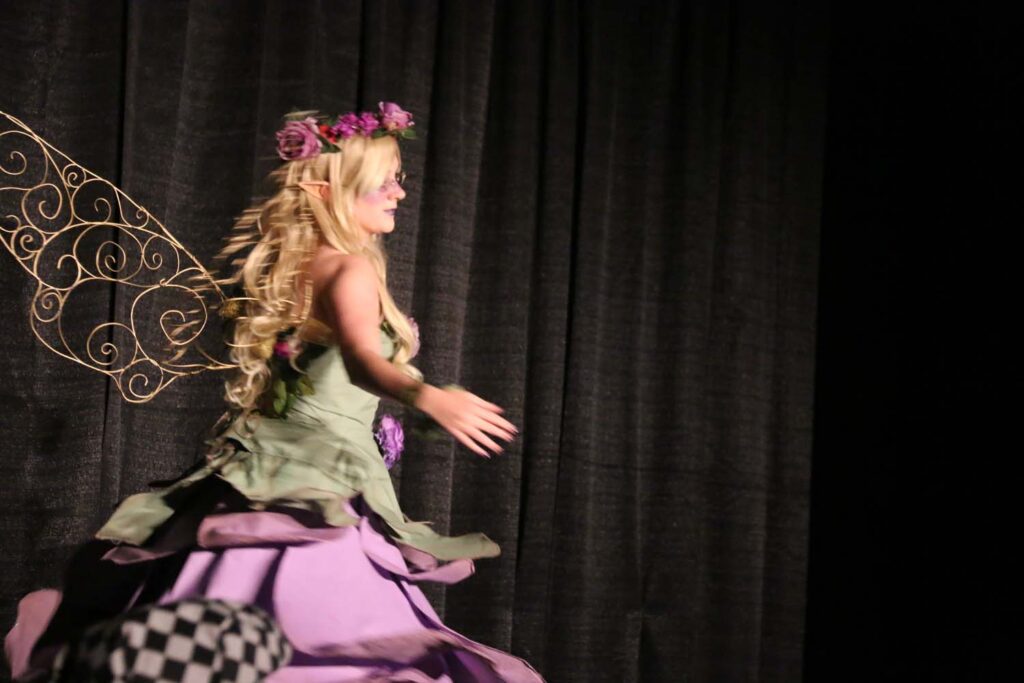
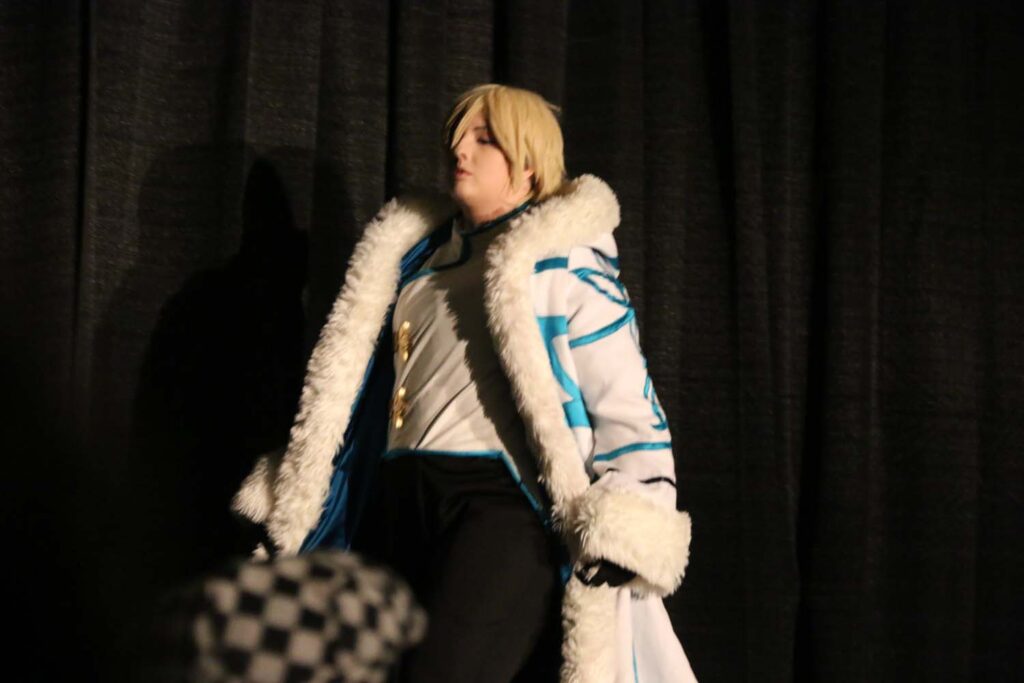
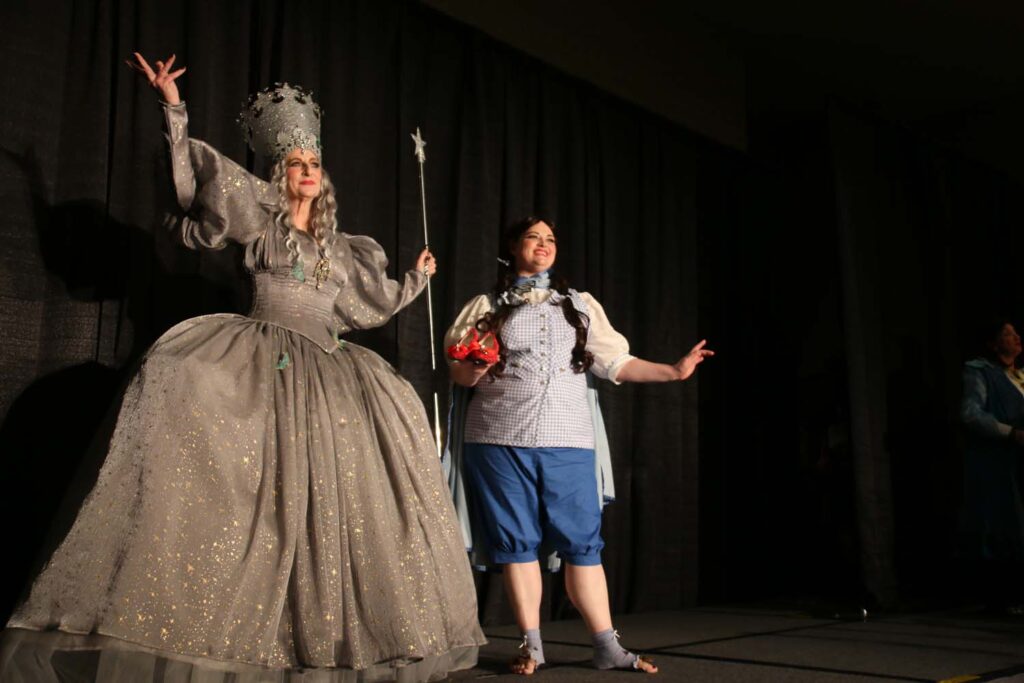
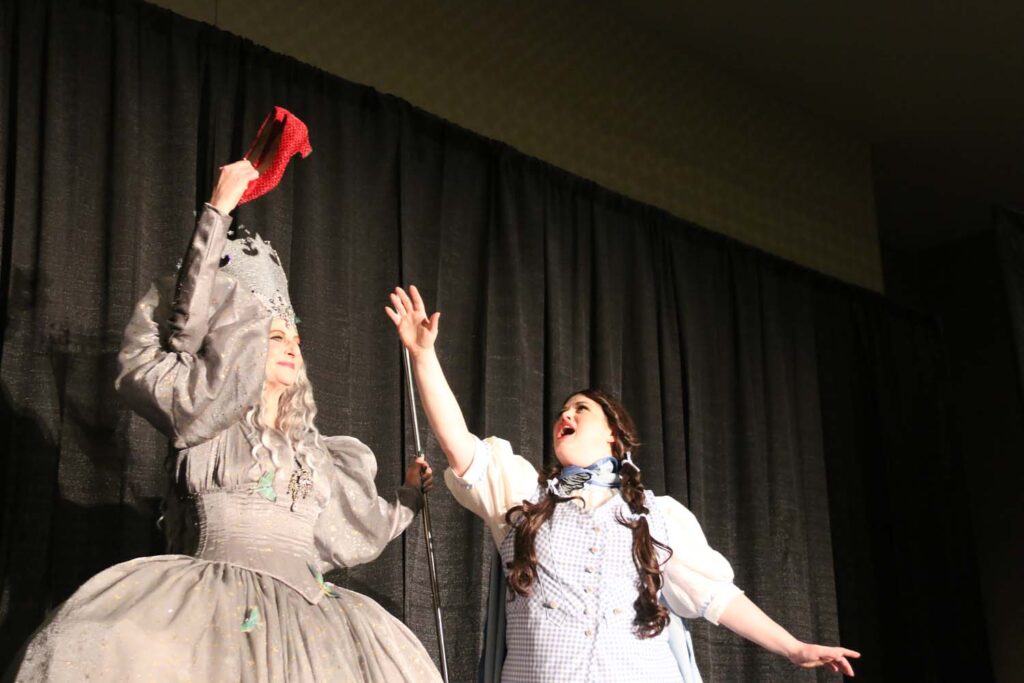
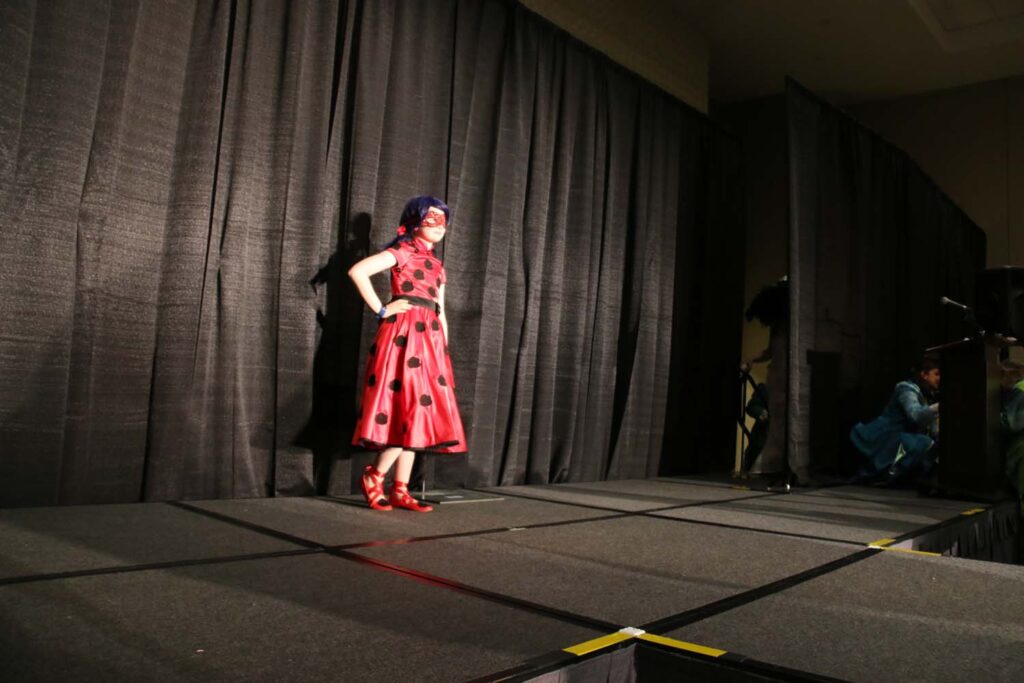
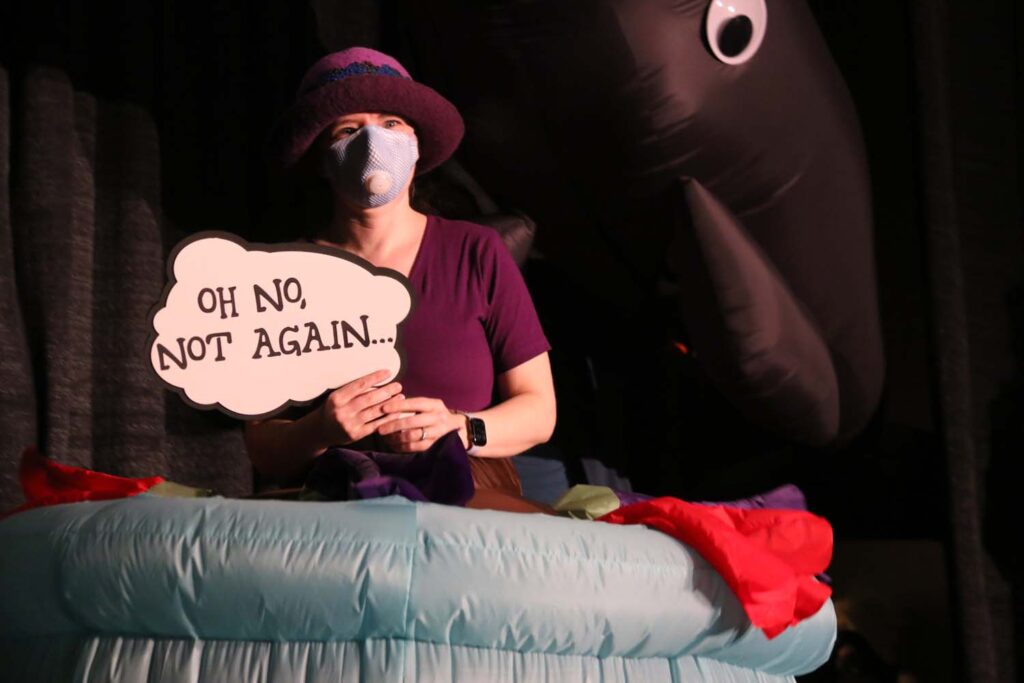
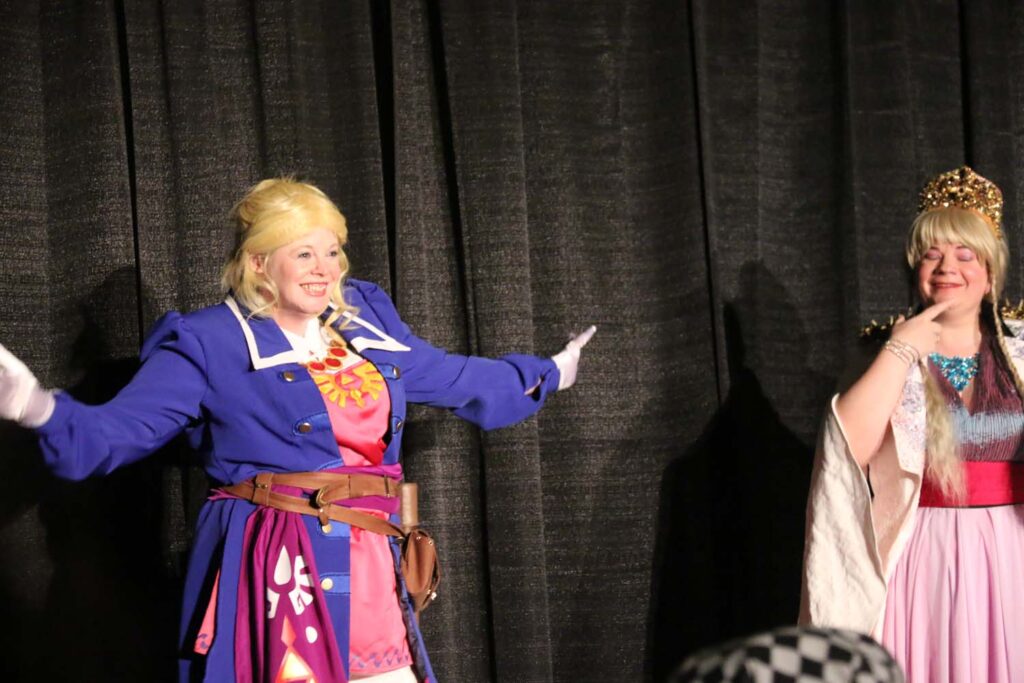
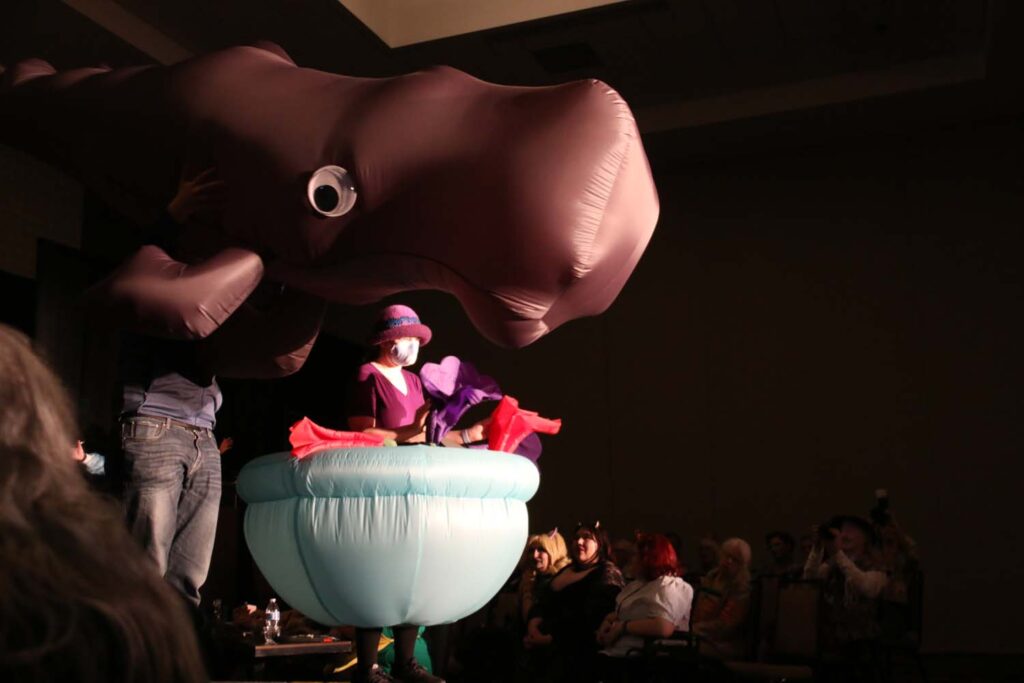
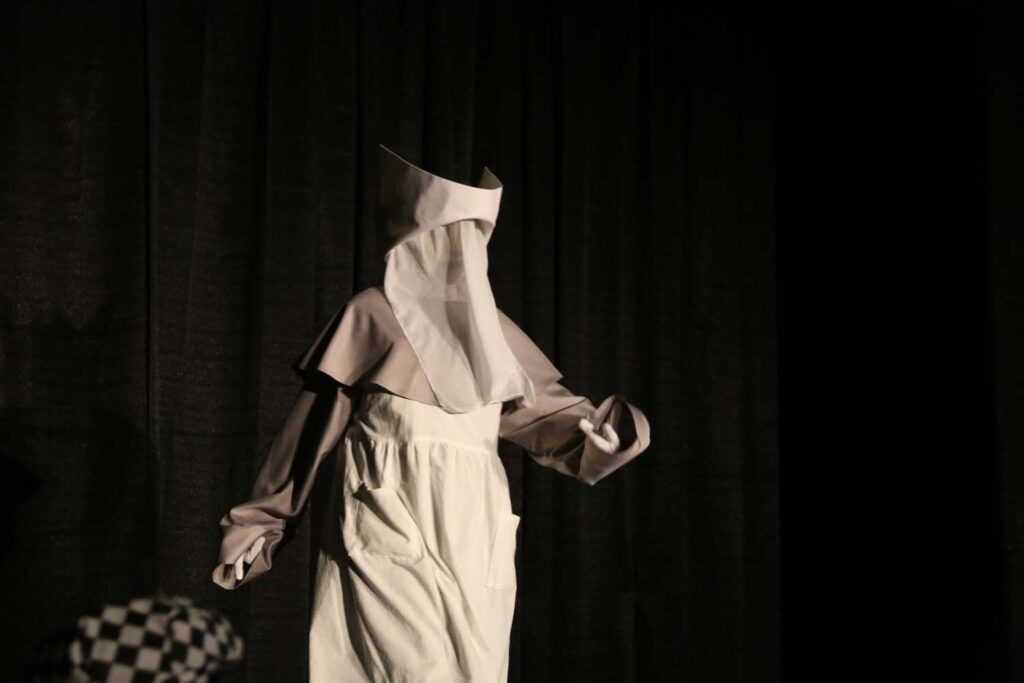
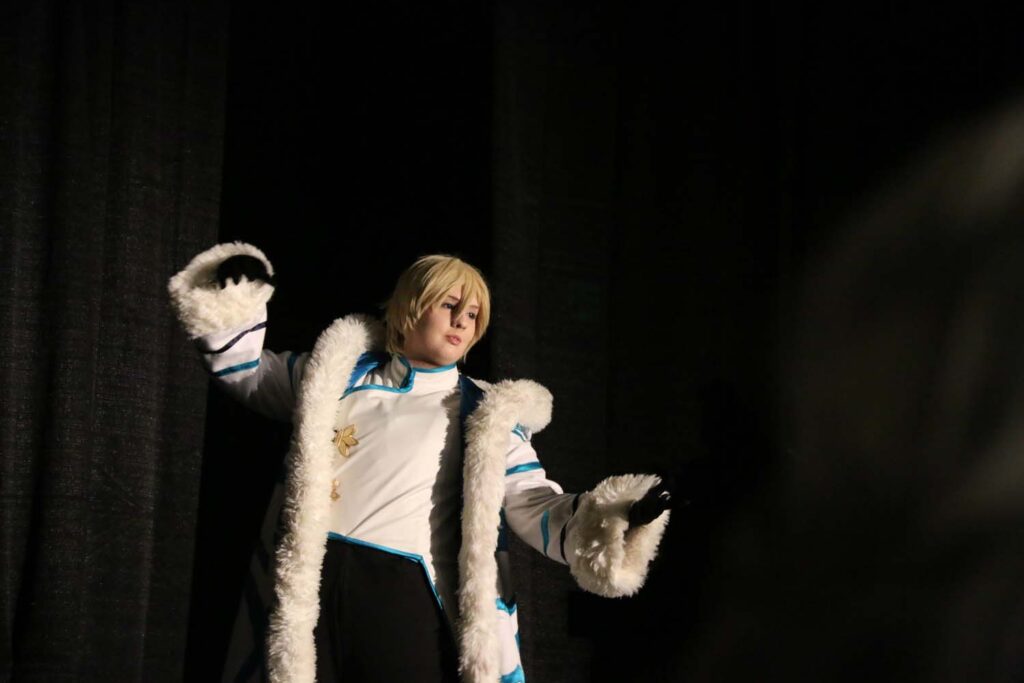
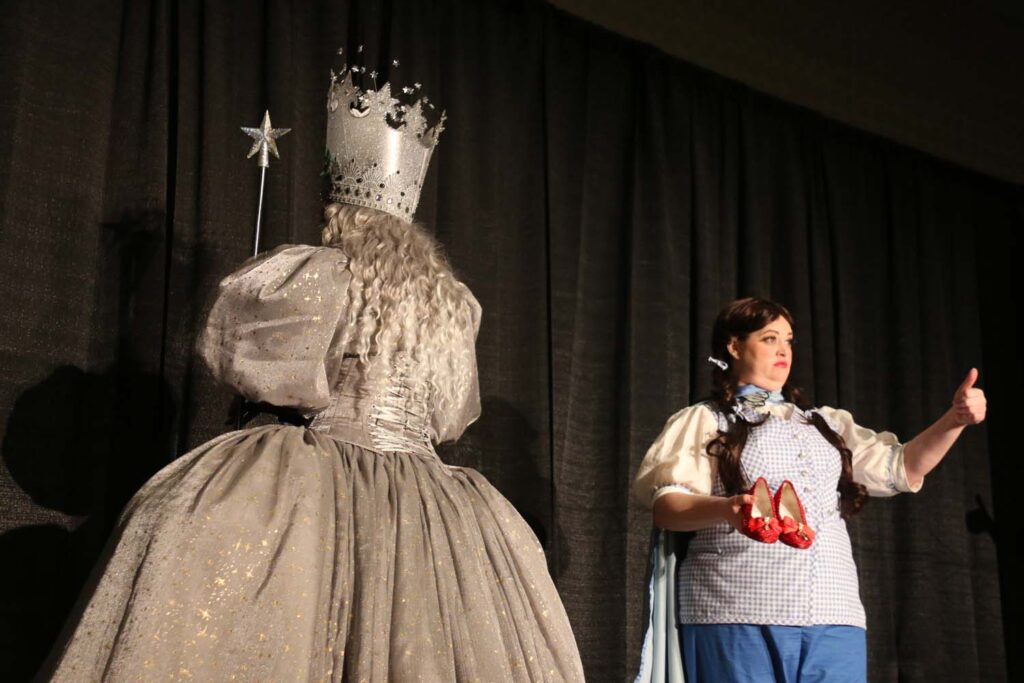
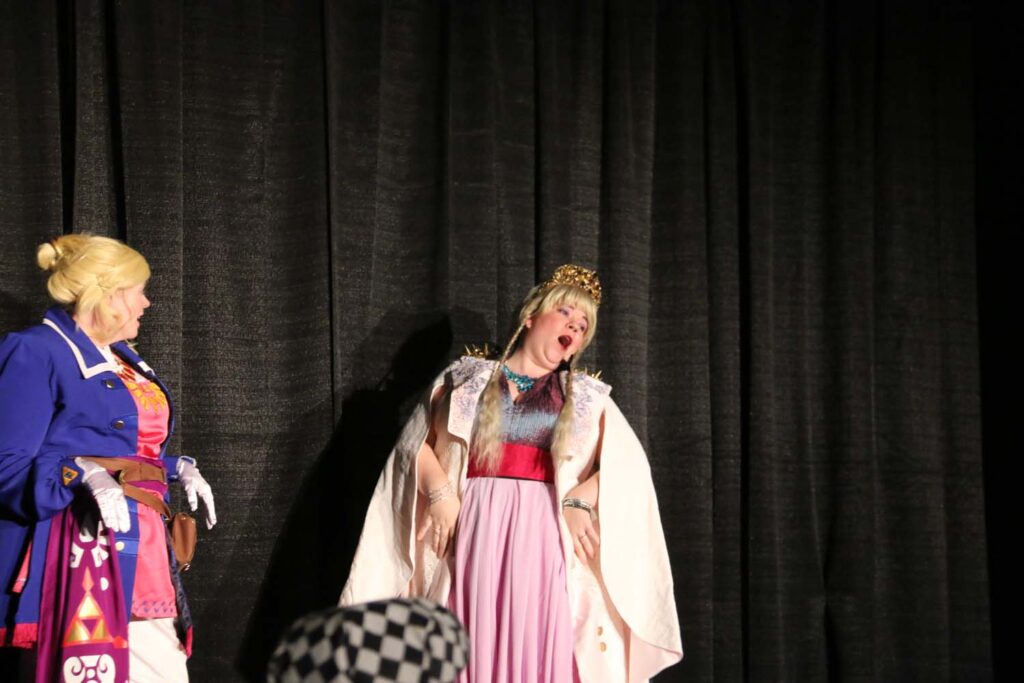
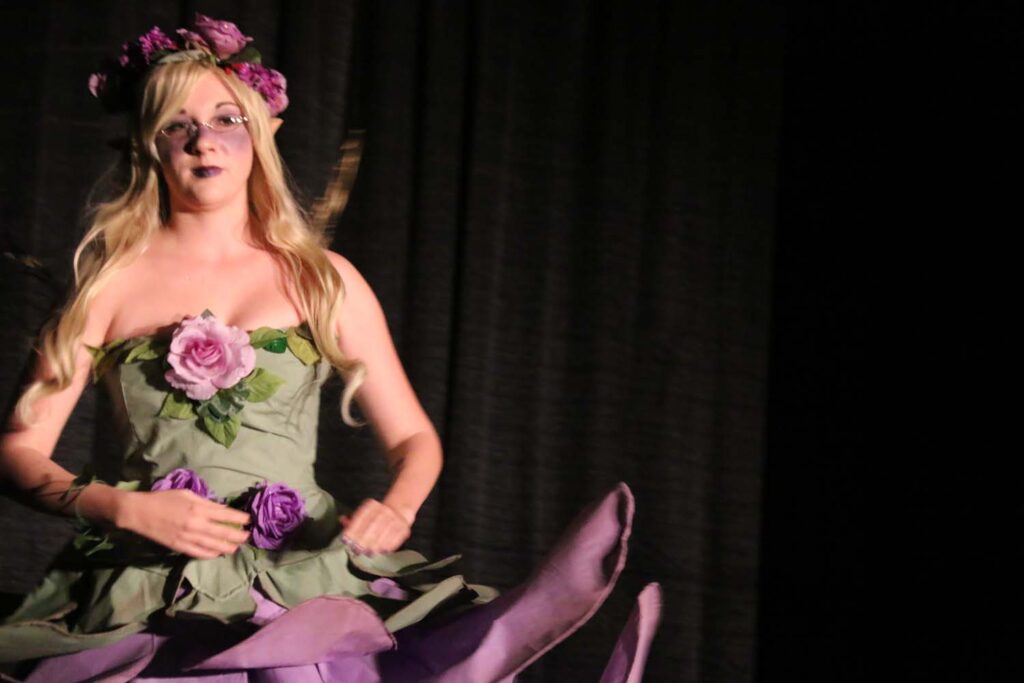
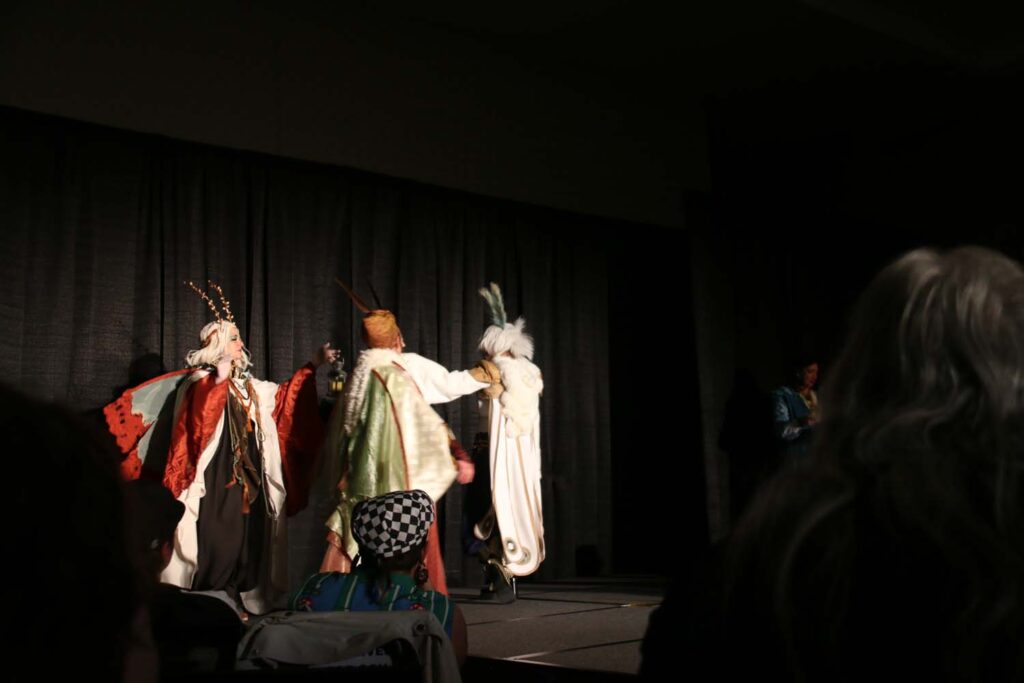
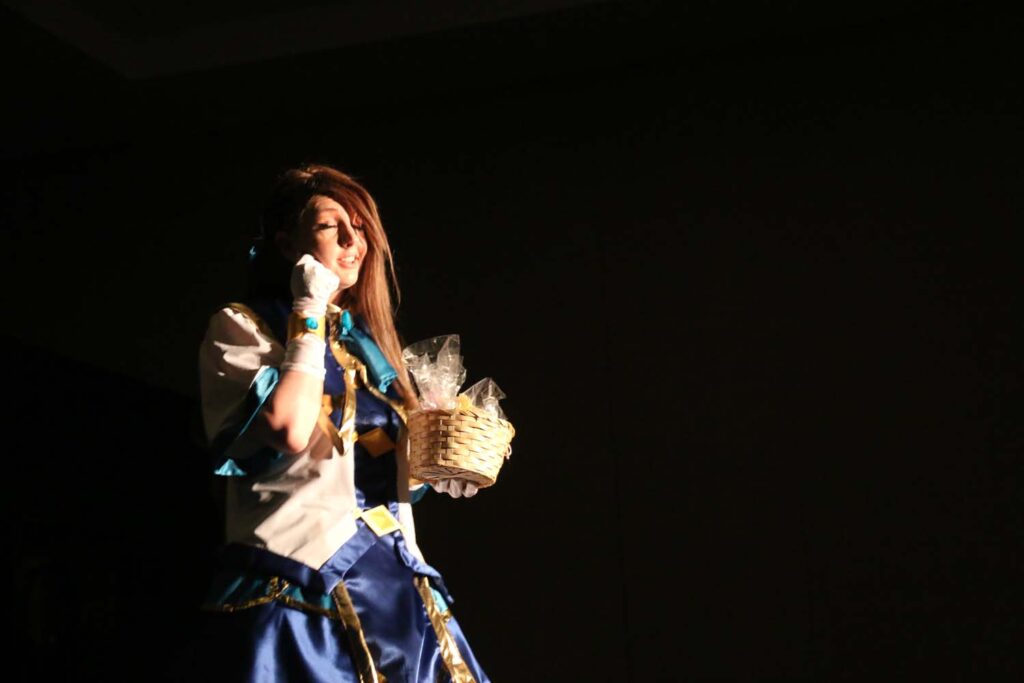
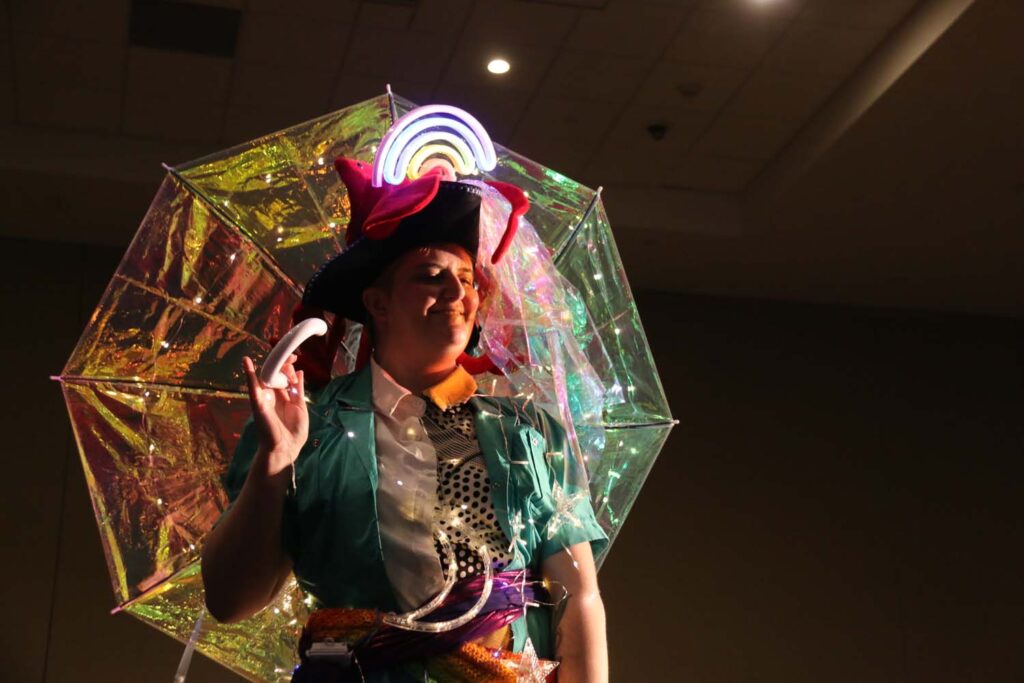
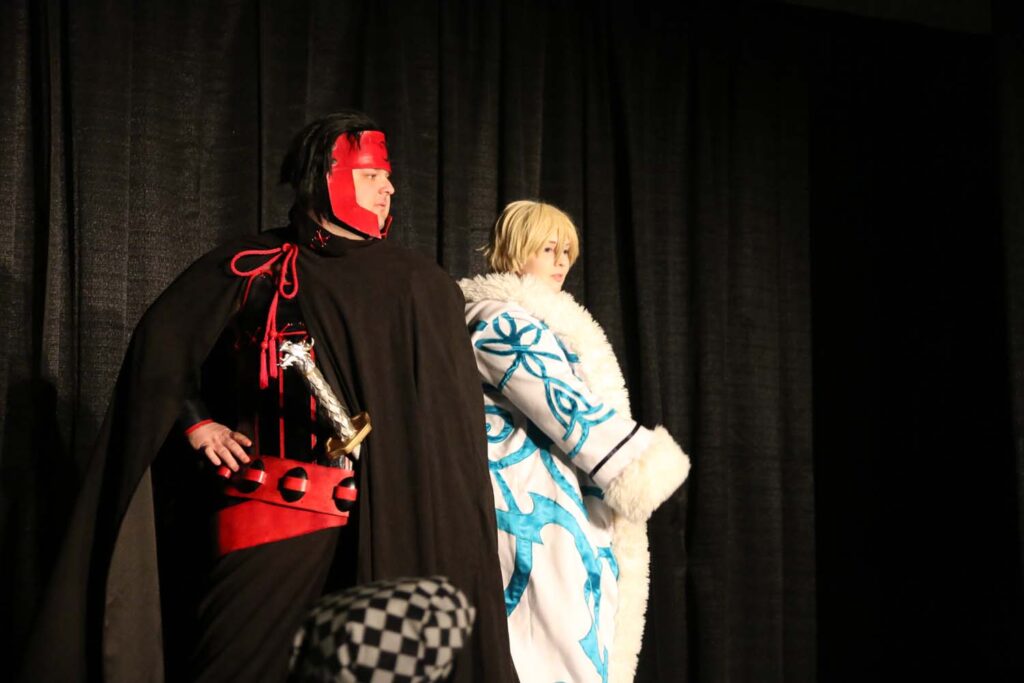
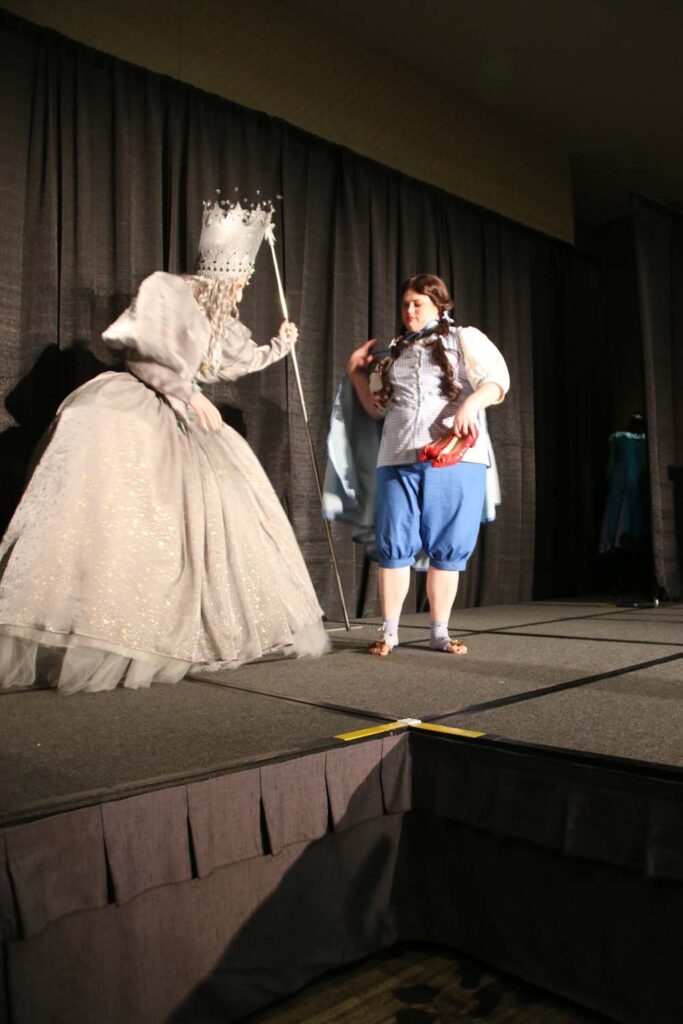
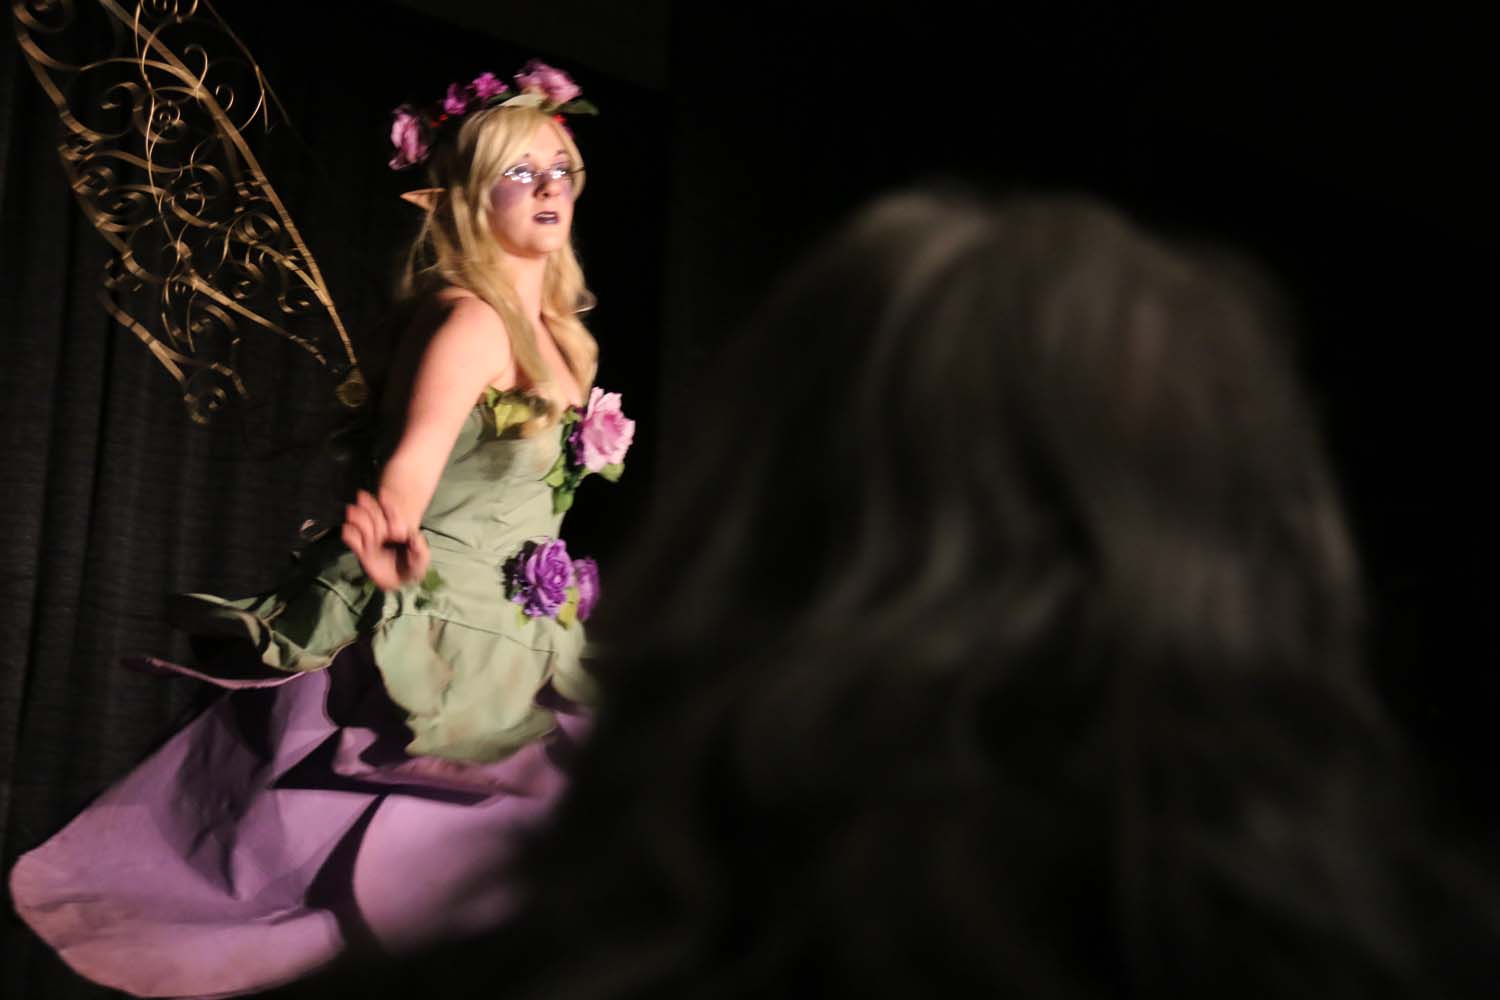
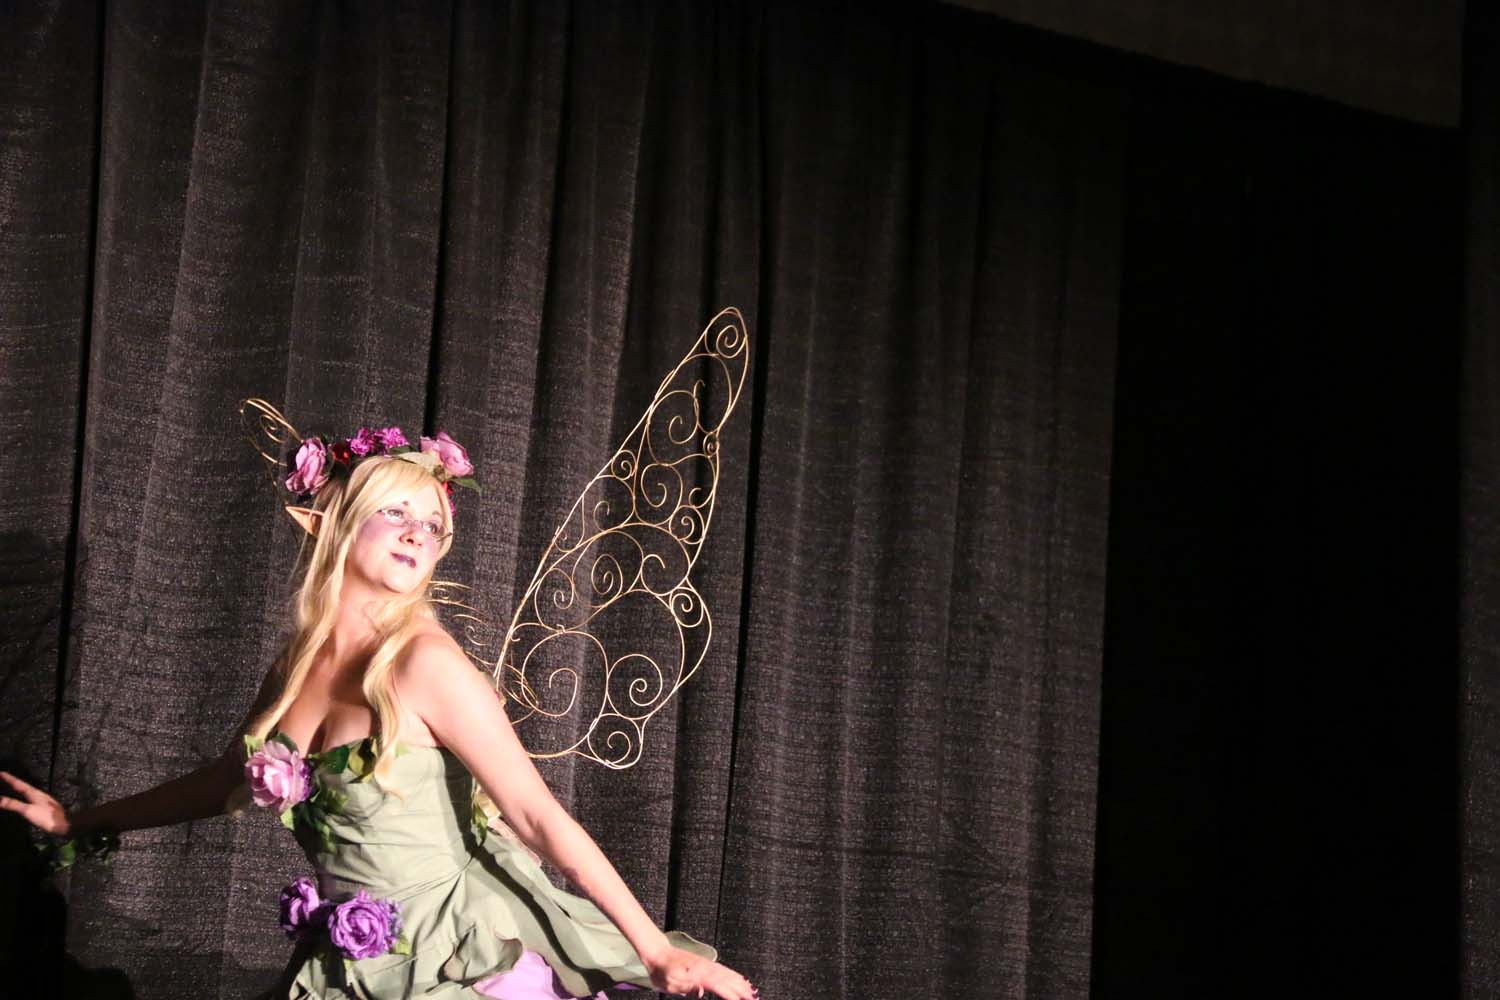
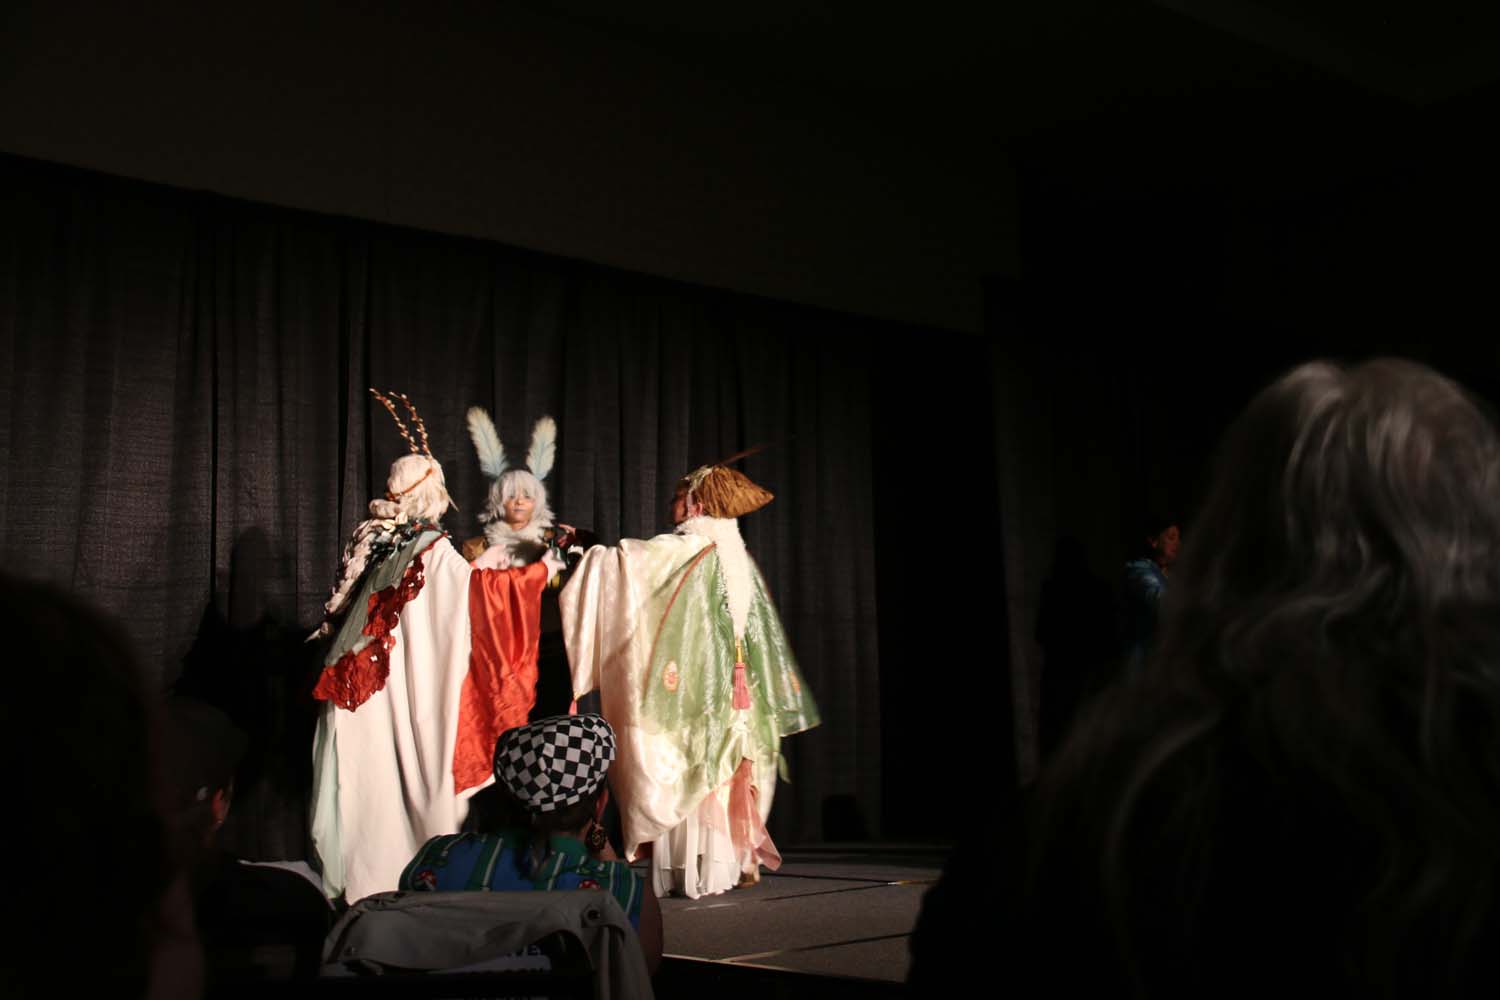
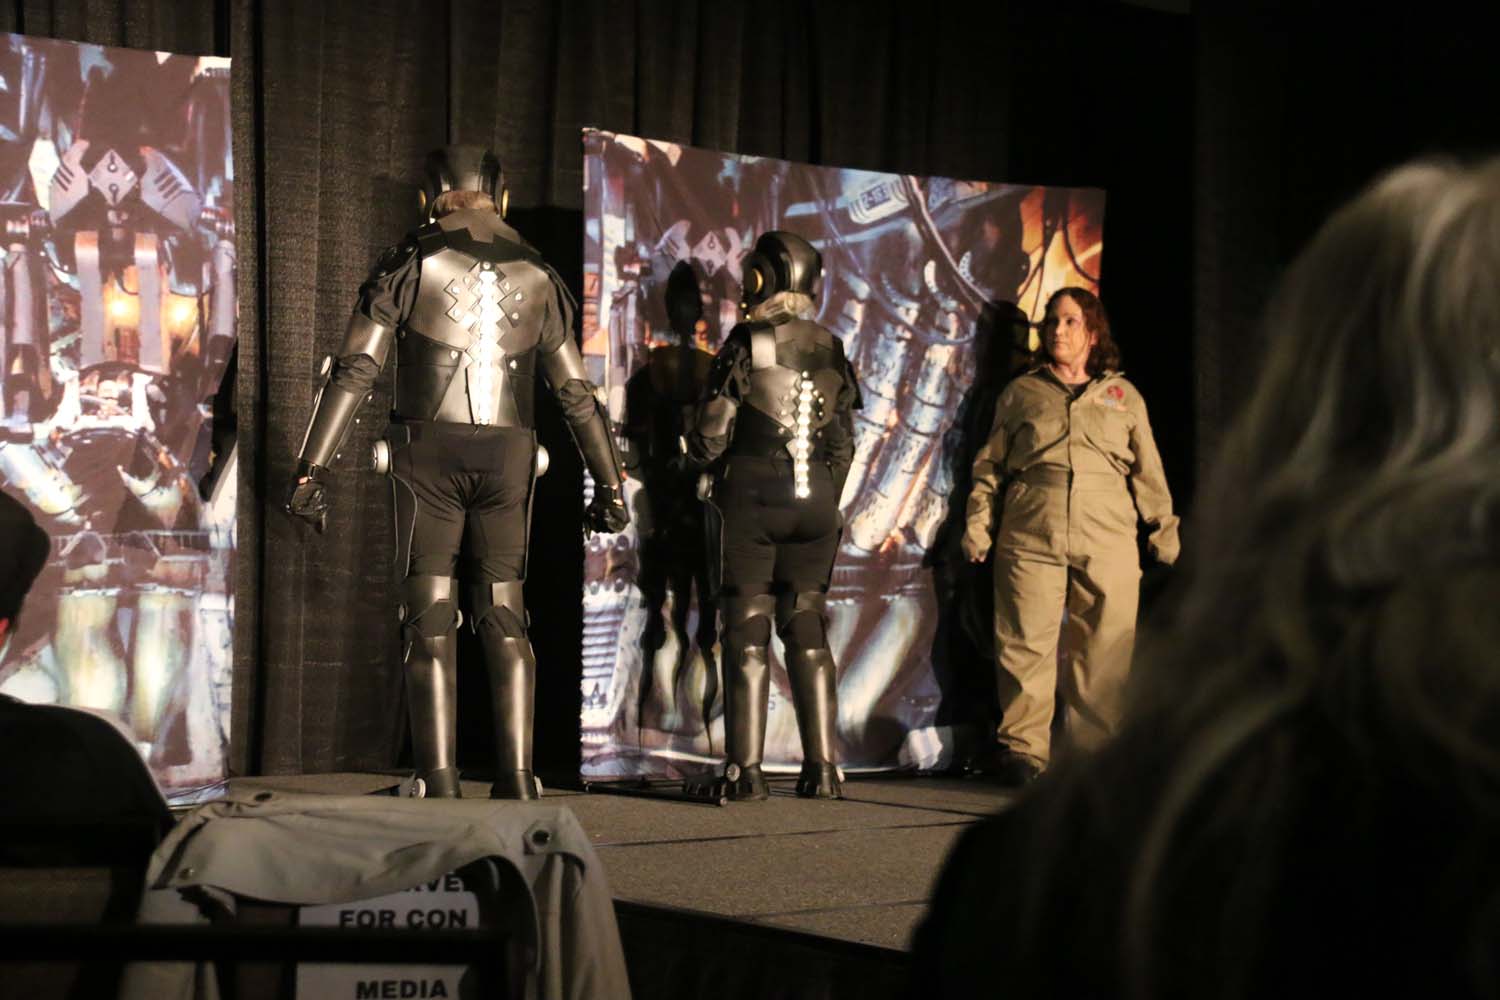
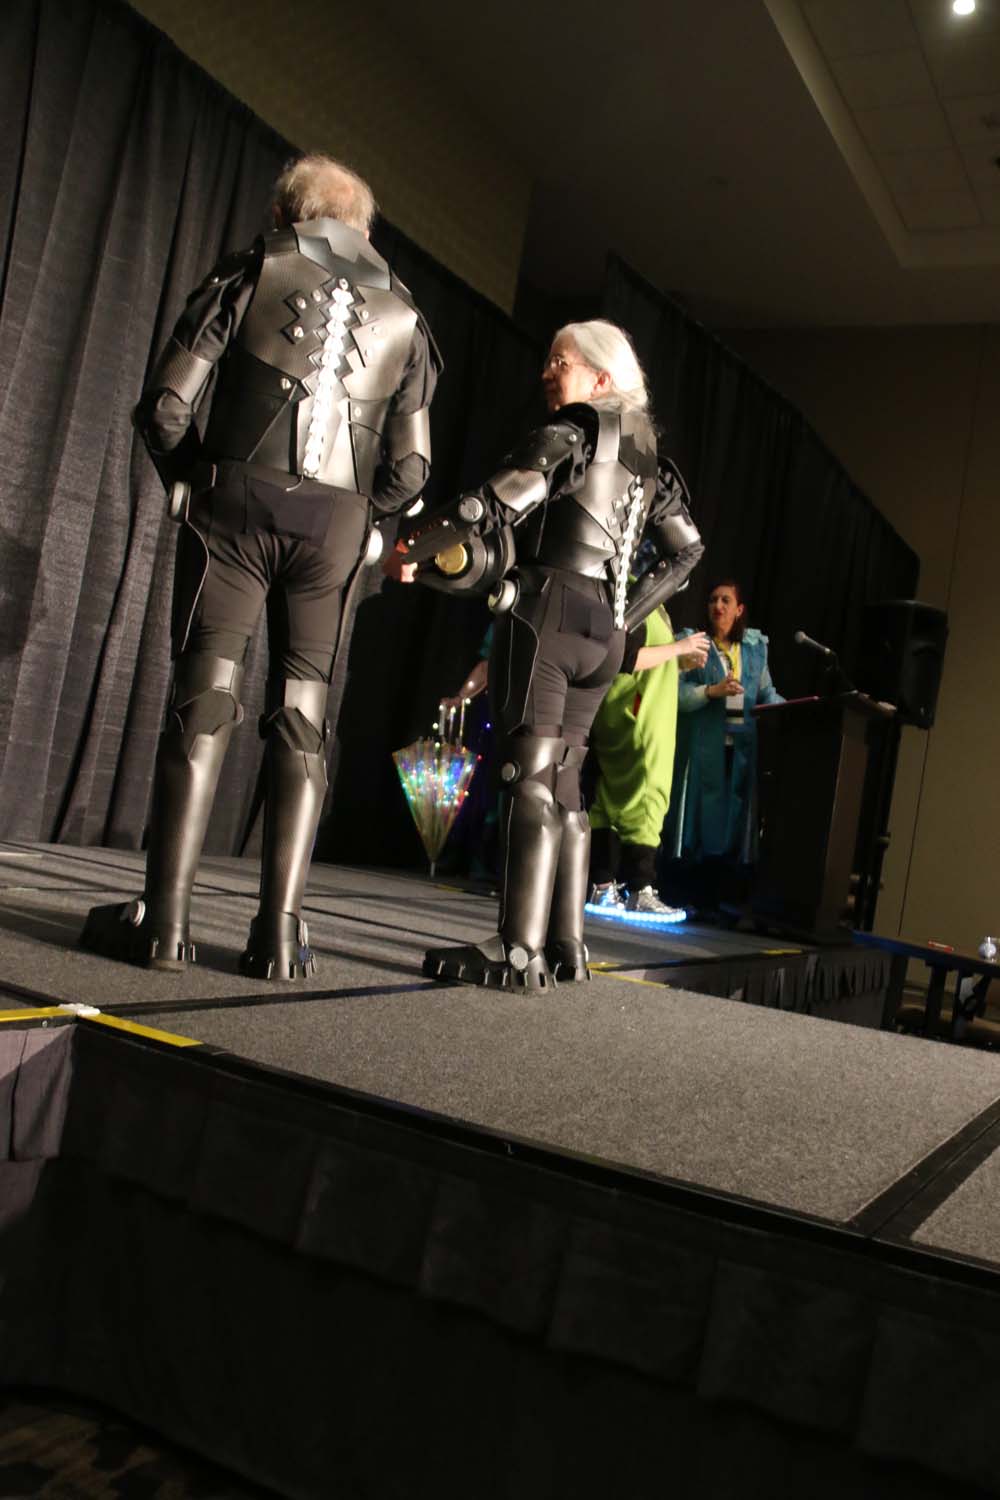
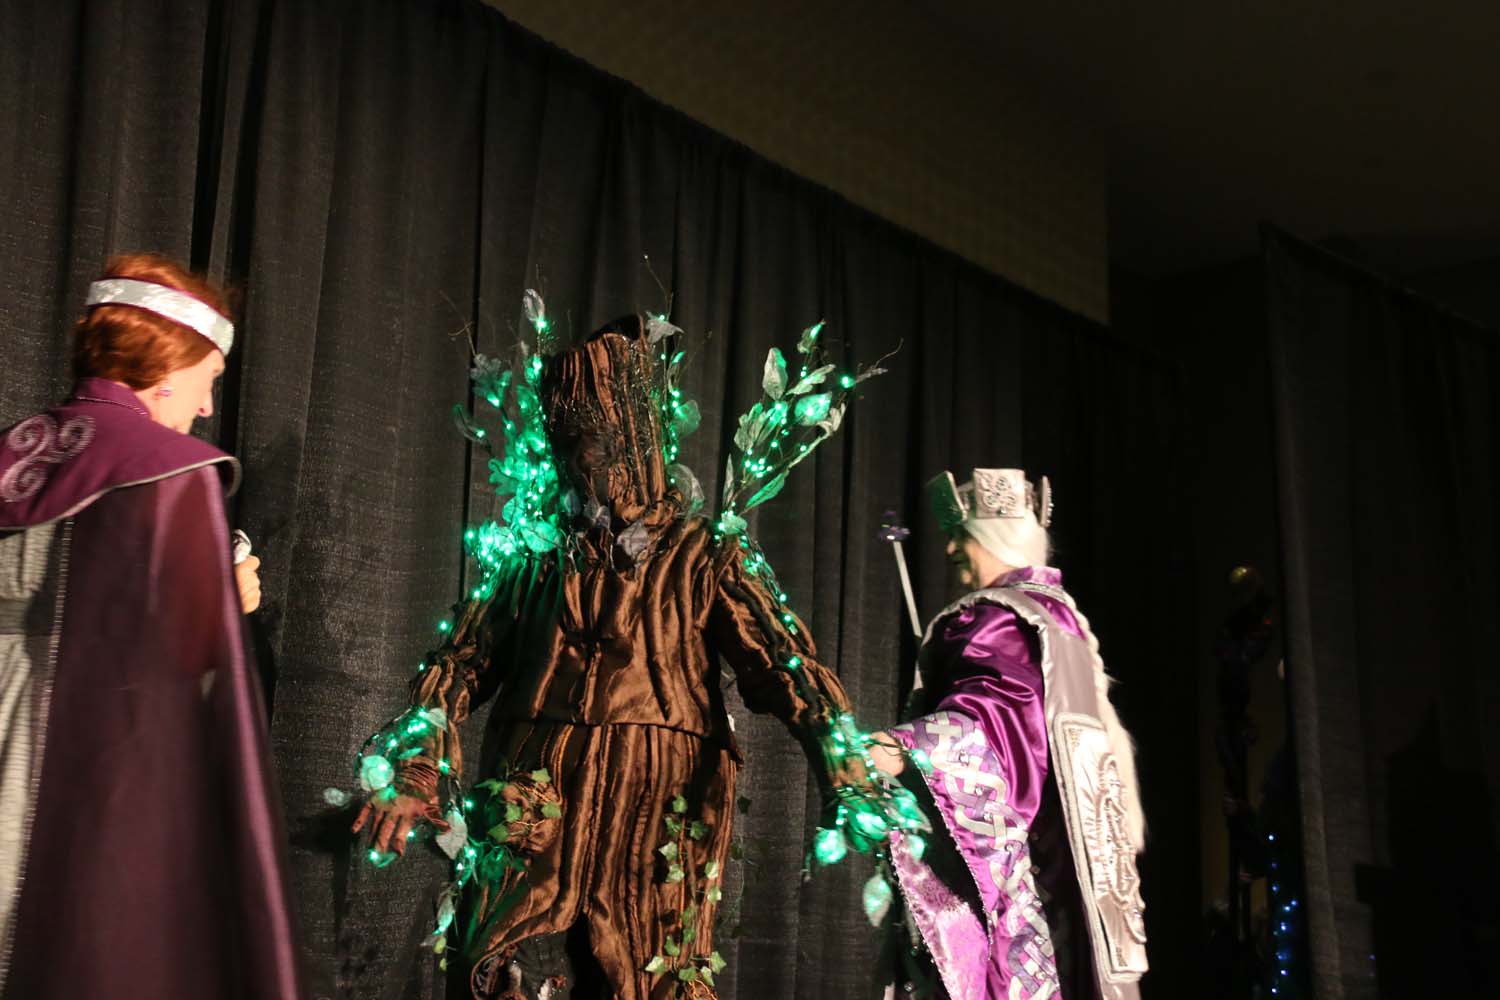
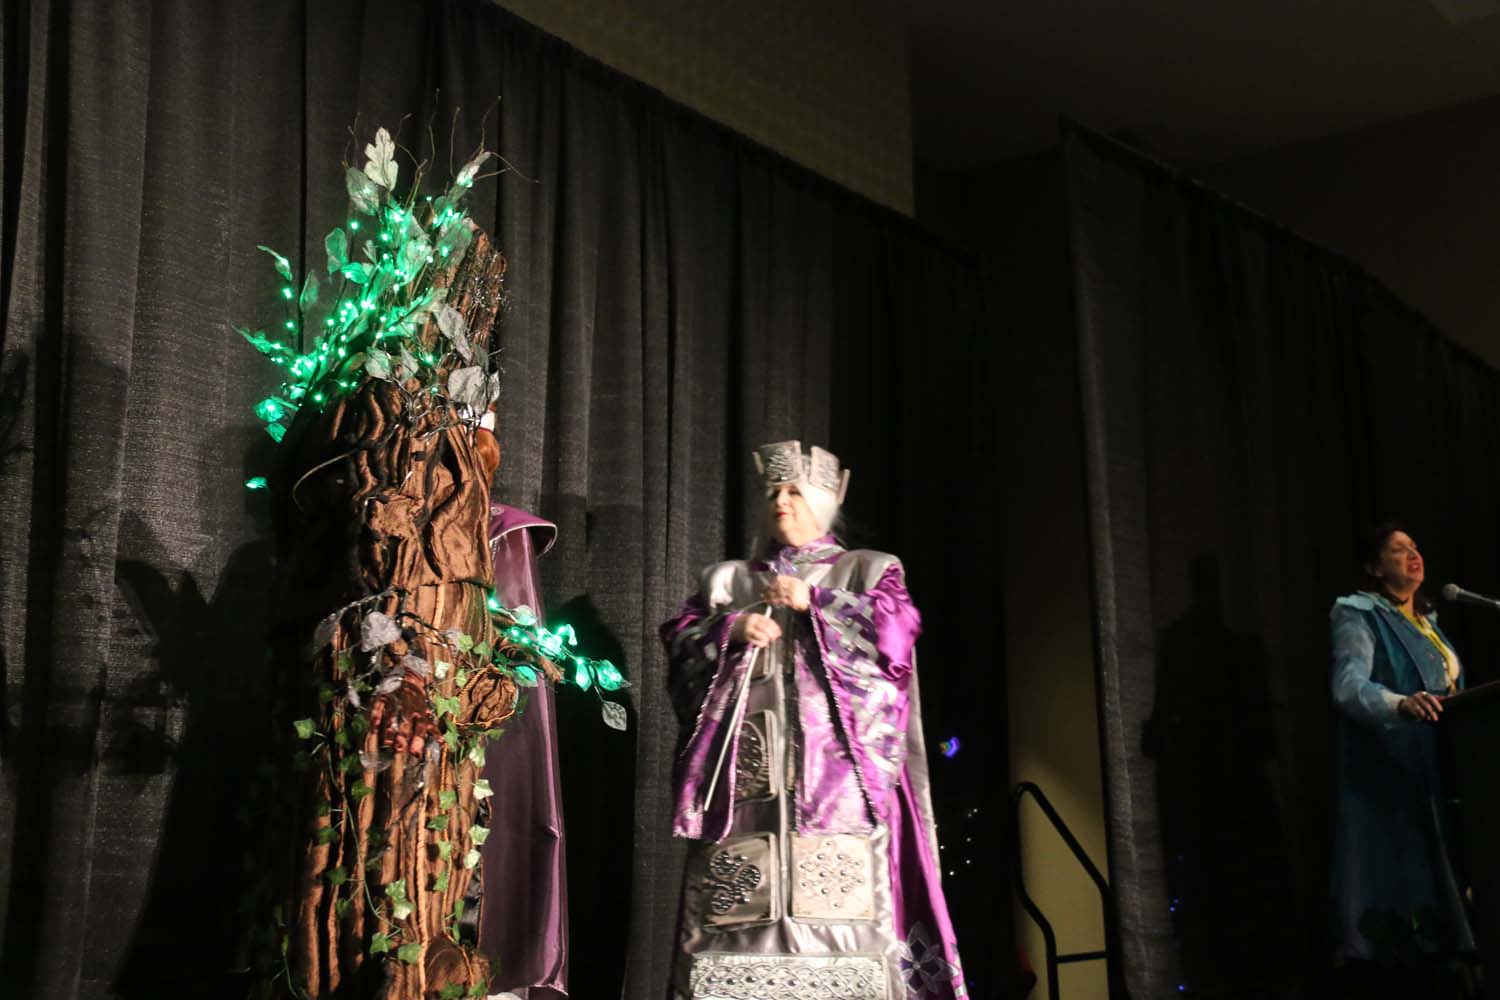
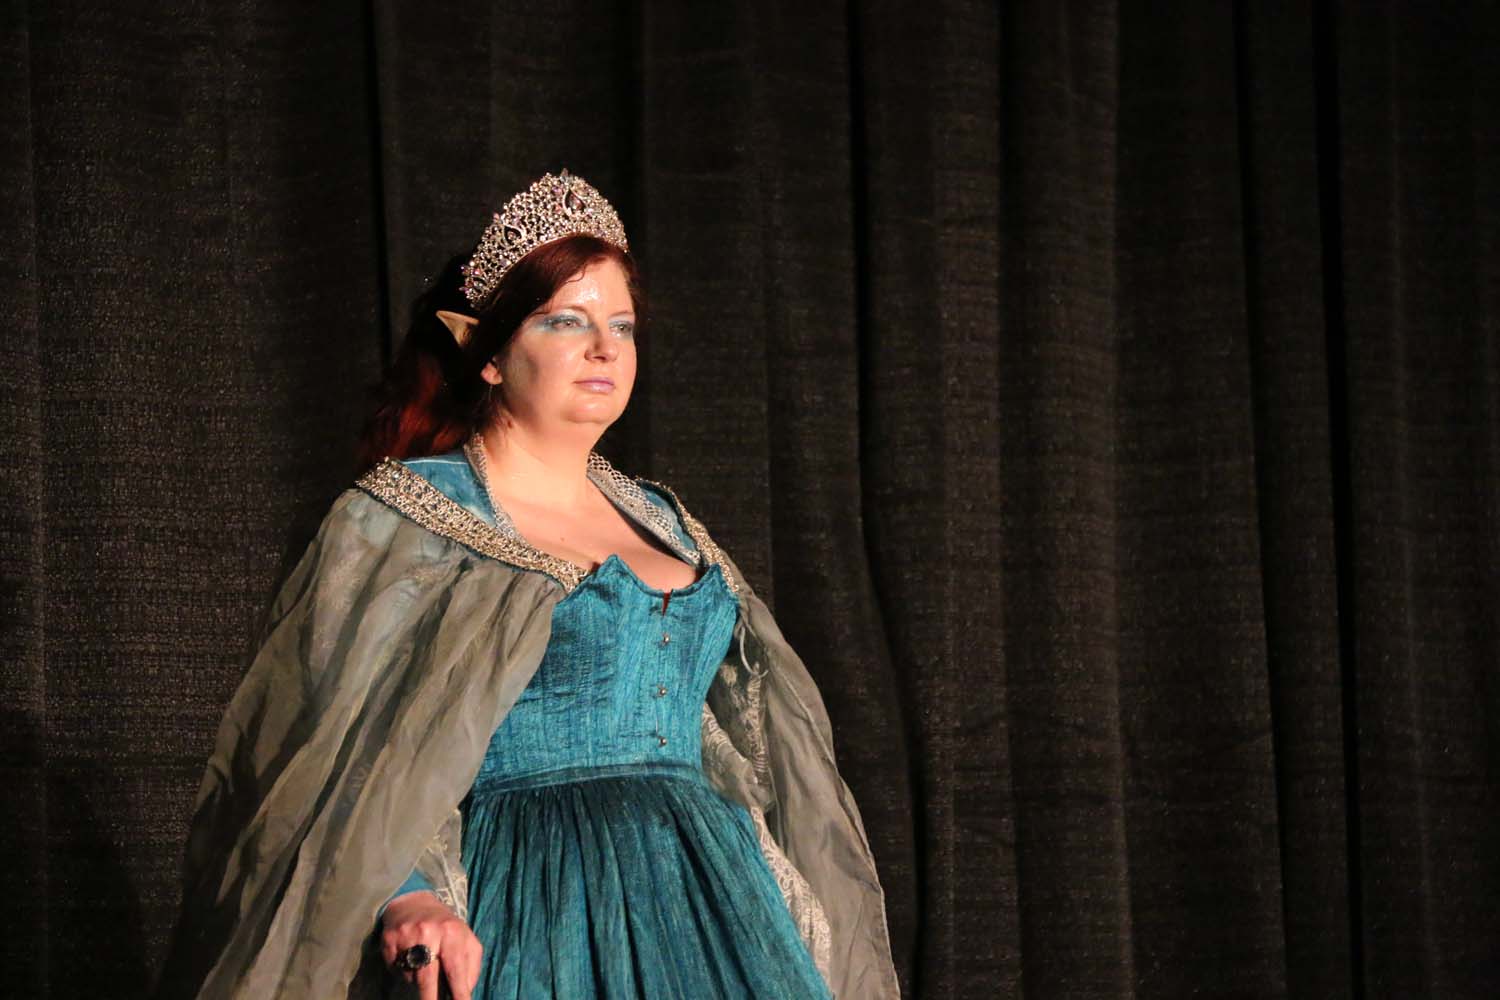
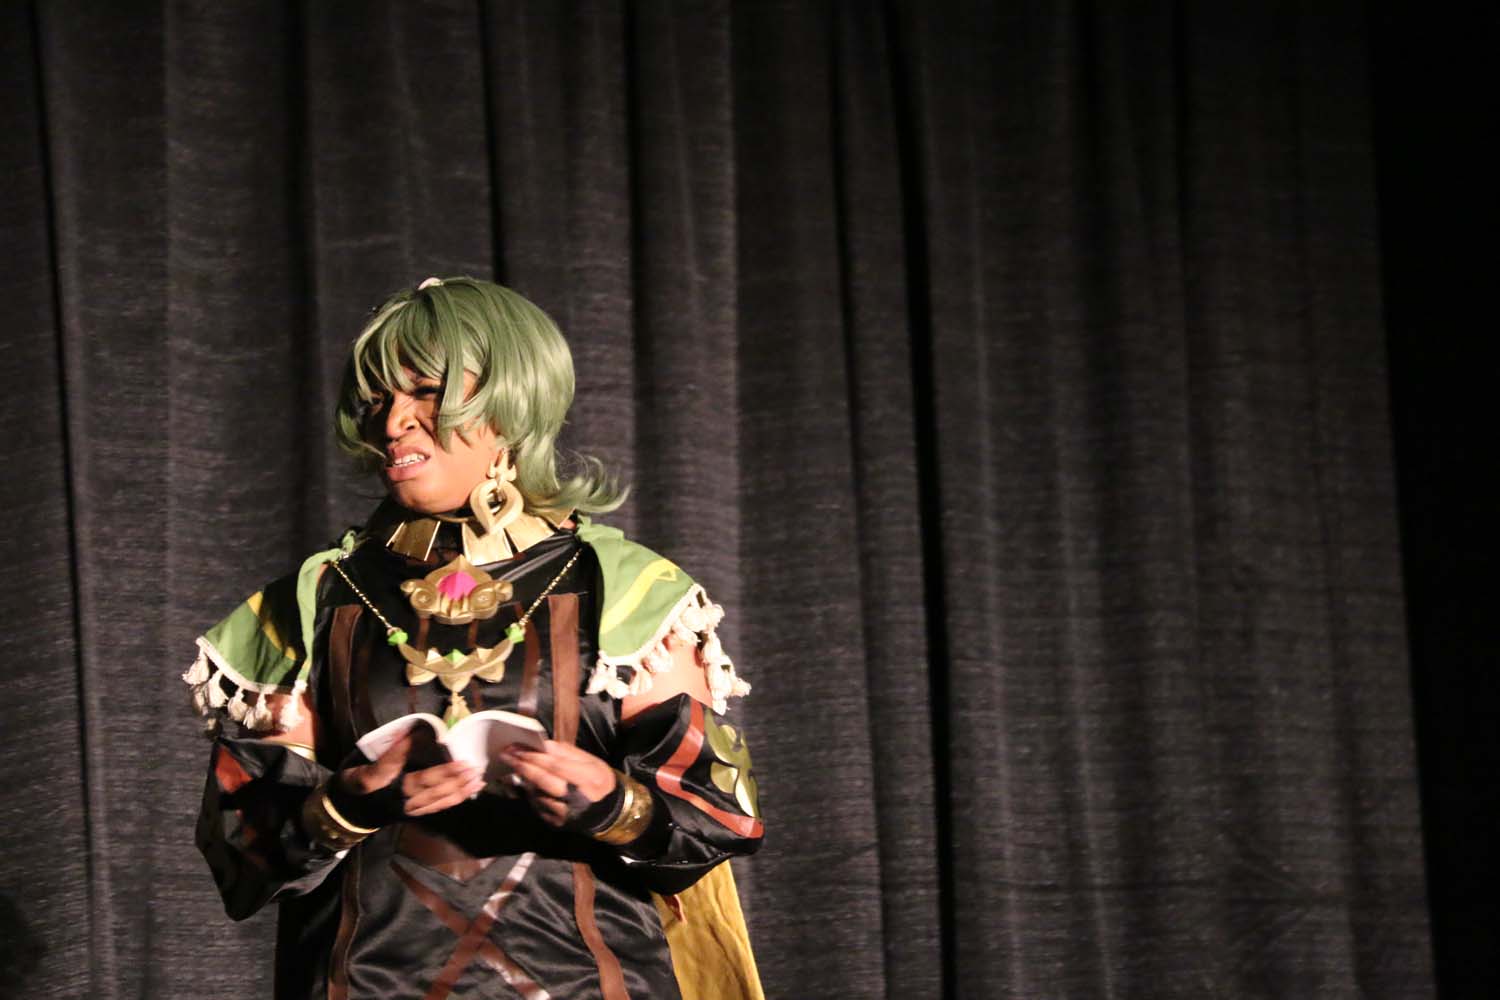
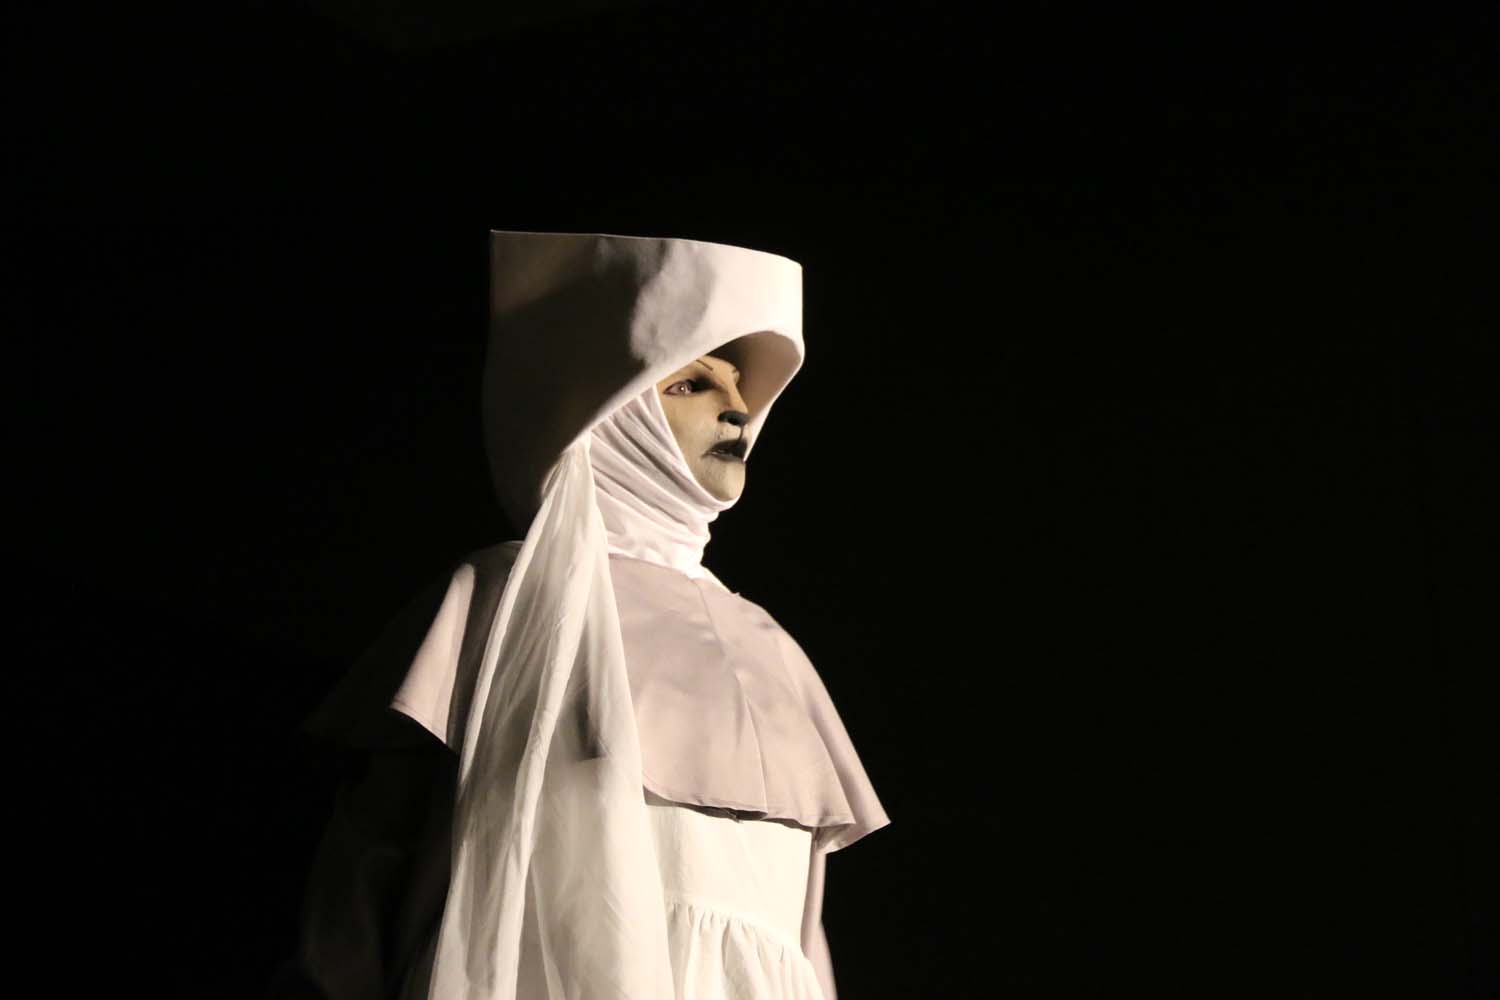
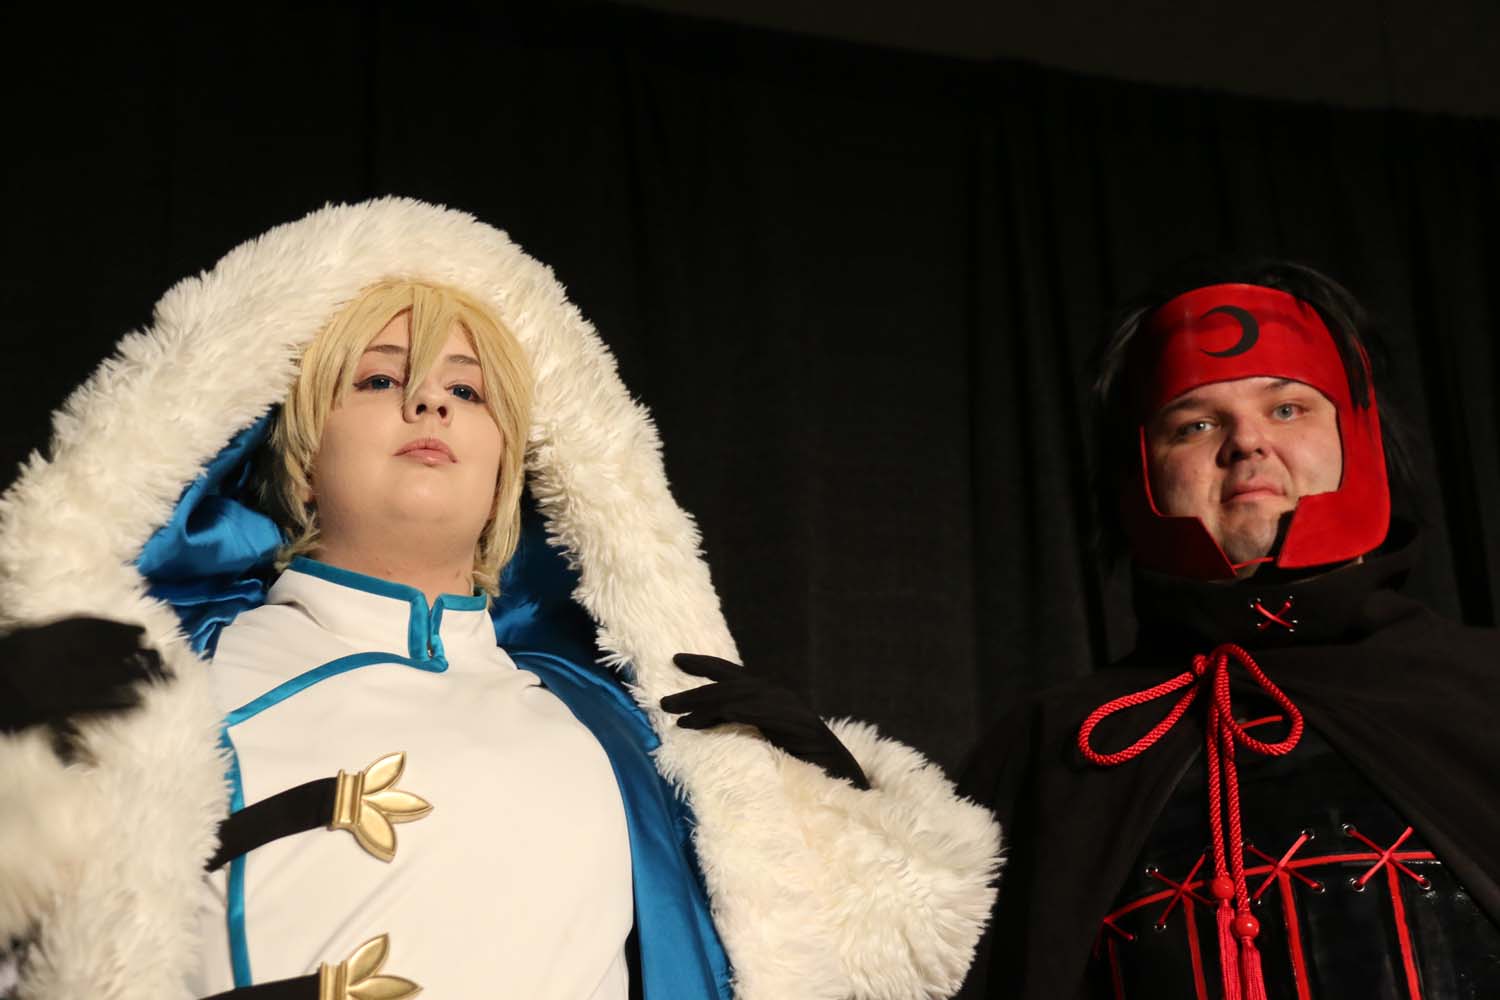
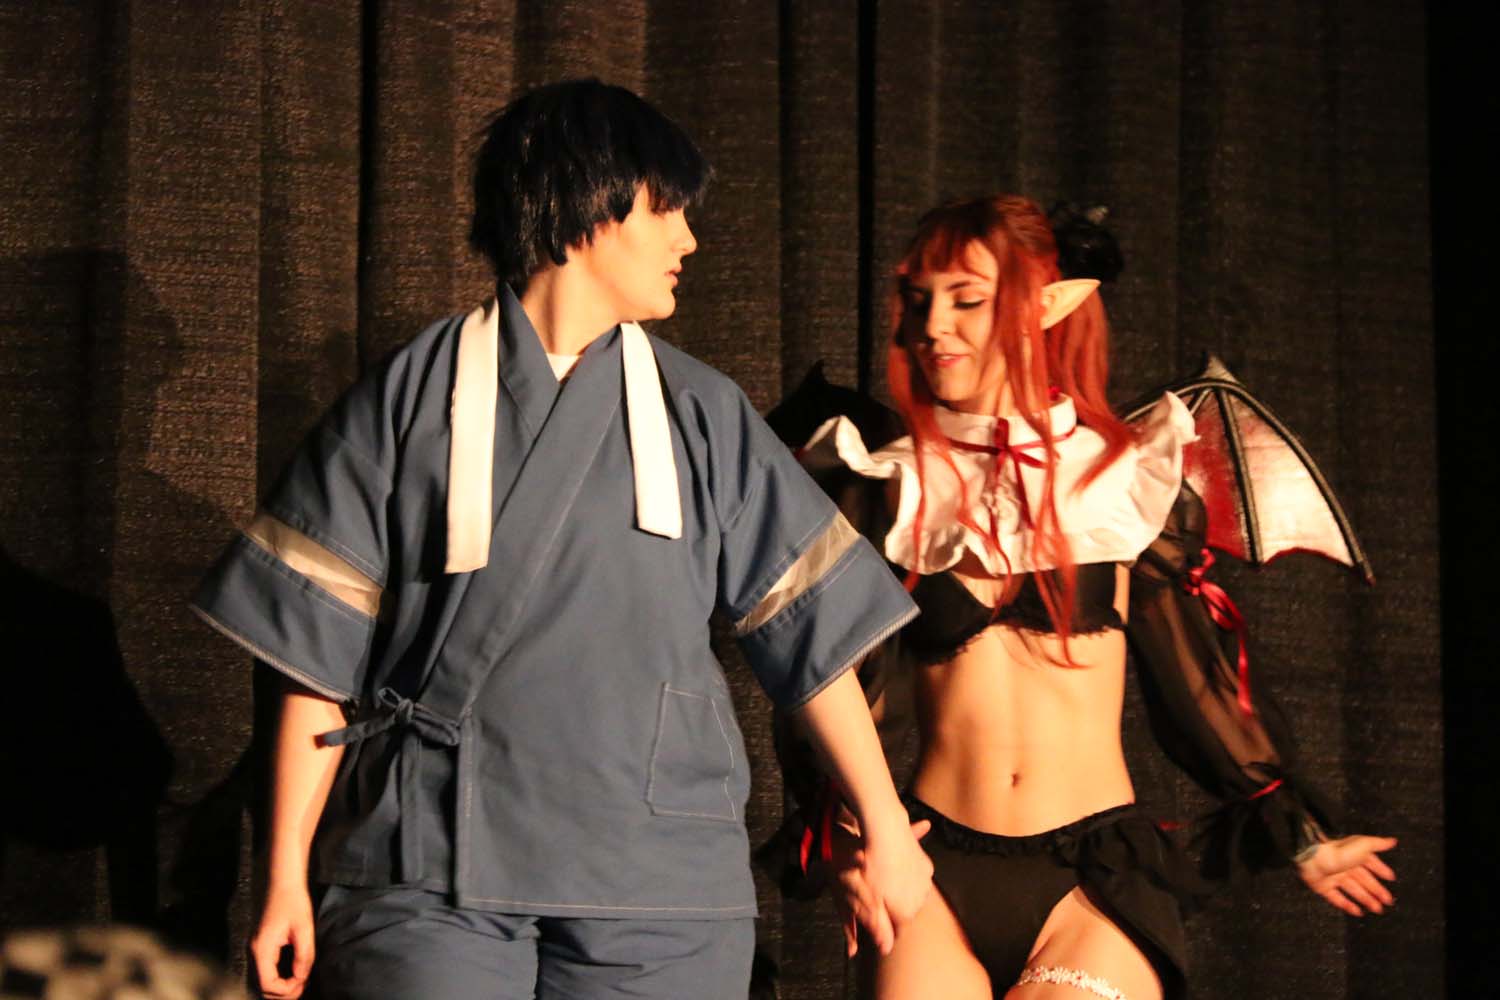
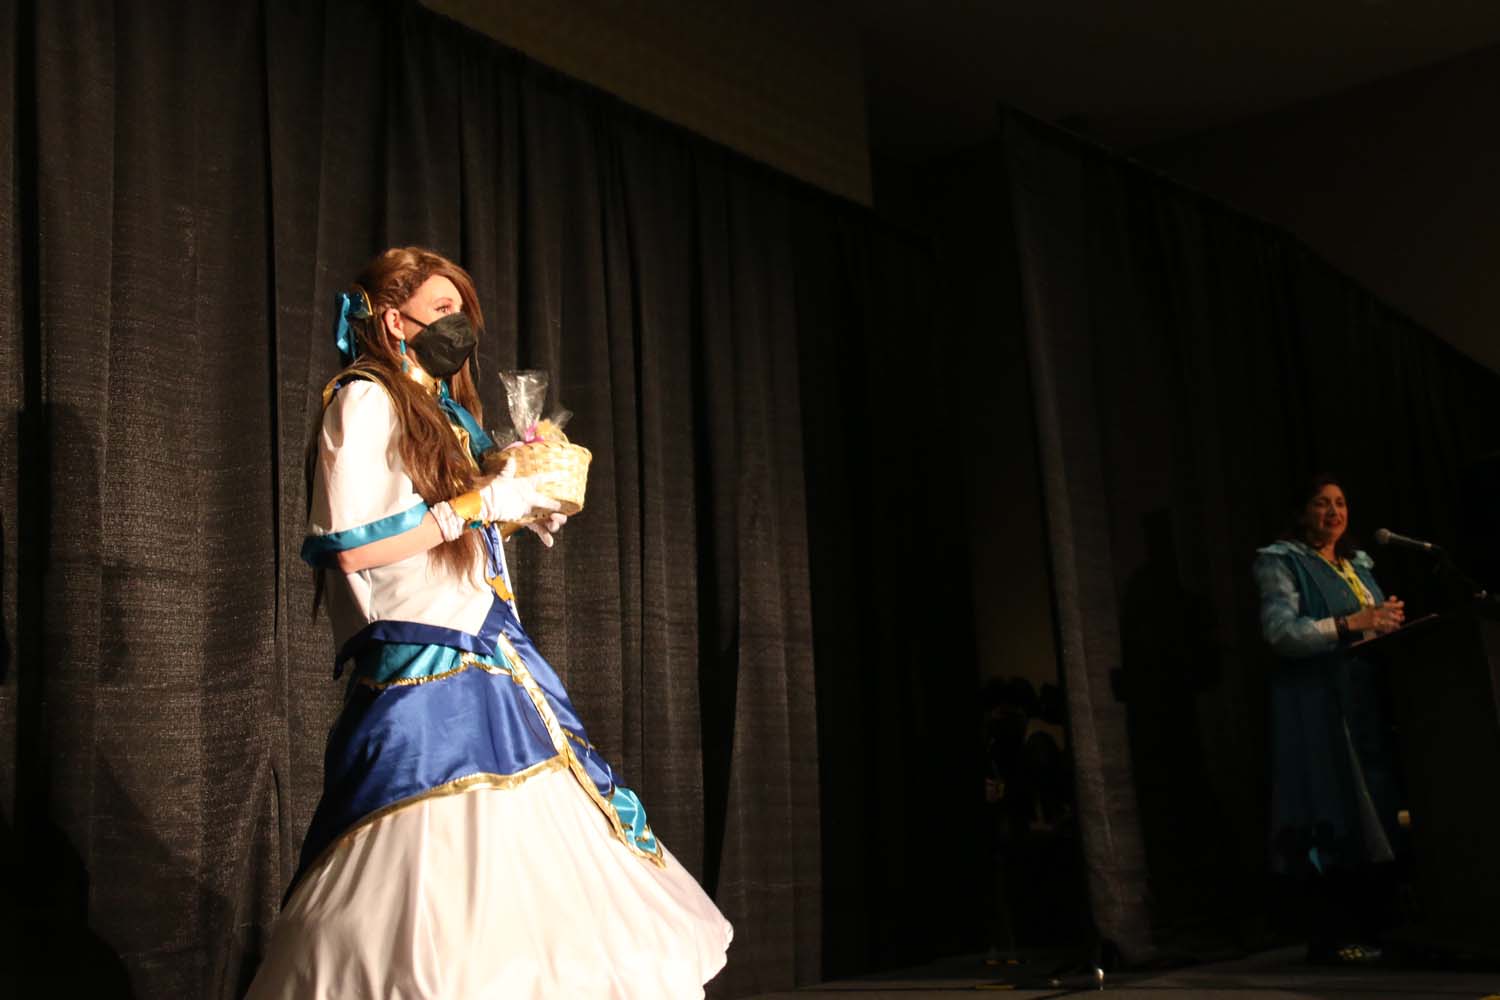
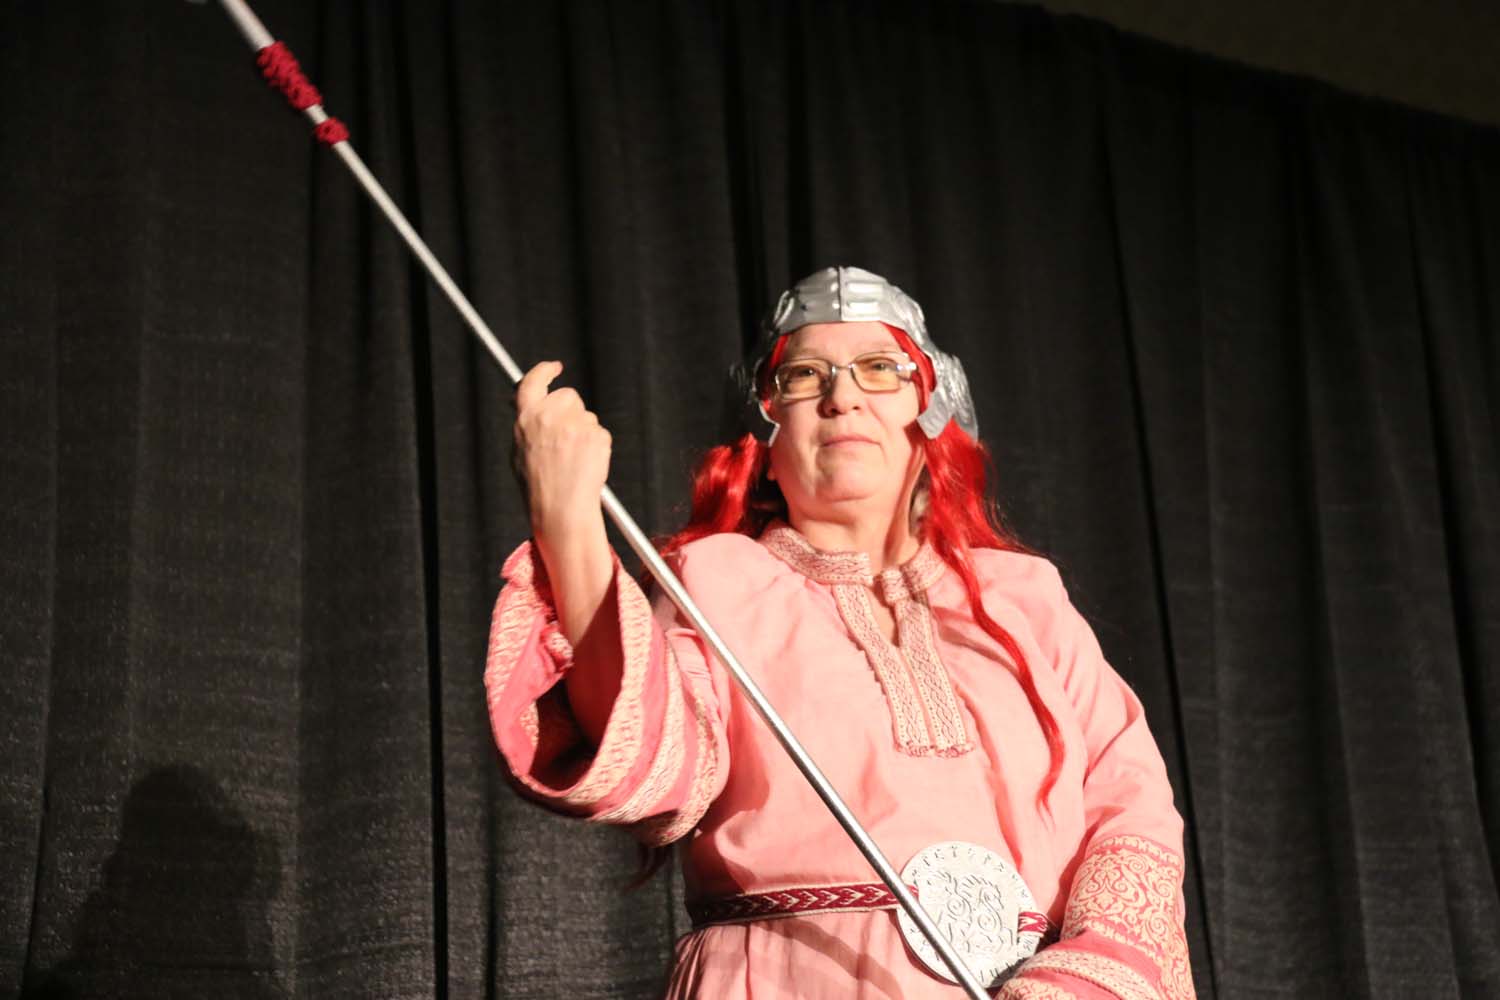
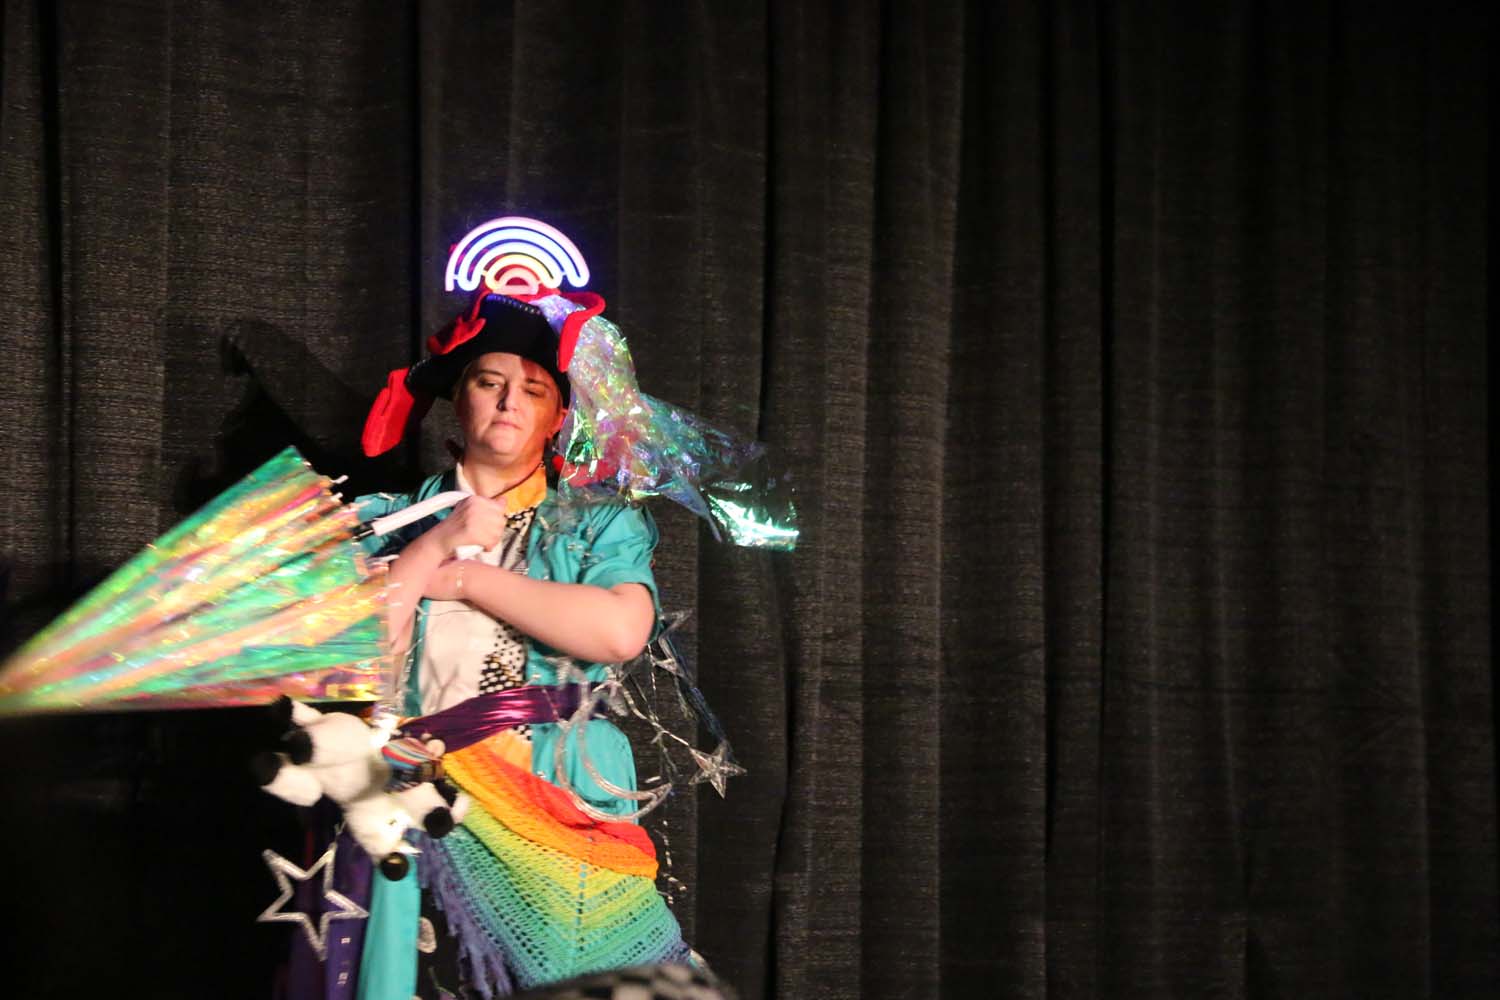
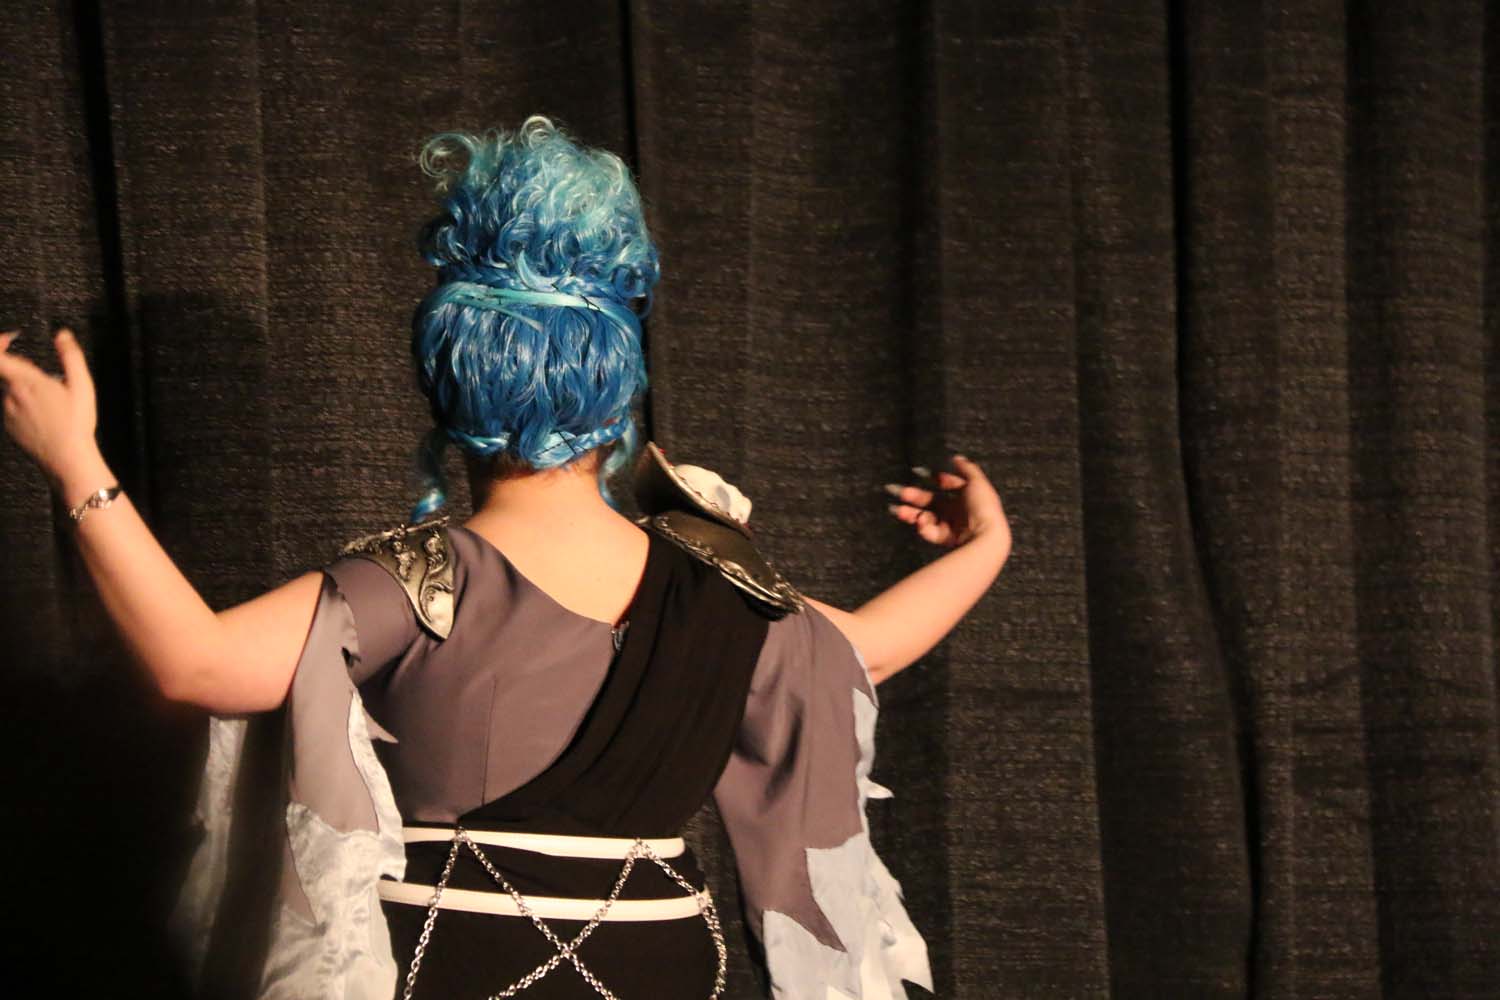
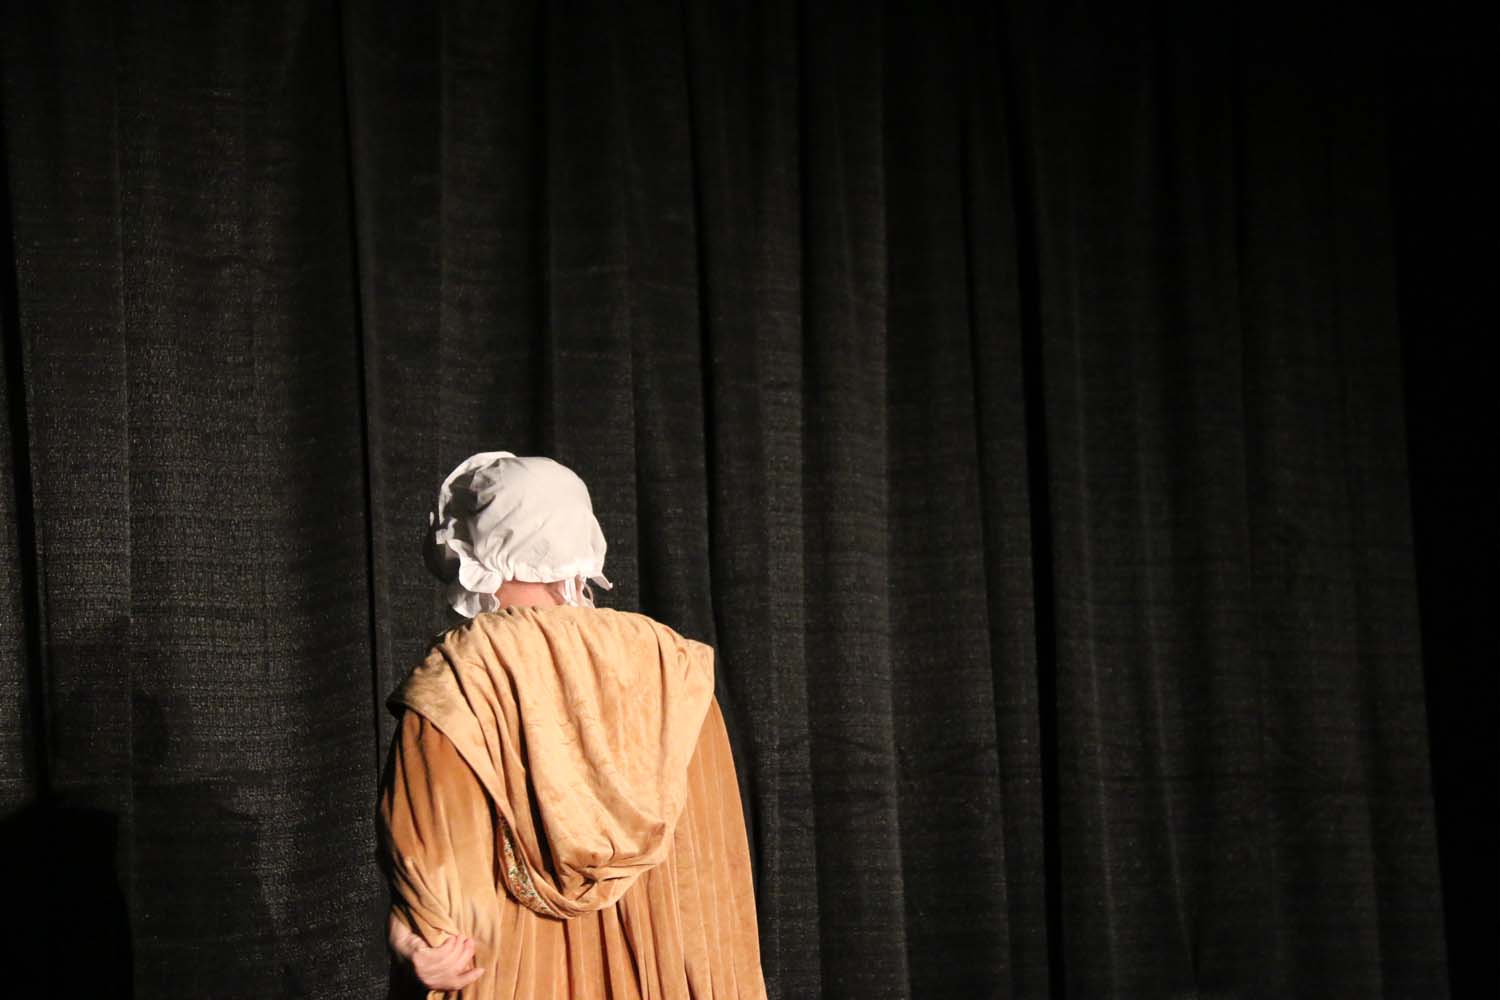
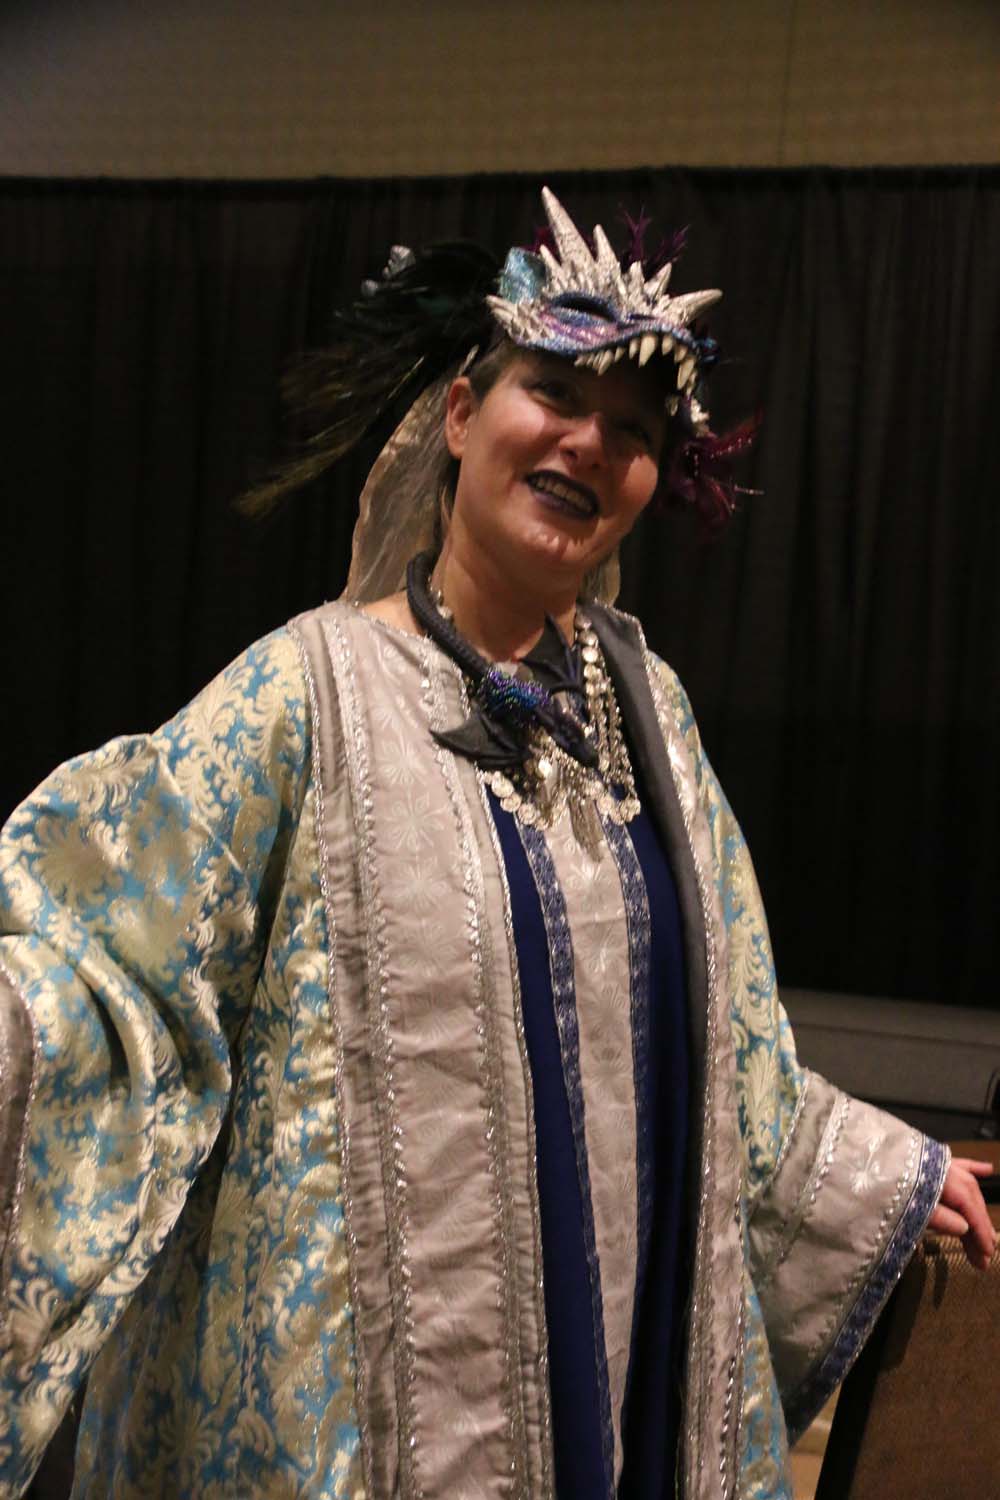
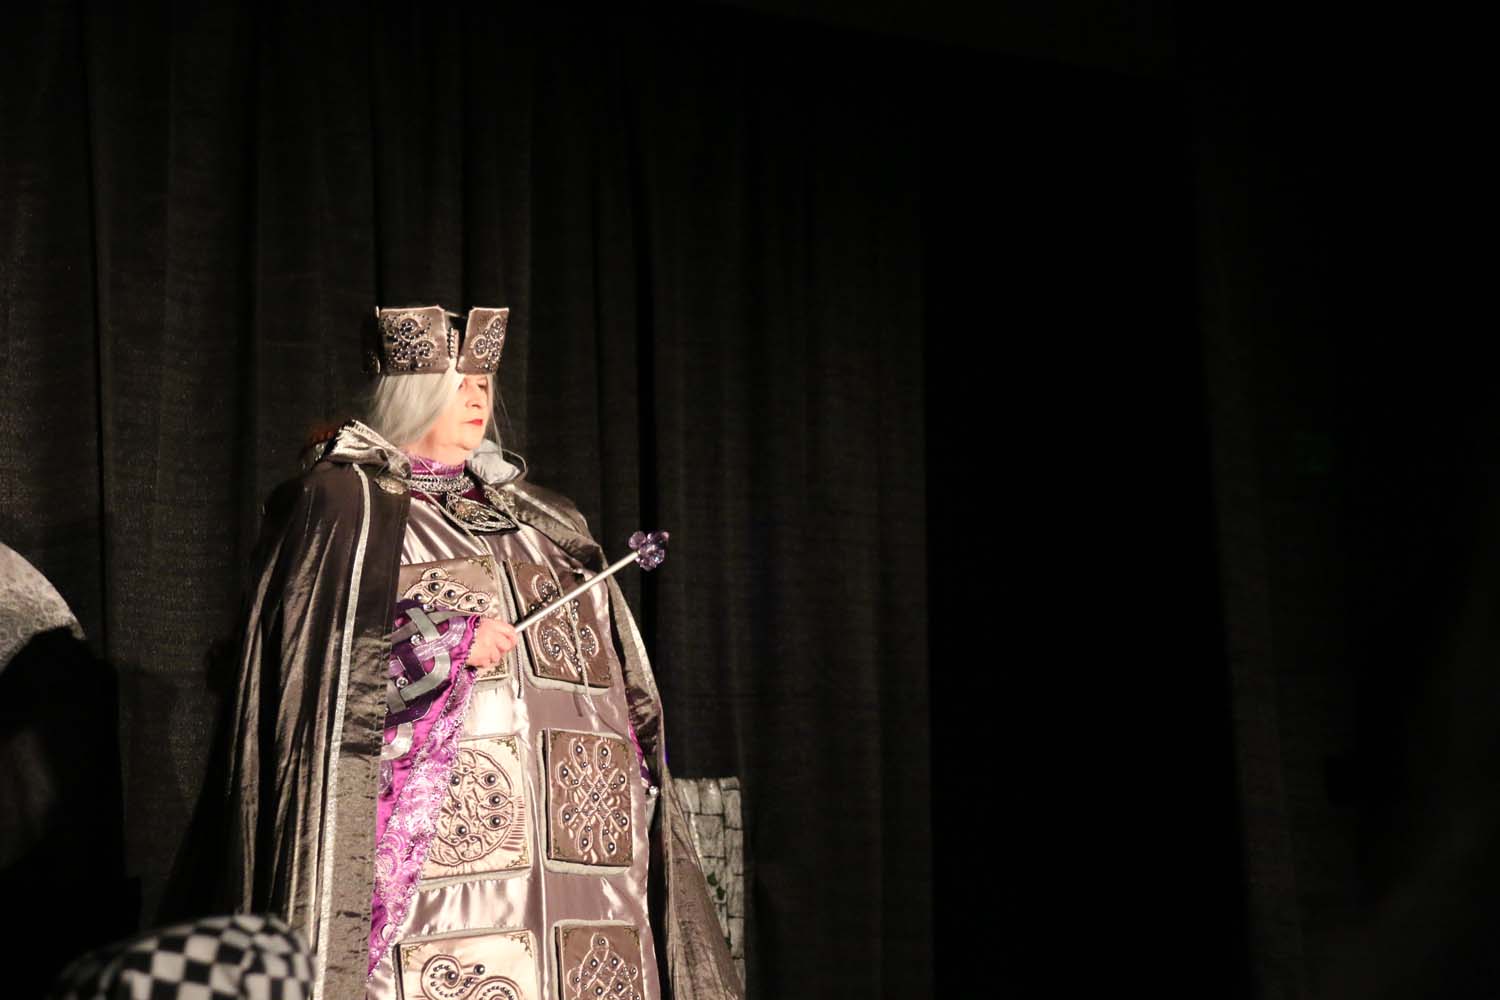
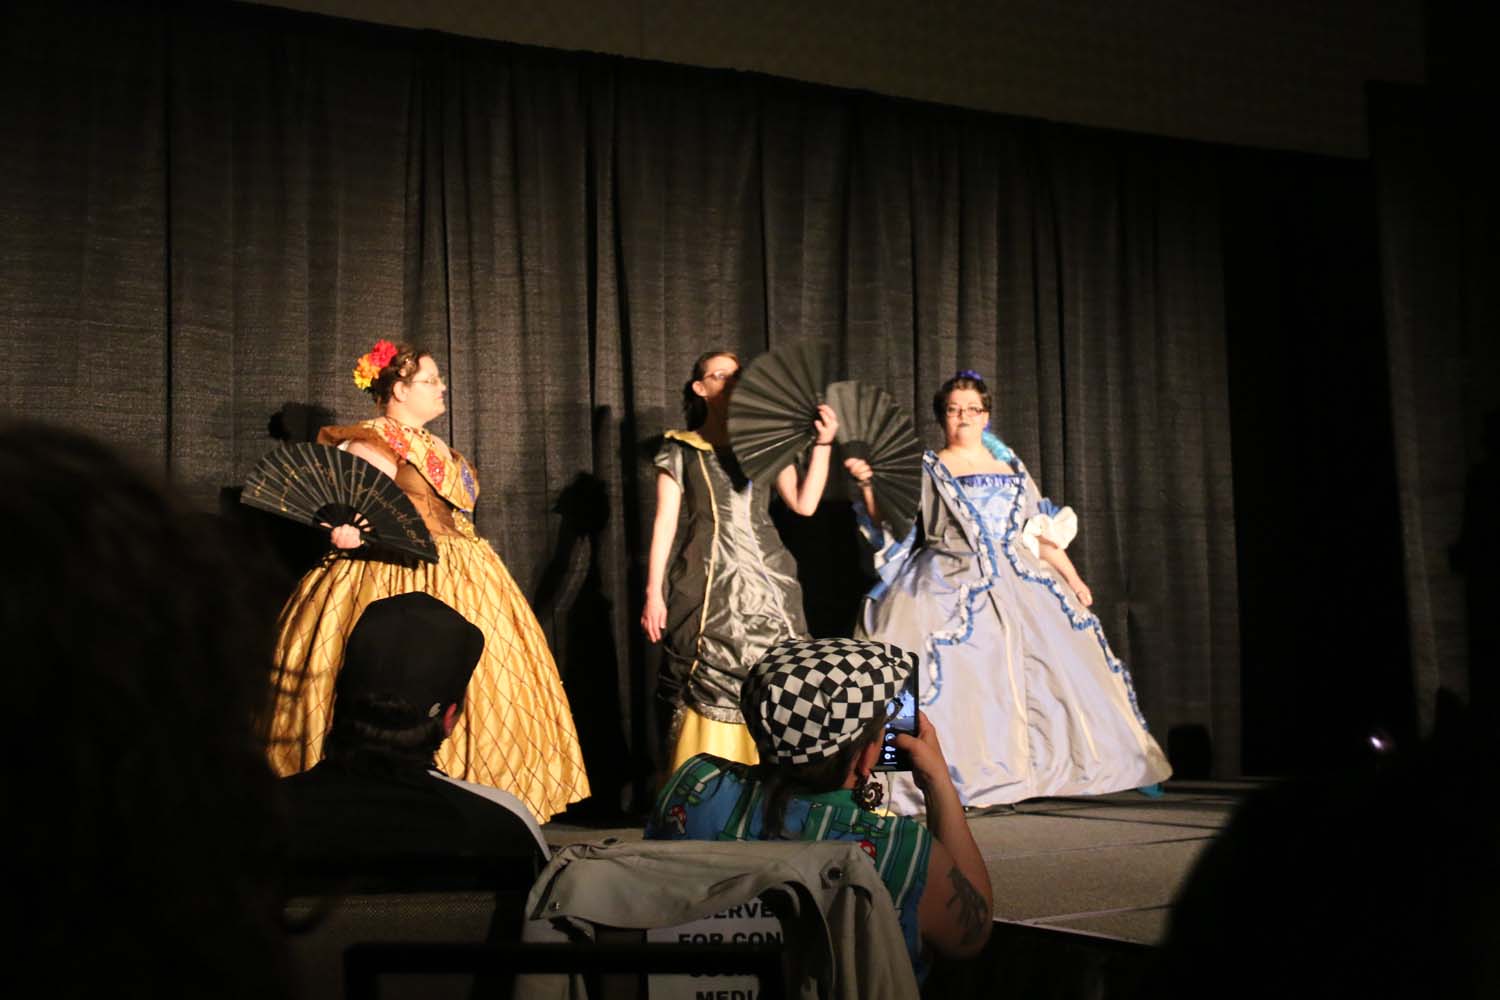
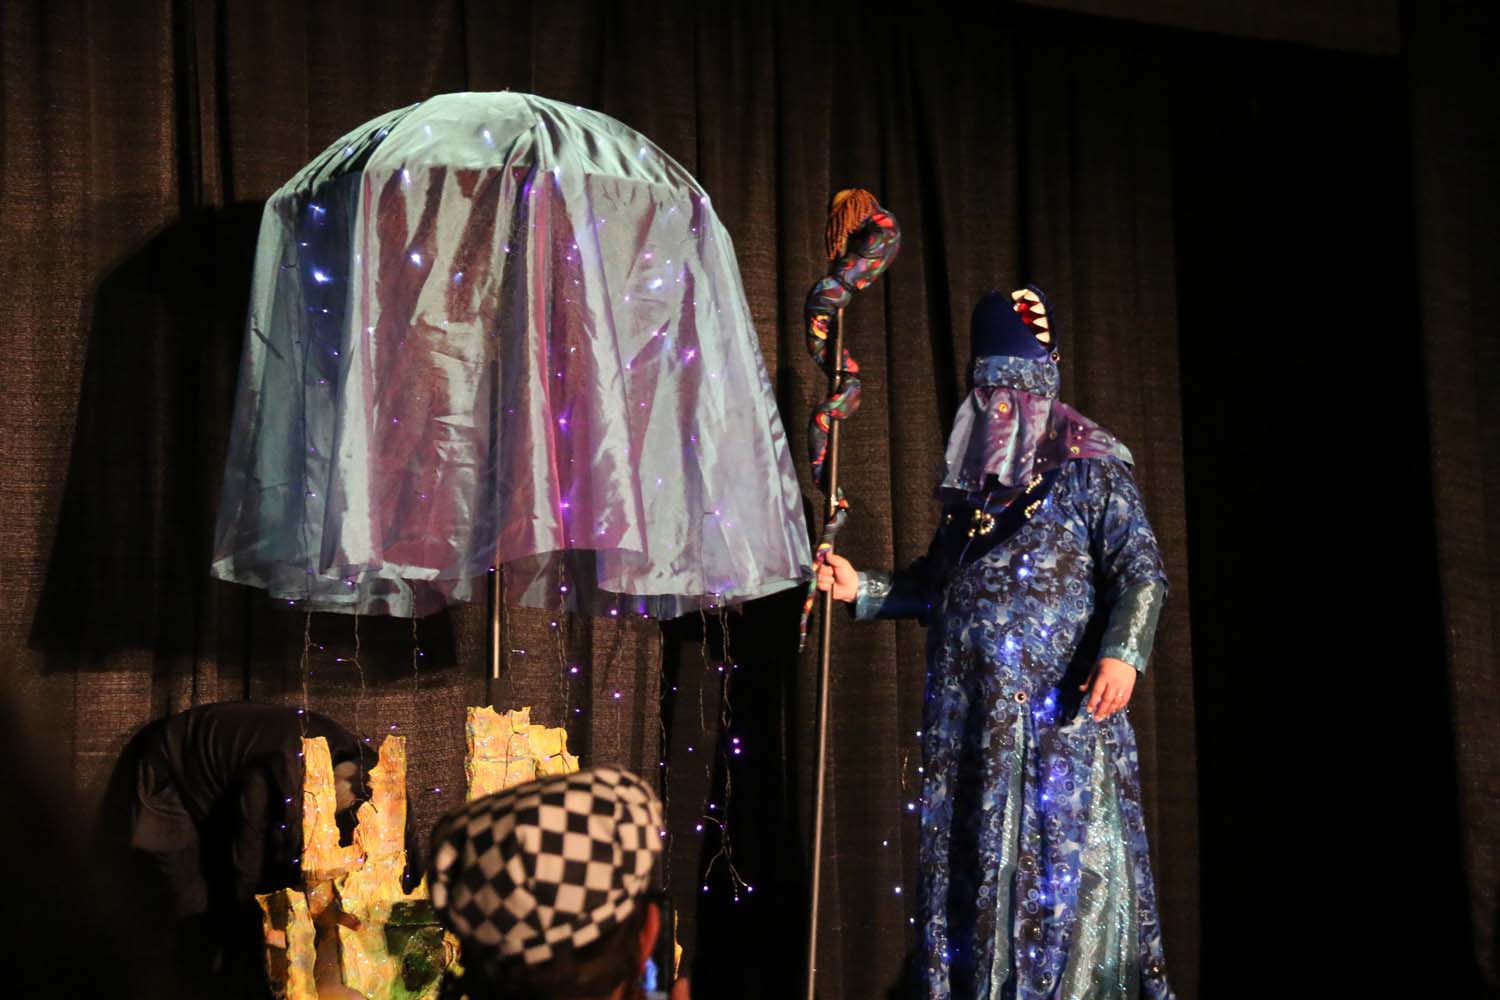
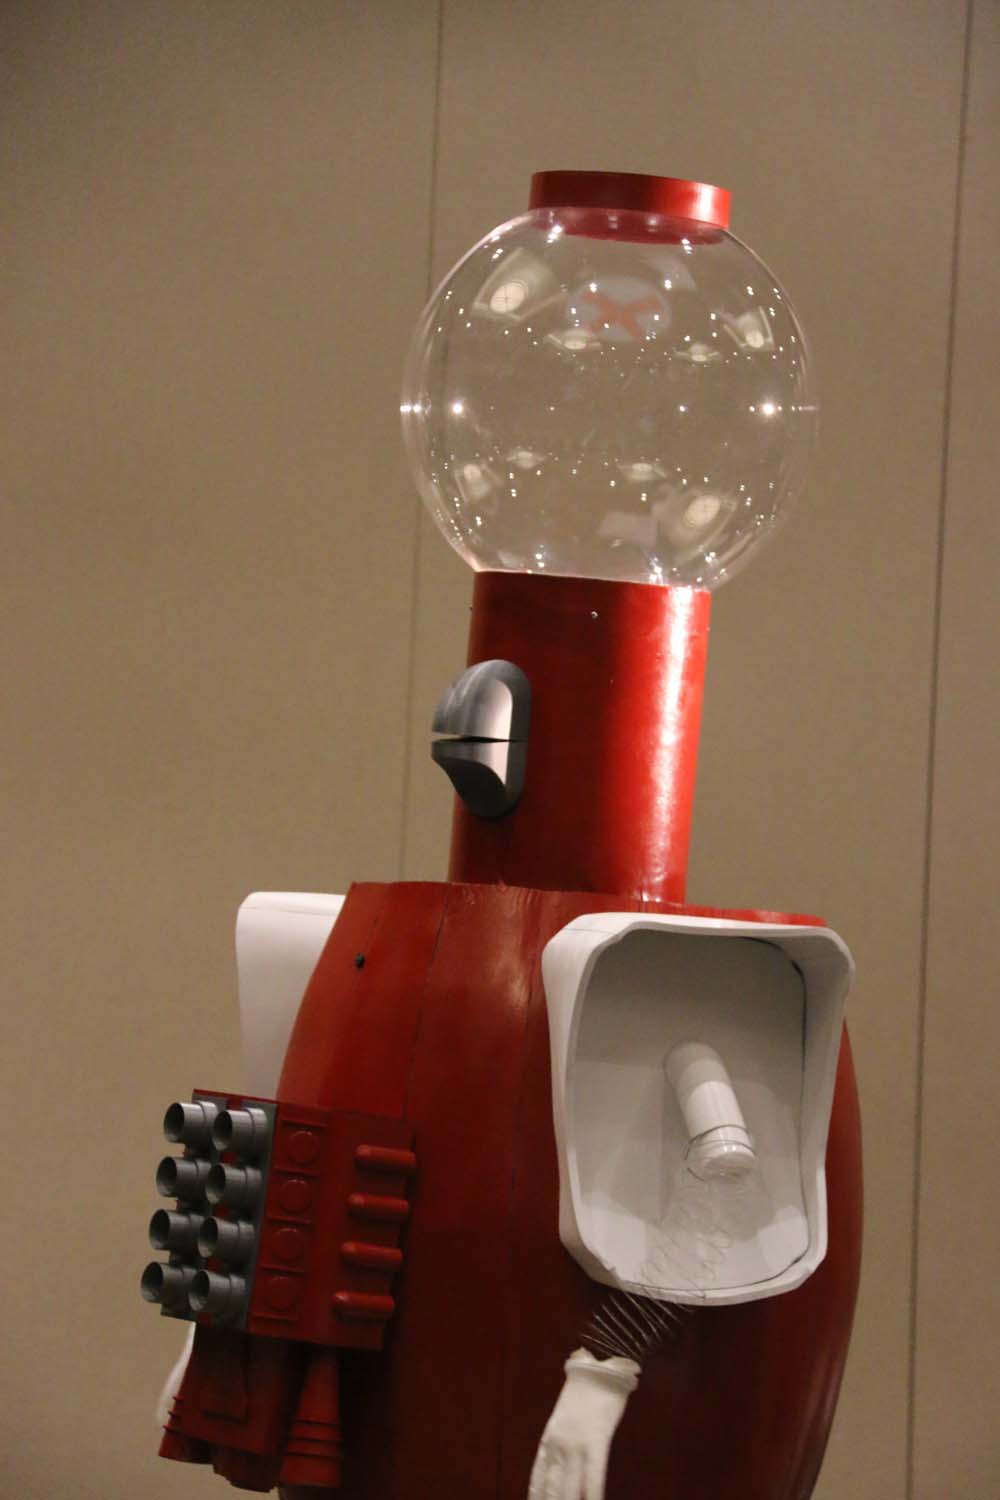
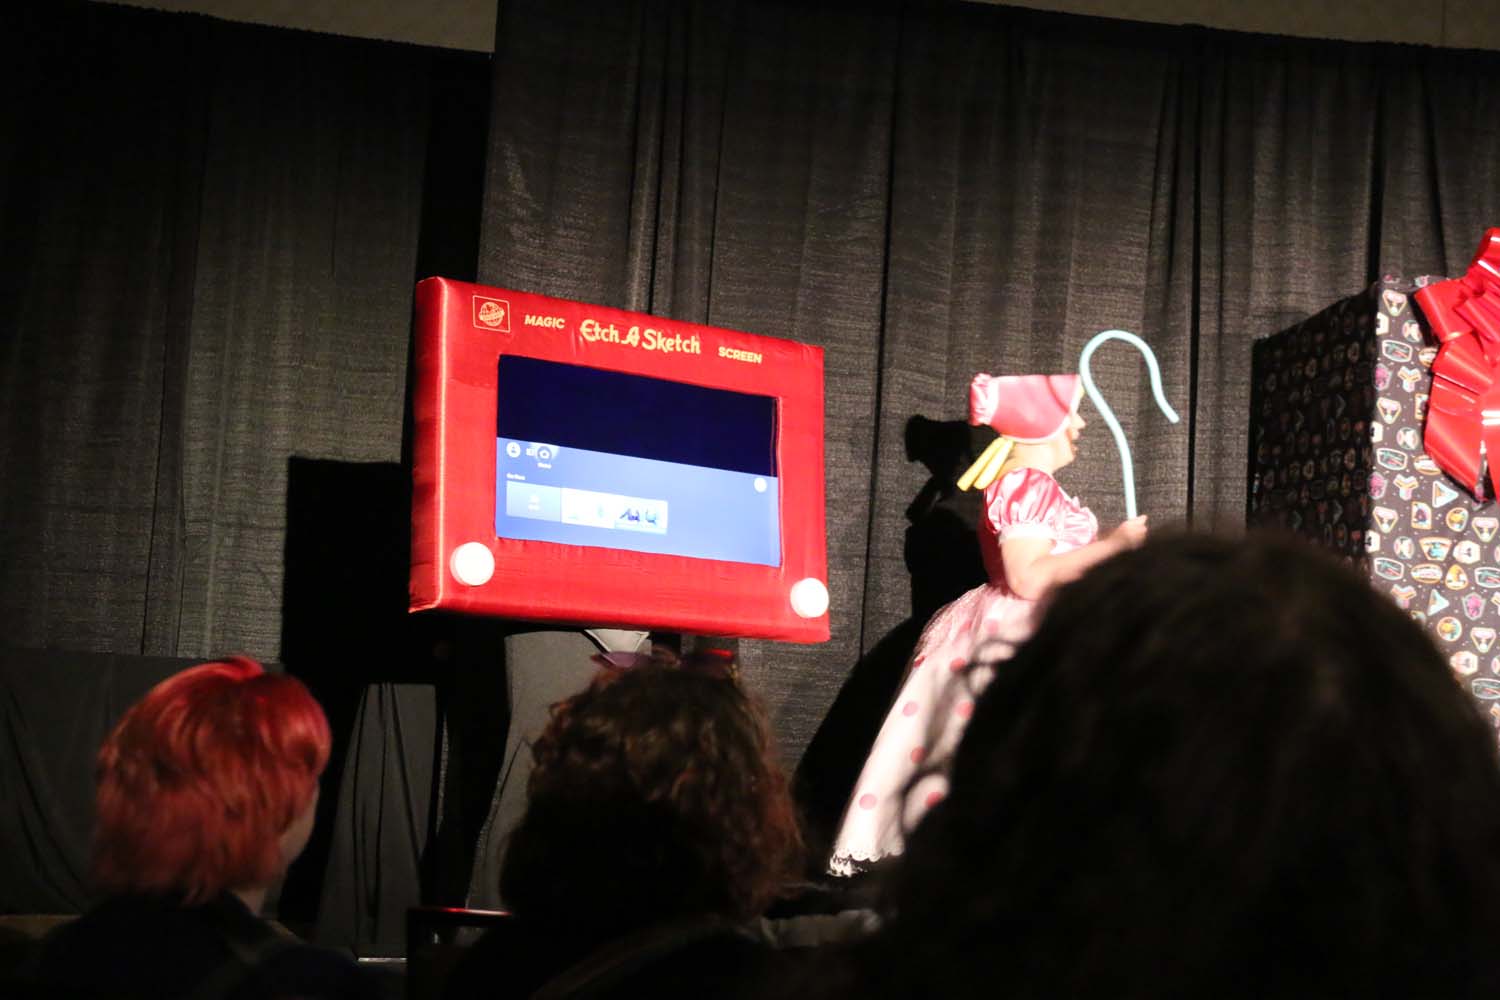
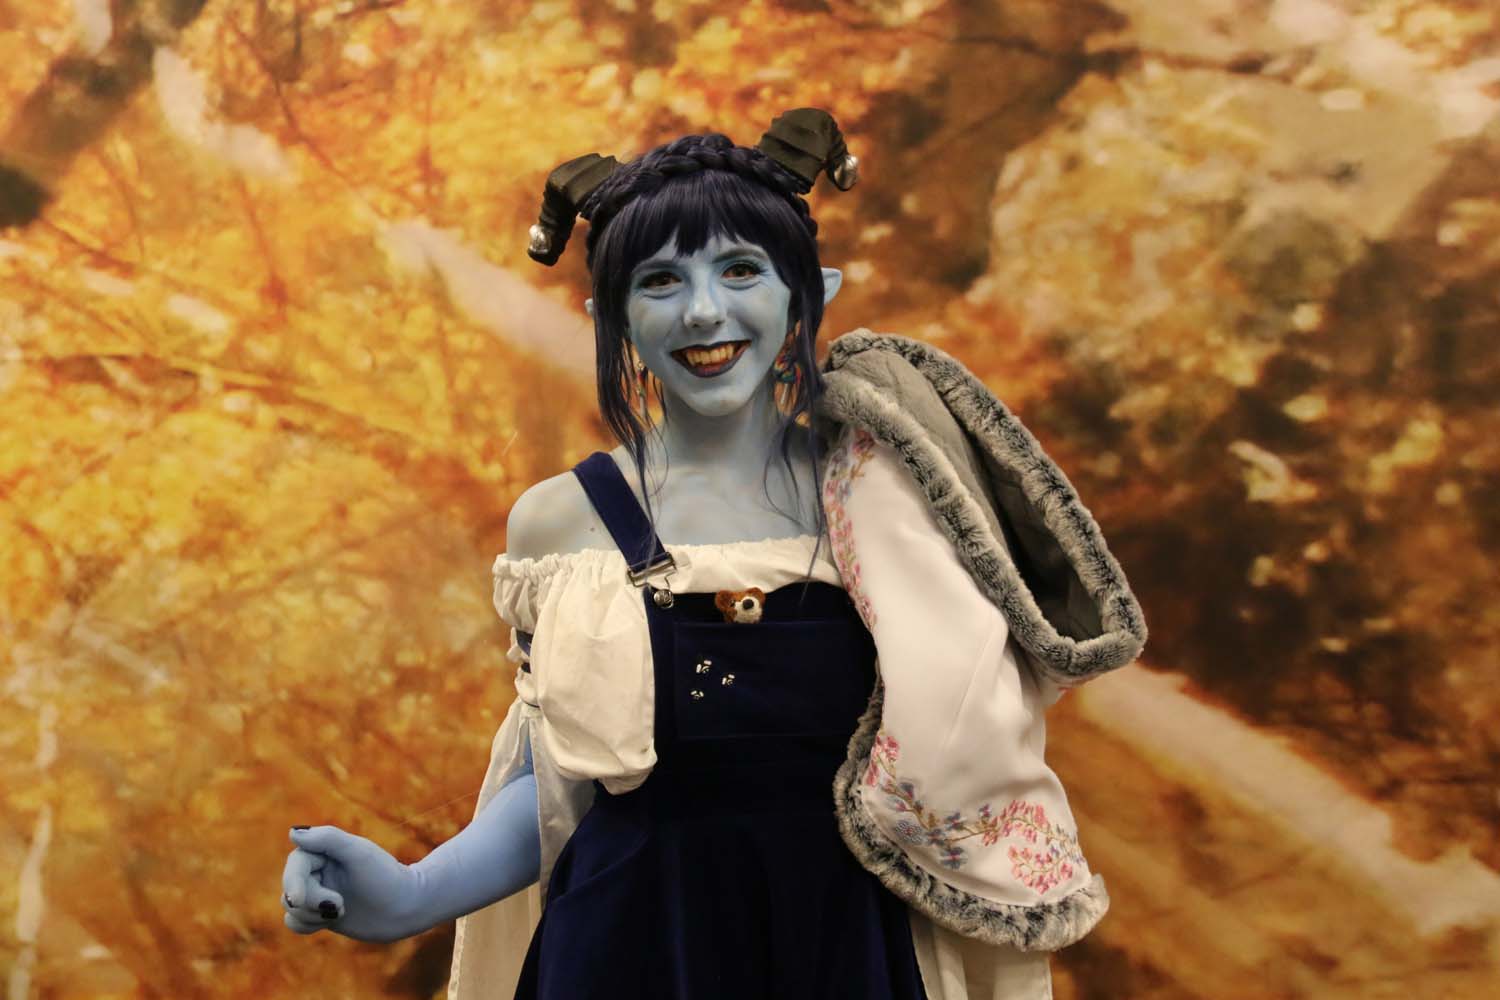
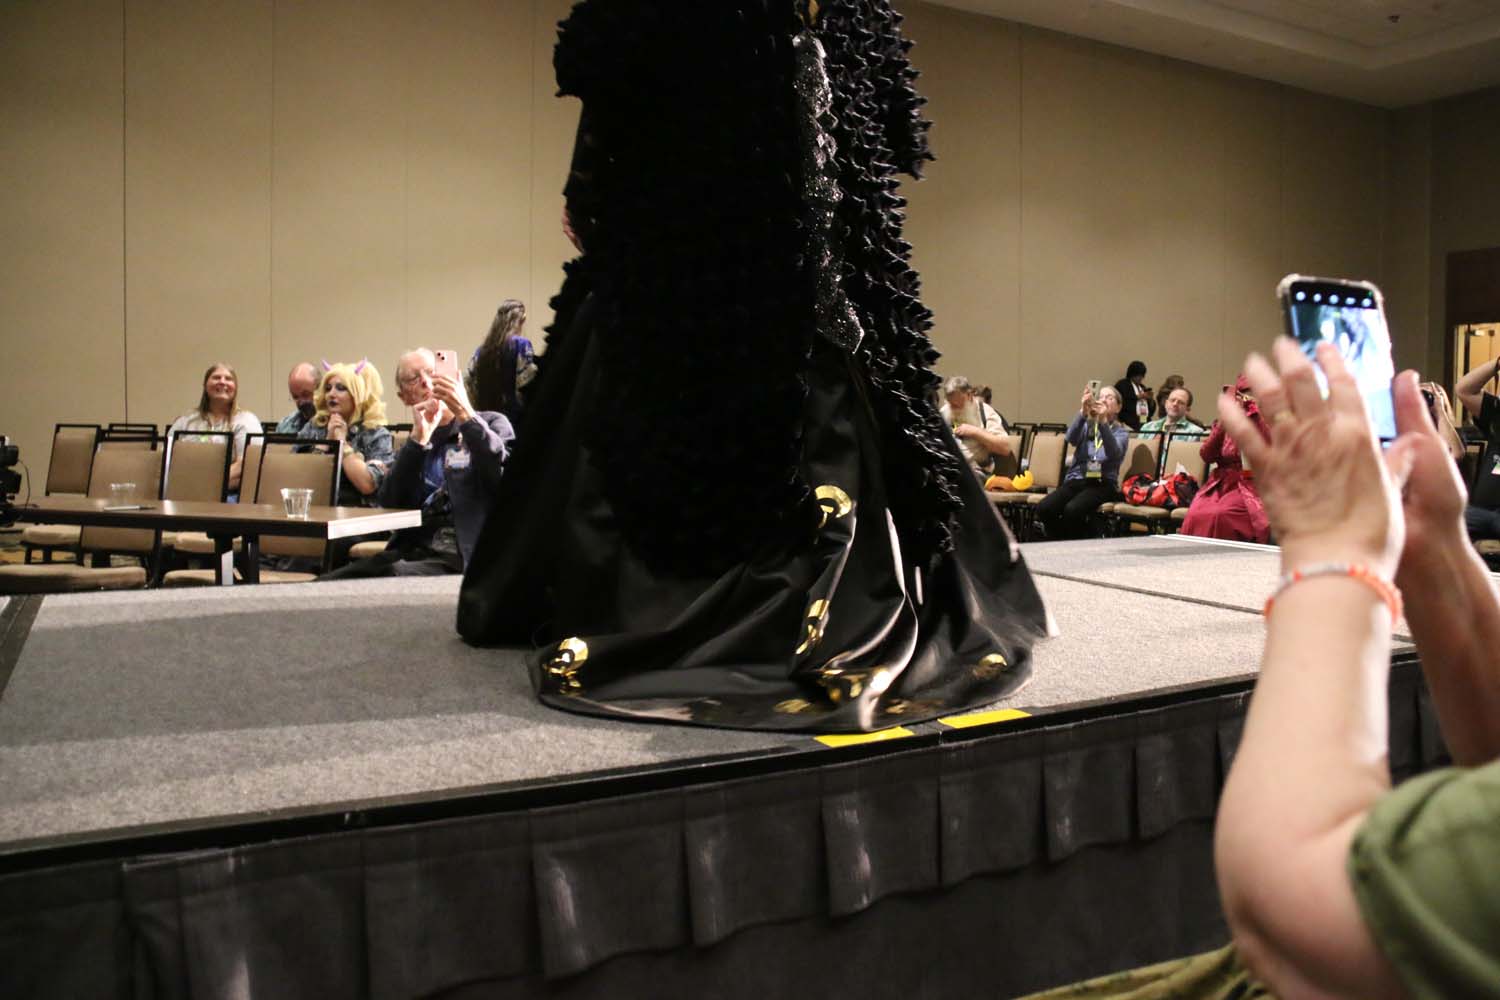
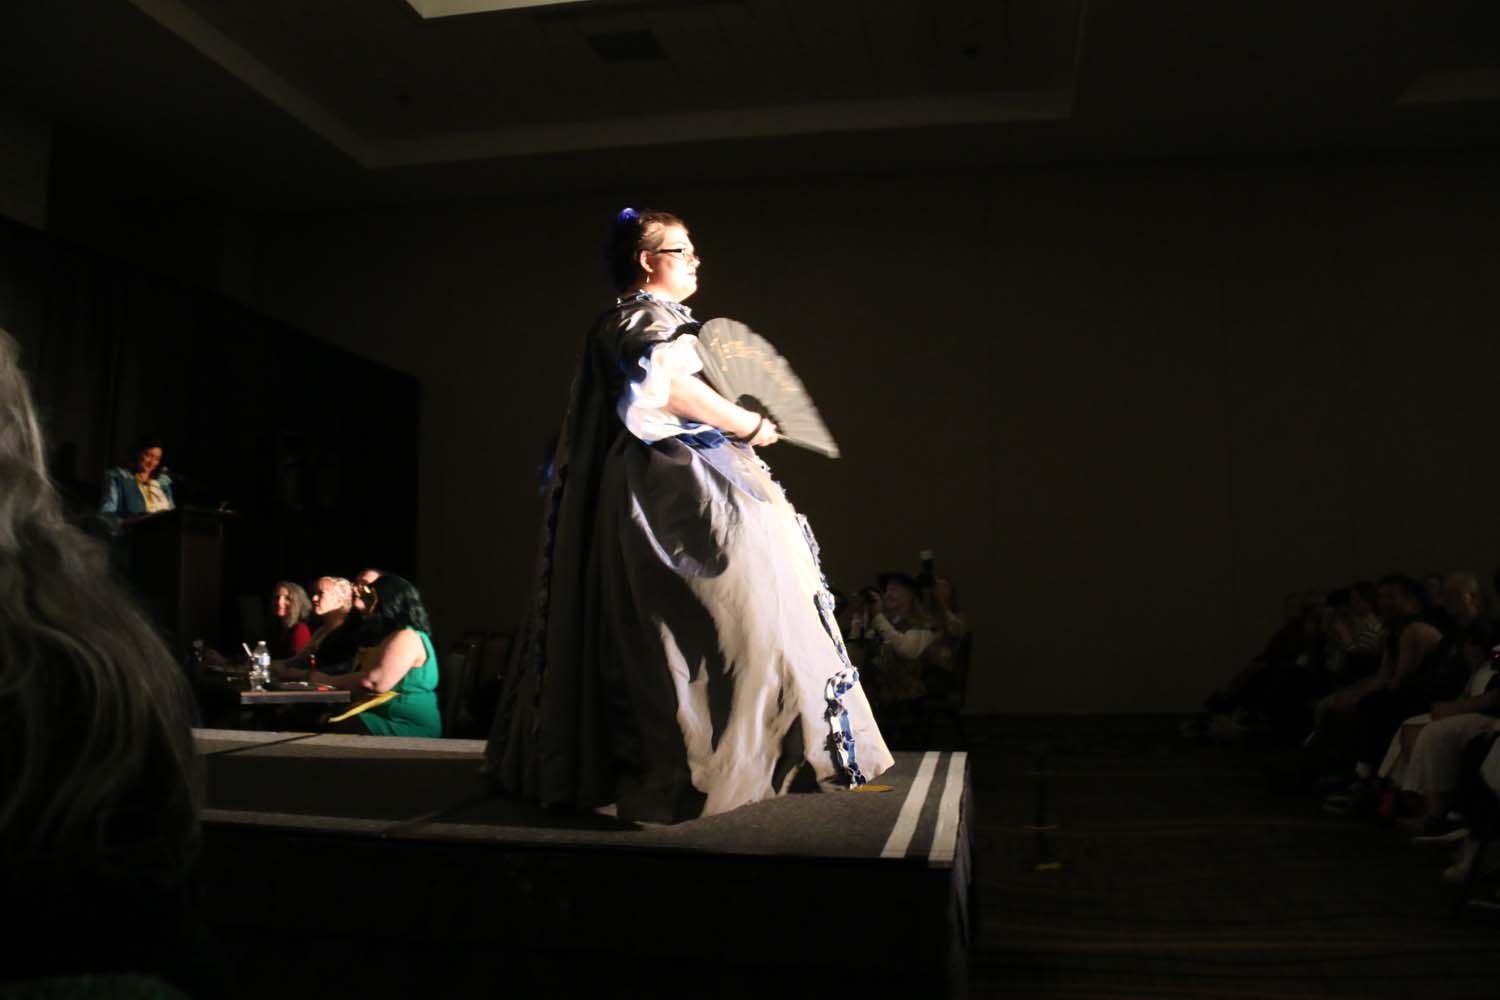
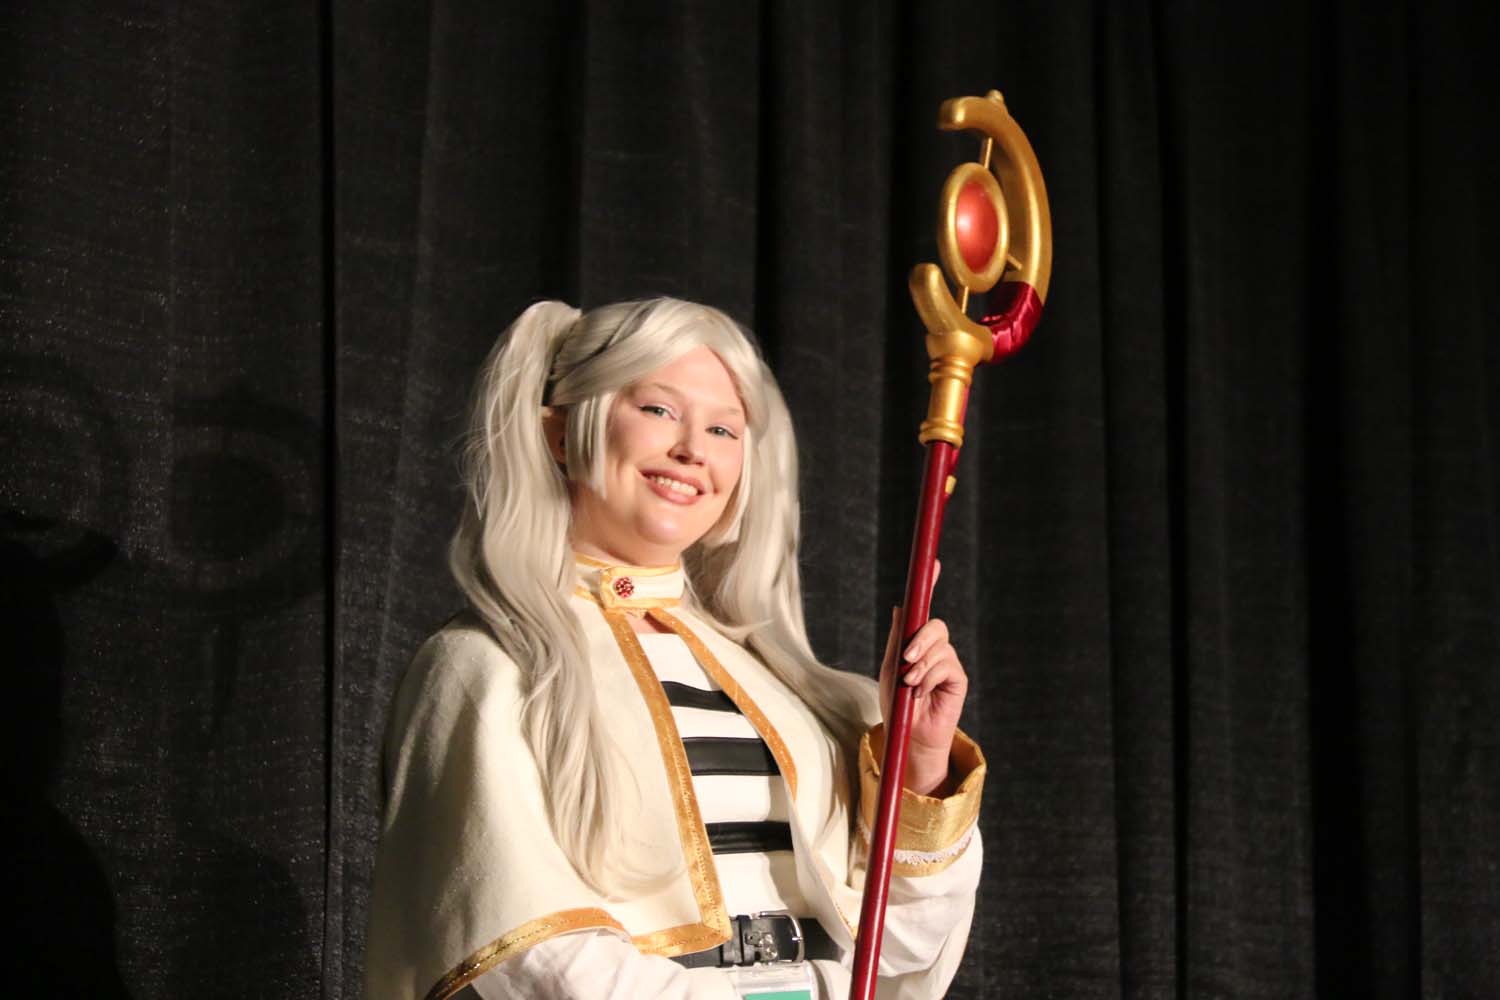
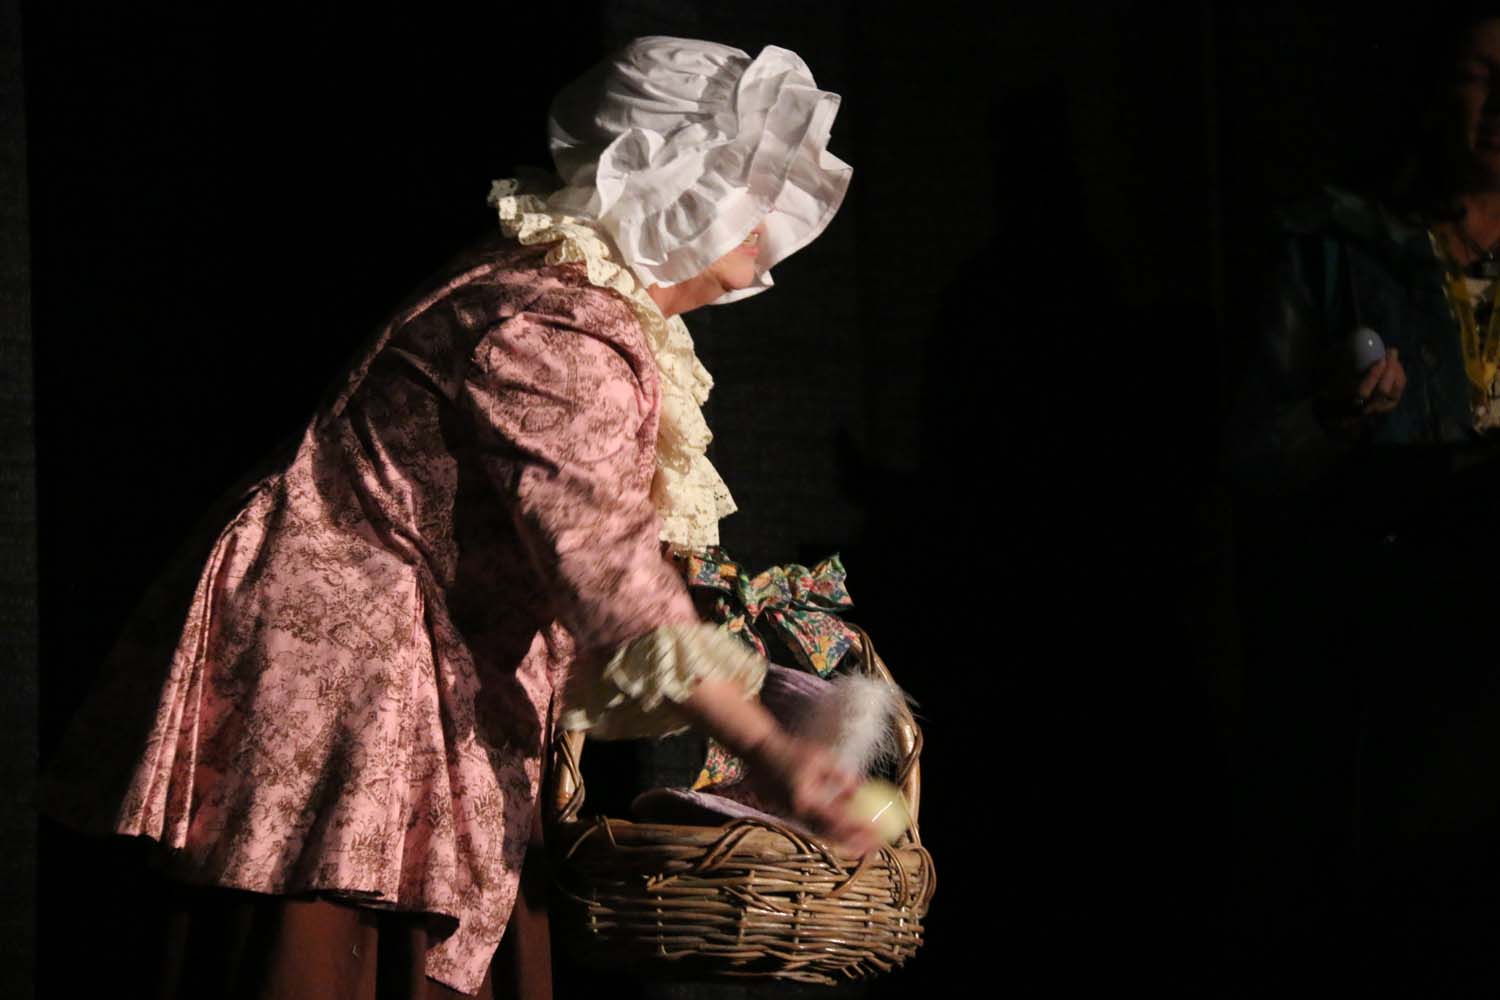
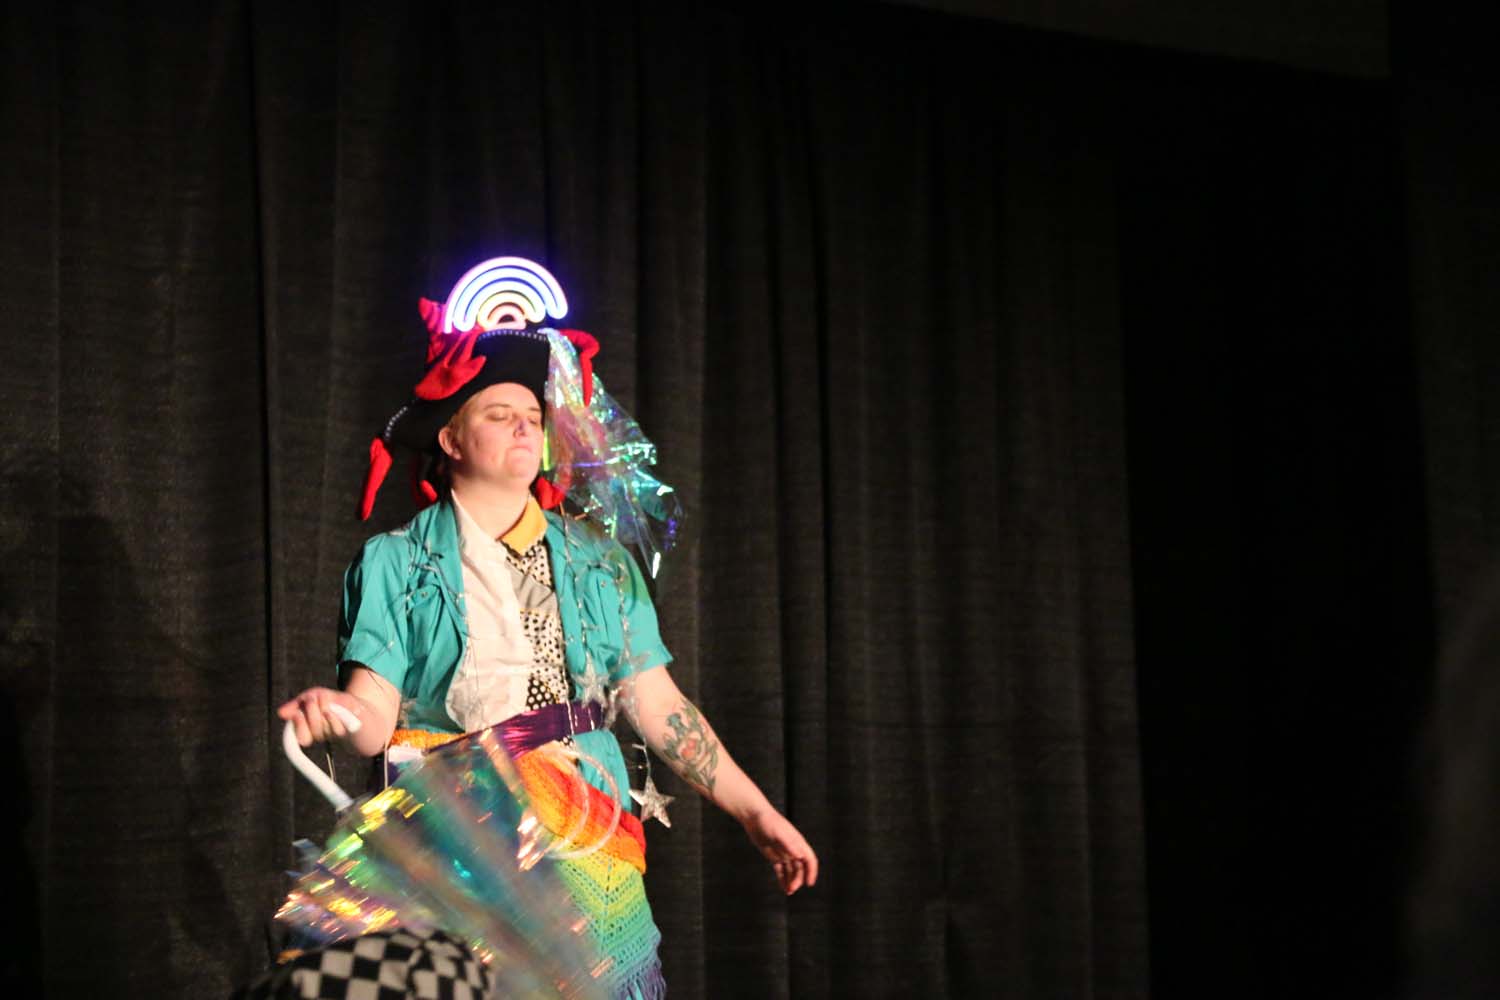
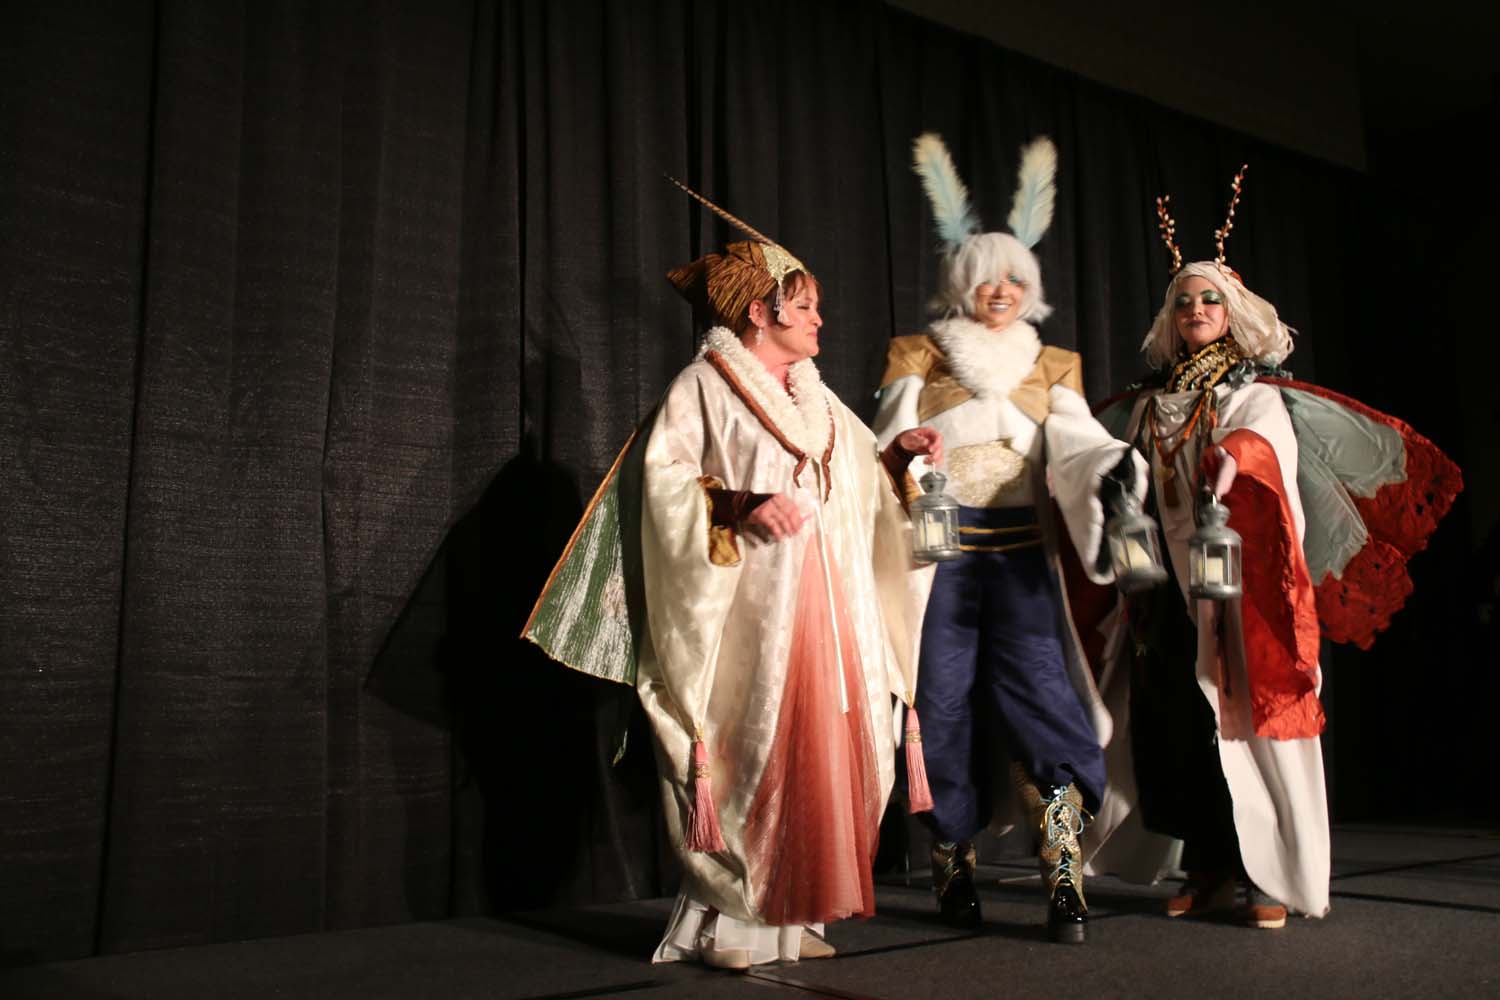
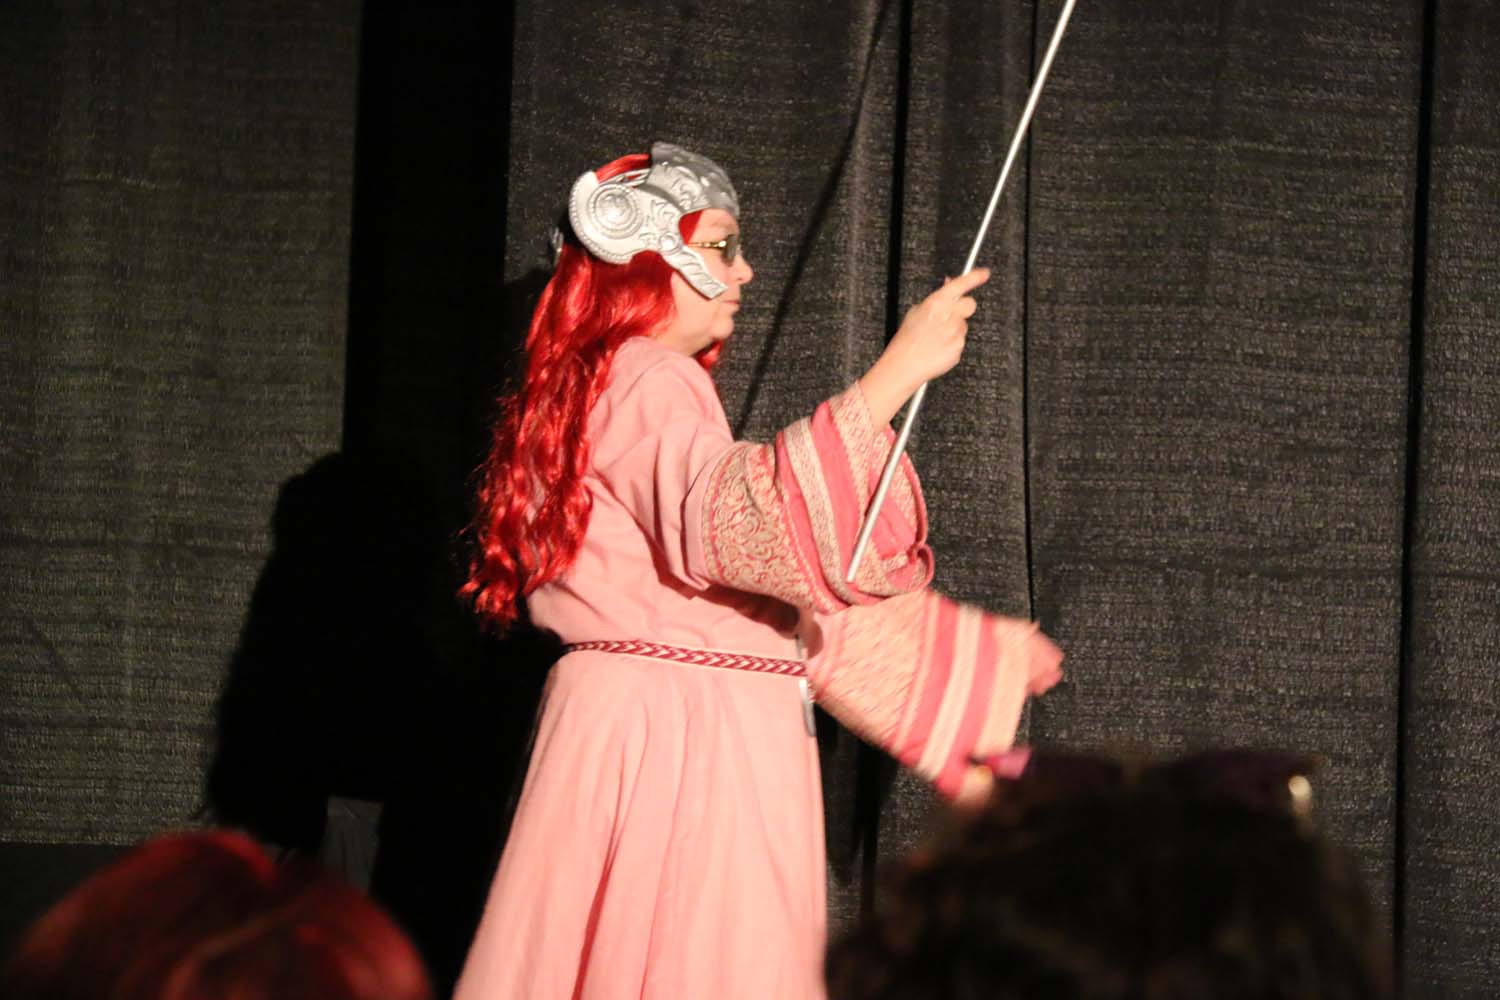
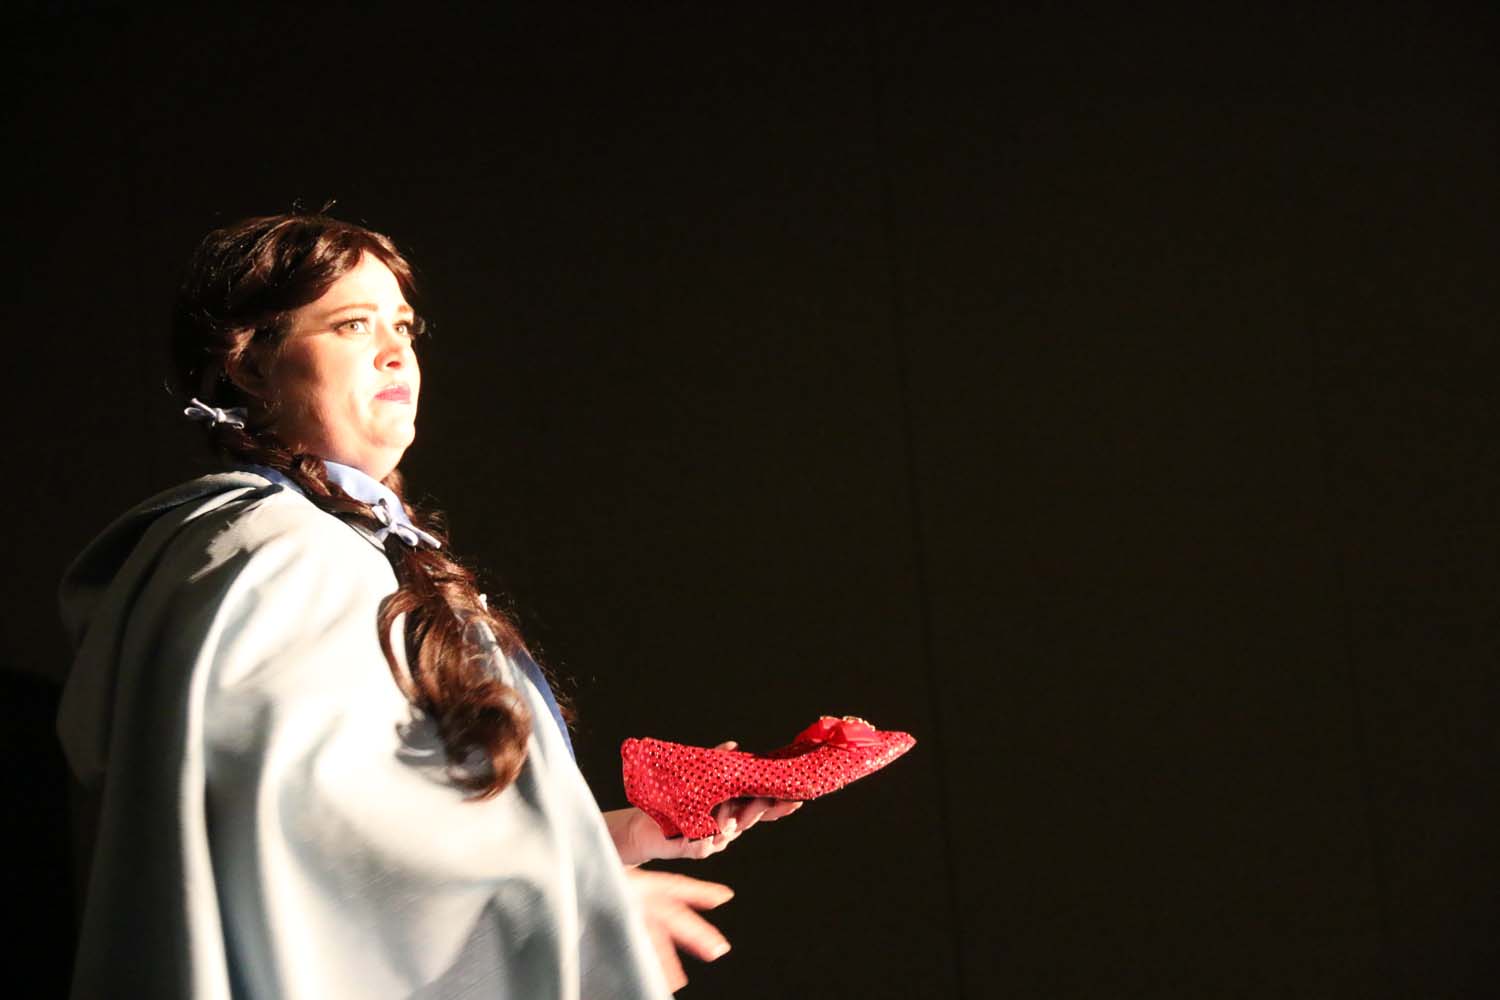
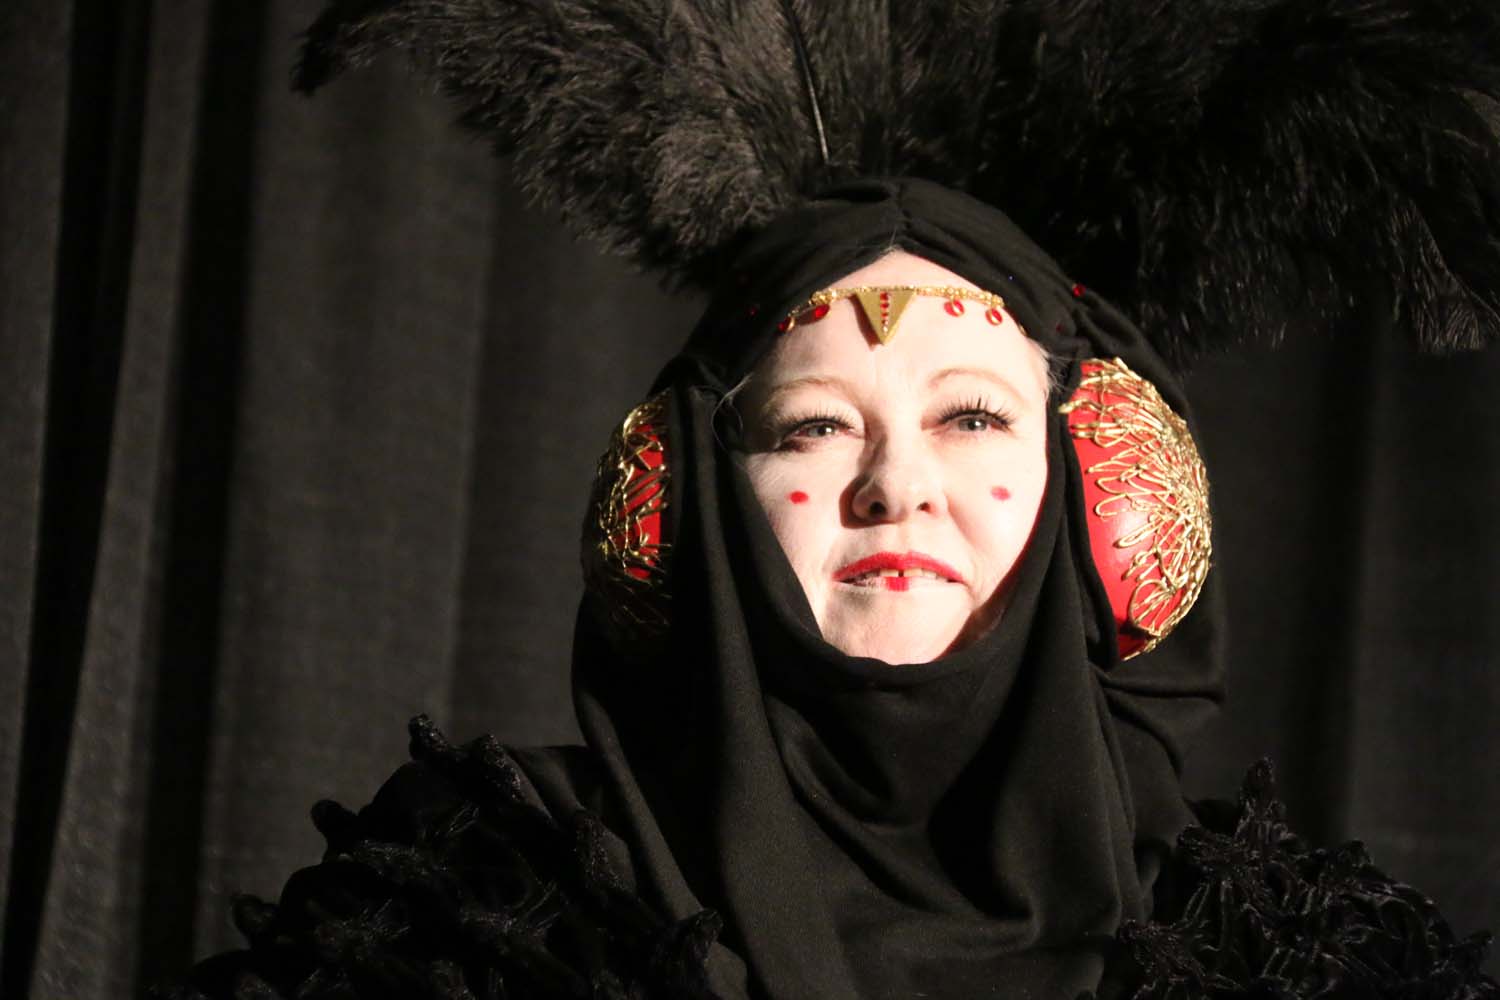
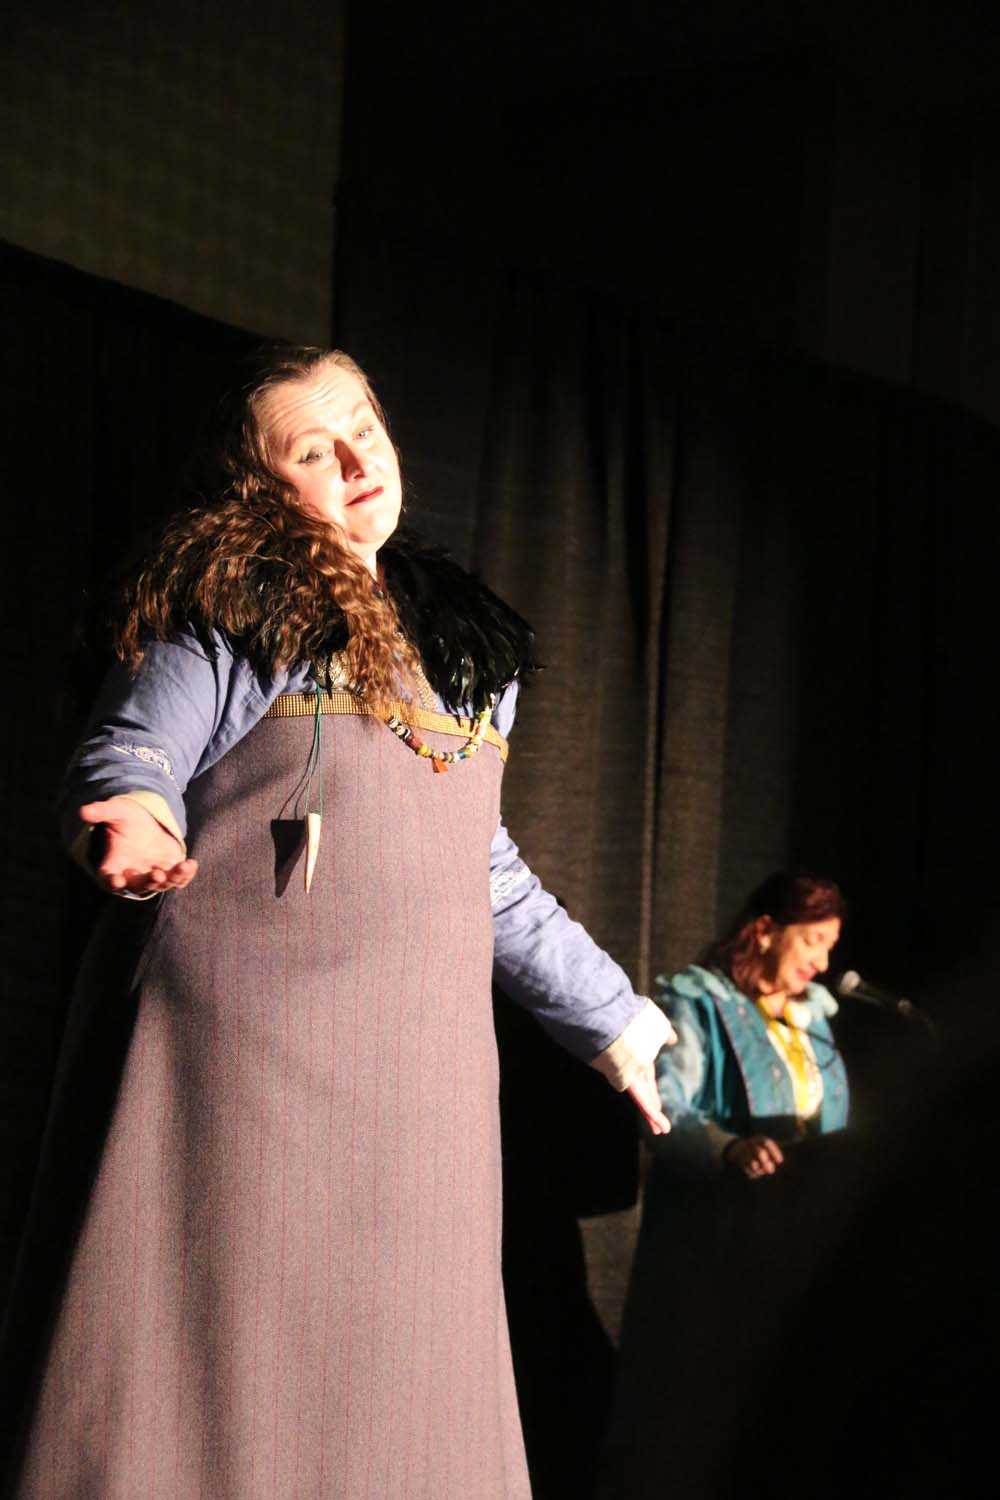
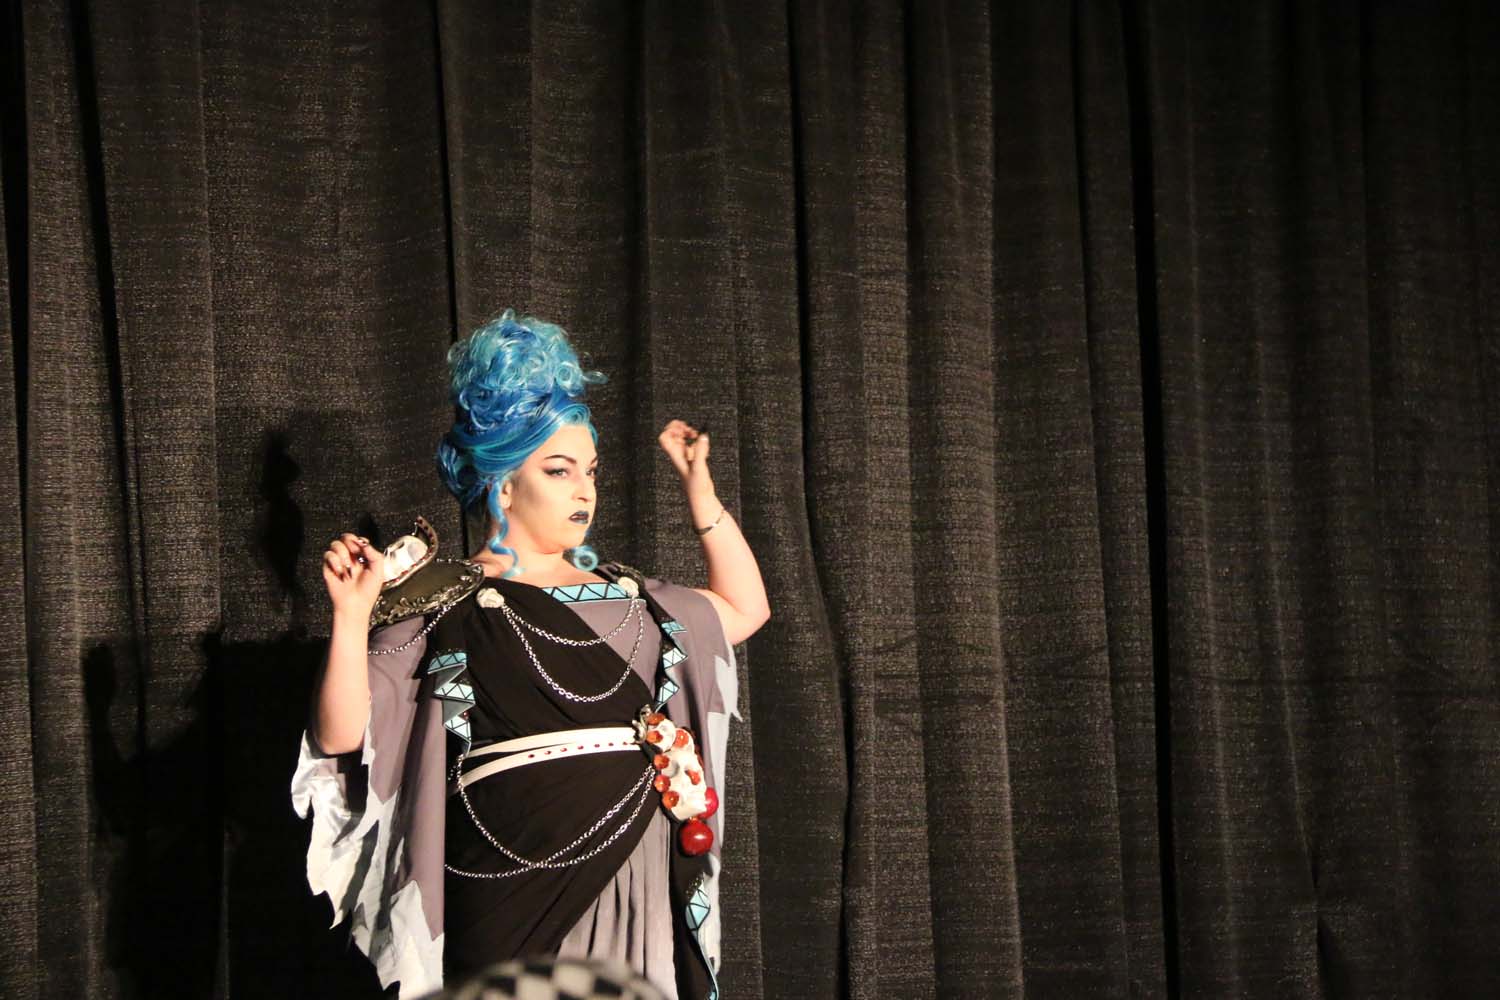
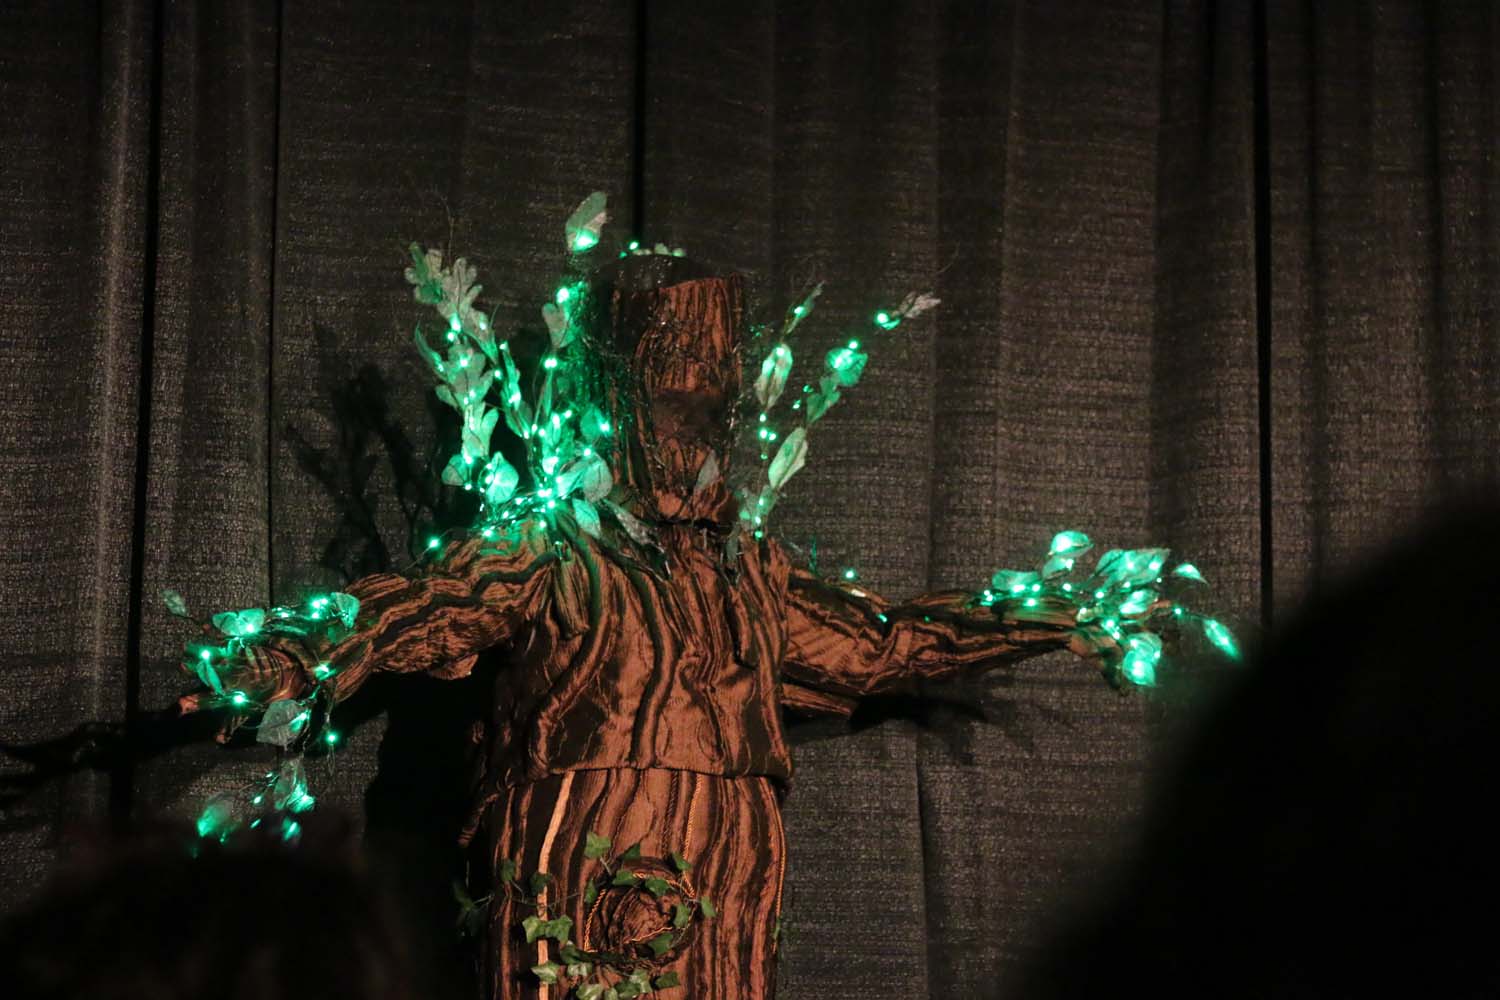
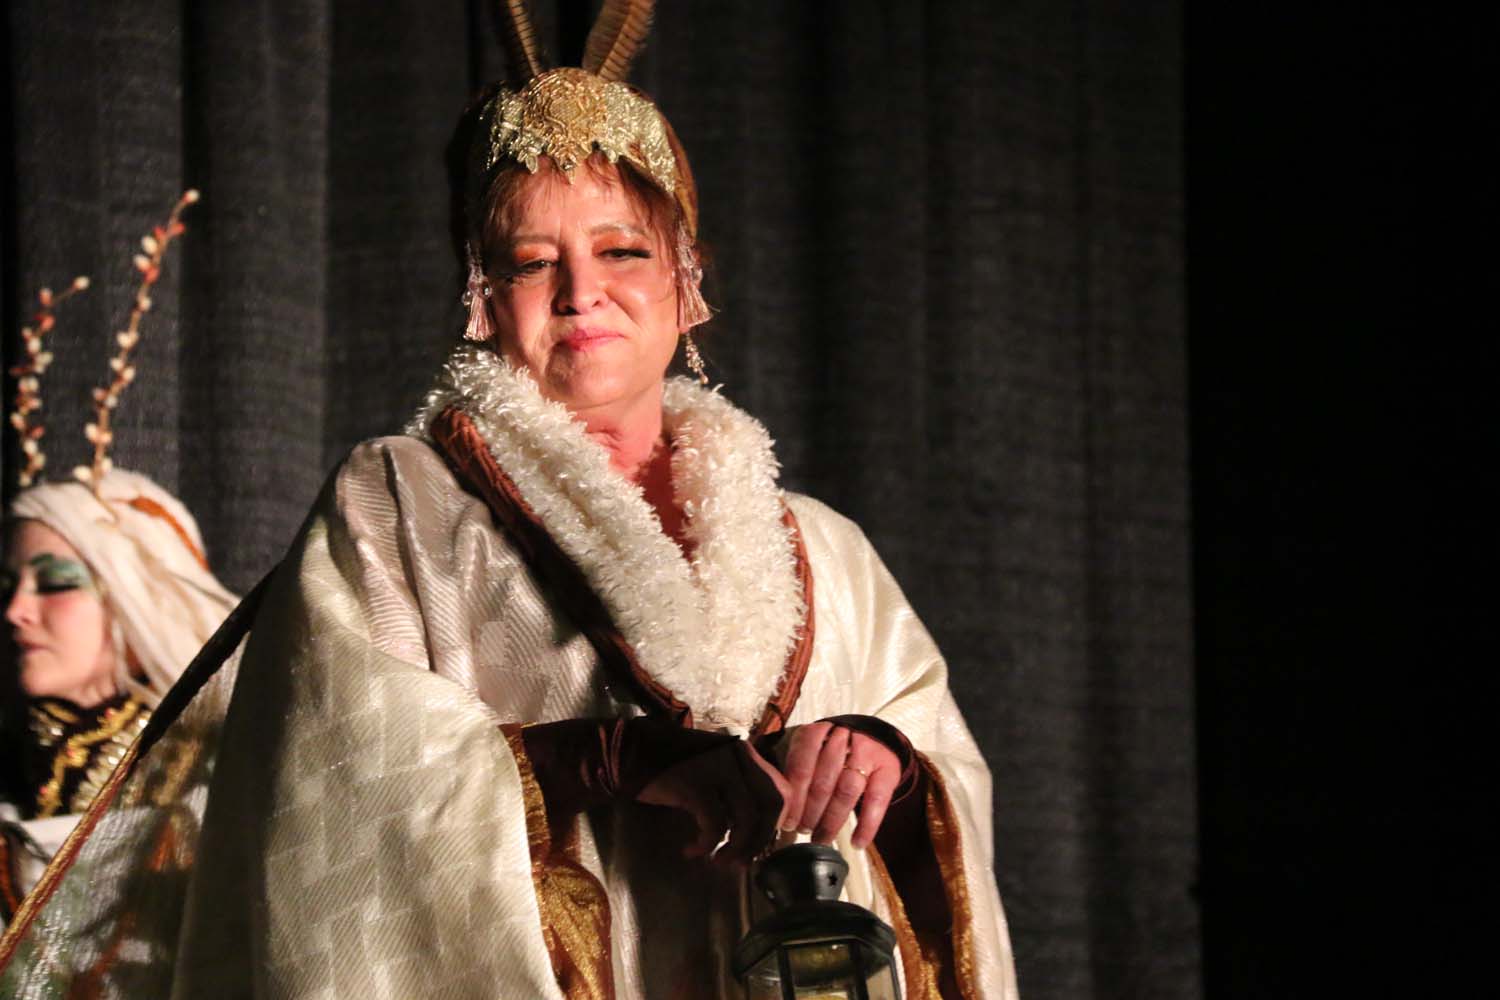
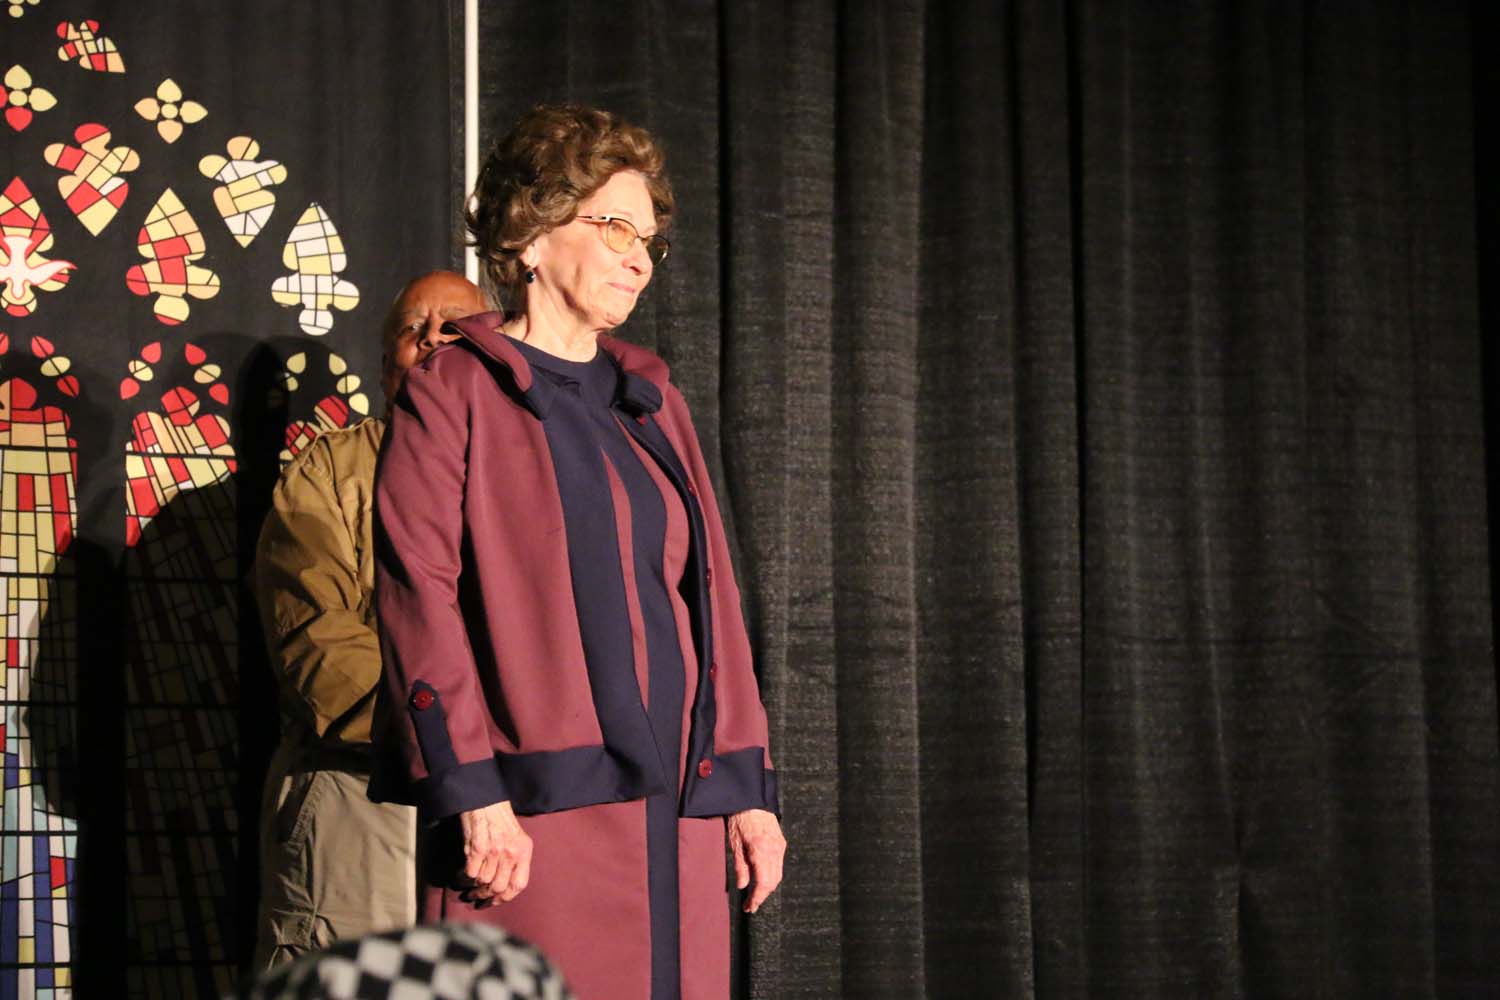
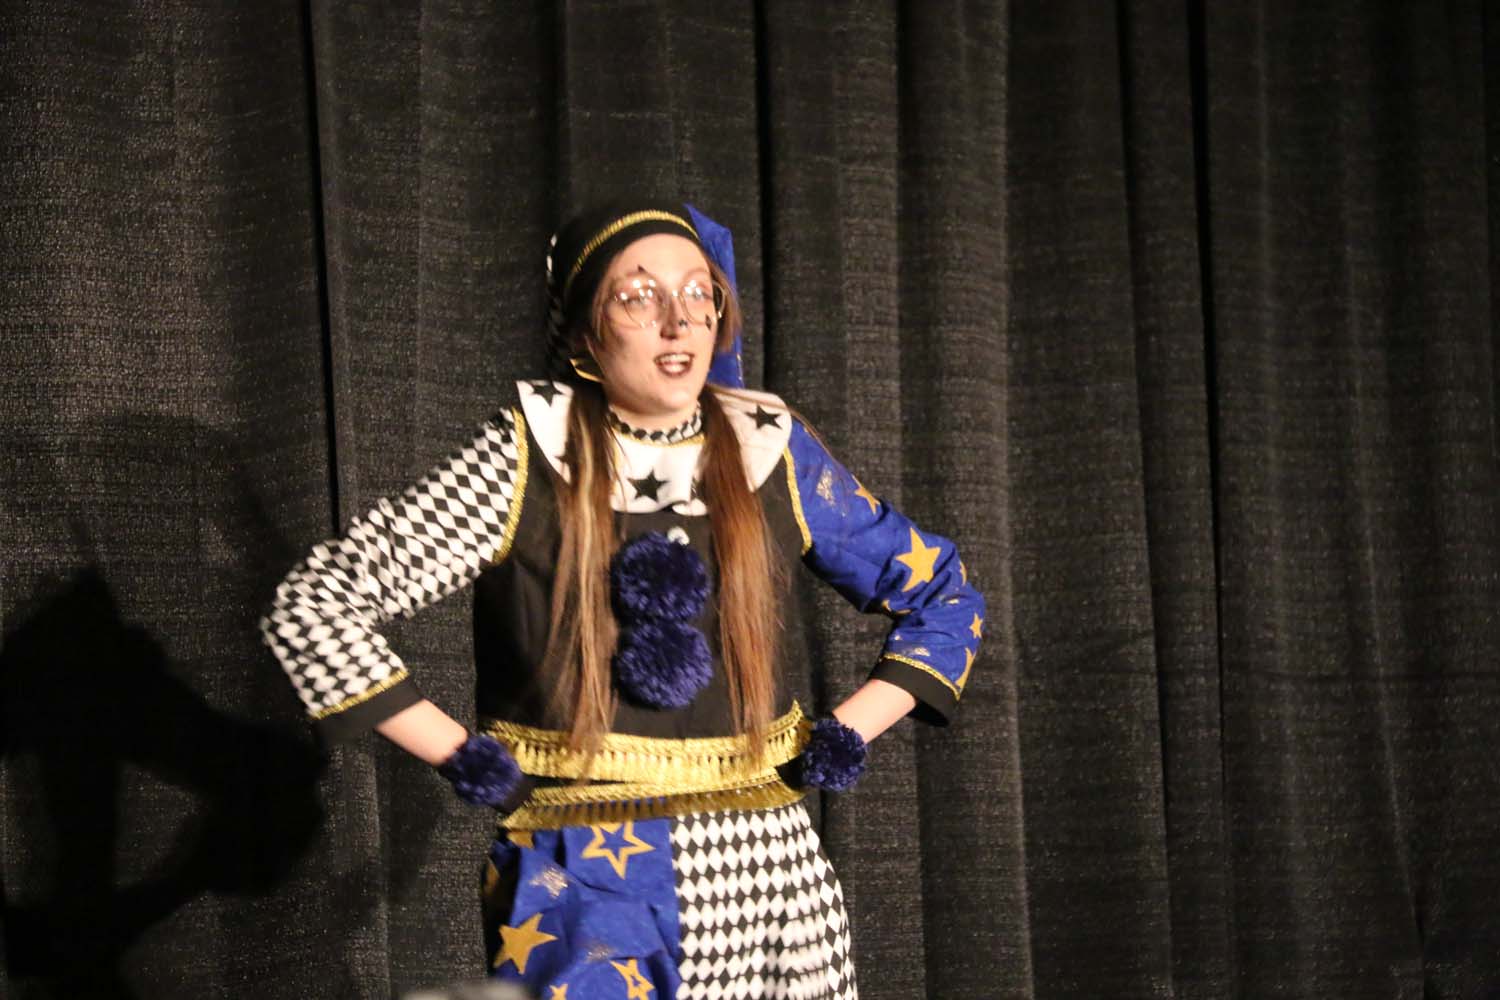
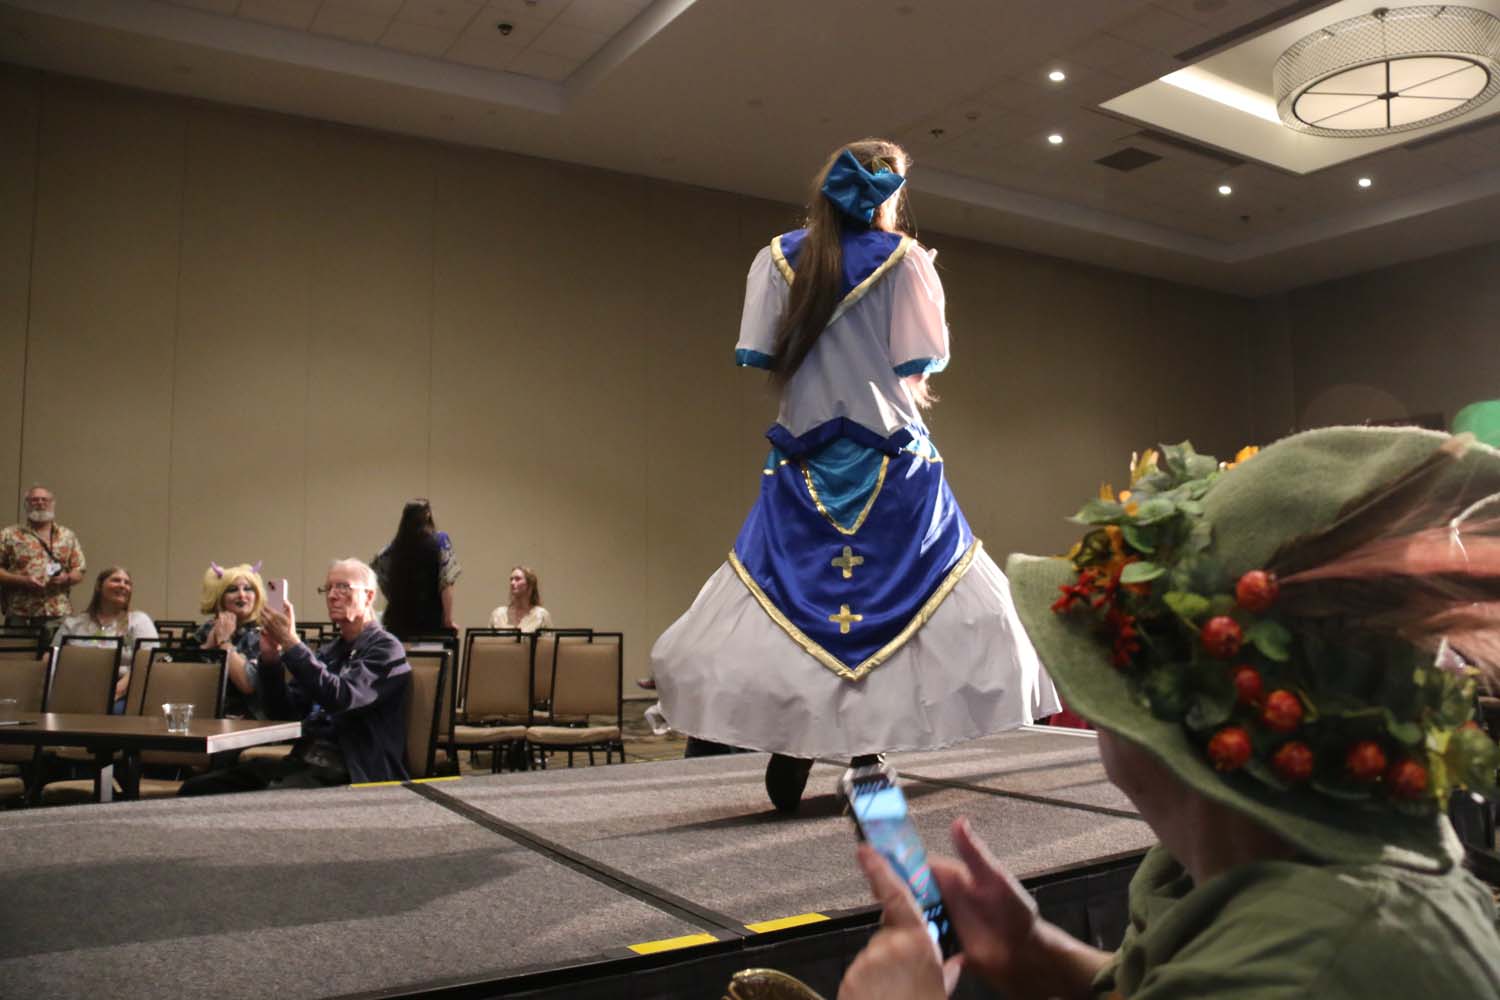
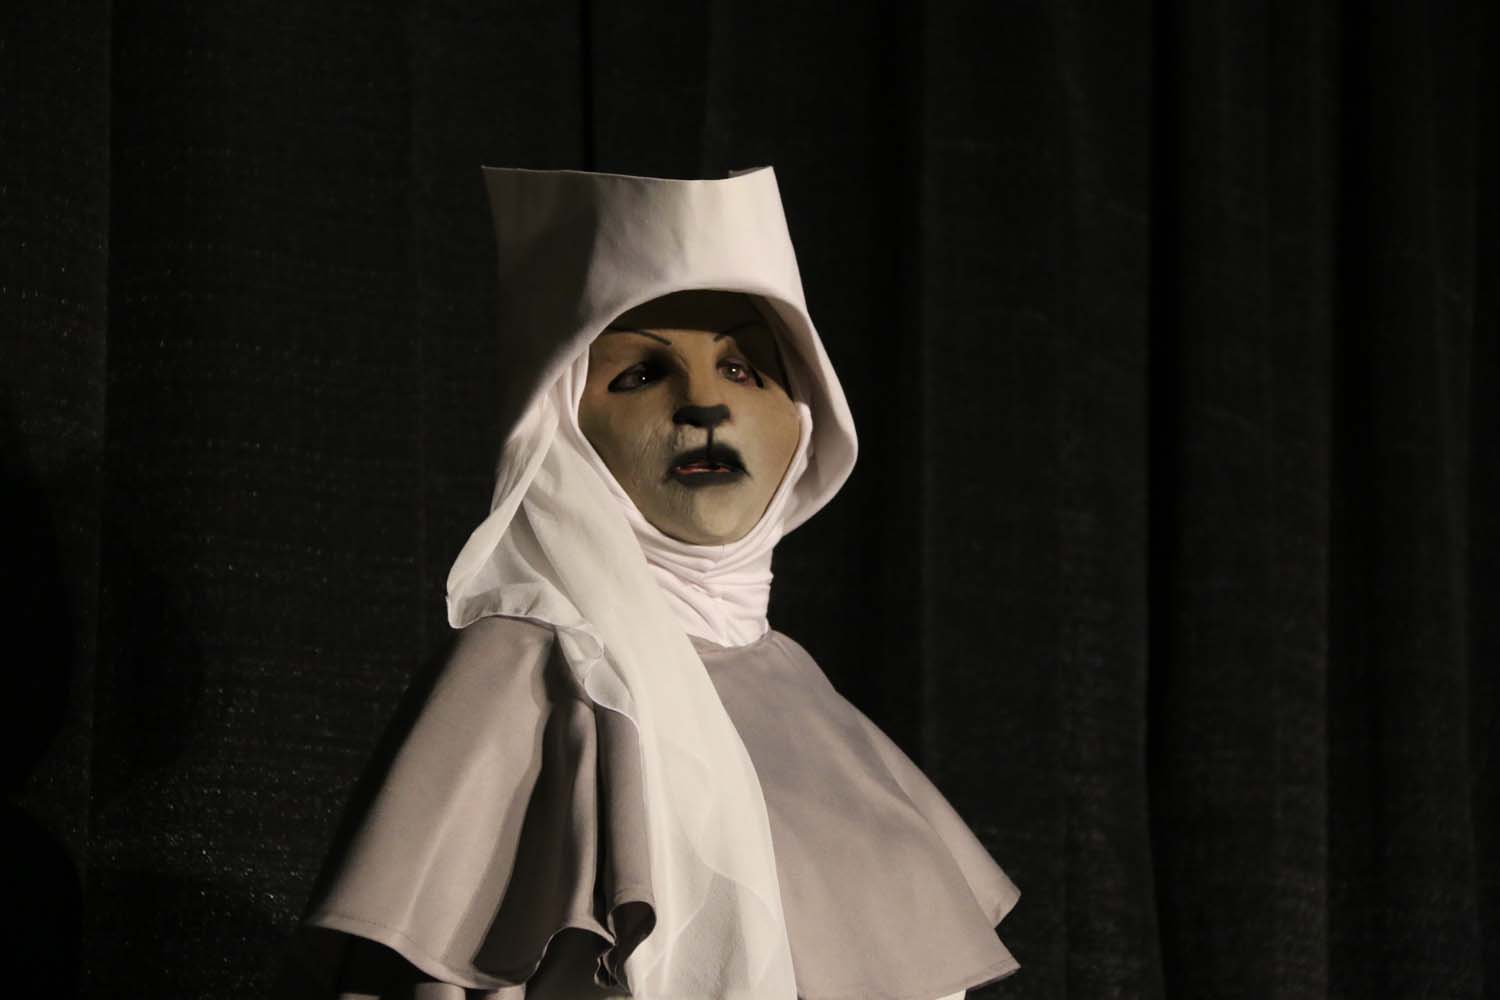
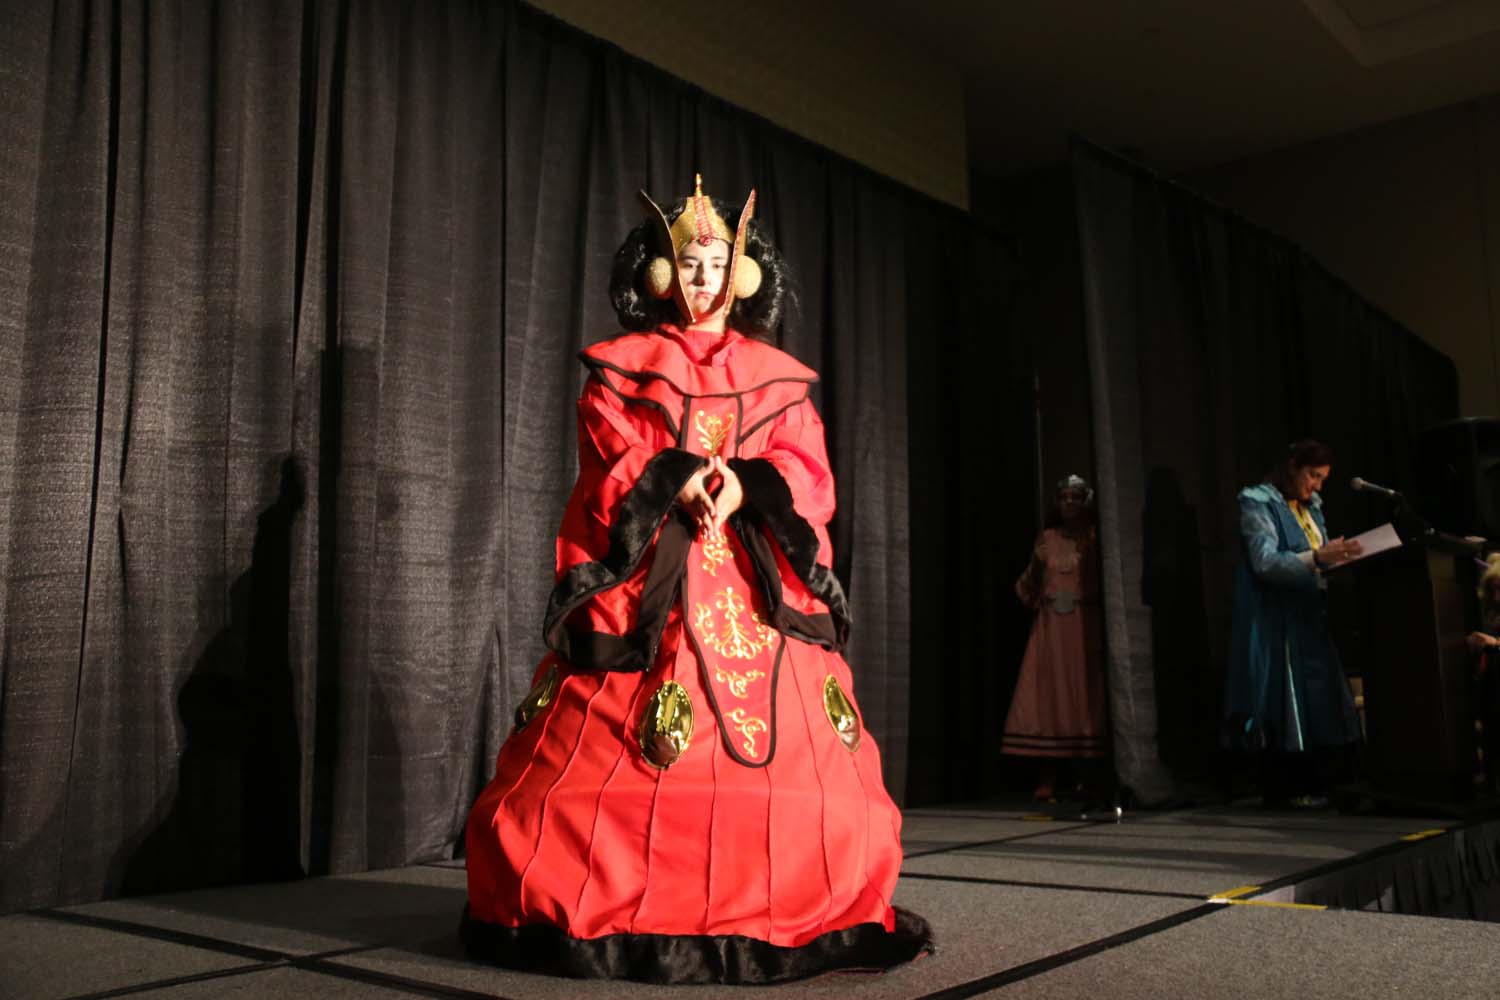
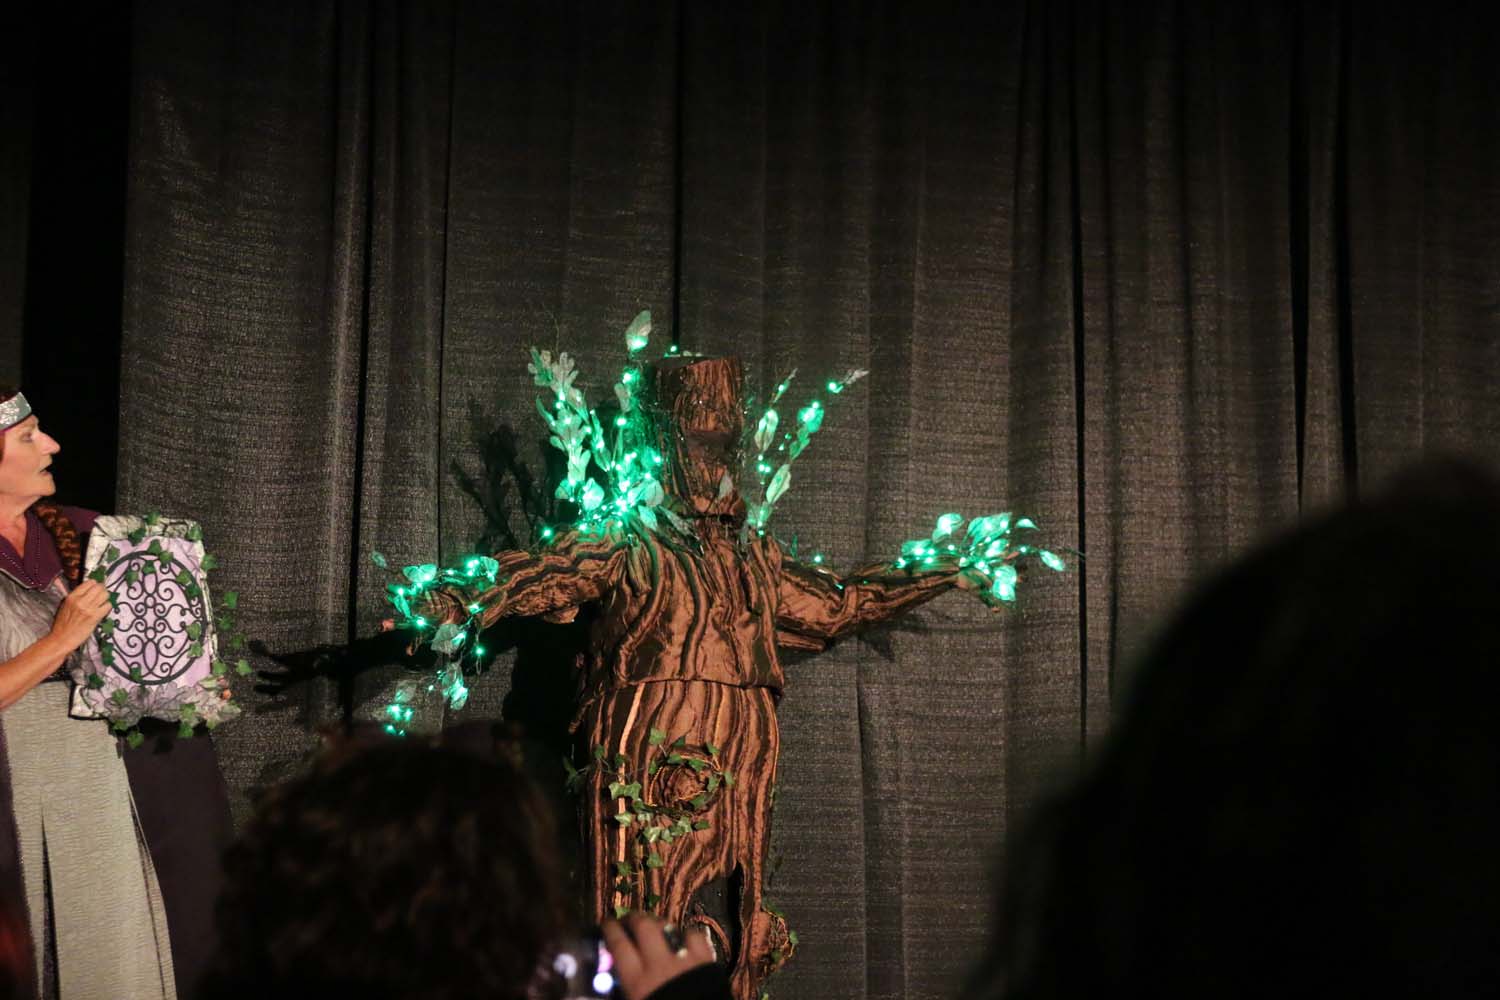
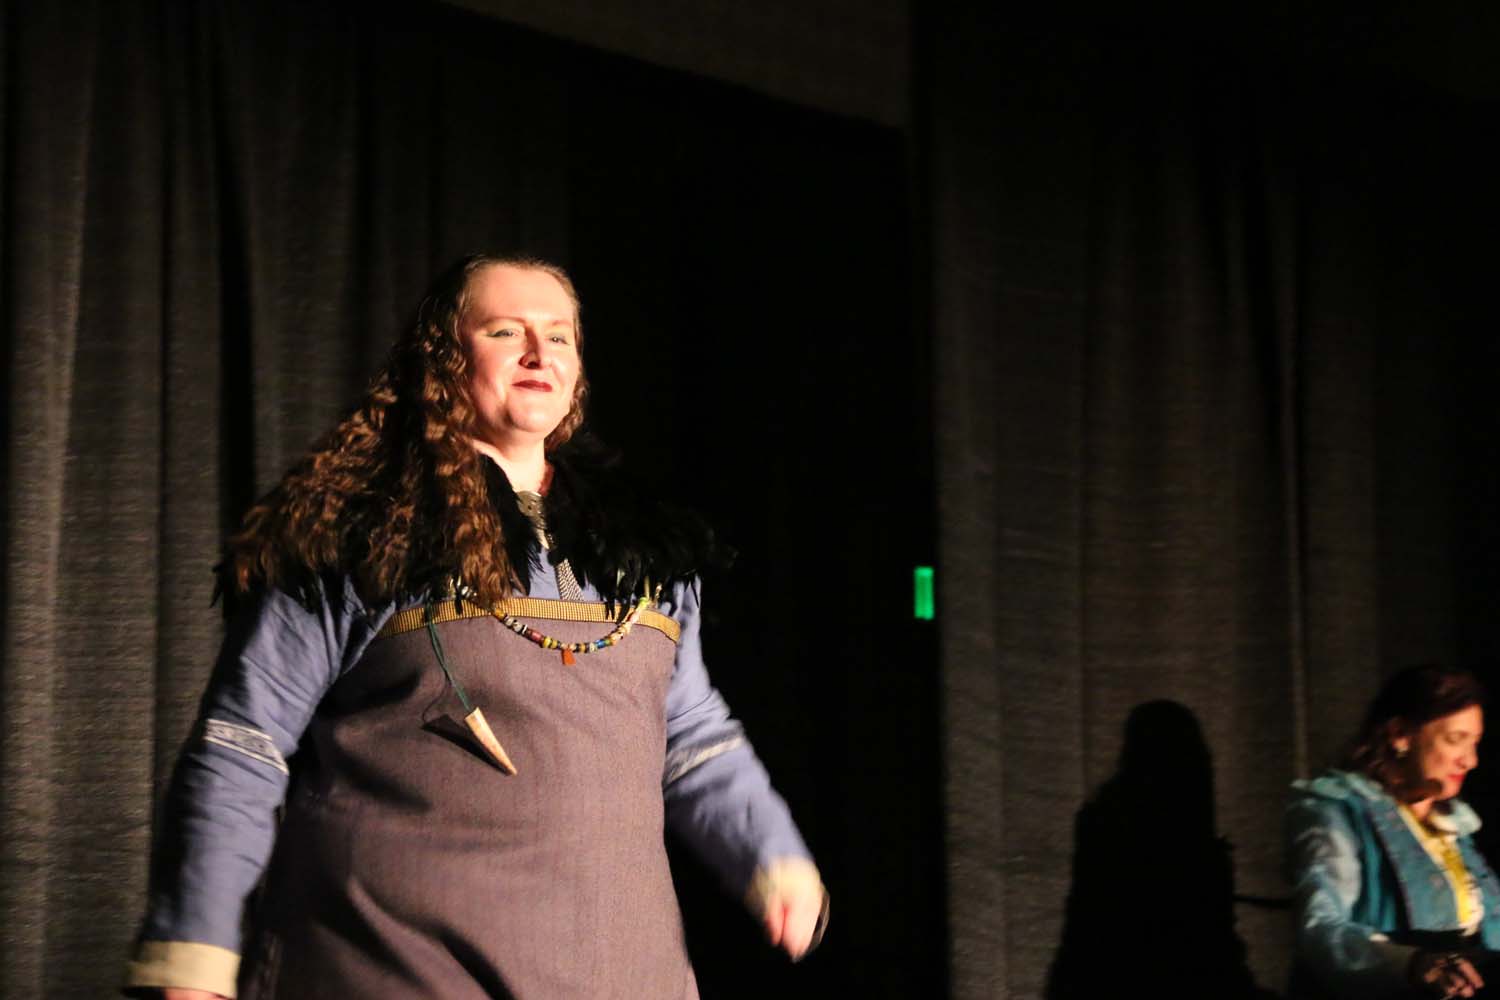
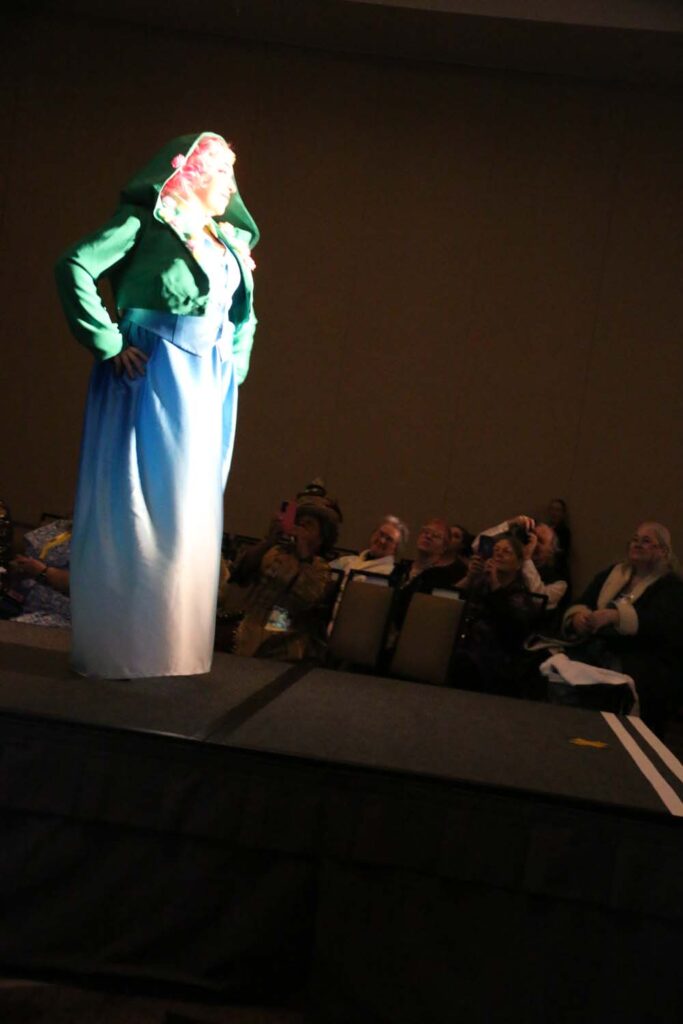
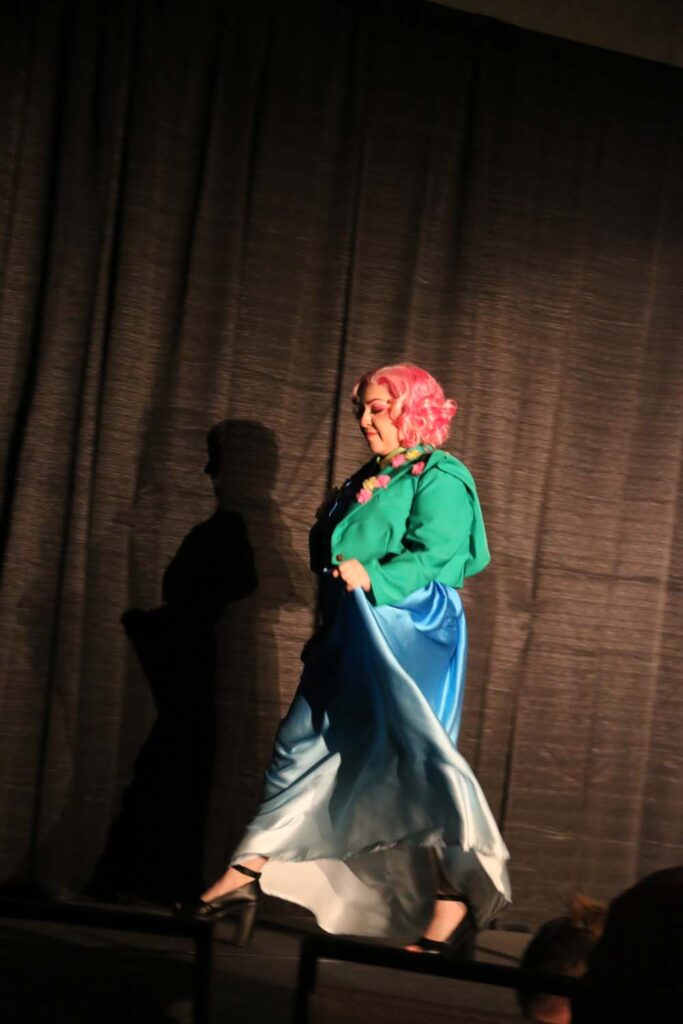
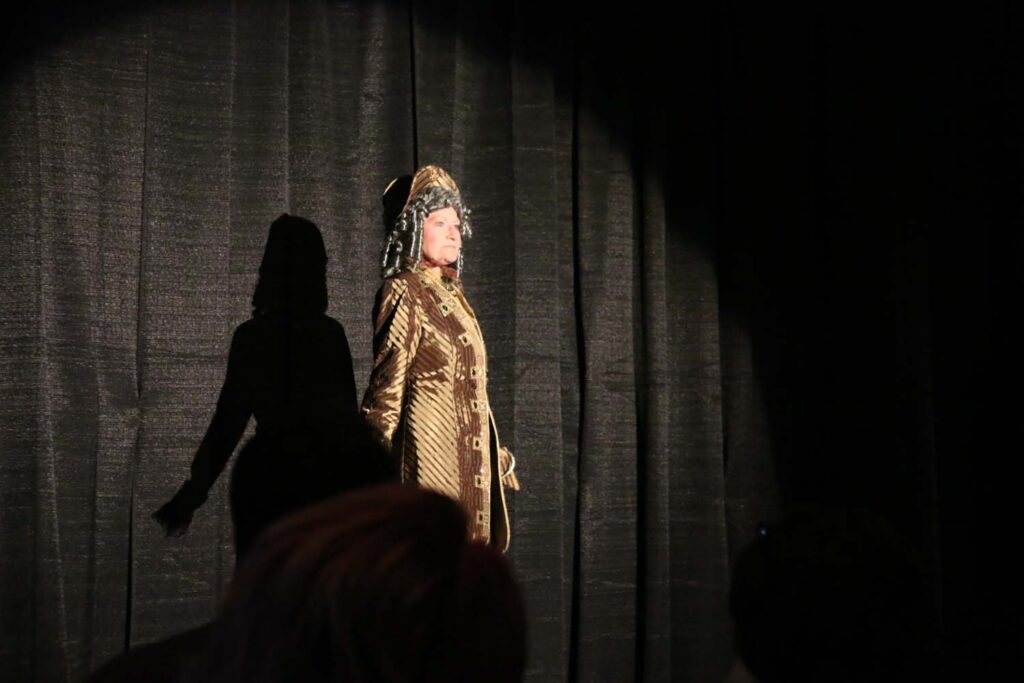
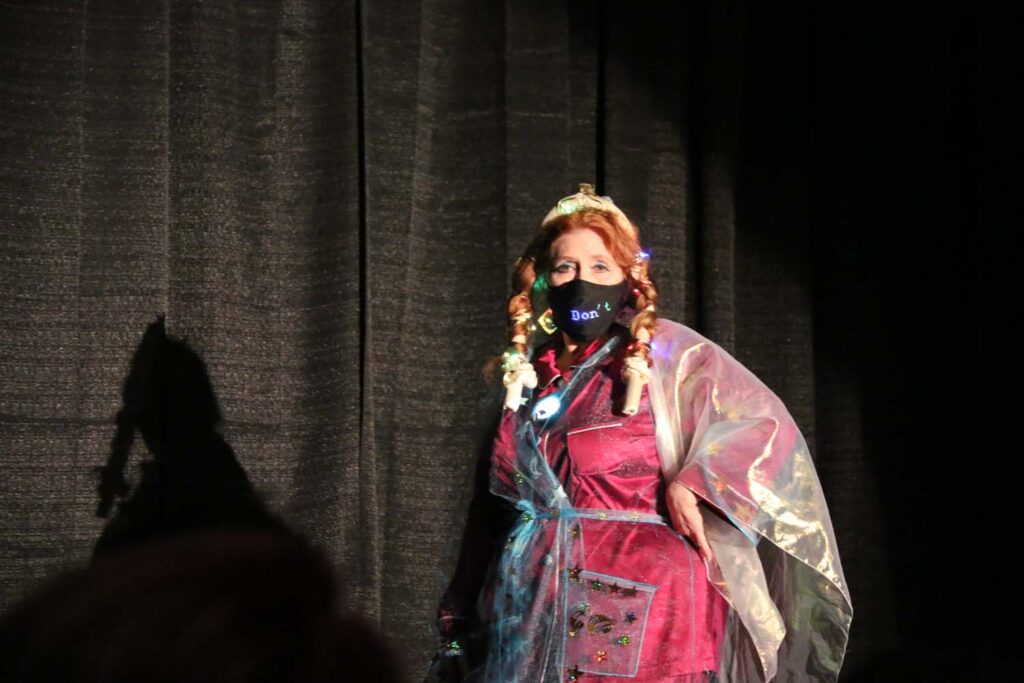
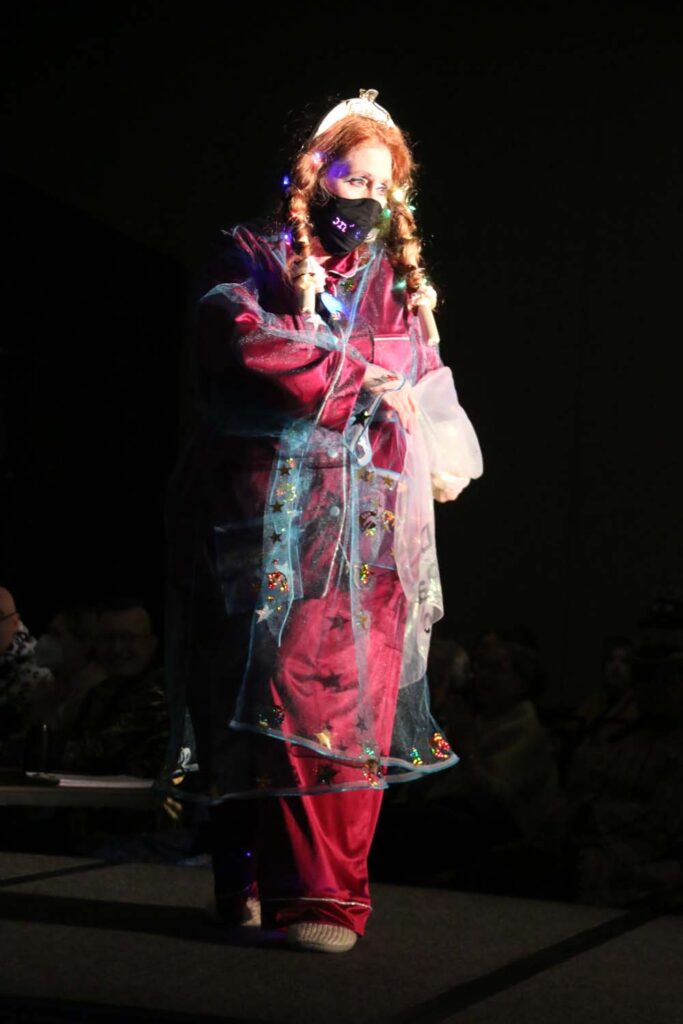
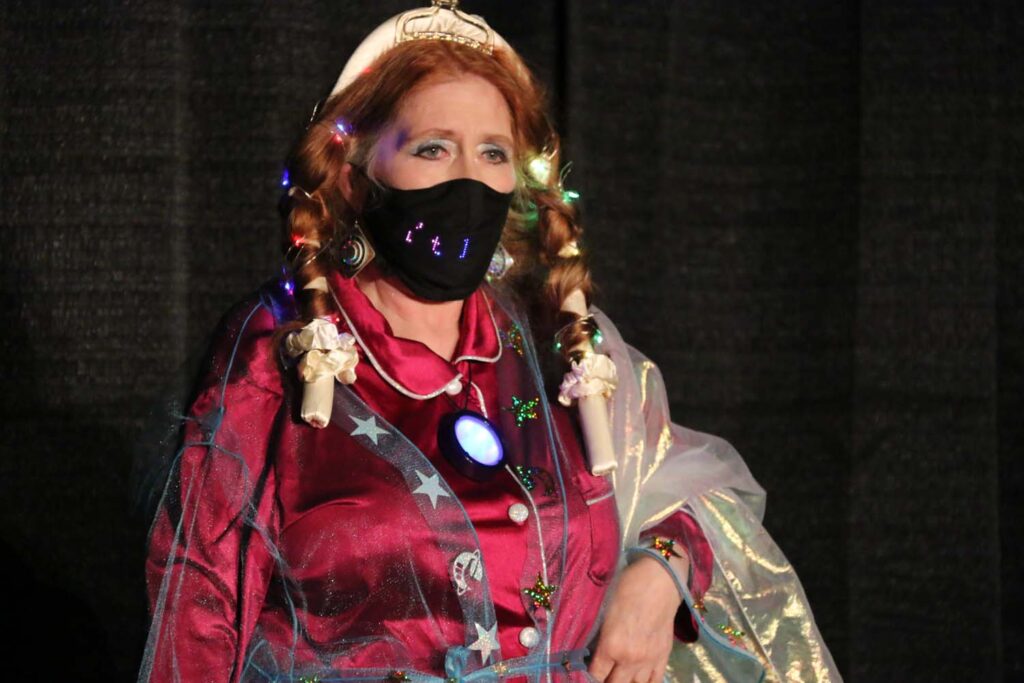
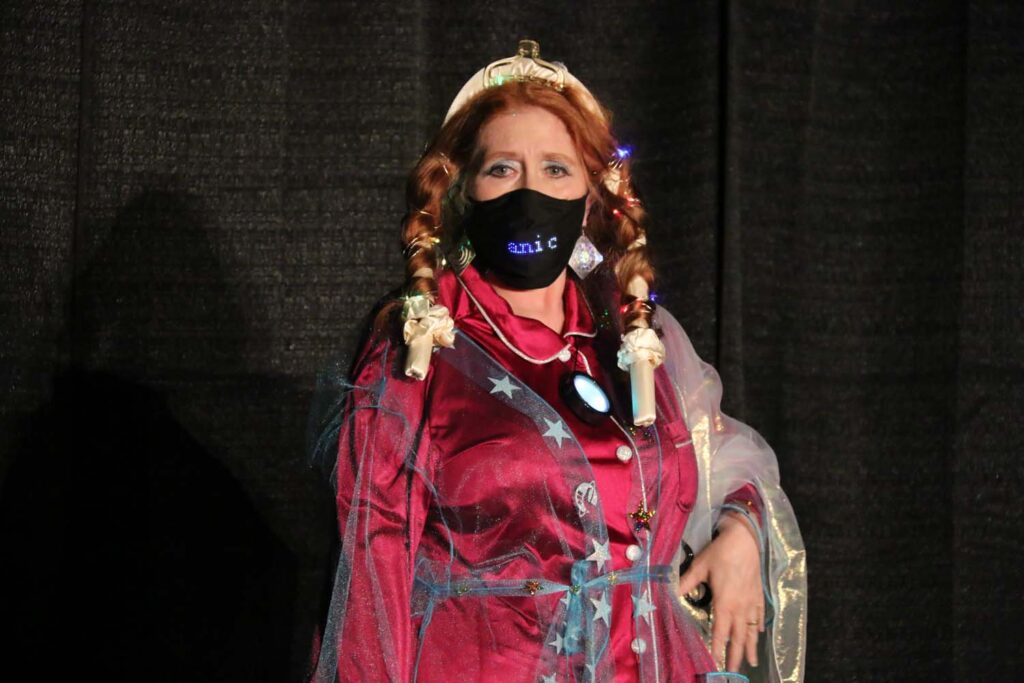
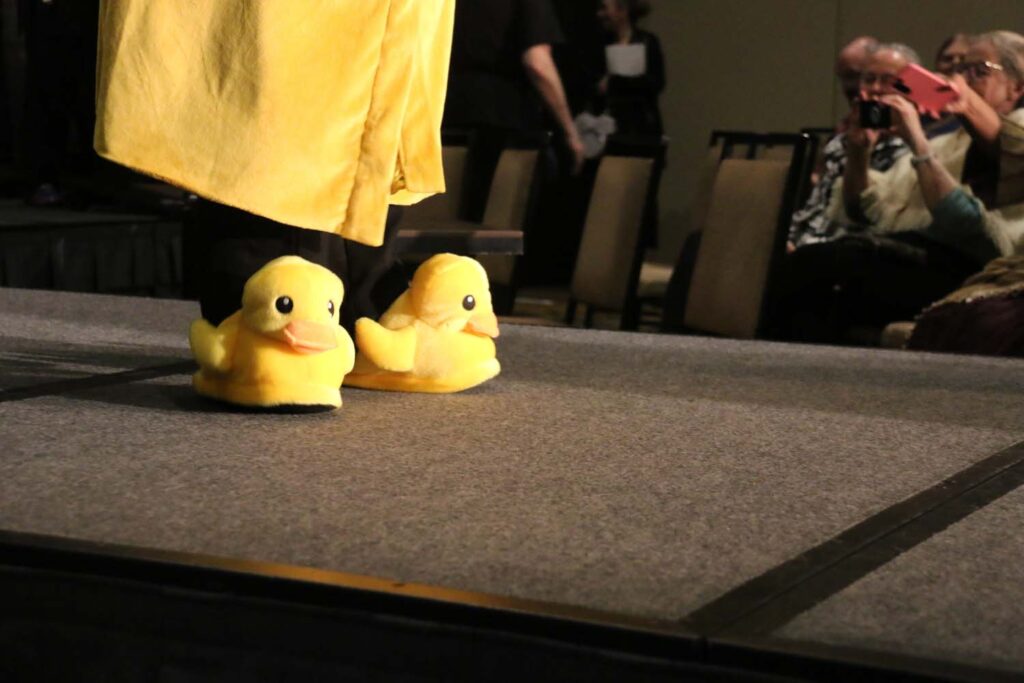
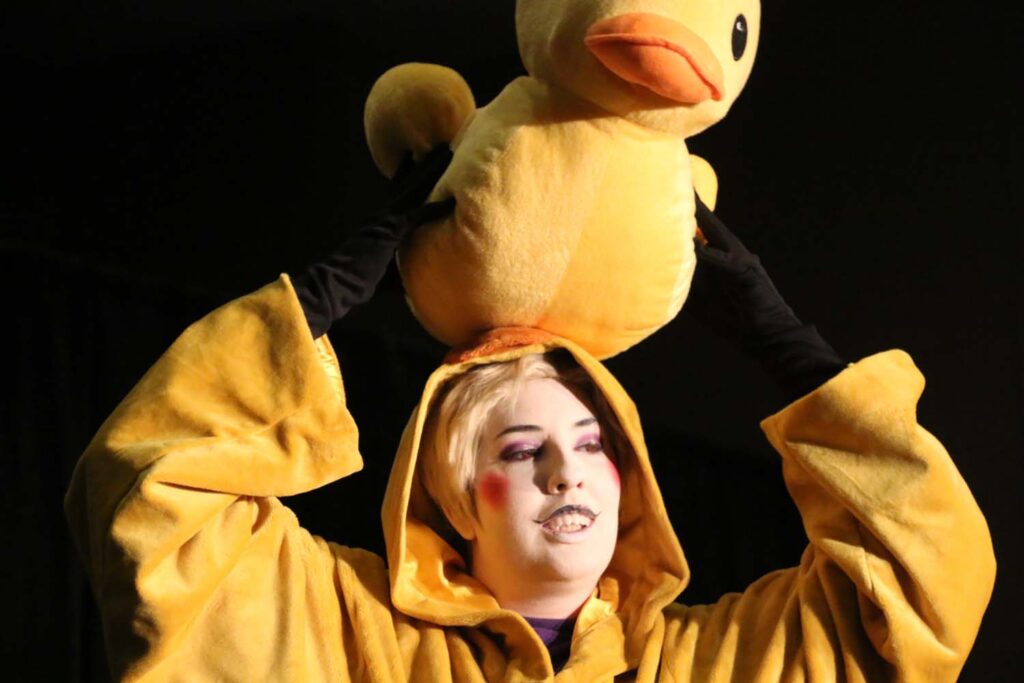
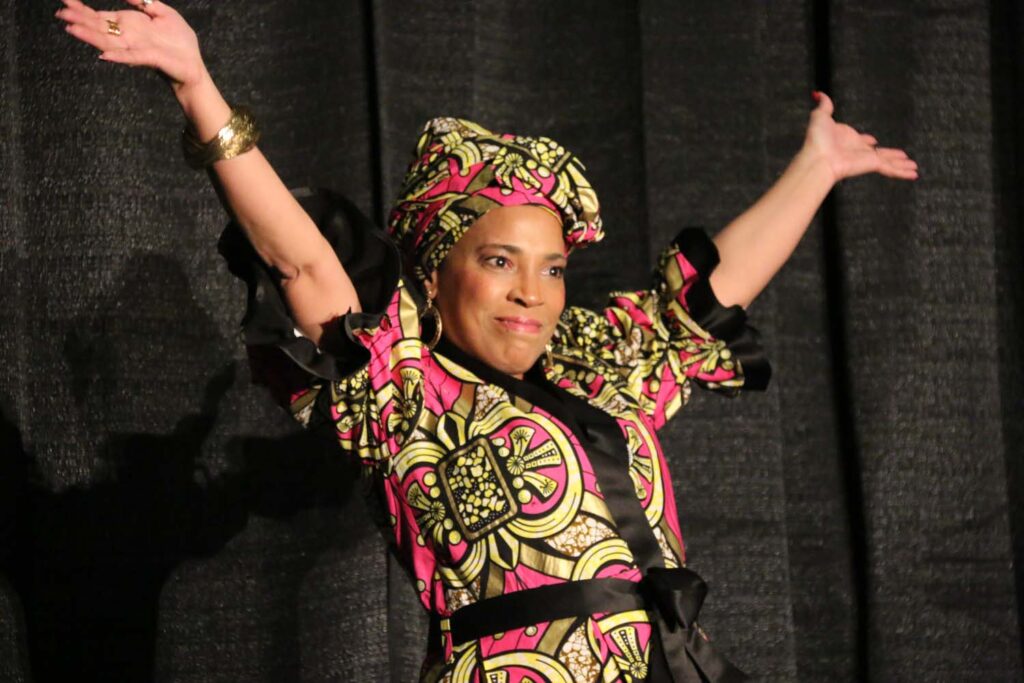
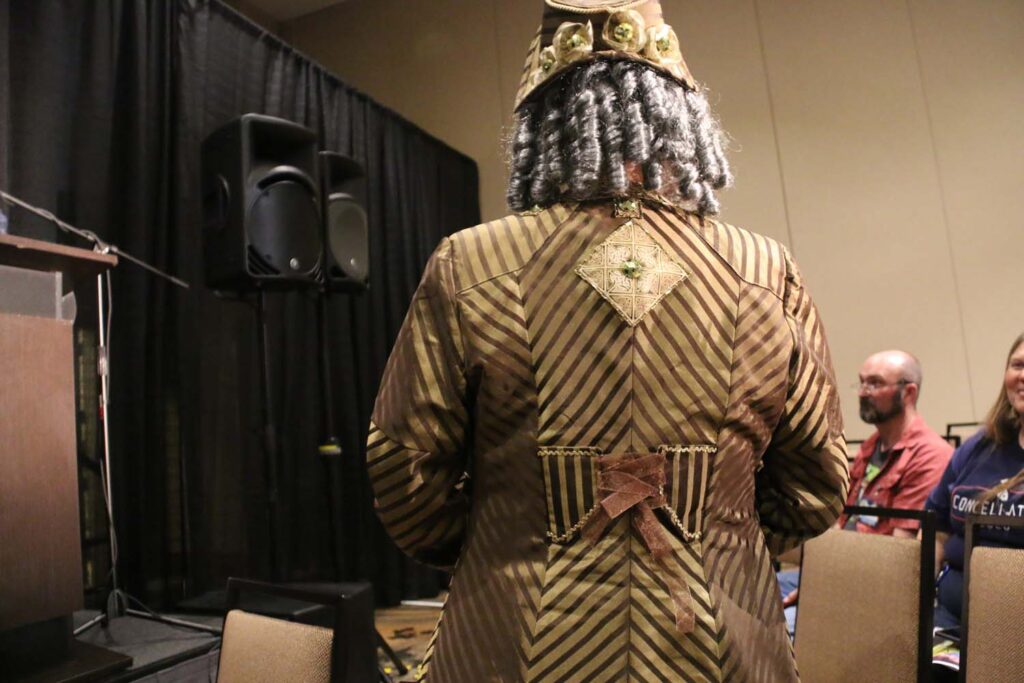
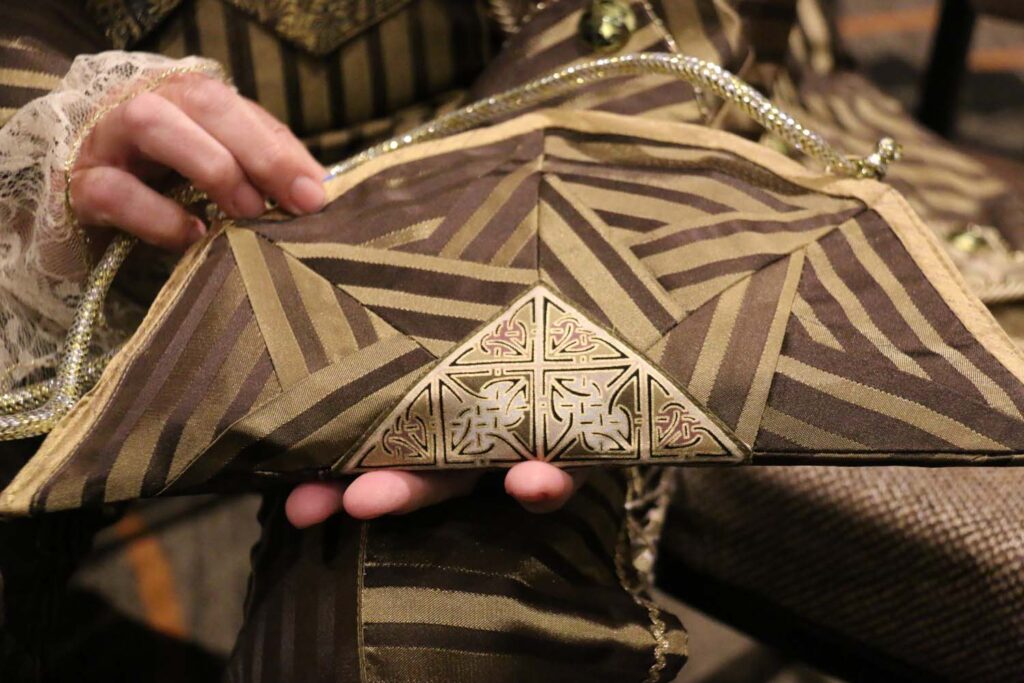
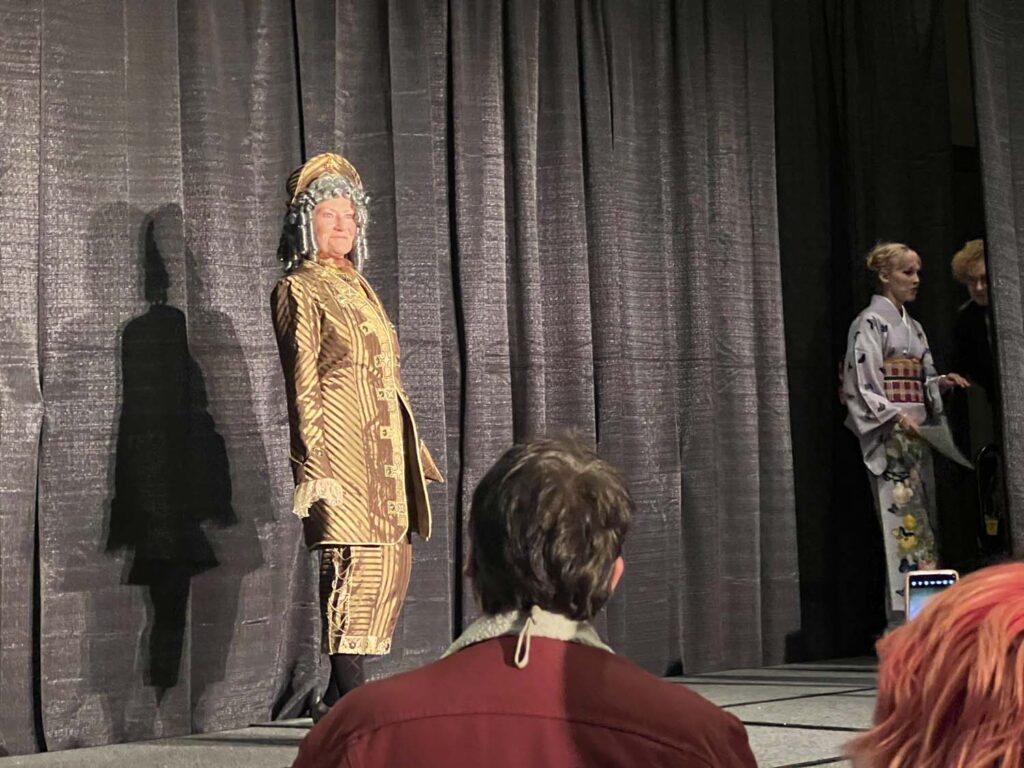
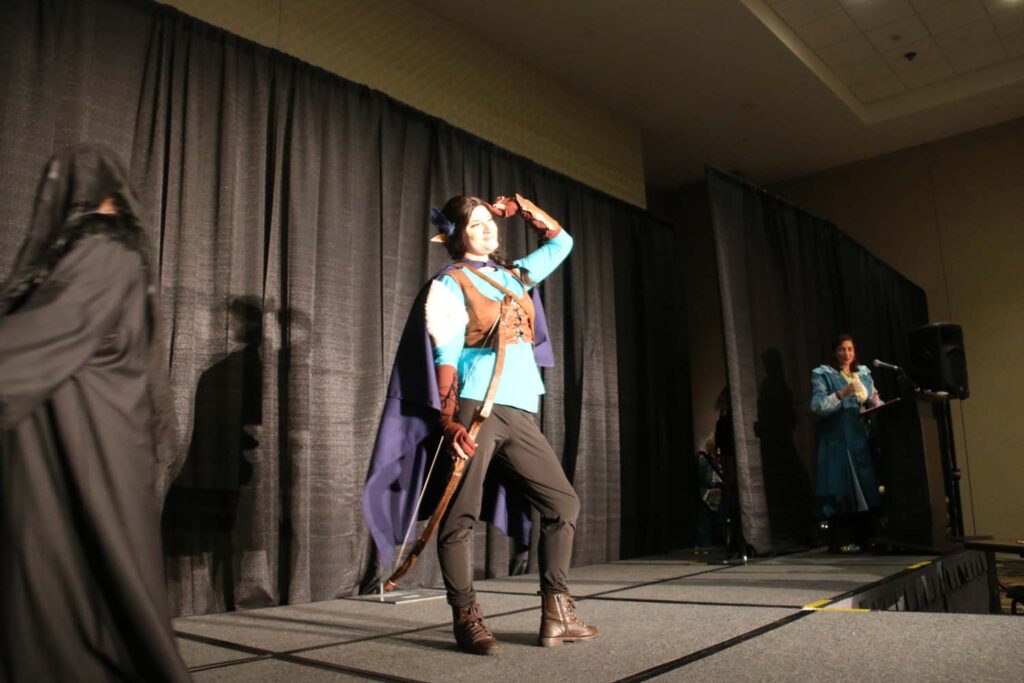
Saturday focuses on SciFi and Fantasy, and 37 entries crossed the stage. The entries ranged from a 10 foot tall Tom Servo (from MST3K), to fairy princesses, to anime characters, you name it, it was there! Sunday focuses on the Historical costumes, with 13 entries ranging from the 2nd century to the 1960s.
There will be separate posts for each day, just because the number of photos is large. And the photos also include a variety of hall costuming.
Saturday Science Fiction & Fantasy photos
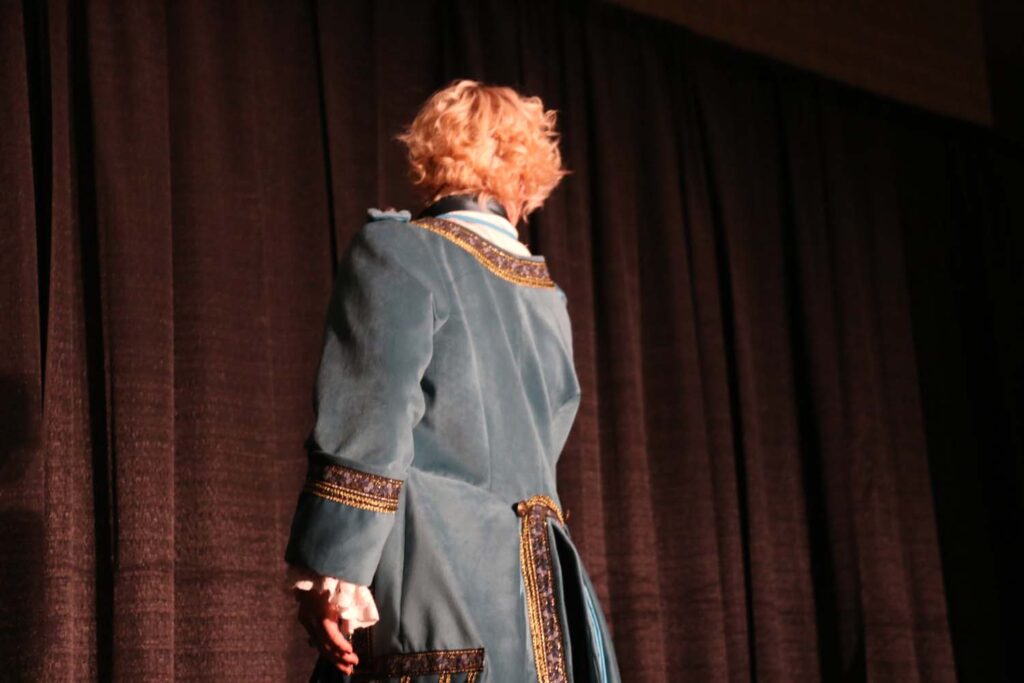
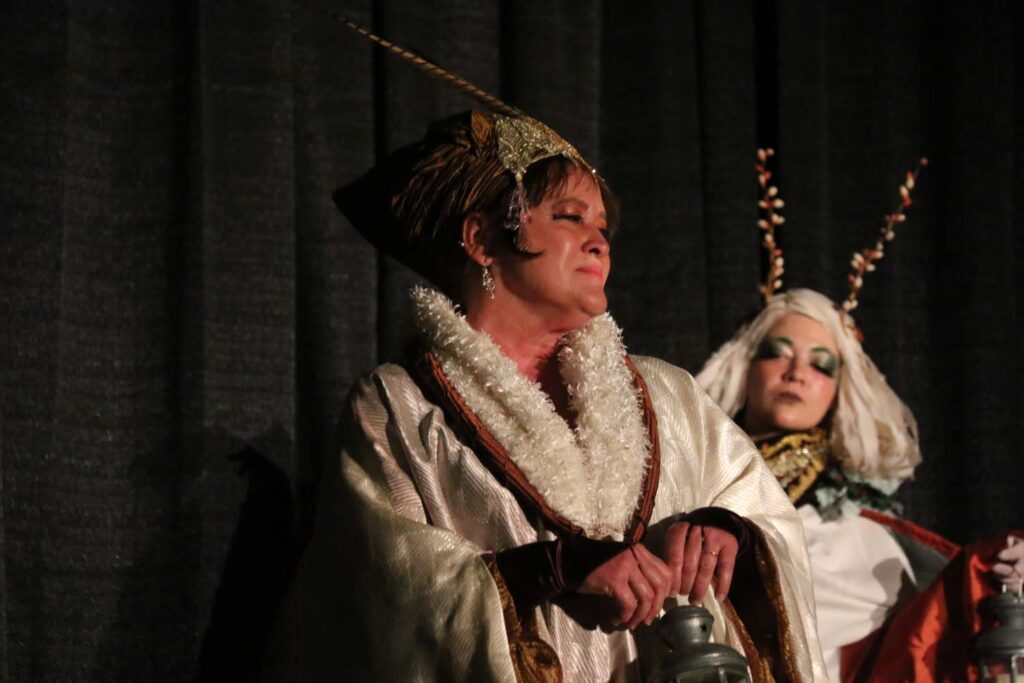
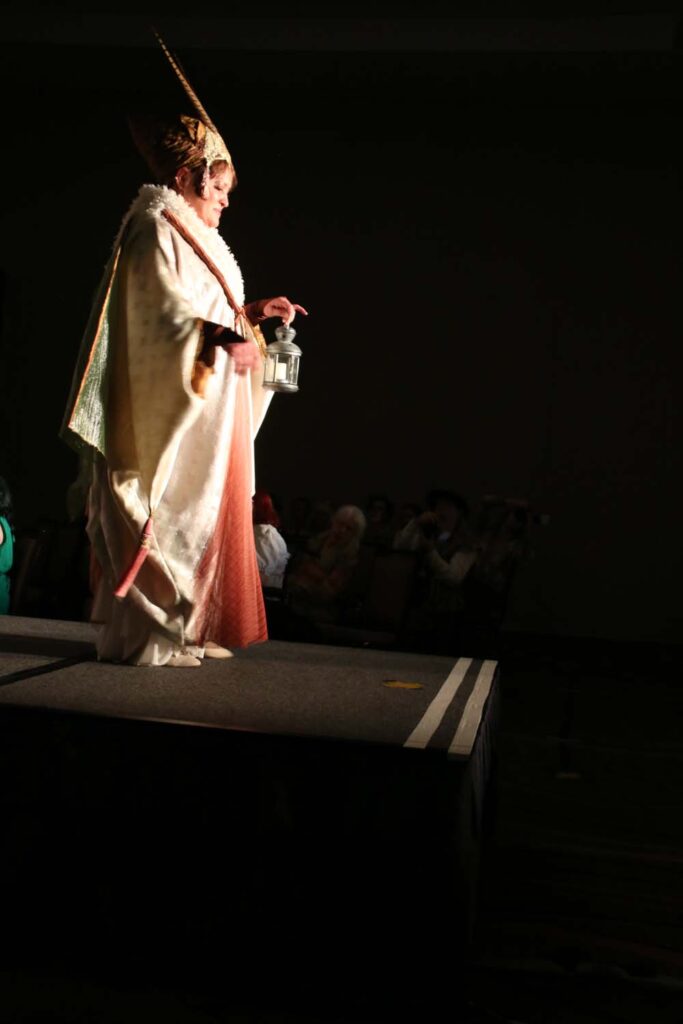
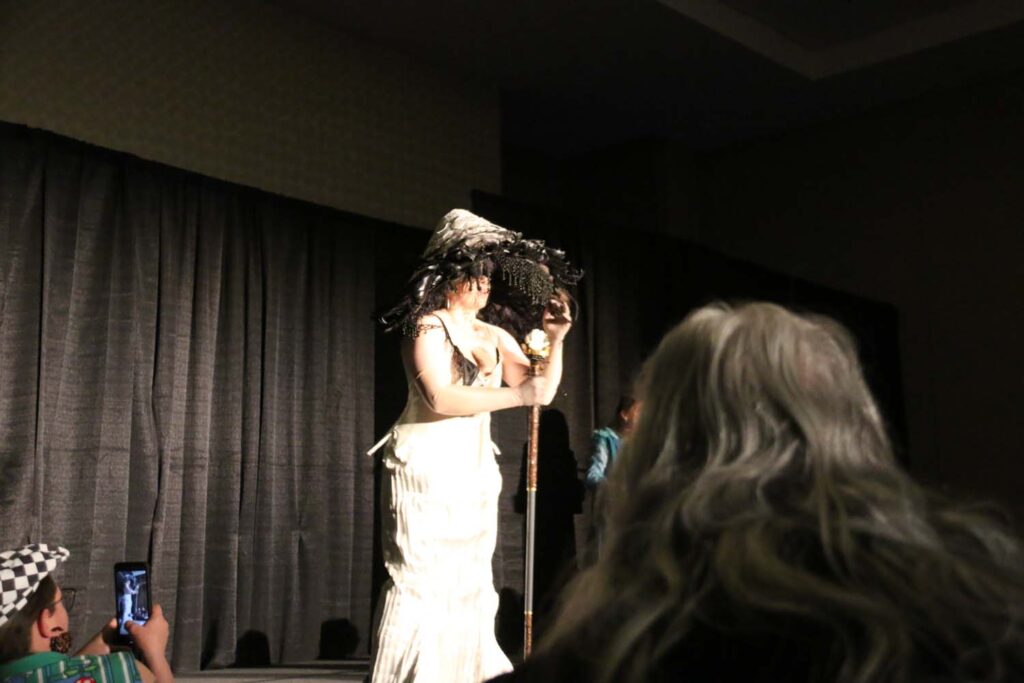
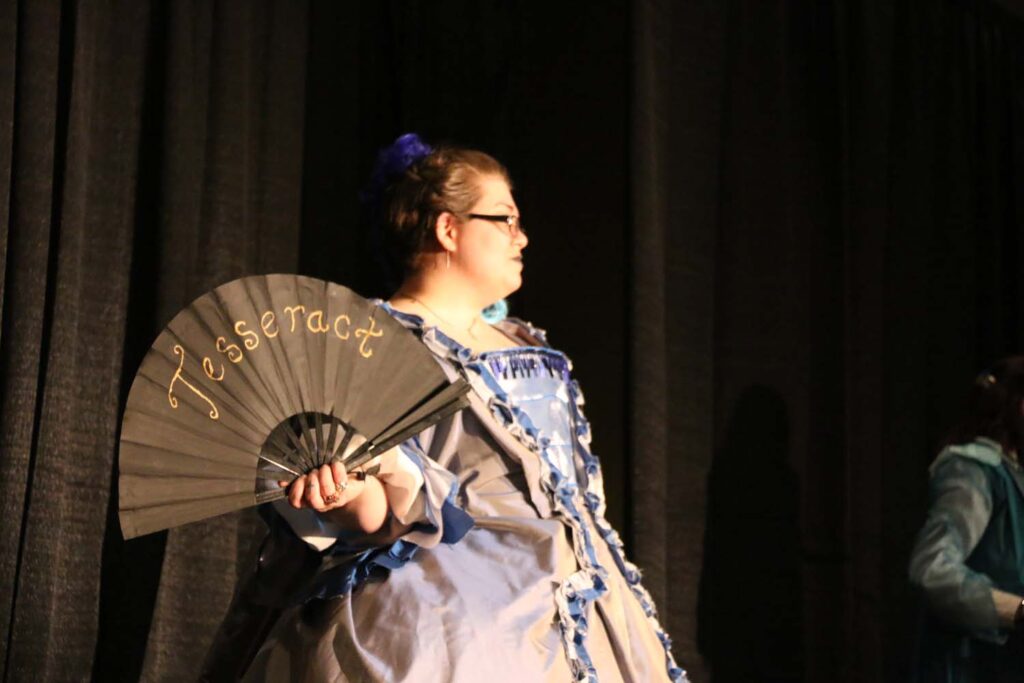
Sunday Historical photos
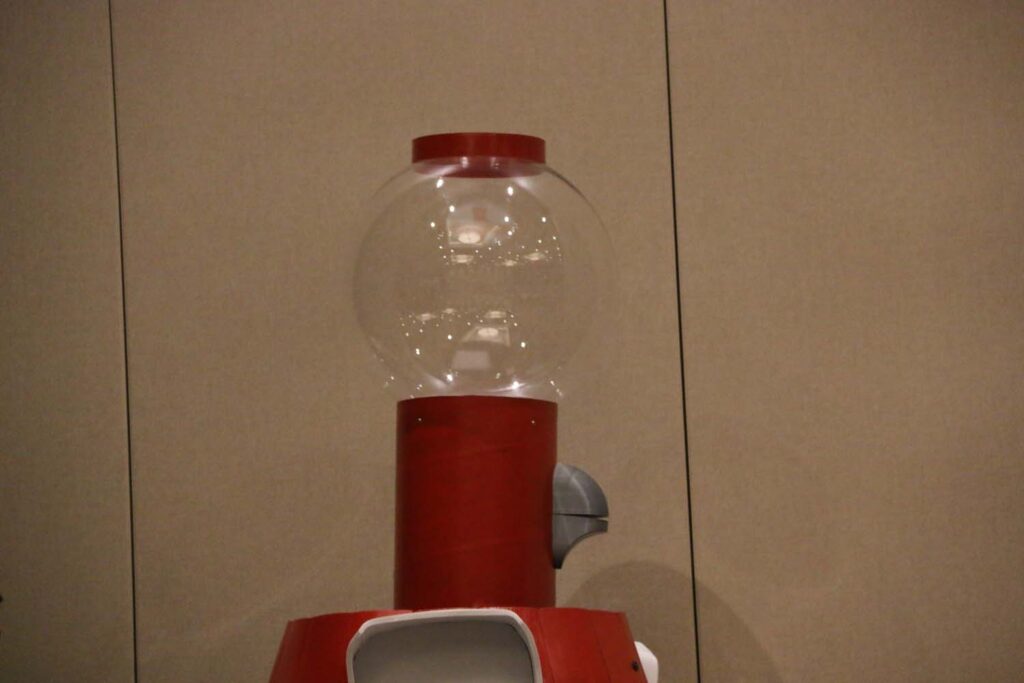
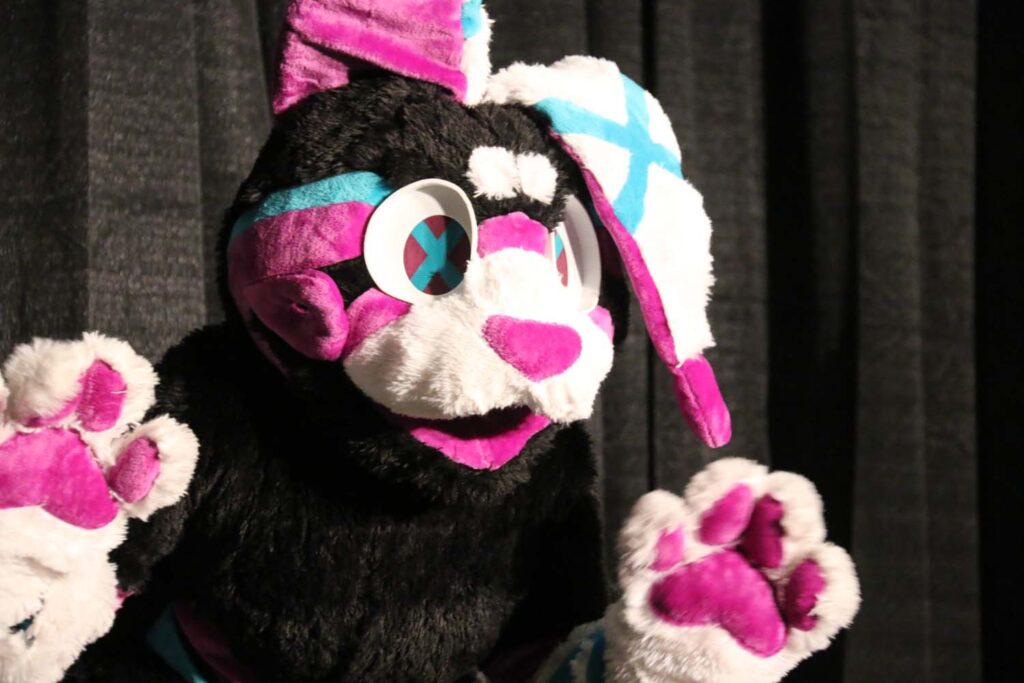
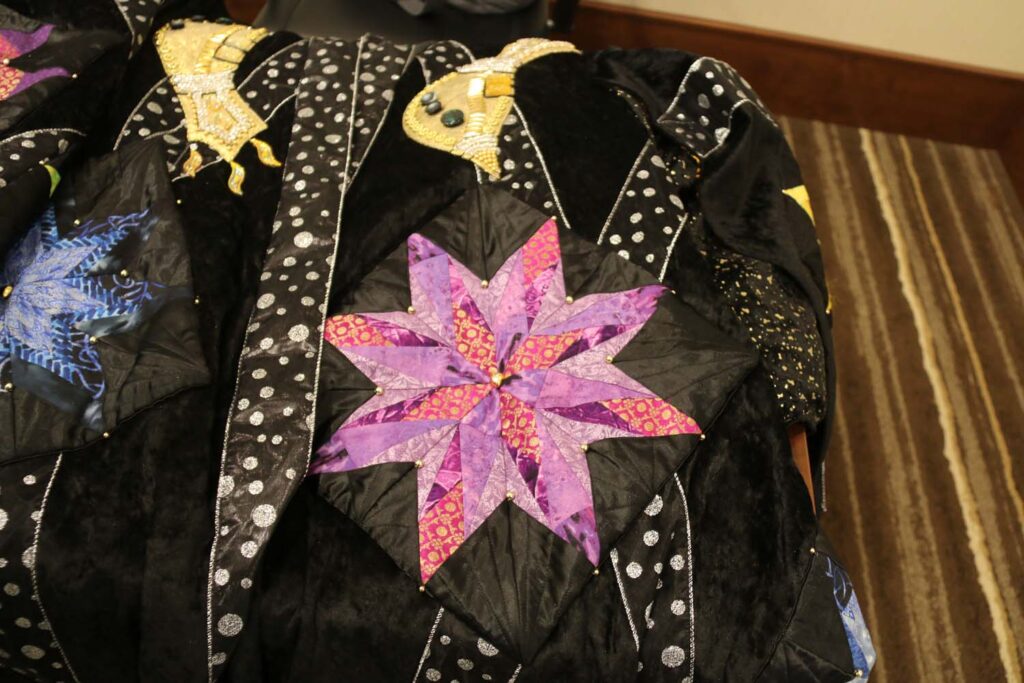
Hall Costume photos
]]>I ordered some inexpensive backdrop drapes from Amazon. When they arrived, they were still too light-weight, and I would need more of them to get enough fullness to get any sort of light-blocking effect. Most of the drapes you can get at any retail store are really designed to just be hanging on the edge of the window — they are in no way designed to be drawn across the window, even when they are advertised as black-out drapes. The panels aren’t full enough, and if you need 2 (or more) sets, then you have the gap between panels.
Time to design drapes. In this case, I wanted something full enough that it would give good coverage when drawn, but be able to be tied back most of the time, so I could easily adjust the blinds.
The last time I made drapes, I did balloon shades for my room at parents house, over 25 years ago. Balloon shades can be raised to various degrees or left down. They should be long enough to puff at the bottom when fully down. In this case, I also put a swag and jabots at the top. Because it was a bow window, I ended up doing 5 separate drapes, one for each window, and put the pulls into two batches. These replaced the classic pinch pleat drapes and sheers, which had finally fallen apart from the heavy sun exposure. My mother was concerned that they would “look like a sheet” from the outside, but you can put in enough gather that it looks just fine.
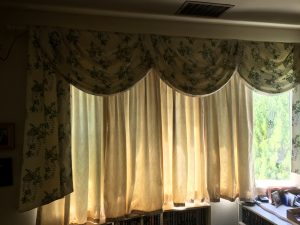
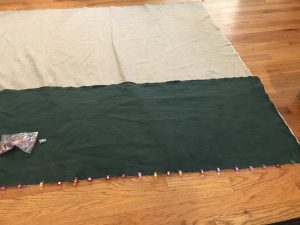
Given the size of the window and the length I wanted, and a deadline for an event, I took a look at what I had in my stash. Natural linen was an easy choice, but would need a lining to get me adequate light blocking. I could use the cheap drapes as the lining. But I would need a bit more length. Color block patterns seemed like a good way to go, and I picked a green that would work well with the walls.
A brief digression into terminology.
– Stack: how wide the fabric is when the drapes are fully open
– Fullness: the width of the fabric in relation to the curtain rod. Usually should be 2-3x.
– Railroading: using the fabric “sideways” or cross-grain. This minimizes the number of seams
See also this nice post: https://www.dwfcontract.com/Drapery–Window-Covering-Blog/bid/34627/Glossary-of-Drapery-Terminology
Fabric ordered, should have been easy. FedEx sent the package from LA to Texas, instead of to Northern California. And then lost it. Deadline blown. They found it a week later, and got it to me nearly 2 weeks after the date I was aiming for having these done. Oh well.
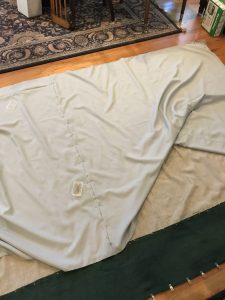
Wash fabric. Iron fabric. Re-iron fabric using steamer. Cut panels of the natural linen. I thought about using it cross-grain, but the natural creases would then have been horizontal, and I didn’t think that would look all that great. On the other hand, the green didn’t drape quite the same way, and was perfect for railroading the contrast bands. Find enough floor space to lay everything out (the hardest part).
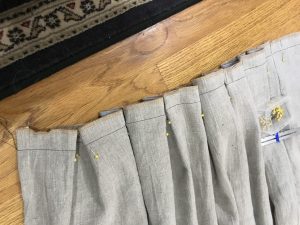
I opted to use a series of inverted pleats. This is what you will see in theater scrims (the drapes on the sides and back of the stage). It provides a lot of volume but isn’t that fussy to do — certainly not like pinch pleats. But I didn’t want a lot of volume at the top on the rod, so added the header block after the pleats were finished. And then finally added the tie-backs to hold them back when I don’t want them down.
]]>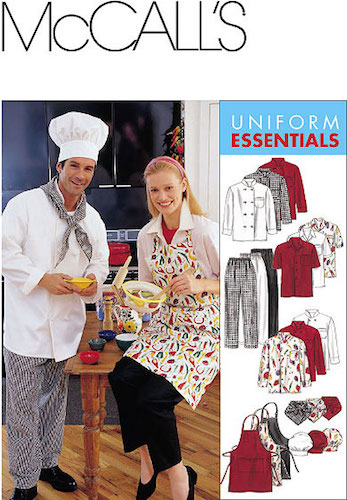
I started with a pattern that had been used for the Single Pattern competition at Costume-Con. McCalls 2233 is a set of pieces designed for kitchen staff — chef’s jacket, shirt, pants, apron, and toque. While the folks using this for the Single Pattern competition were very creative (klingon chef anyone?!), only one person actually made the shirt. It looked awfully big on her, with sleeves at least to her elbows. I decided to make it using some leftover fabric from the stash — the pink camo.
The pattern is actually pretty straight forward, but it’s not a true camp shirt, as the collar is not designed for the open and flat spread. It has an interesting trick of double-folding the front facing and not needing interfacing. And the shoulders are dropped *significantly* — 3″ on me — which is part of why the sleeves end up so long. And it’s really long.
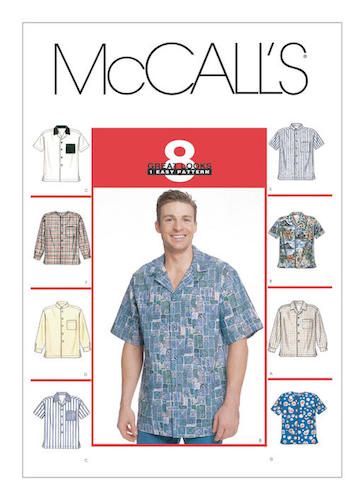
Next up: McCalls 2149. This is a men’s shirt set, with collar options (camp vs band, but no stand collar style) and sleeve options (short vs long). It was interesting to see how this men’s pattern differed from the women’s patterns. It was “old-fashioned” one-size only, instead of the multi-size patterns that have become the norm for most women’s patterns. One of our friends used this for her husband’s geek shirts.
This one used the leftover purple camo, although I was short fabric for the sleeves. I got some plain purple to use for the sleeves, collar, and pocket. The assembly was interesting, as they had you attach the collar, then attach the facing, then clip deep into the collar seam to be able to close it off. It worked far better than I expected. The shoulder seam is forward of center by about an inch (which I top-stitched). The finished sleeves are still nearly elbow length.

Third time: New Look 6197. This one has both men’s and women’s multisized patterns in the same packet. The difference is in the fit of the body (with darts or not) and hem (straight vs curved). This has a back yoke in addition to the camp-style collar. Both the yoke and collar are cut cross-grain.
I grabbed some fabric from the stash – a green linen that I had picked up for Faire years ago and never used. After assembling the yoke and lower back piece, the assembly is fairly typical. This also used the collar construction as in the McCalls pattern above. However, if you want to have the yoke with two layers (as in most commercial shirts), better to cut a second yoke piece, and attach the inner yoke layer to the front facings at the shoulder seams, and then sew the entire collar down in a single seam – no clip specifically to be able to put in a hem as in the instructions (but you still will need to clip the seam so it lies flat). Then close the shoulder seams and the bottom of the yoke with a fine top-stitch just off of the seamline.
The only problem with this pattern is that there is no indication for where the pocket should be set. I used one of the other patterns for the basic location.
Total time was about 4 hours, from layout/cutting to buttonholes. And the only thing done by hand was the actual buttons.
I had gotten a 4th pattern to try, but the New Look pattern was definitely the winner. So far I’ve done 4 shirts and have 2 more on the list.
]]>
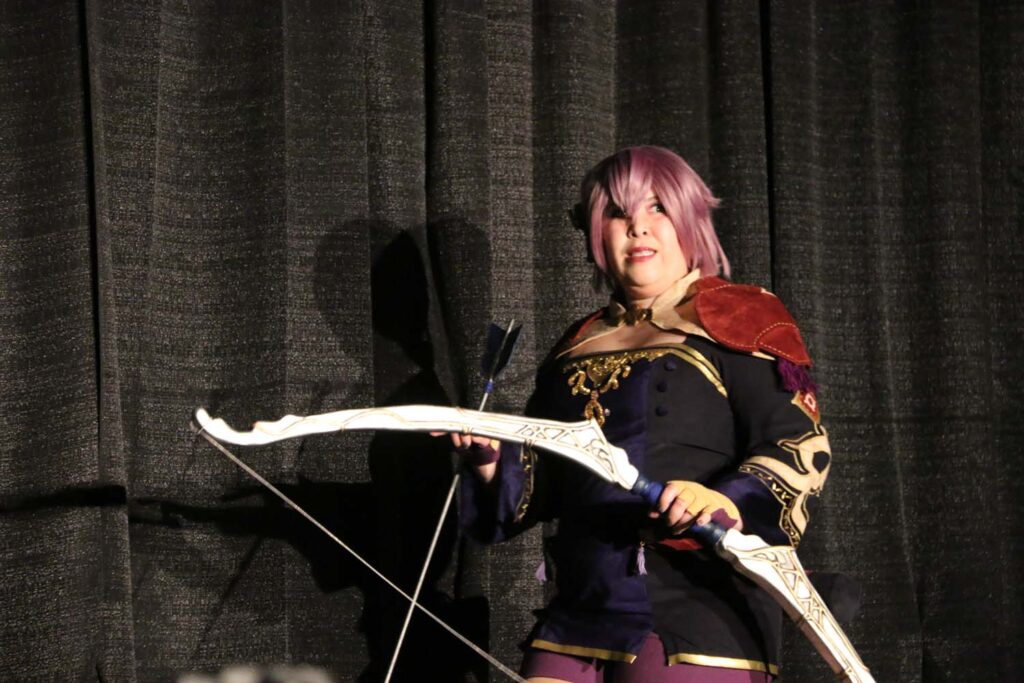
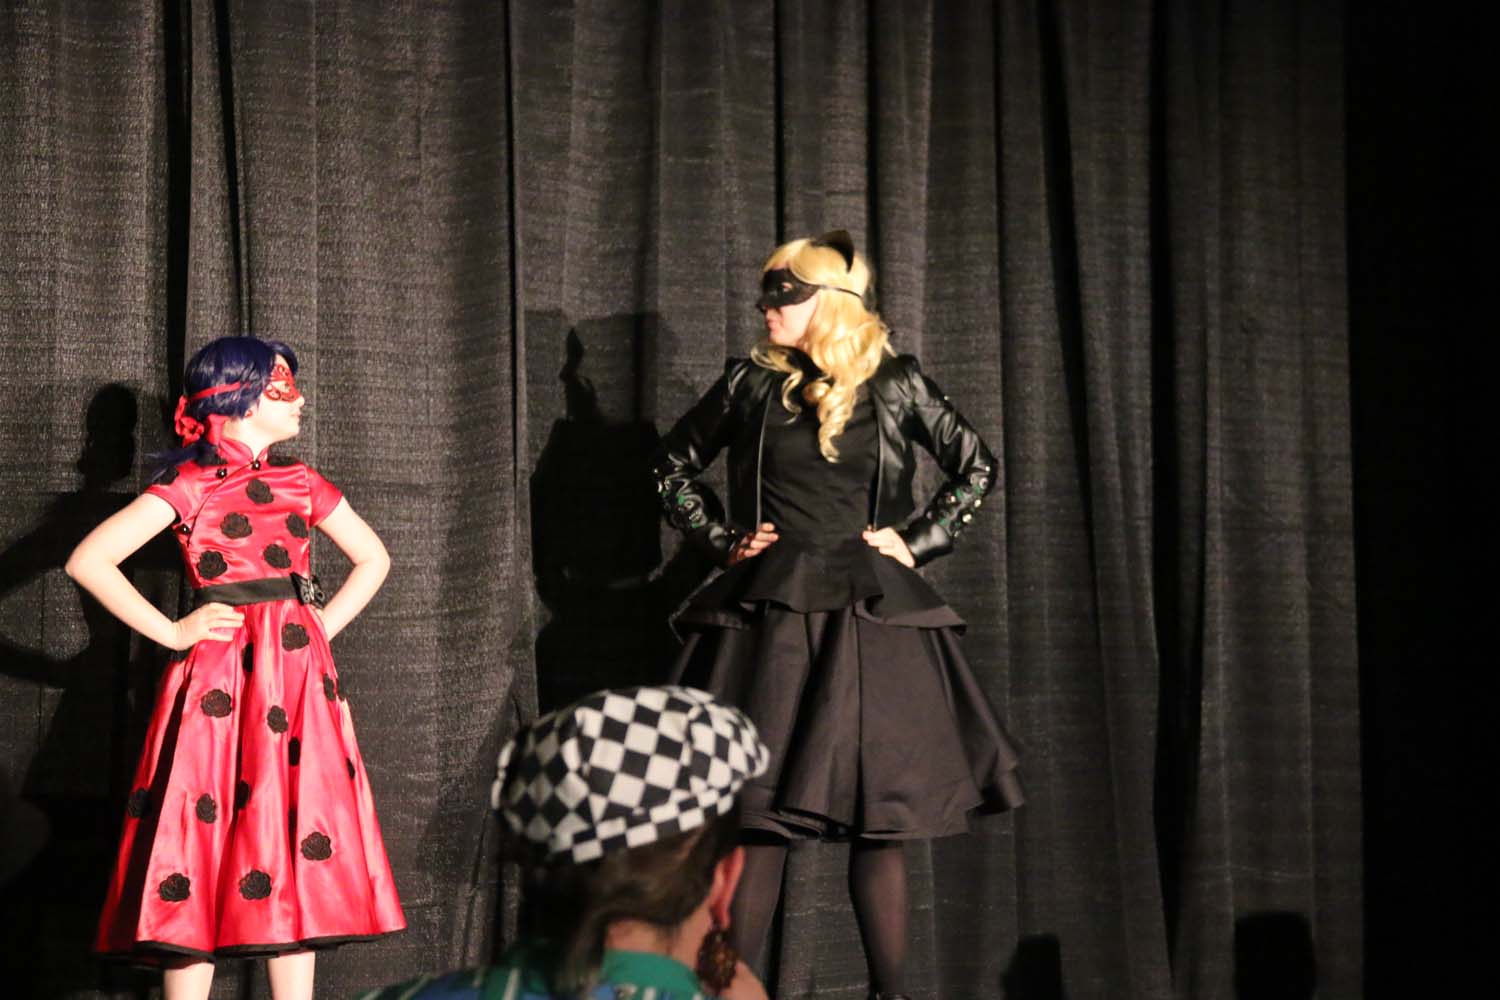
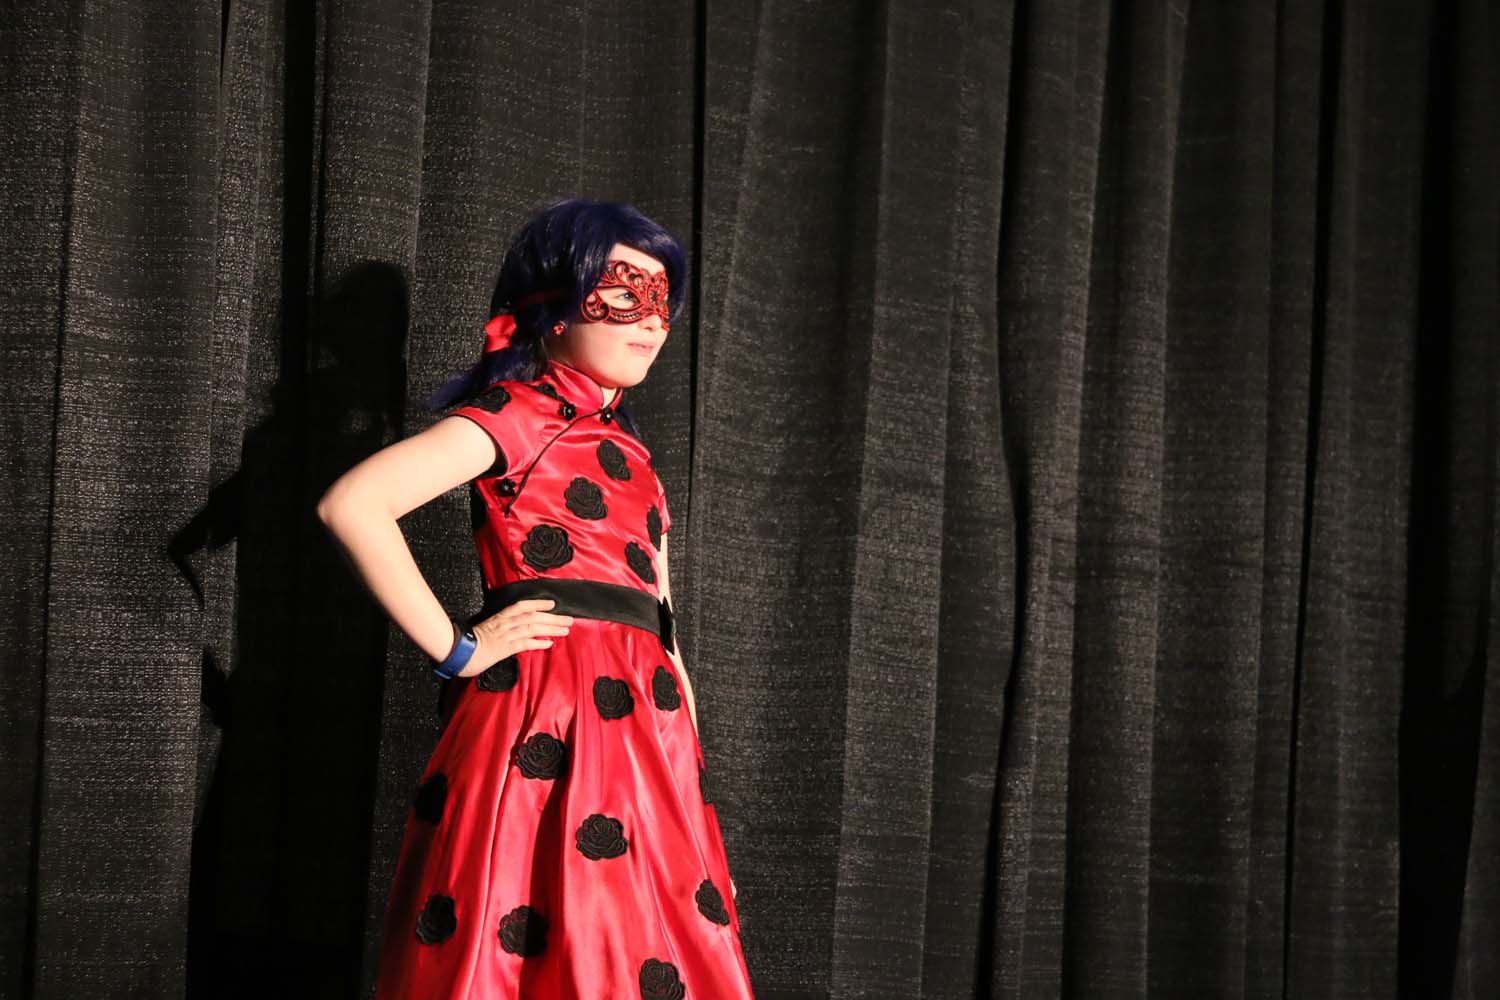
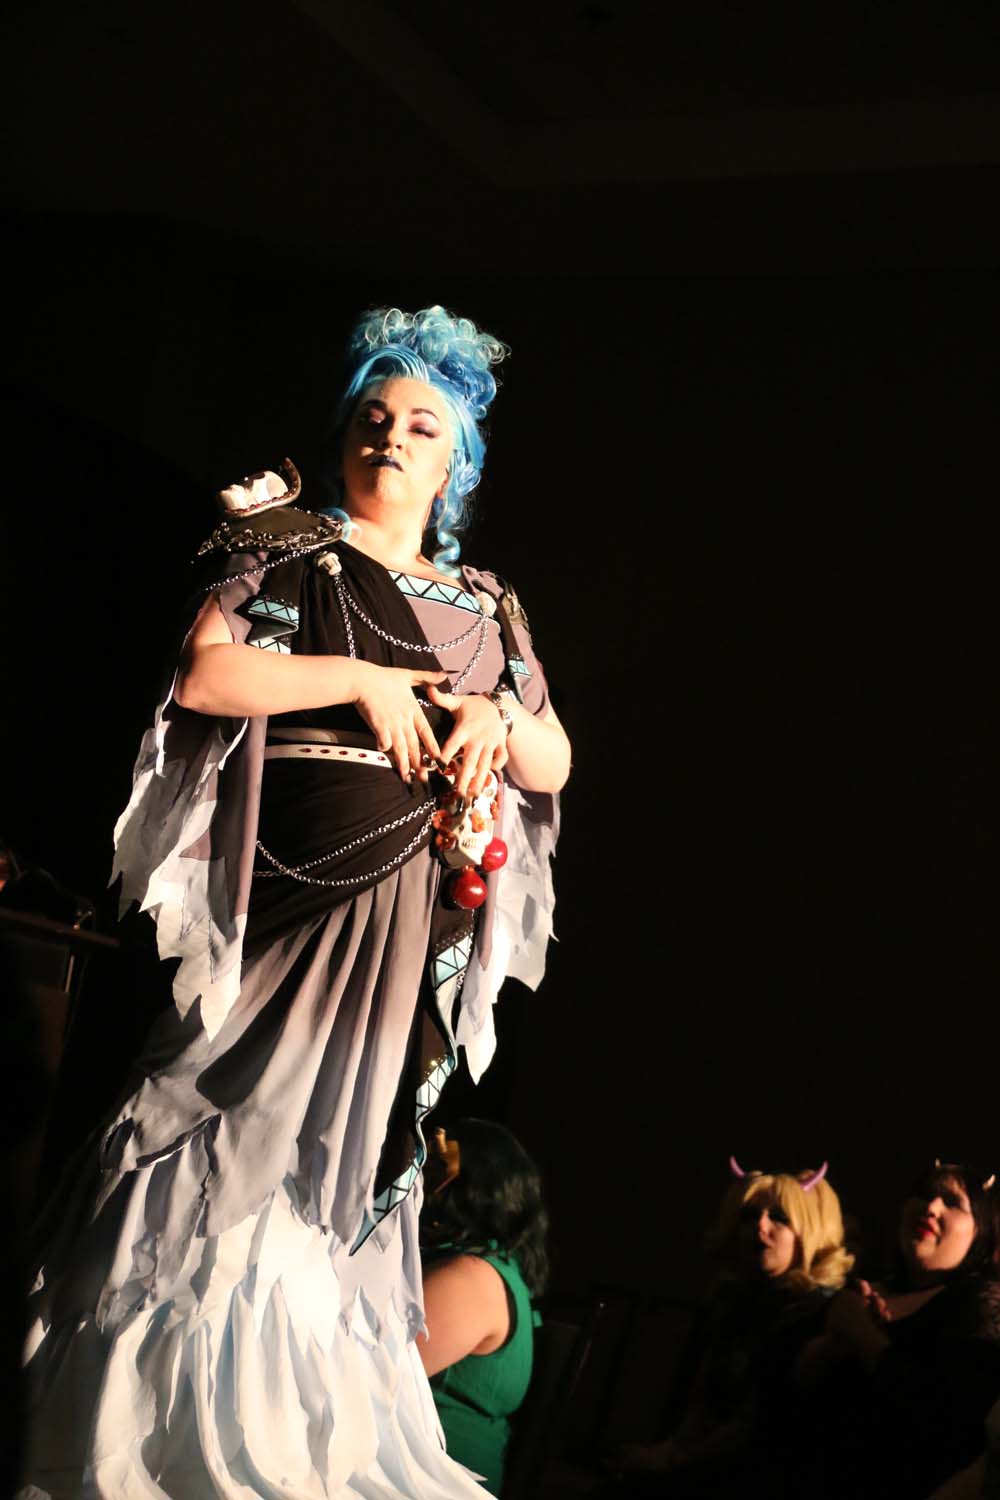
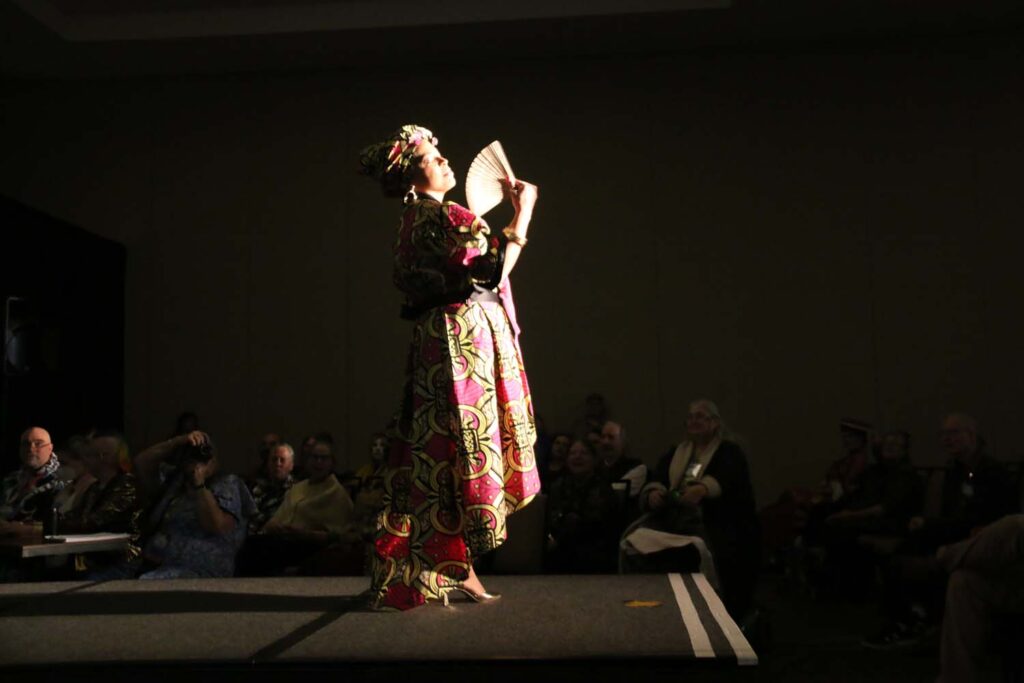
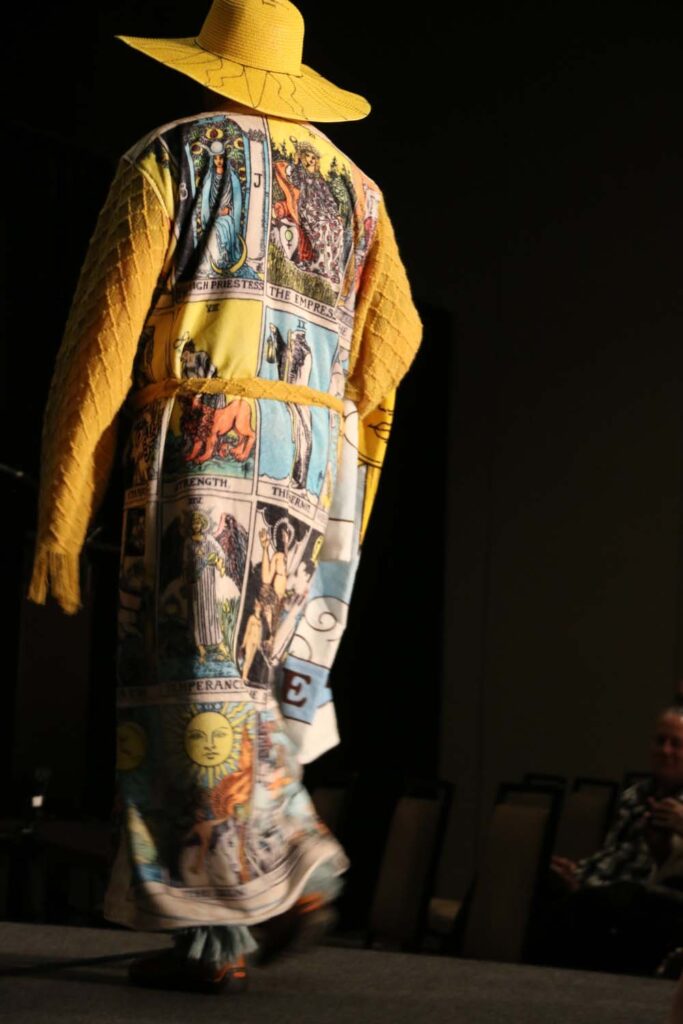
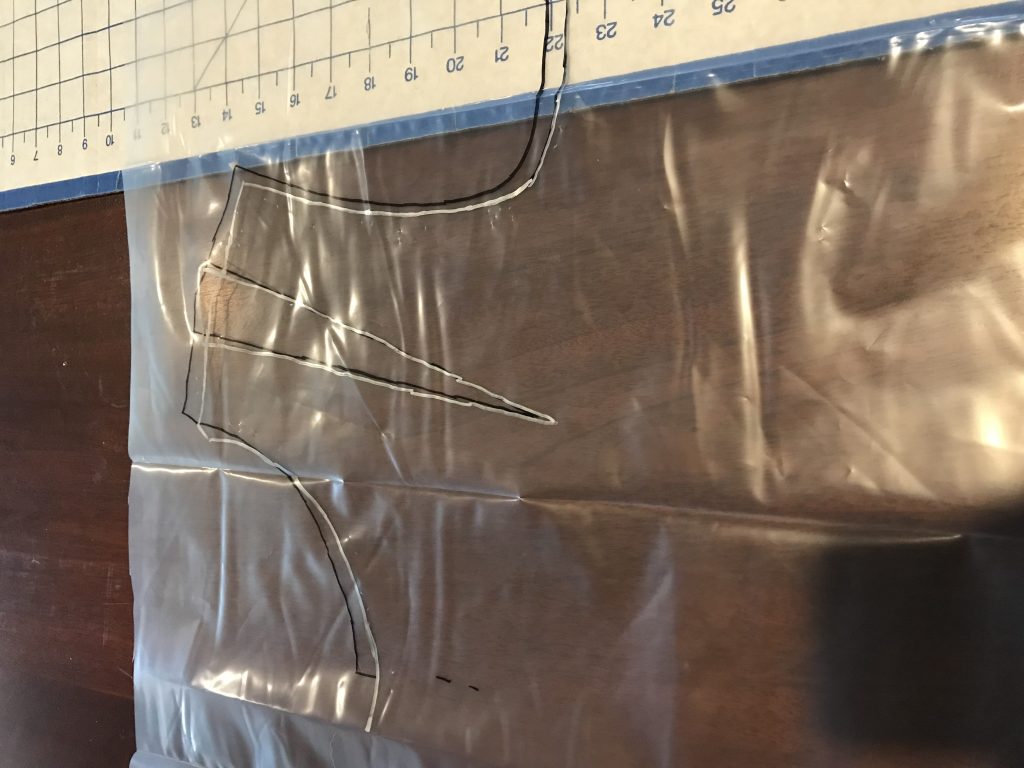
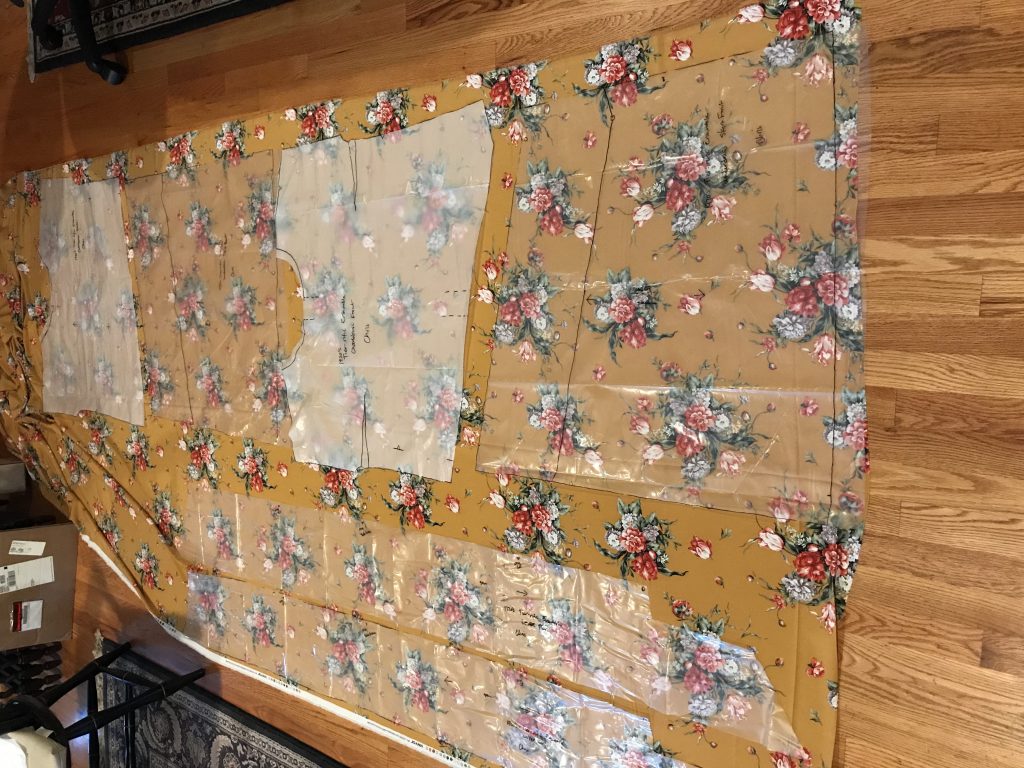
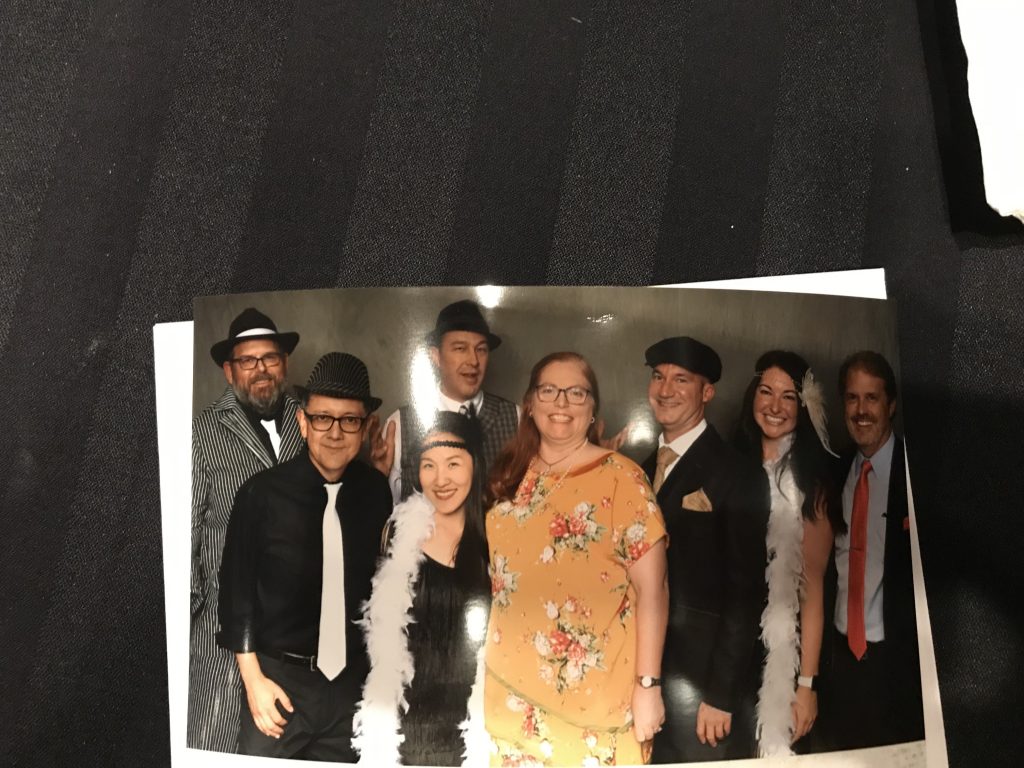
As is usually the case, I needed to alter the pattern. The kicker is that the waist and skirt are not symmetrical, so you can’t just add something to both sides and have it work. Plastic sheeting to the rescue. (Admittedly, I “copy” nearly every pattern this way, and leave the original intact.)
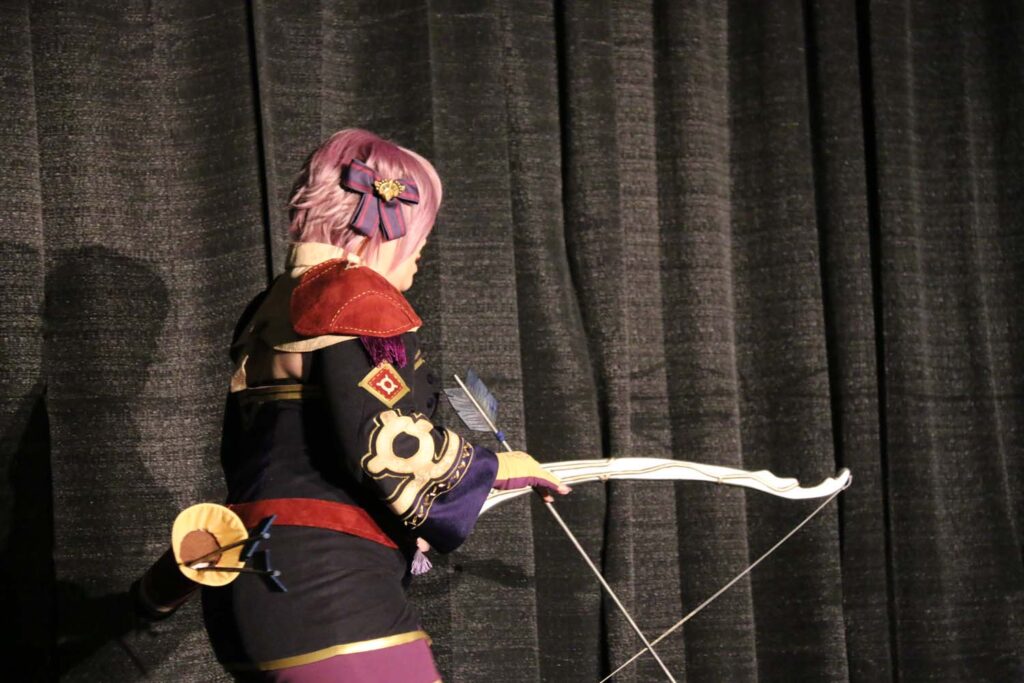
All of the alternations needed to be on the right-side of the dress, because the angle on the left was critical for the look, with the tiers “falling” off a specific point.
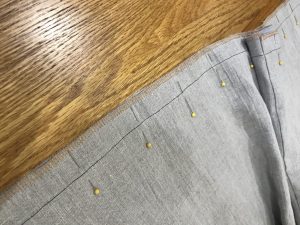
The skirt pieces were easy — just add extend the pattern lines the necessary width/length. But the tops (the under dress and the blouse) required a bit more attention. I started by tracing the existing bottom line and left side lines (side seam, arm scye, shoulder, neckline to the center front). Then I shifted the pattern over and started to do the same thing on the right, just with the alteration. But I forgot that I had to use the seam marking diamond to match up the height where it would be on the new seam, not where it was on the original. This totally changed how the upper part of the pattern needed to be traced. See the silver vs black lines in the image.
I cut the test from an old sheet, tried it on, and it fit right the first time. Whew. Time to do the adjustments on the blouse and on the tiers. Calculated the angle (28º), then calculated how much I needed to add to the tier. This was easy as the pattern actually comes in two pieces that you need to tape together. The tiers are identical, but because you have to cut two with the same orientation, and everything else is on a single layer (unfolded) fabric, there are two pattern pieces.
I considered cutting the pattern cross-grain, but the tiers are well over 60″ so this would work only if you wanted to have a seam at the side. You need to have a large flat work surface to layout all of the fabric and the pattern pieces. And you need a fashion fabric that is not too one-sided (the back will show on the tiers)… so off to the store I went again…
The one that that wasn’t really clear on the initial read of the instructions was that there are two different types of bias used — one is the fashion fabric, and one is a contrasting fabric. The necklines and armholes are all fashion fabric bias. If you lay out your pattern pieces correctly, you will have a rectangular remnant to use to make the bias. I was able to just cut 4 pieces and used the two longer ones (about 42″) for the necklines and the two shorter (about 34″) for the arms with plenty leftover for the overlap seam. For the contrast bias you can either make some or buy it. If you purchase it, you will need 3 packs of double-fold wide bias.
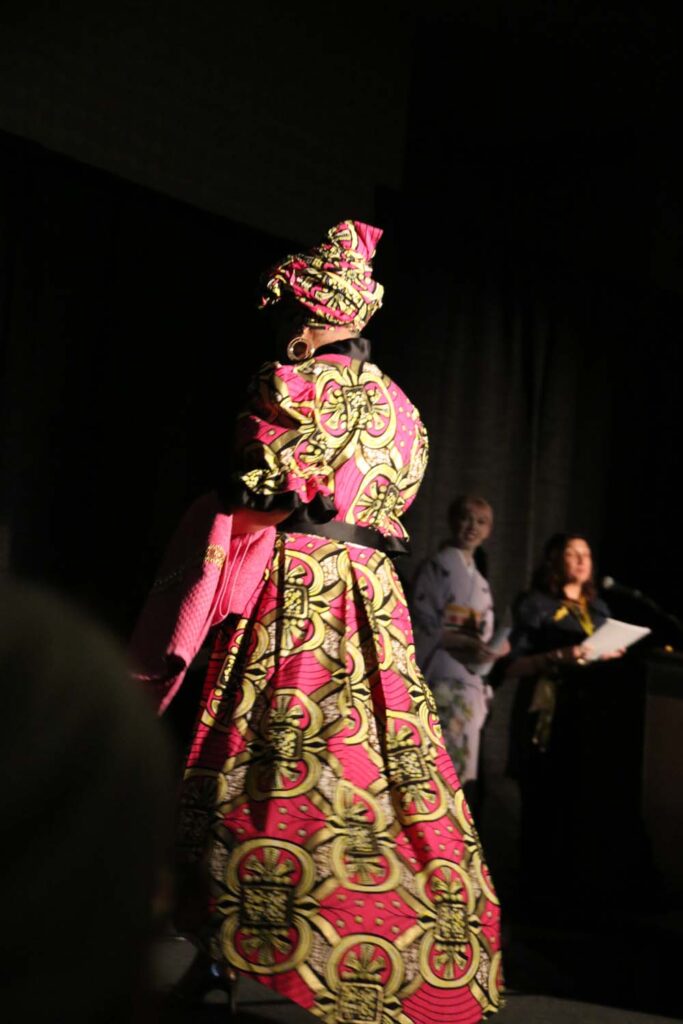
Otherwise, the instructions are quite easy to follow. I tried to sew everything that didn’t involve the contrast bias first, just so I didn’t have to keep switching my threads. The one thing I did differently was put the lower tier on with top-stitching. I did it as instructed, and found it extremely difficult to accurately place the tier upside down. I also found that my tier was a bit short (thanks to the alterations). The drop on the tiers seems like a lot until you get all of the pieces together, and then it aligns perfectly.
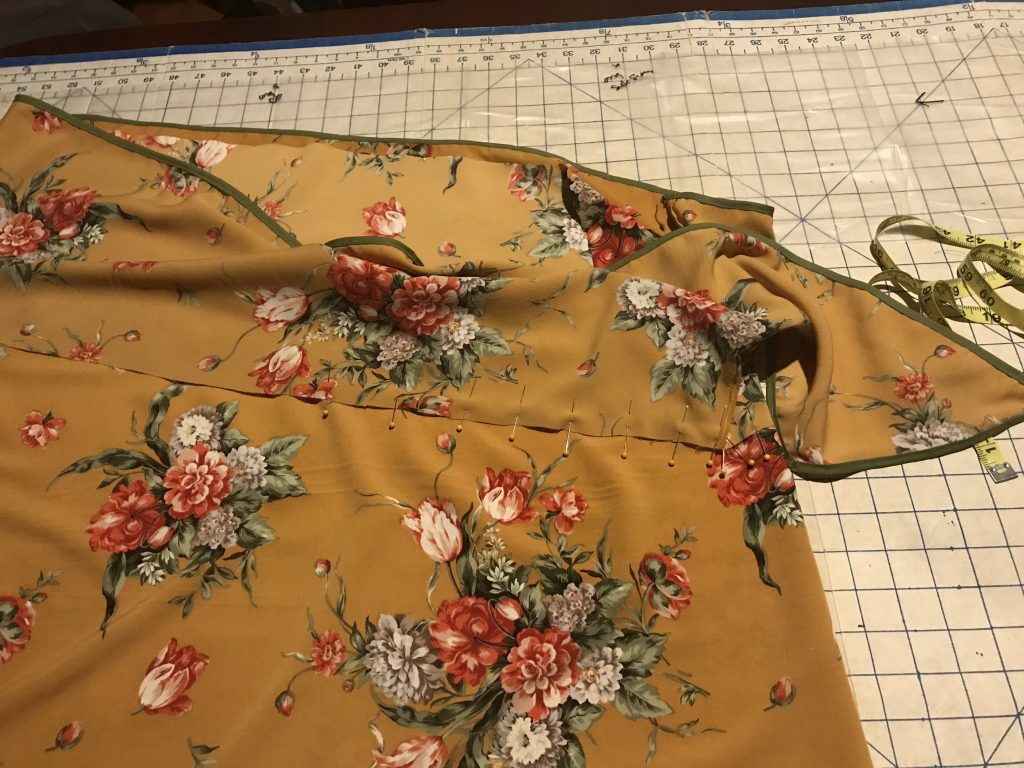
First attempt to correctly place the lower tier. 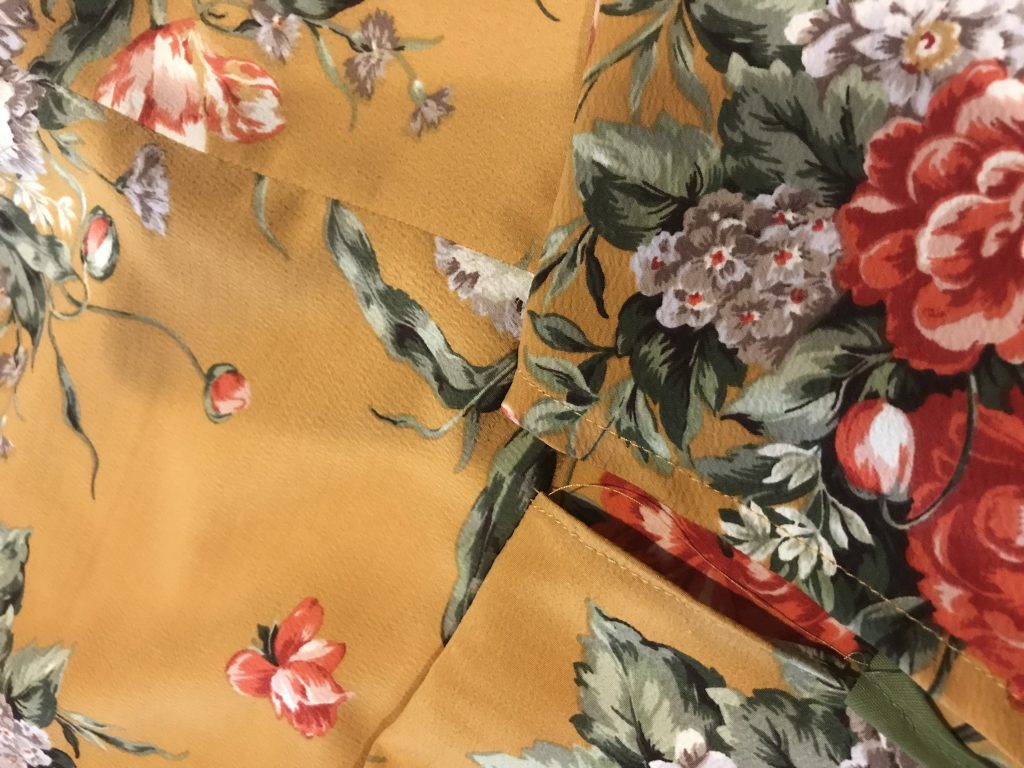
The resulting mismatch. 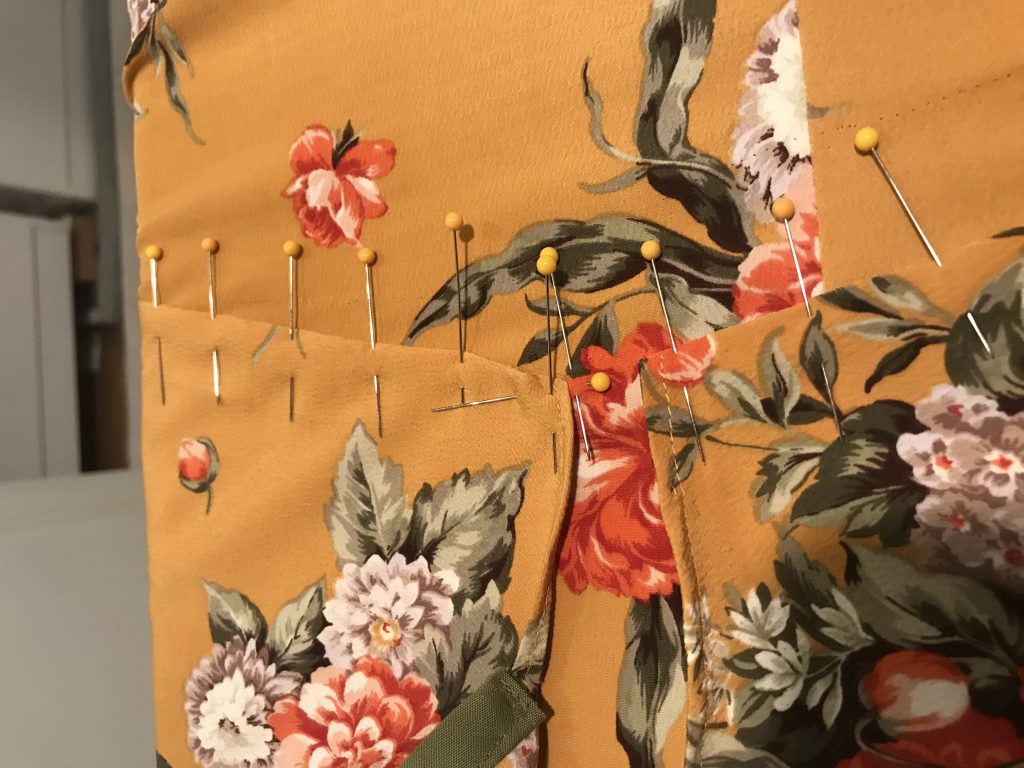
Take 2 on attaching the lower tier. 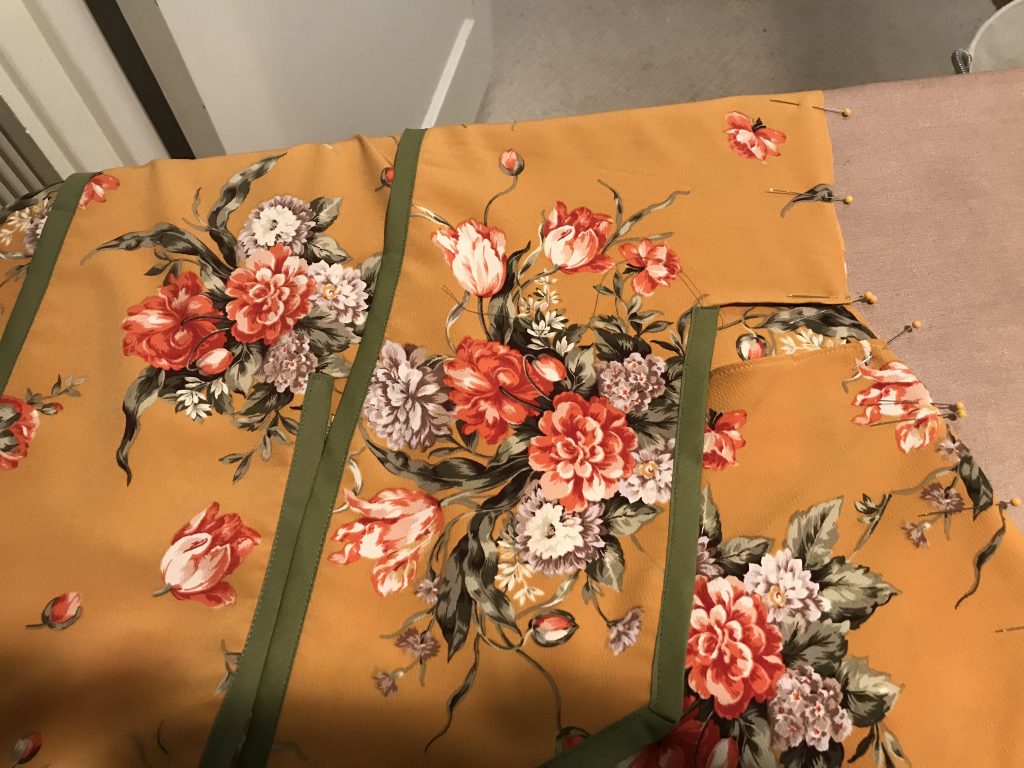
The two tiers now attached.
After finishing all of the hand work (hems and tacking down the facings on the top), while sitting at the airport and in a hotel room, I made it to the event.
We started on Wednesday afternoon with a tour of the CCD Auditorium, and had a chance to meet the professional staff. We verified our plans (made from afar with just drawings of the auditorium), and solidified our volunteer staff.
We got a chance to see how the auditorium would work and the views from the upper level on Thursday evening during the Opening Ceremonies and Retro Hugos. And were able to do some blocking work on the stage Friday morning as they were setting up for the evening’s orchestra/music event.
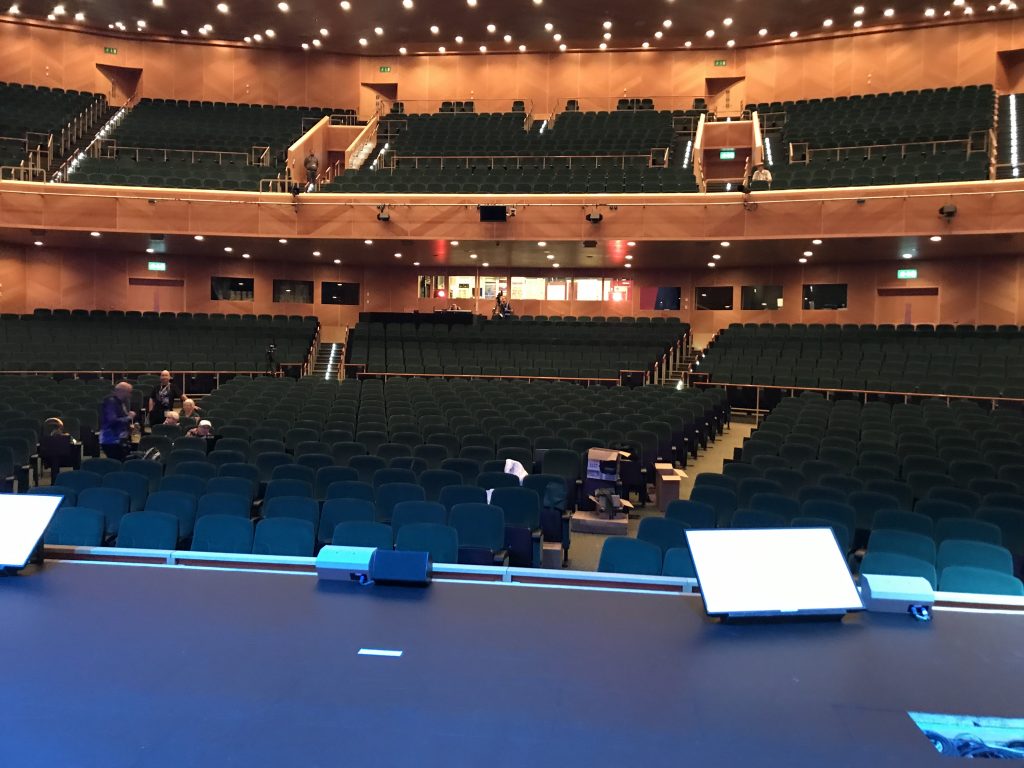
Contestant meeting, final tech prep, and then tech rehearsals all started before 10am on Saturday. We had four of the professional staff helping us, Stage Manager, Sound, Lights, and Video, alongside our volunteer crew. Rehearsal finished by 5:15pm, so we all had chance for a brief break and some dinner, before we opened the auditorium at 7:00pm, with two waves of seating. The show started on time at about 8:02pm.


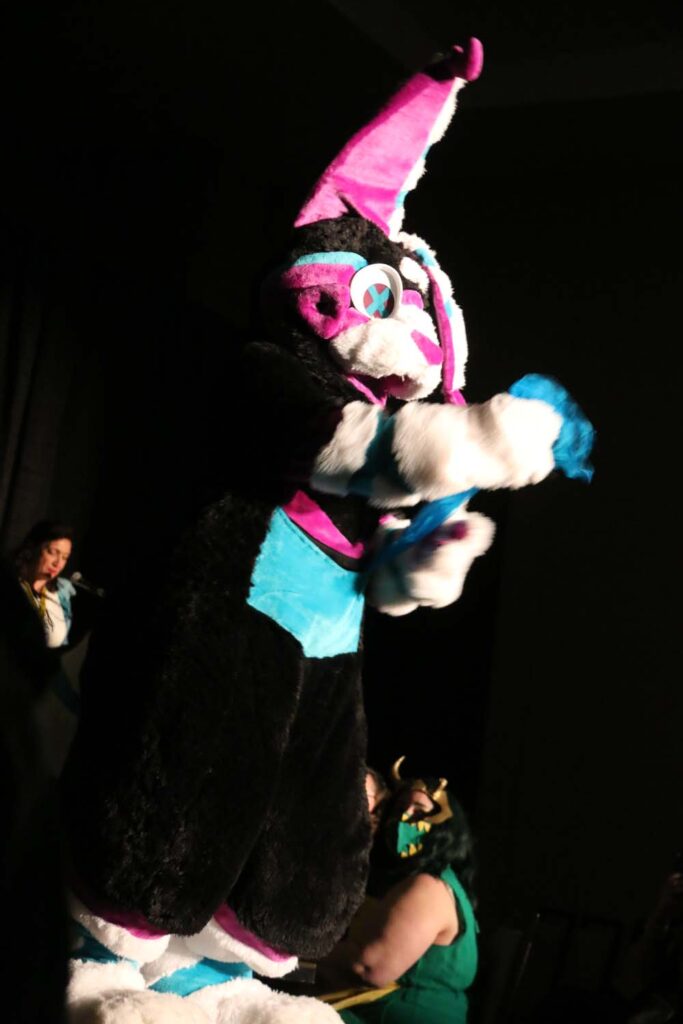
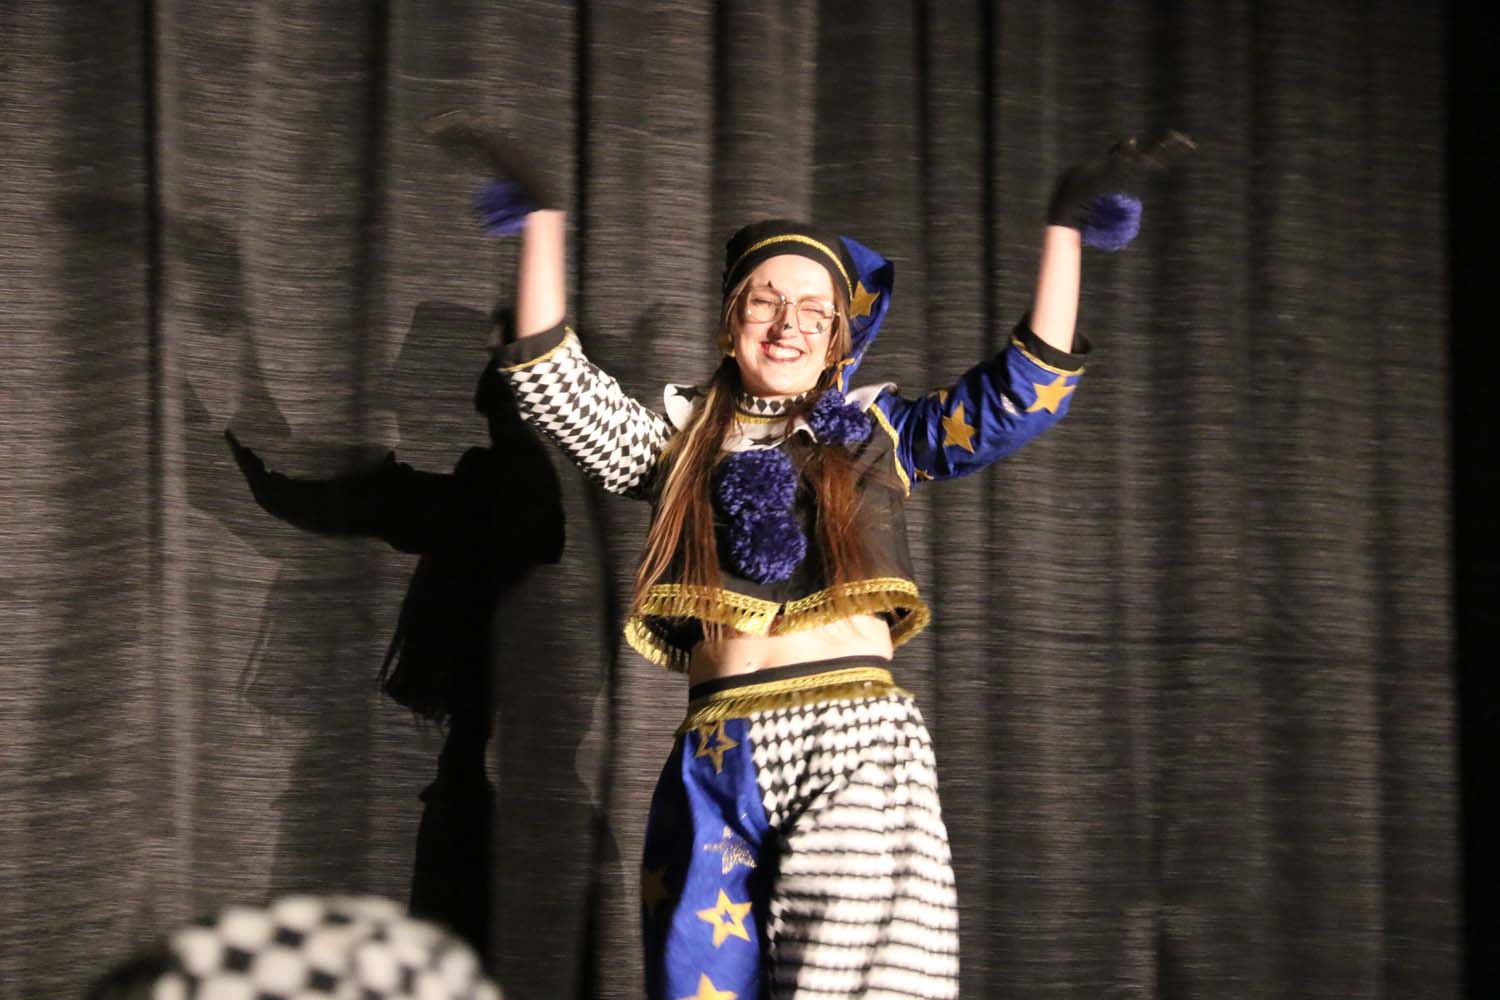
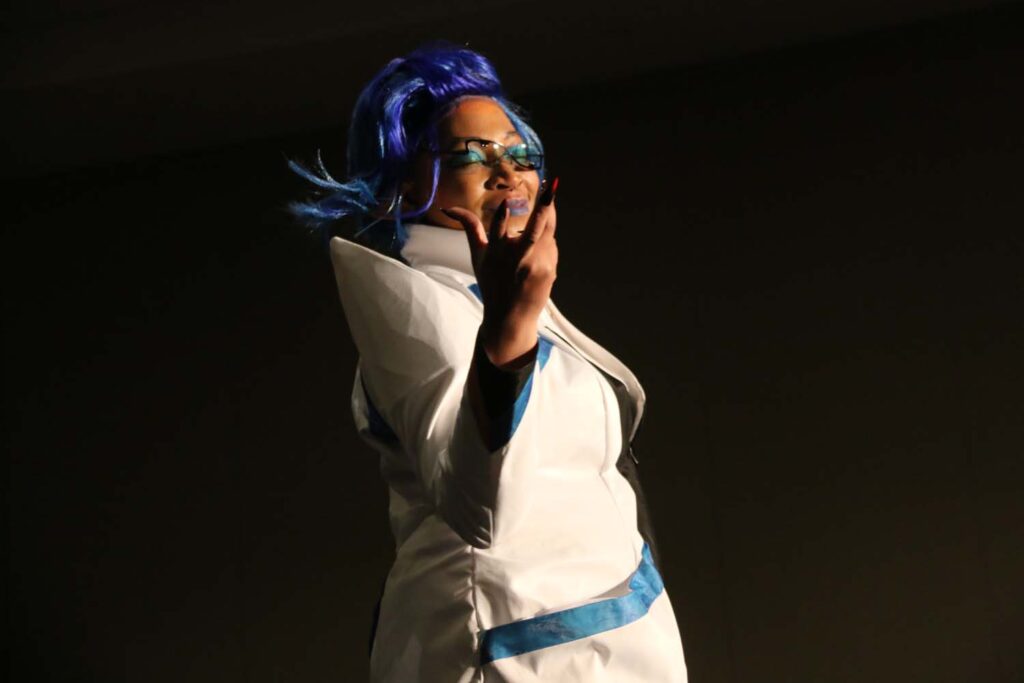
We had a total of 35 entries cross the stage. About half were novices. A couple were folks who had first competed in Helsinki 2 years ago. The performance went very smoothly.

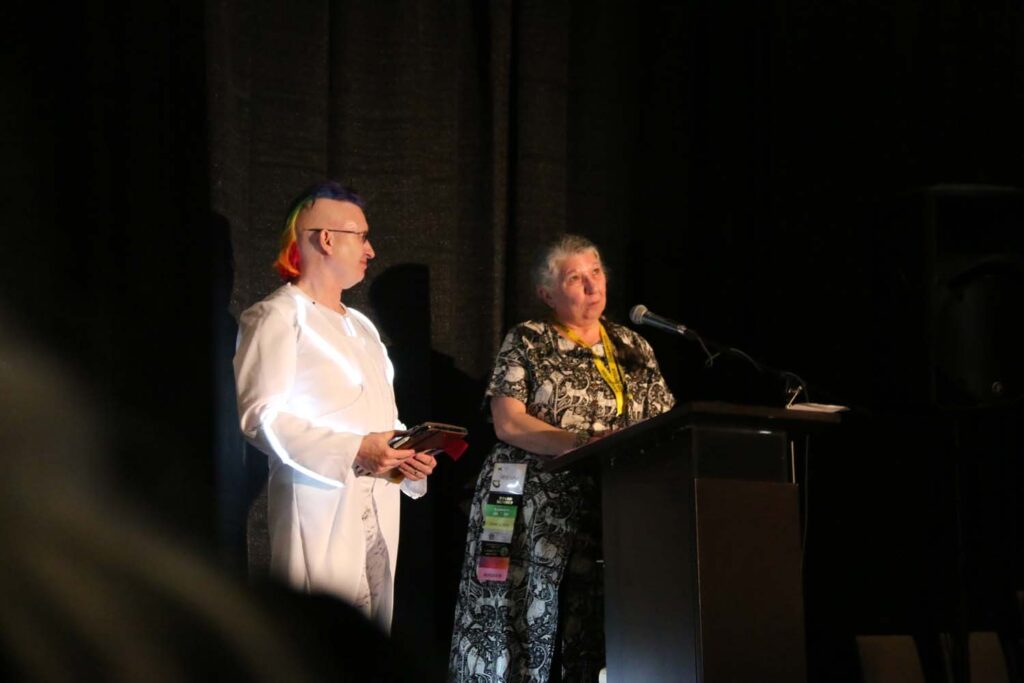
Our halftime entertainment was Pecha Kucha Karaoke, led by our MC, who has hosted many Pecha Kucha events featuring both prepared presentations and karaoke presentations. The audience was entertained while the judges deliberated.
More photos can be seen in this Flickr album.
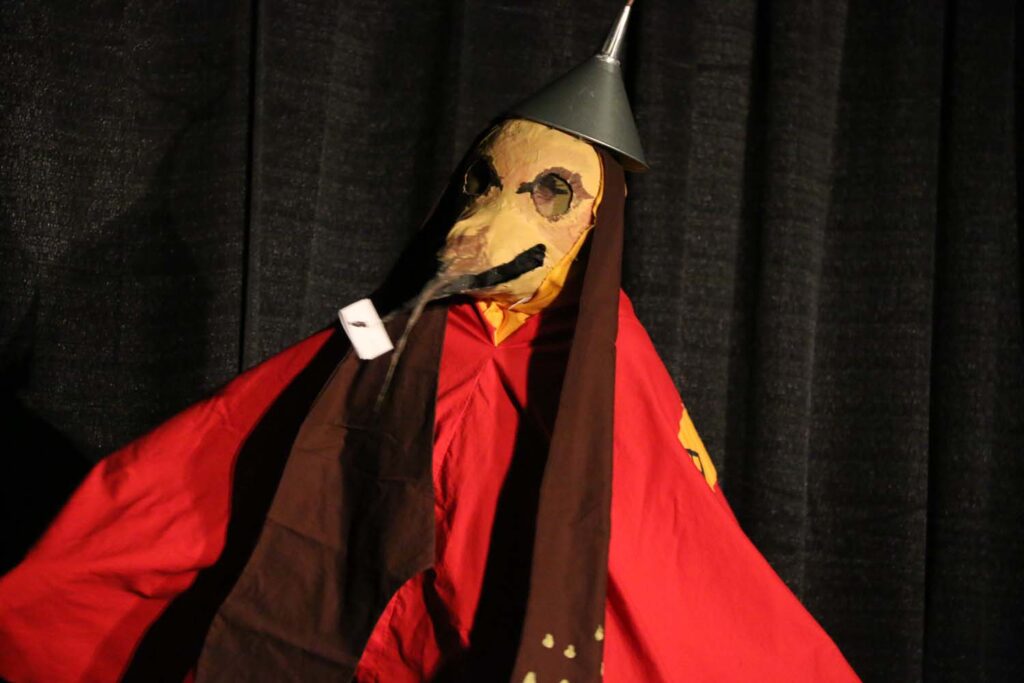
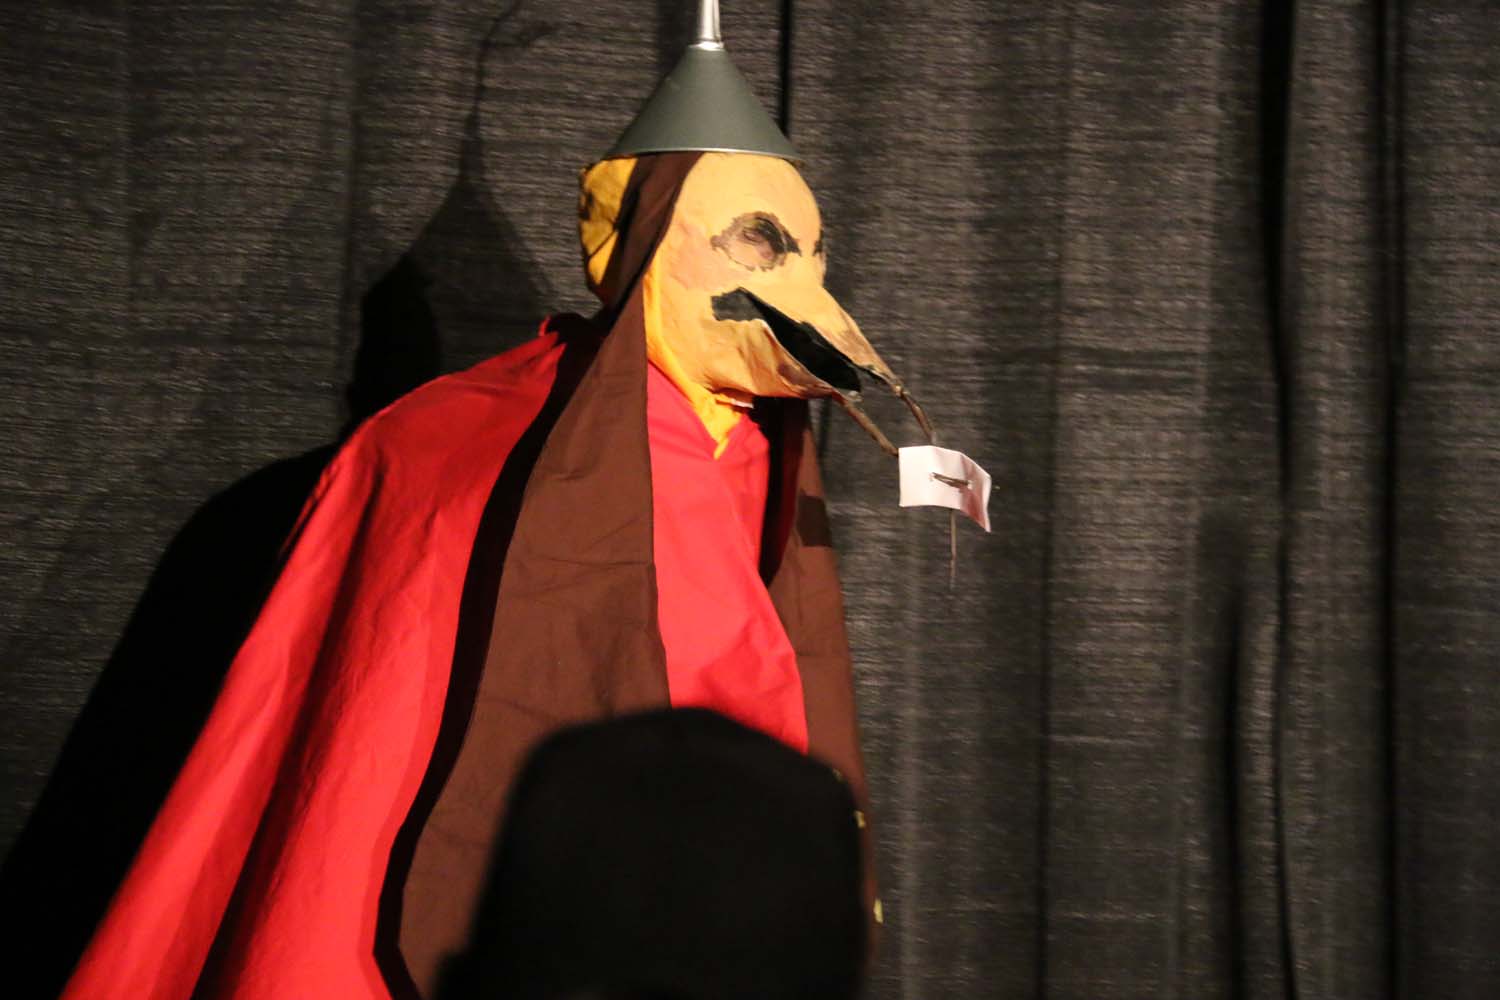
]]>I saw this post on Instructables: https://www.instructables.com/id/Chimney-Sweeper-Prop-Like-in-Mary-Poppins/
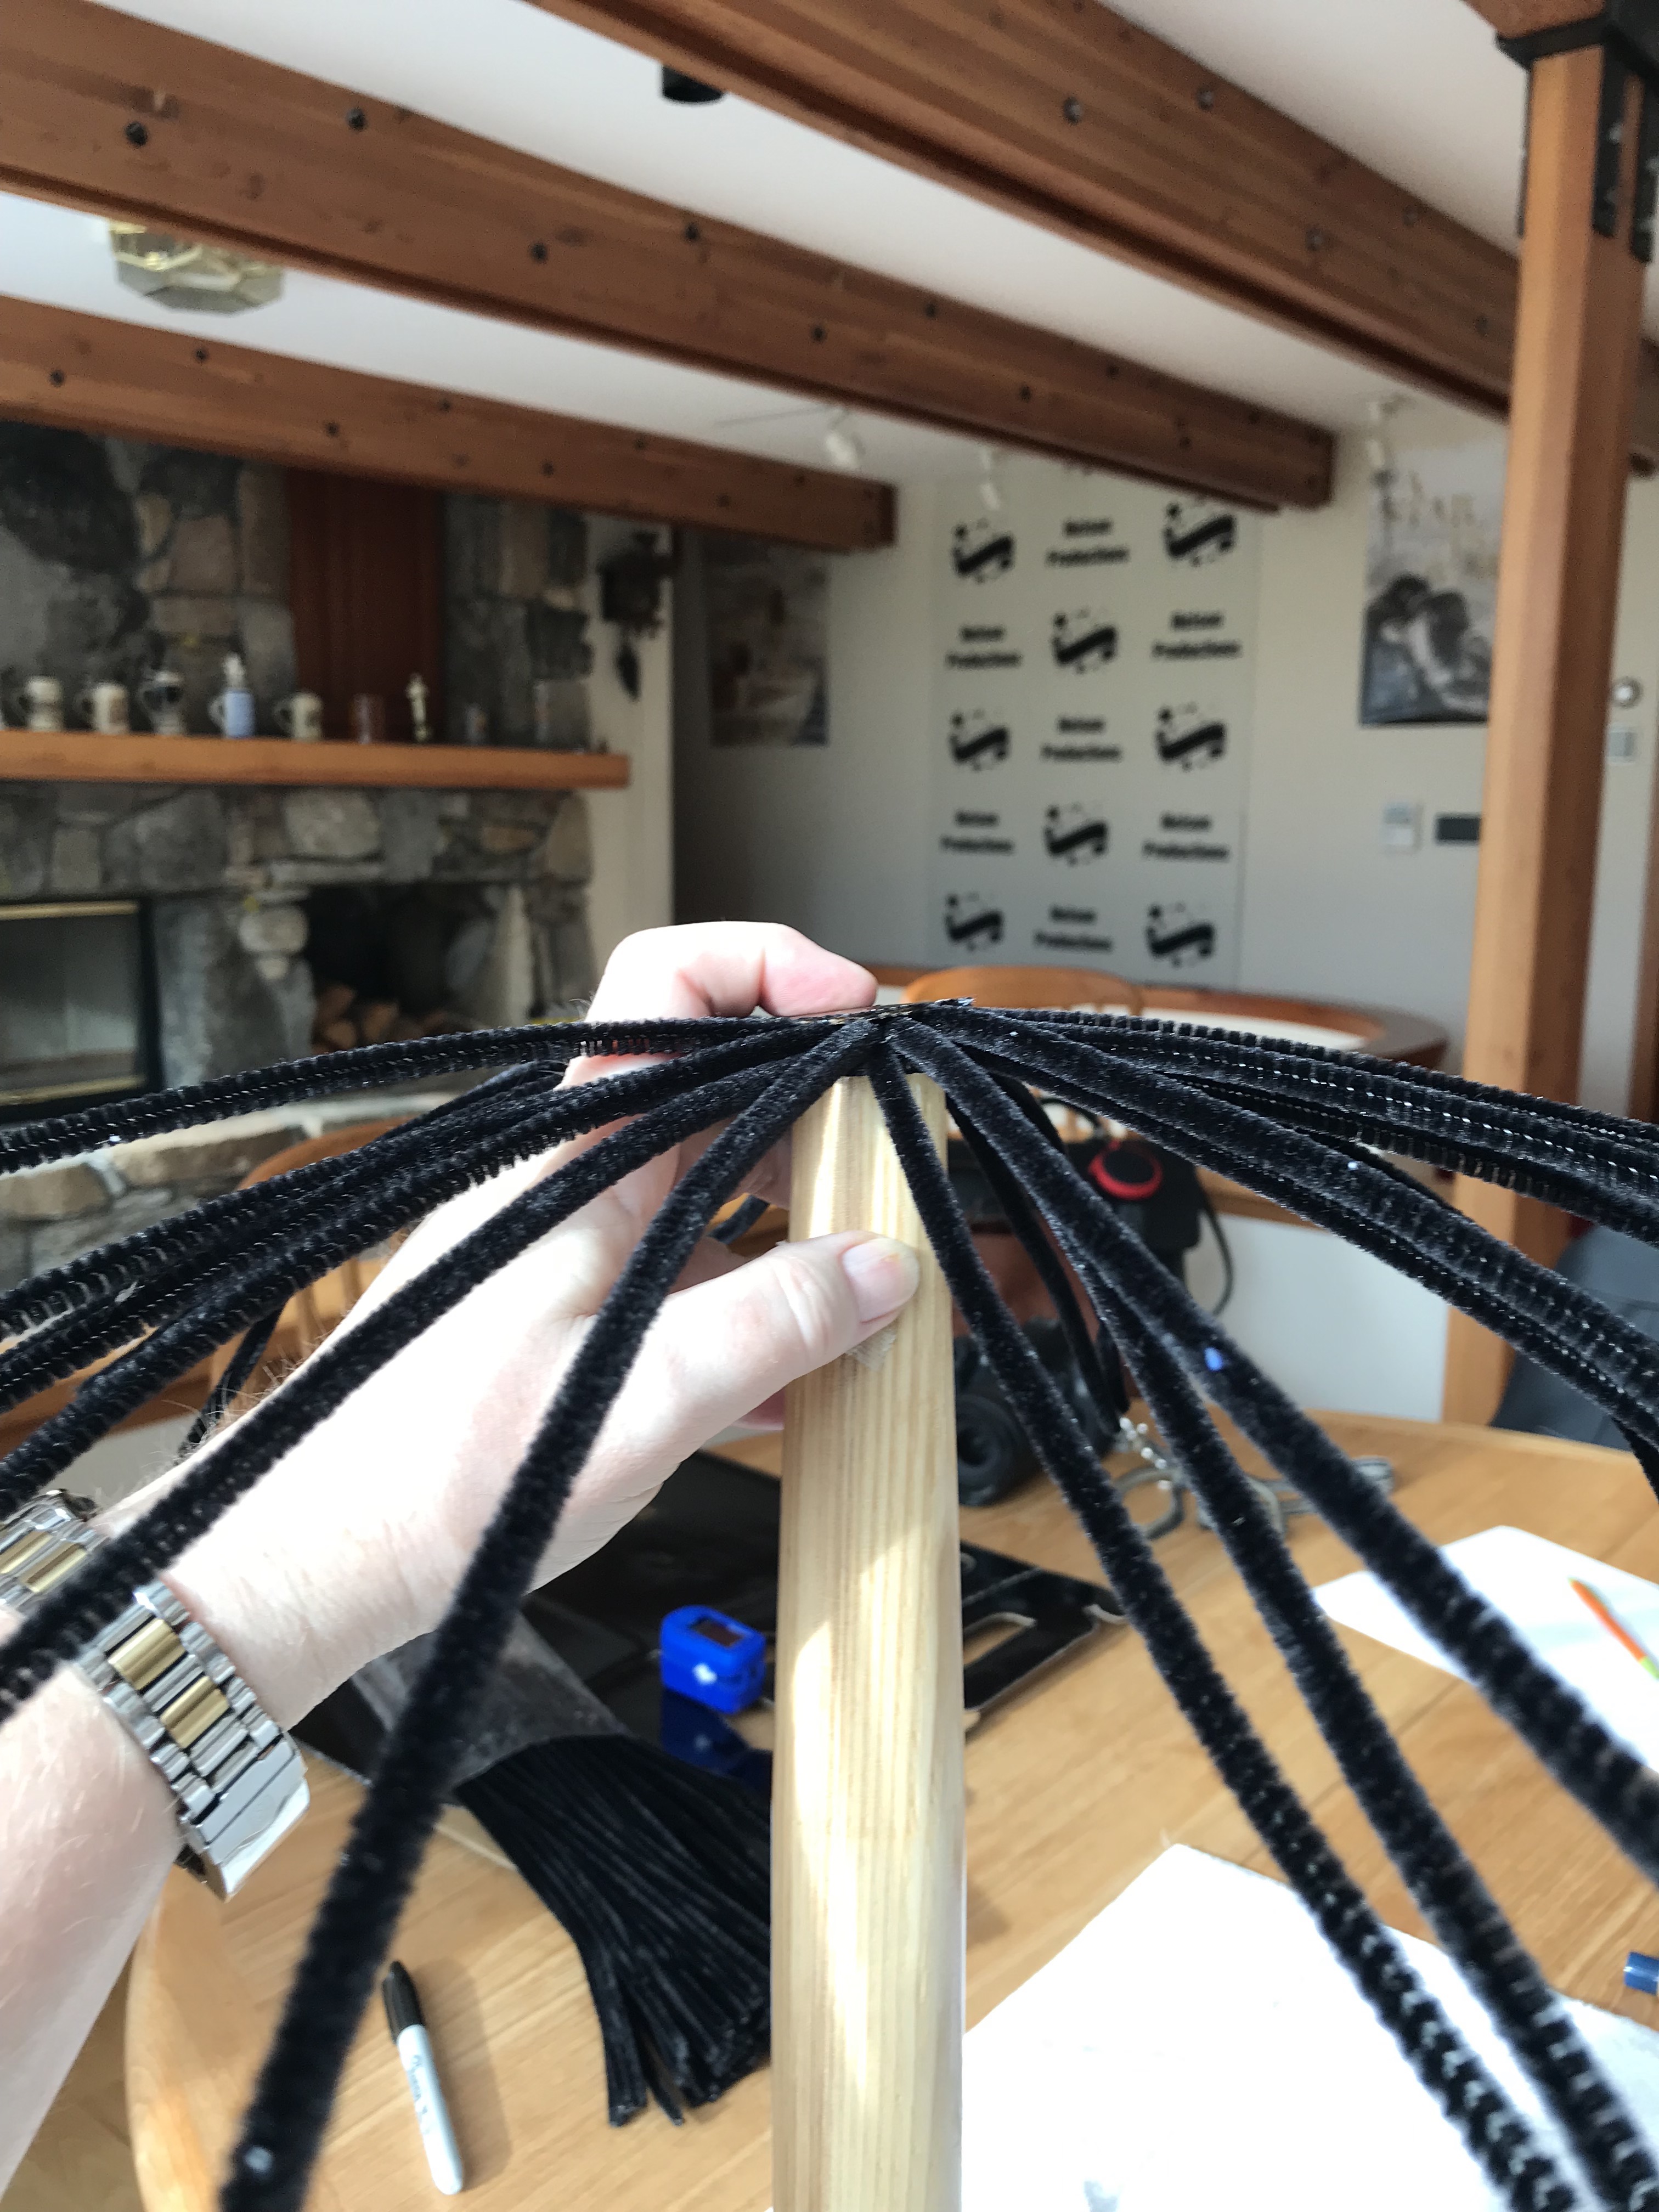
So off I went to my local Joann Fabrics, to see what I could find that would work. The key find was chenille stems in black (think long pipe-cleaners). No need for paint. The second find was in the garage — black cardboard from a wine carrier. Maybe some touch up paint or even just a sharpie on the edges. The third key piece was a replacement shovel handle at Home Depot.
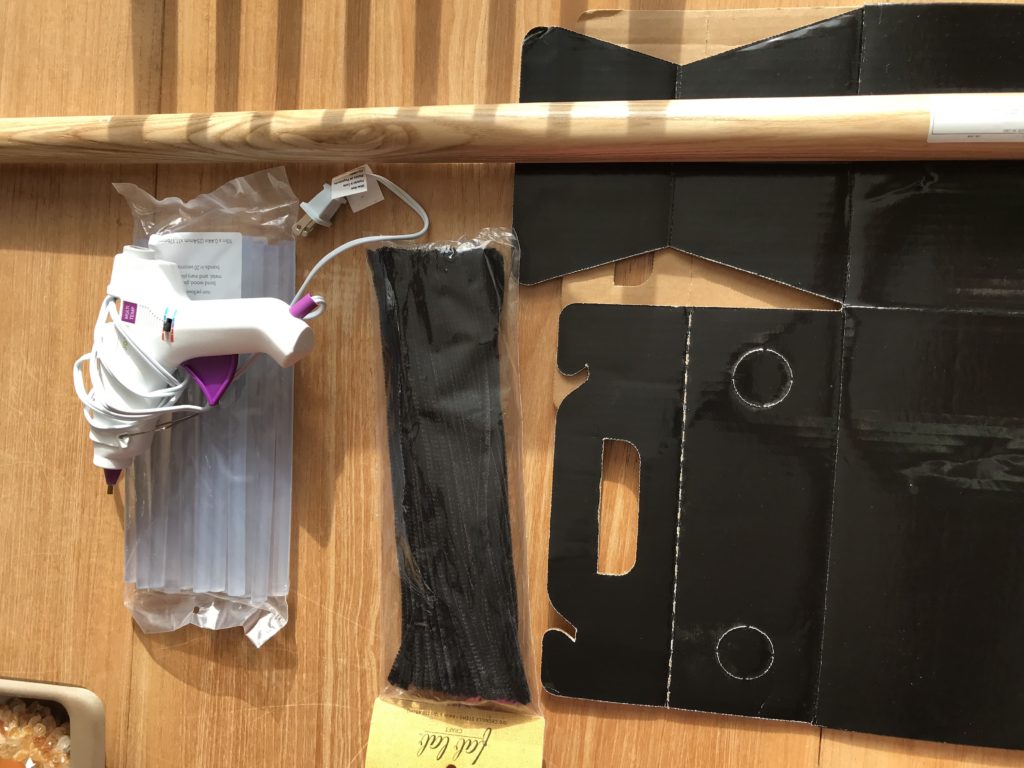
The wine carrier box had convenient pre-cut rounds (I guess for a tall bottle to stick out), which just popped out to use as the centers. They are about 1.5″ in diameter, so not too big. I colored the edges with a sharpie.
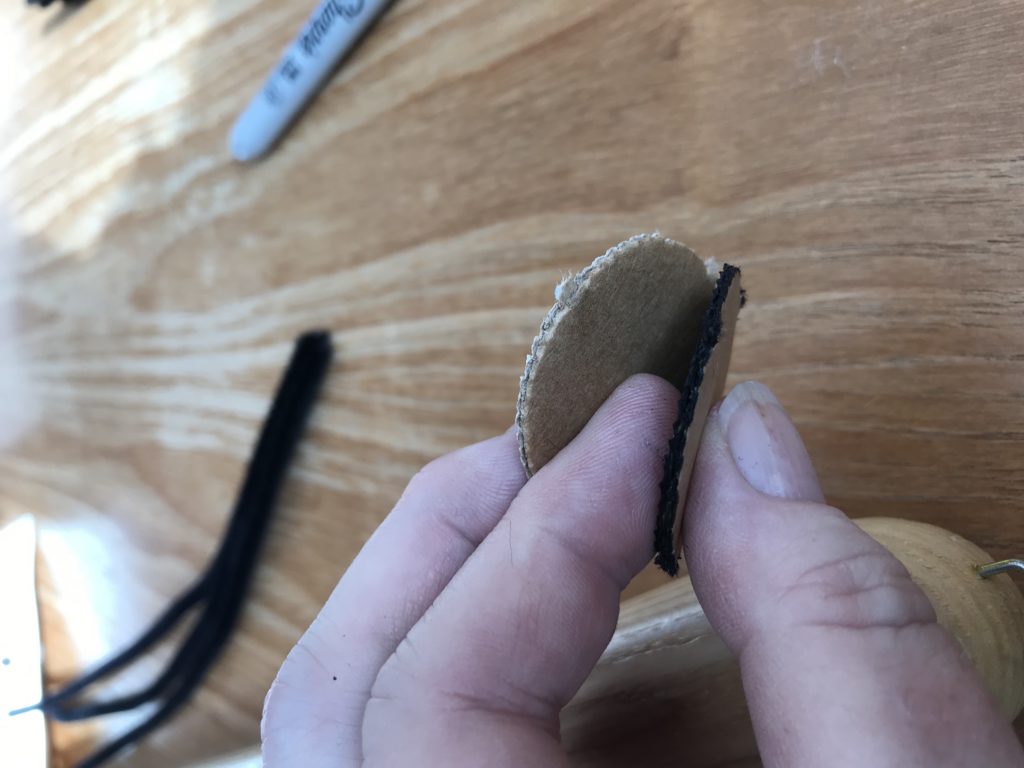
Then I glued down a total of 16 stems to each of the two rounds. Once the glue was set, I then glued them together.
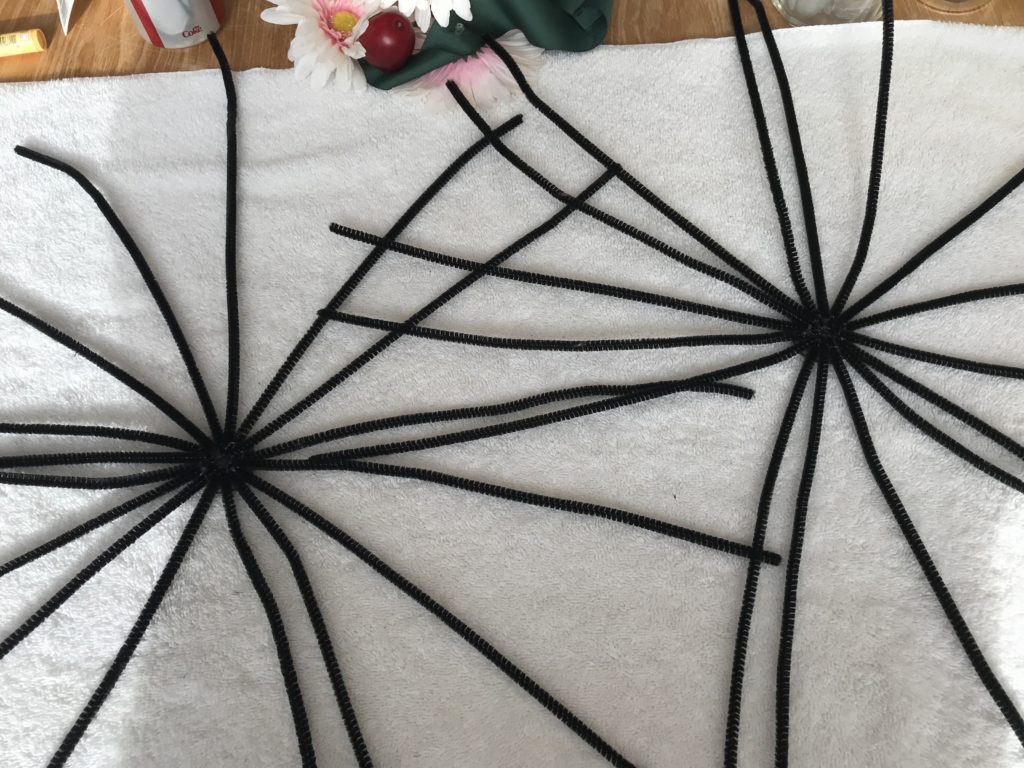
Since the circles were just slightly larger than the end of the shovel handle, I opted to screw the assembly into the handle. This not only makes it easier to keep together, it makes it easy to undo for packing.
The final prop:
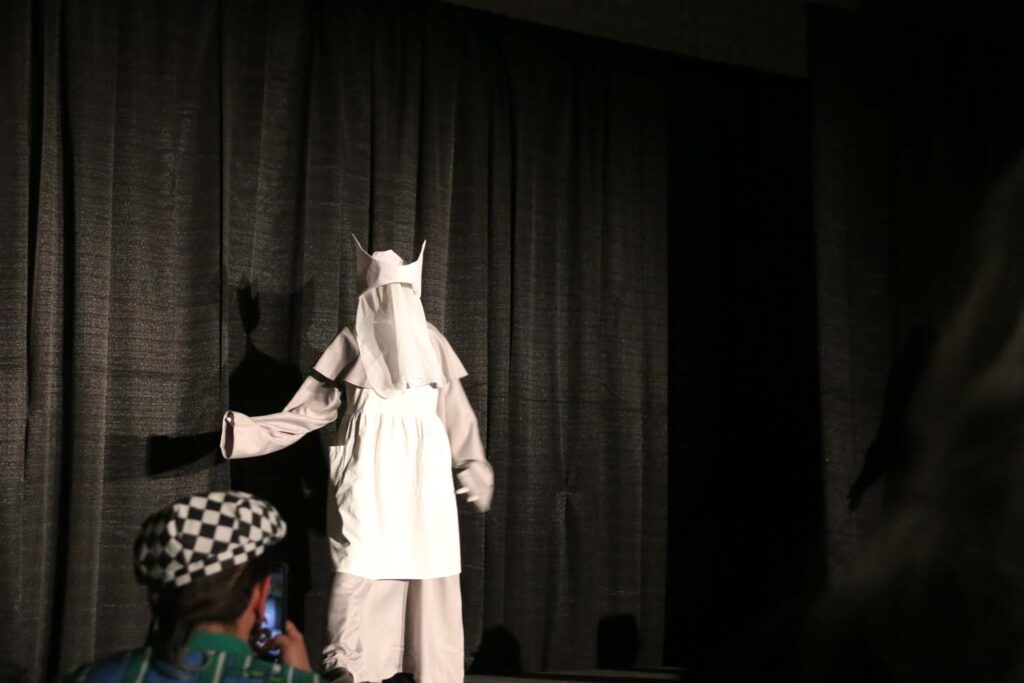
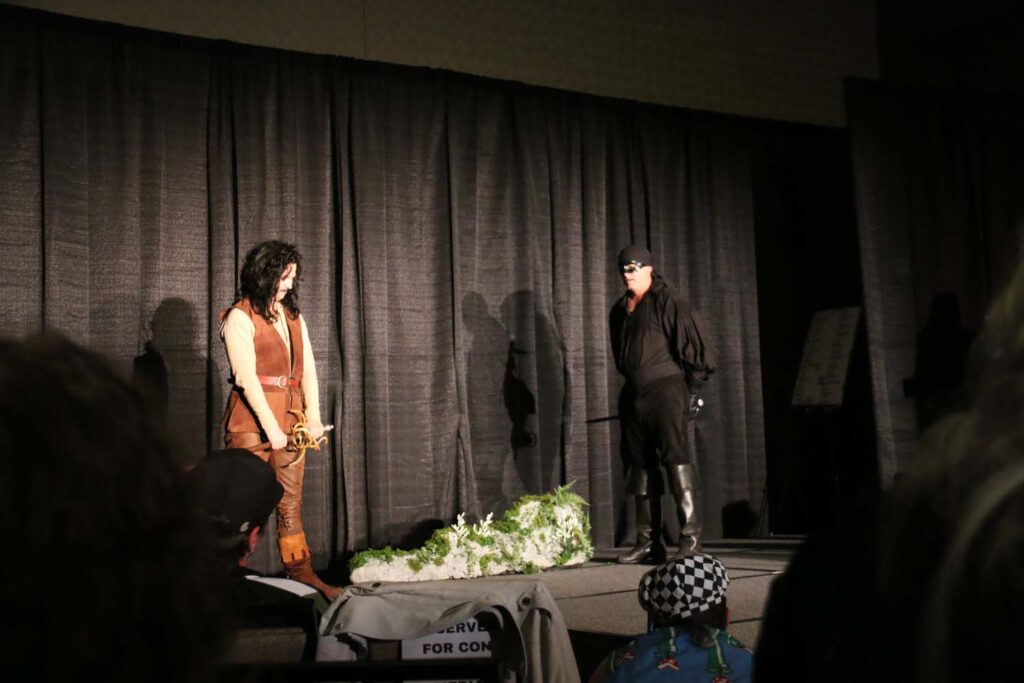
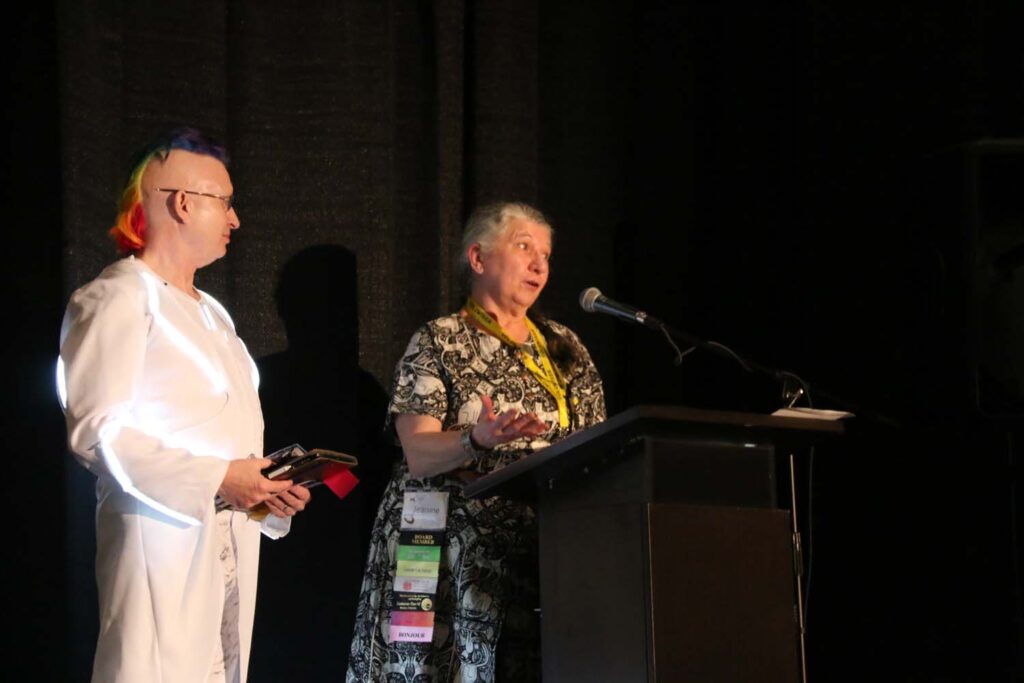
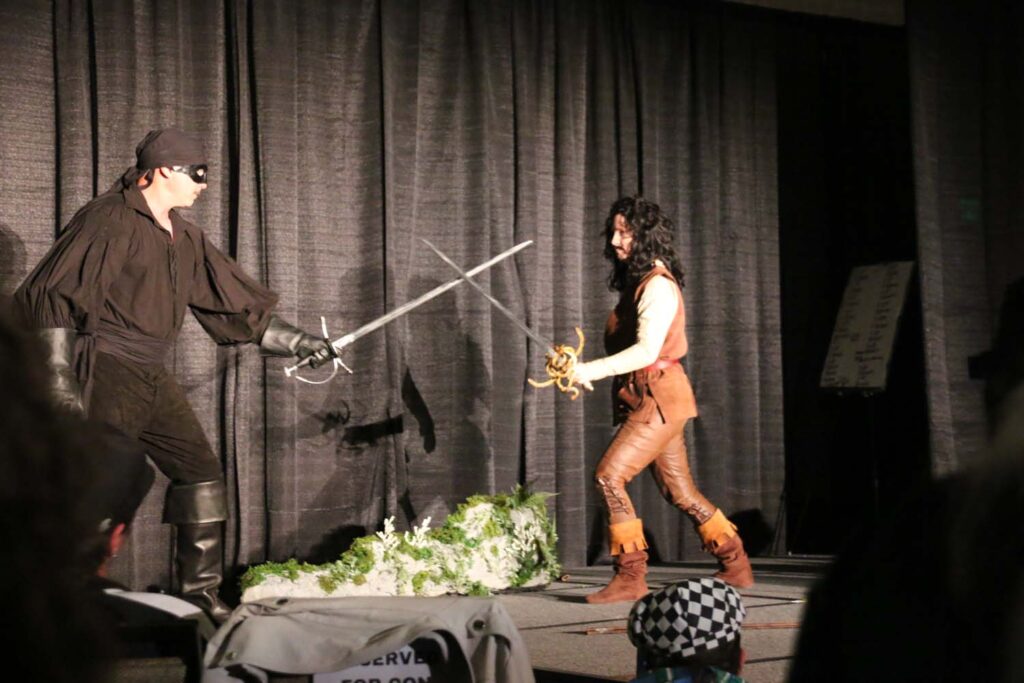
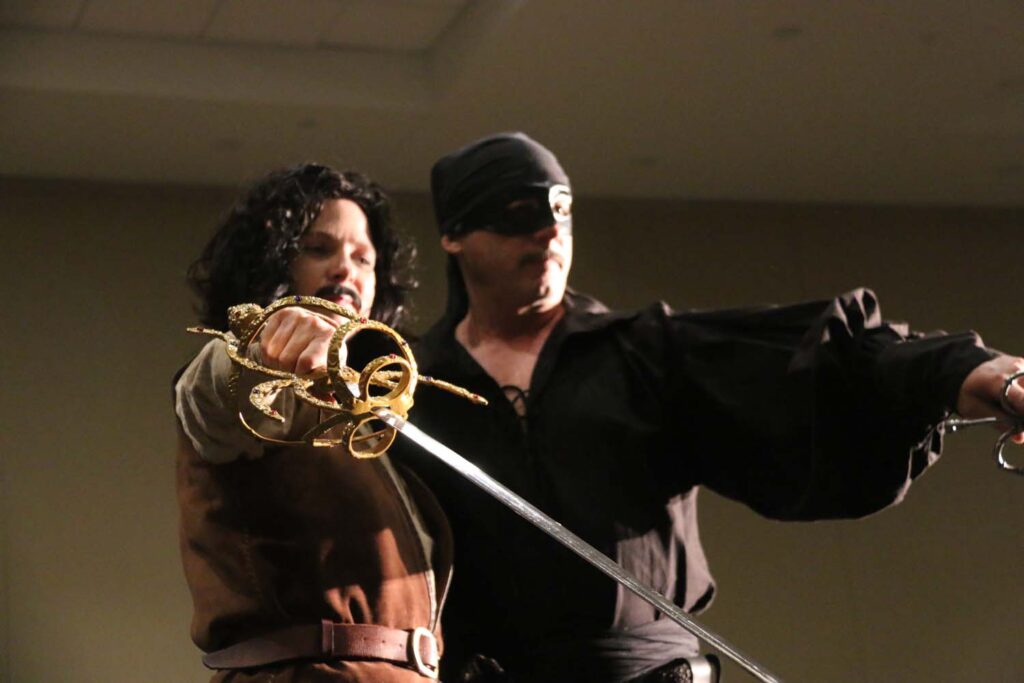
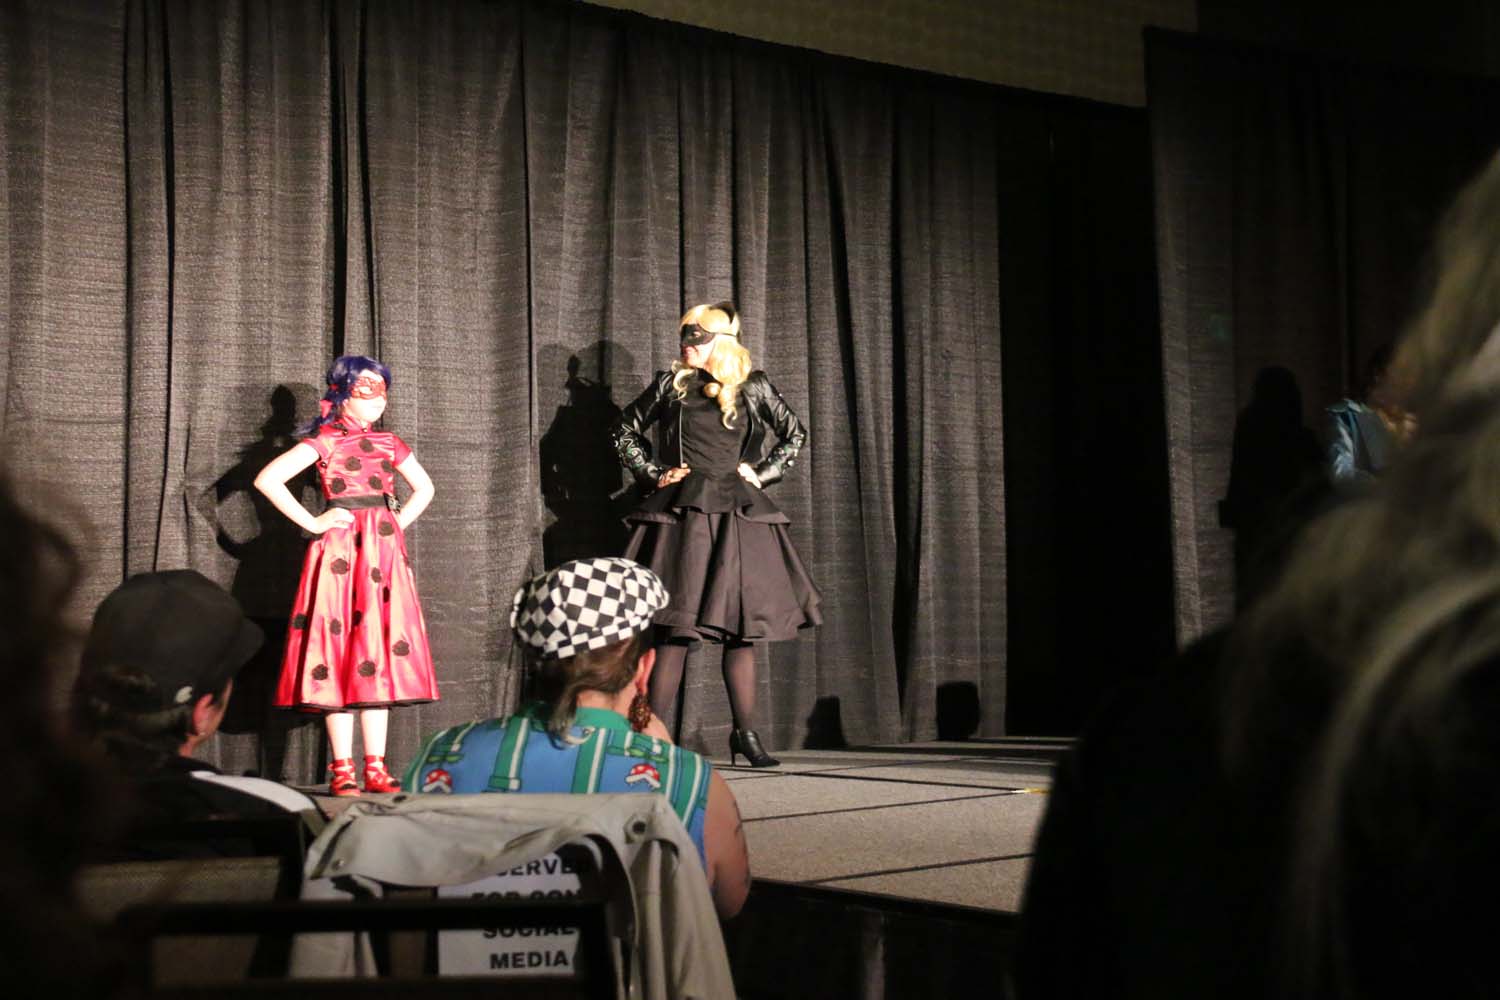
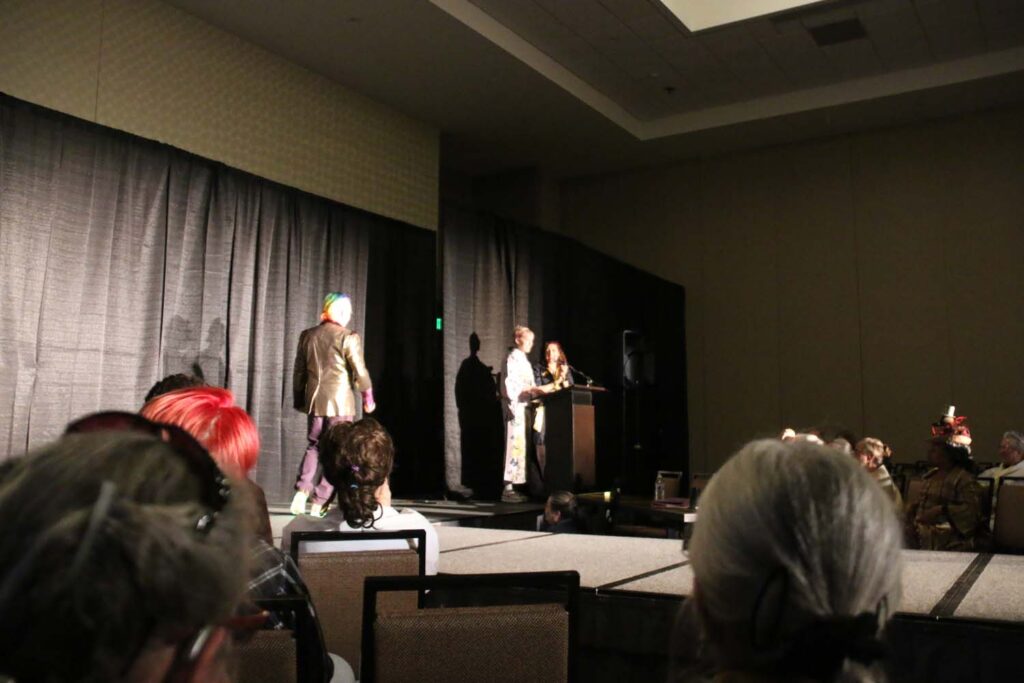
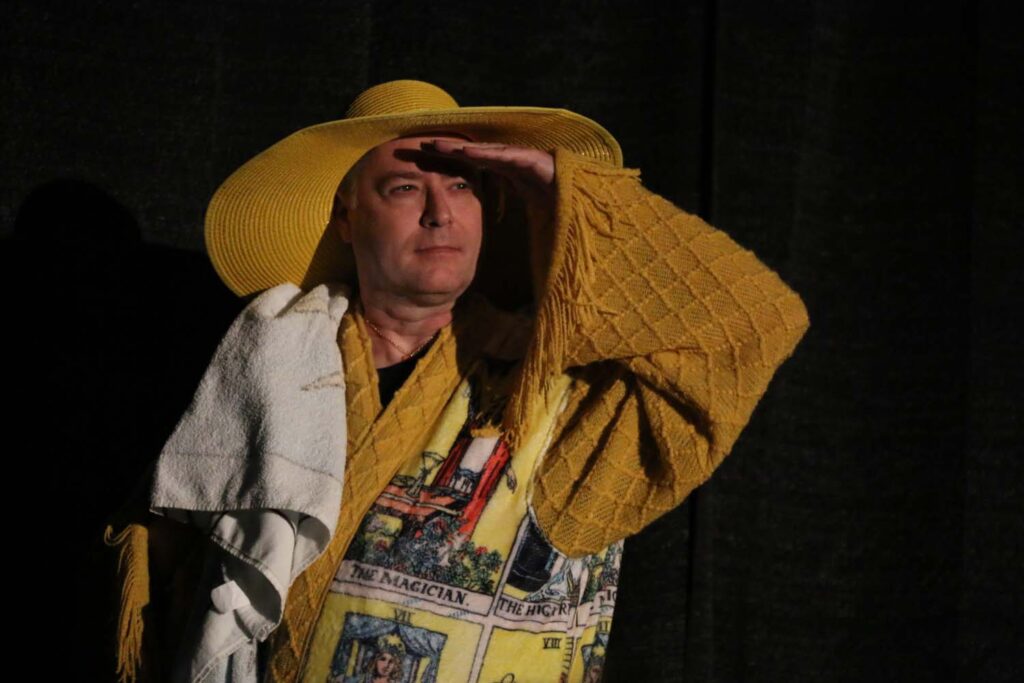
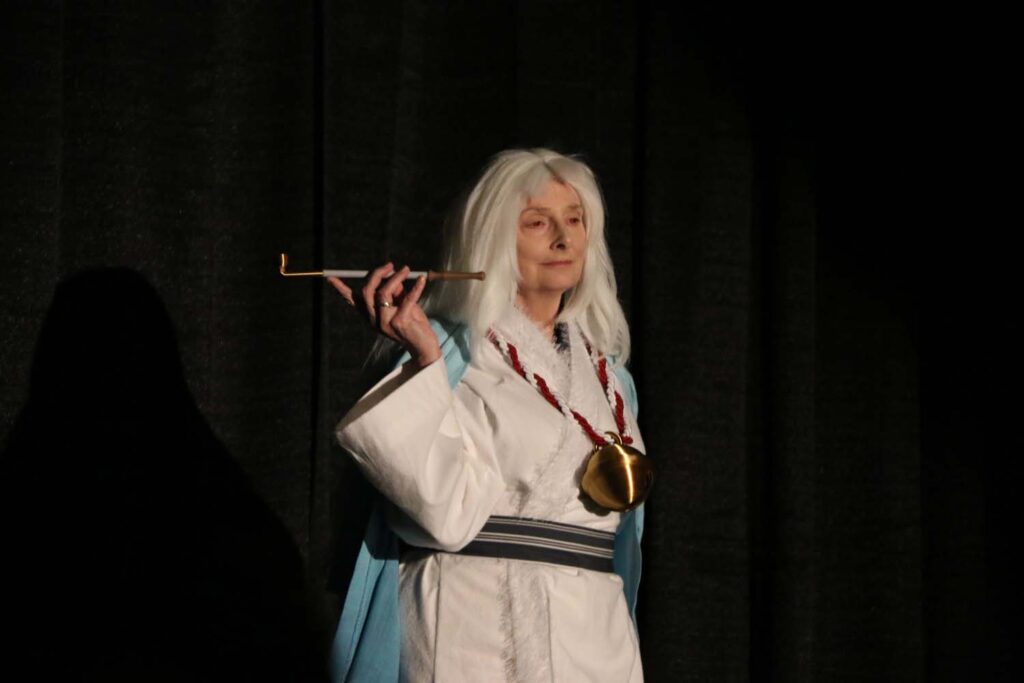
A Worldcon Masquerade is a major stage event, just like a play or musical. Except that we have one day to rehearse everything, make sure that the lights and audio are set, that everyone knows how to work on the stage, that the crew have all of their cues, for our one big night.
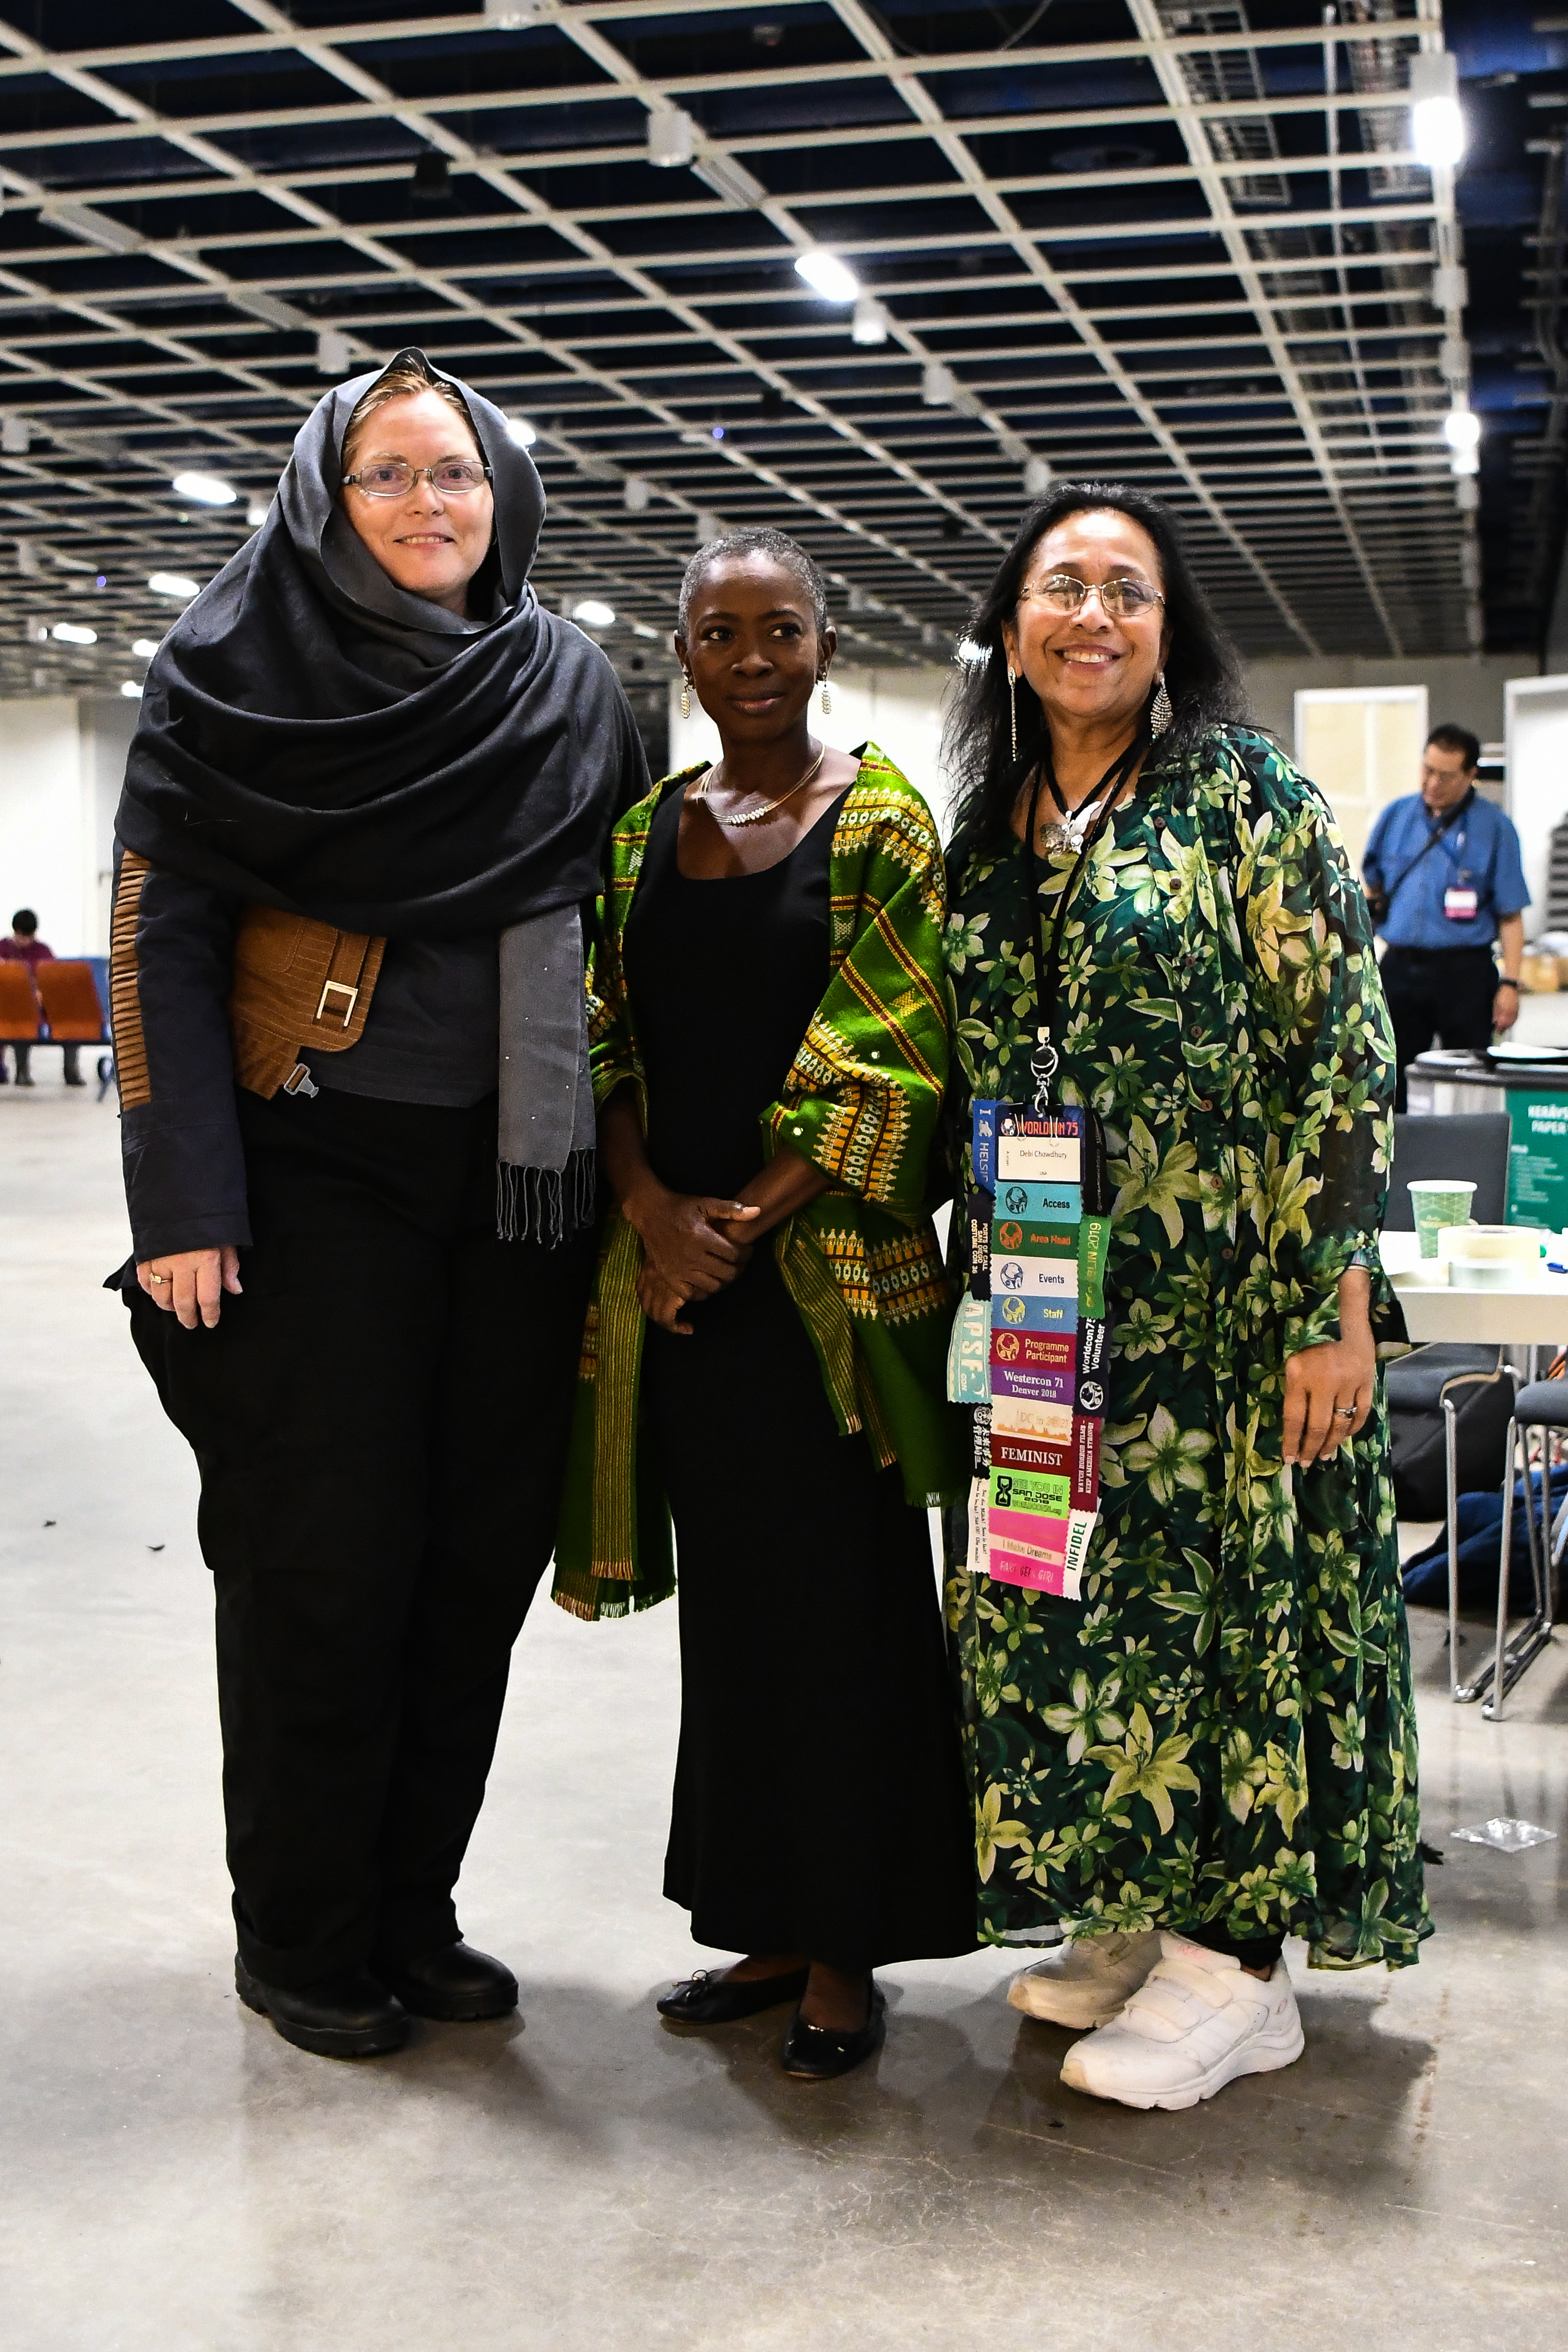
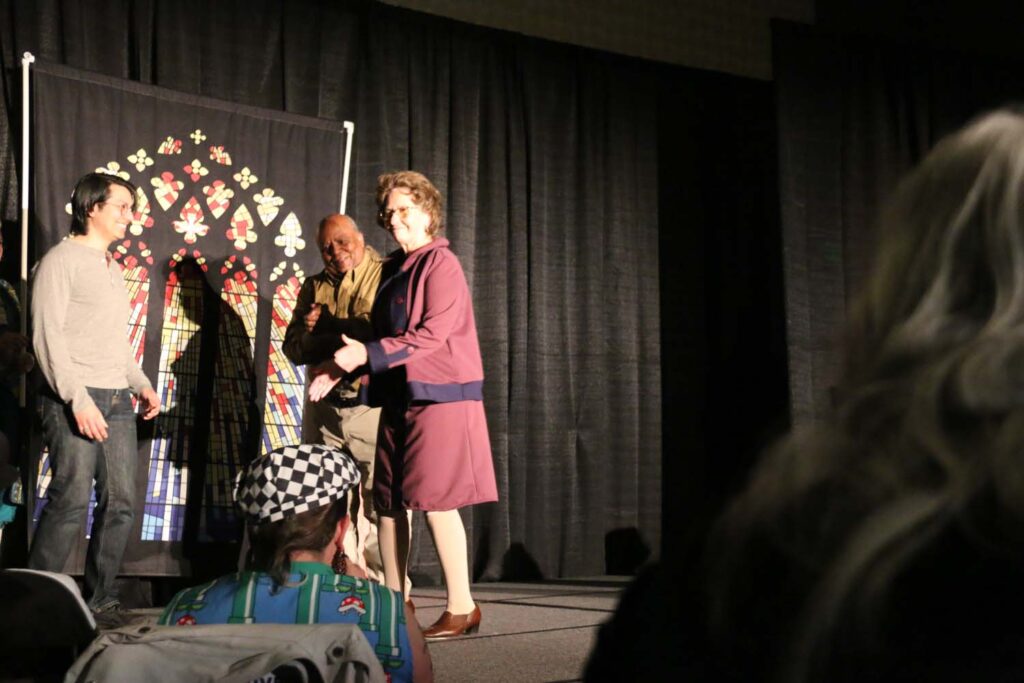
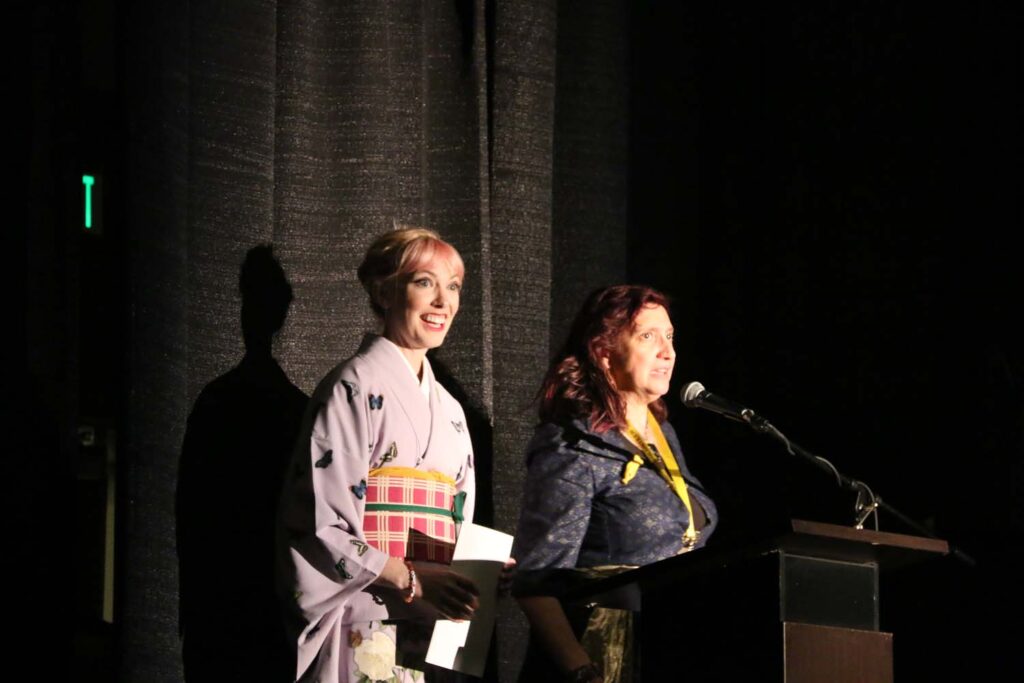
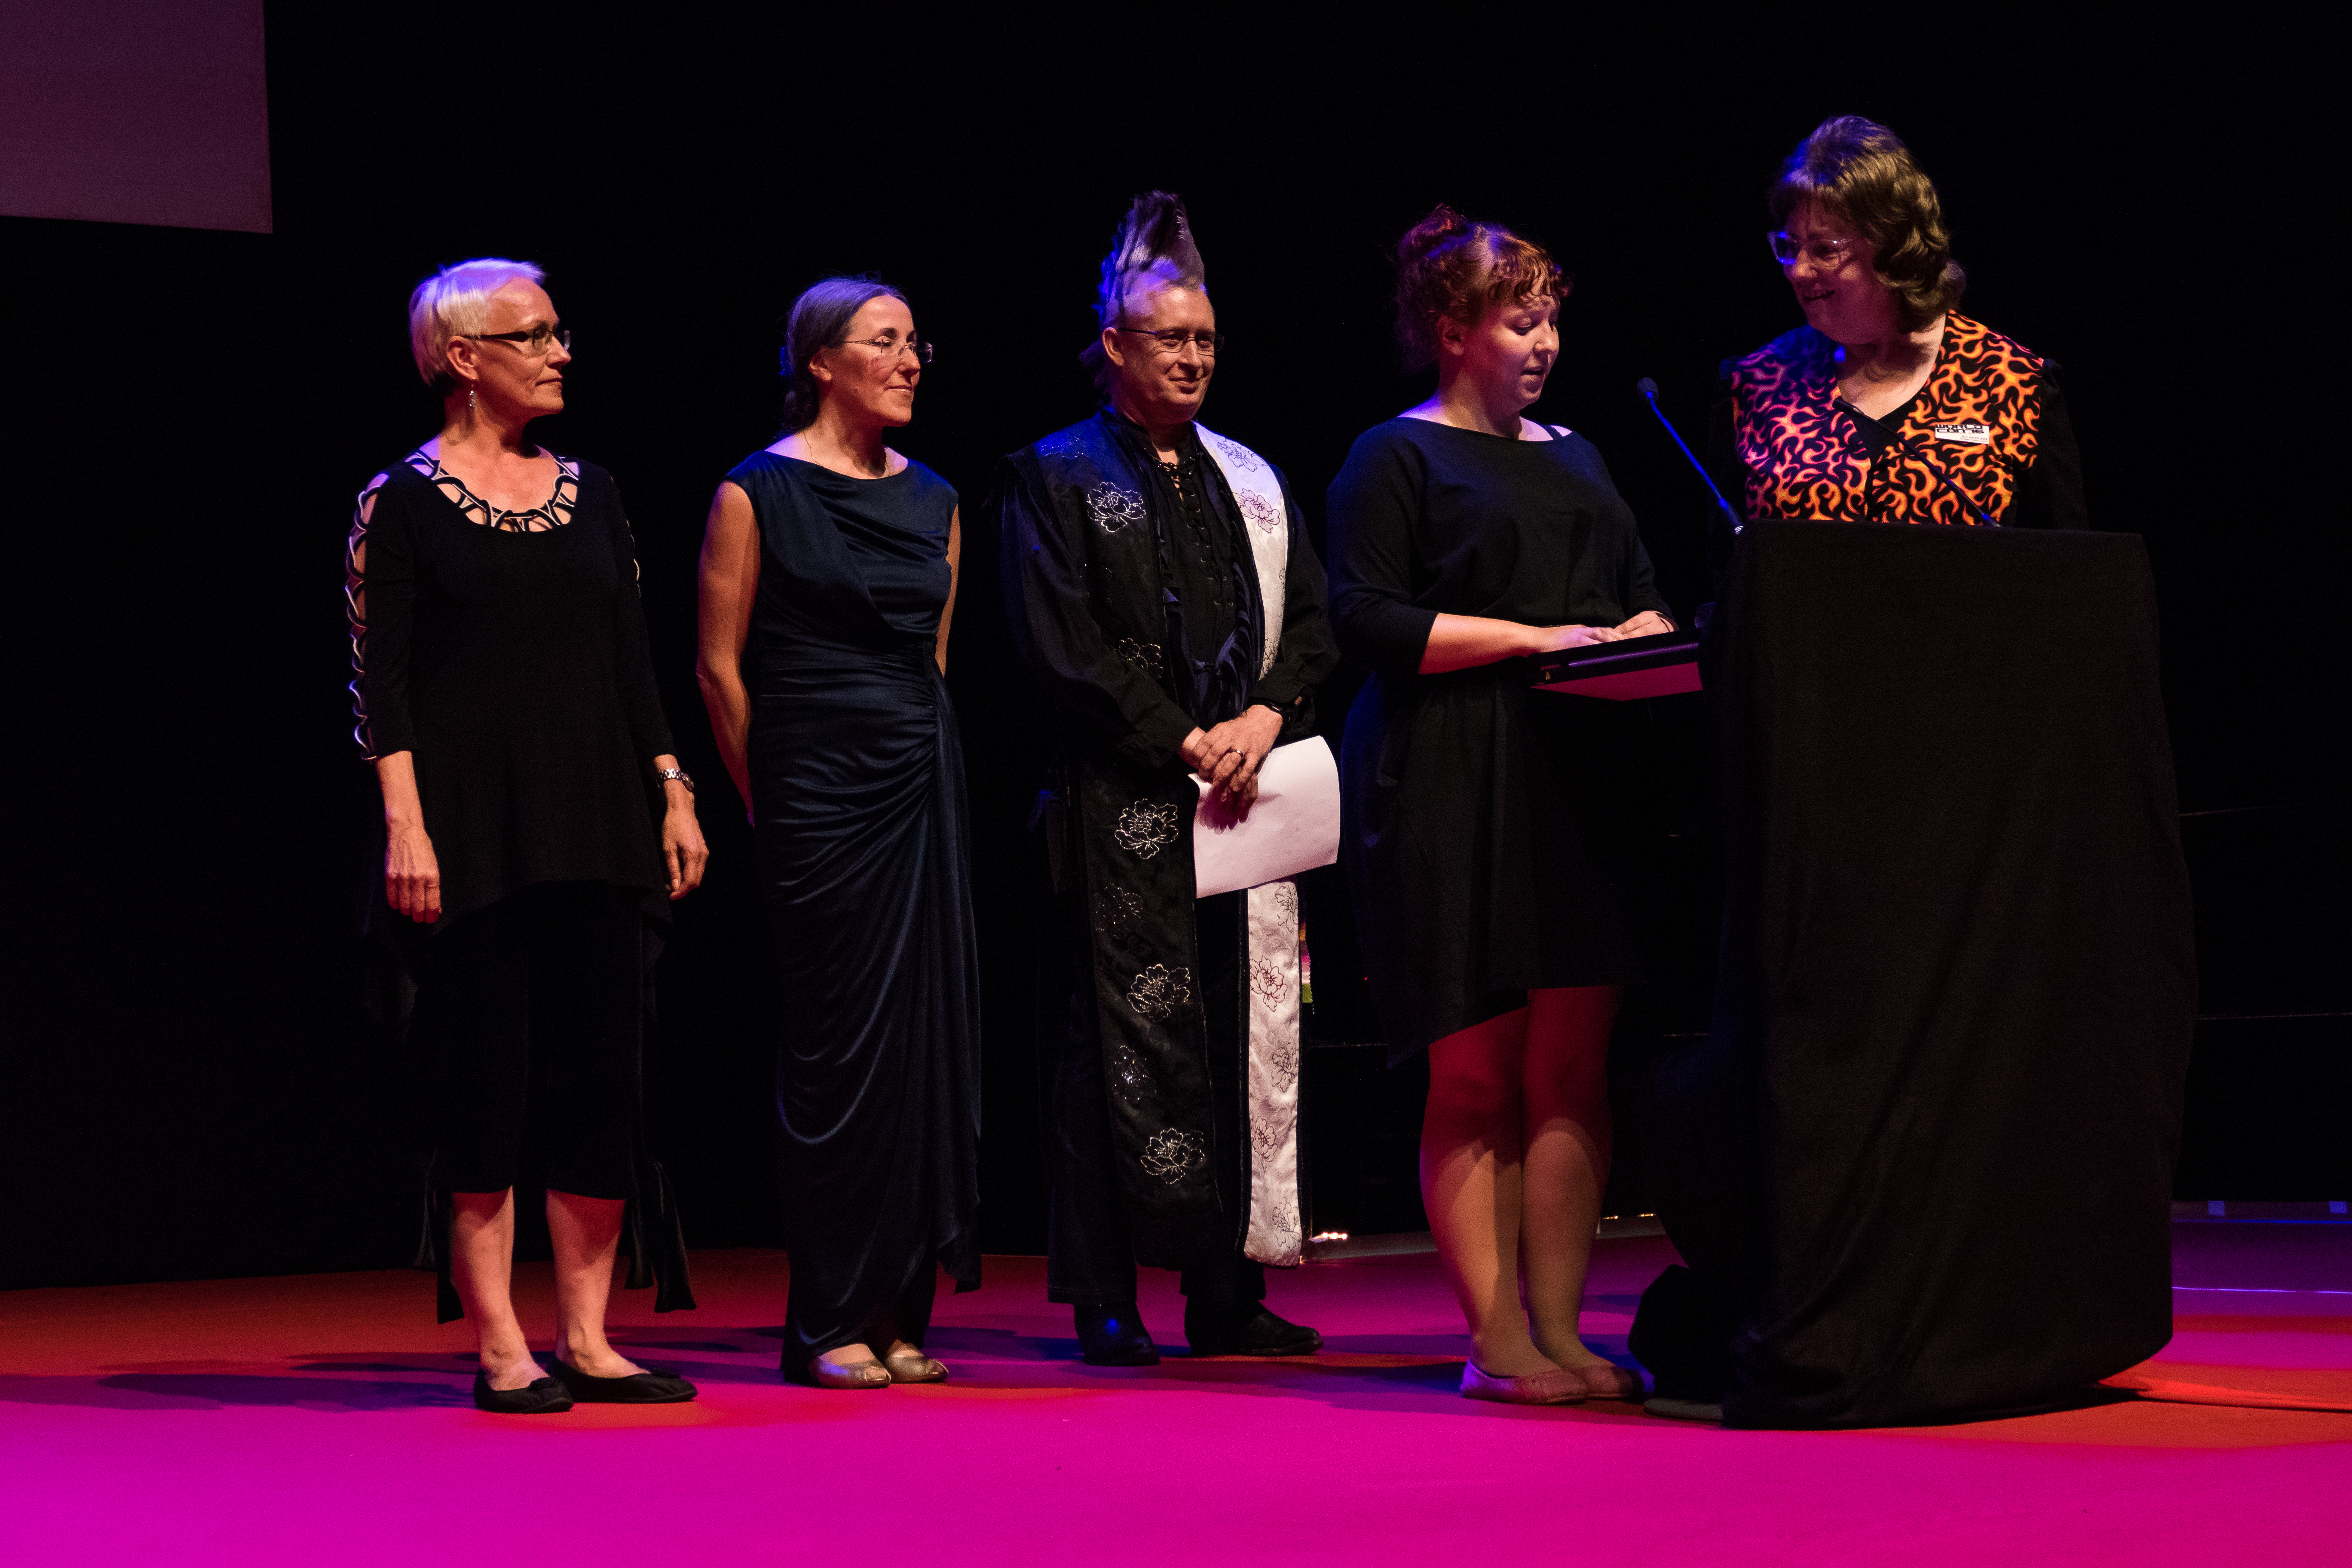
Chris Doyle (as Jyn Erso), Karen Lord, Debi Chowdhury
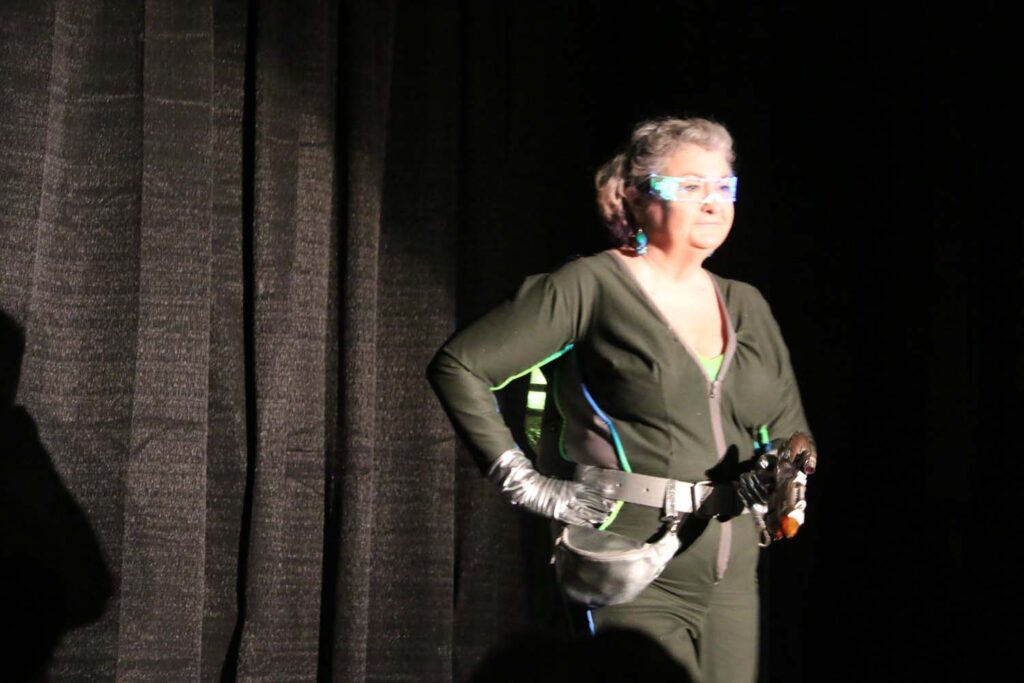
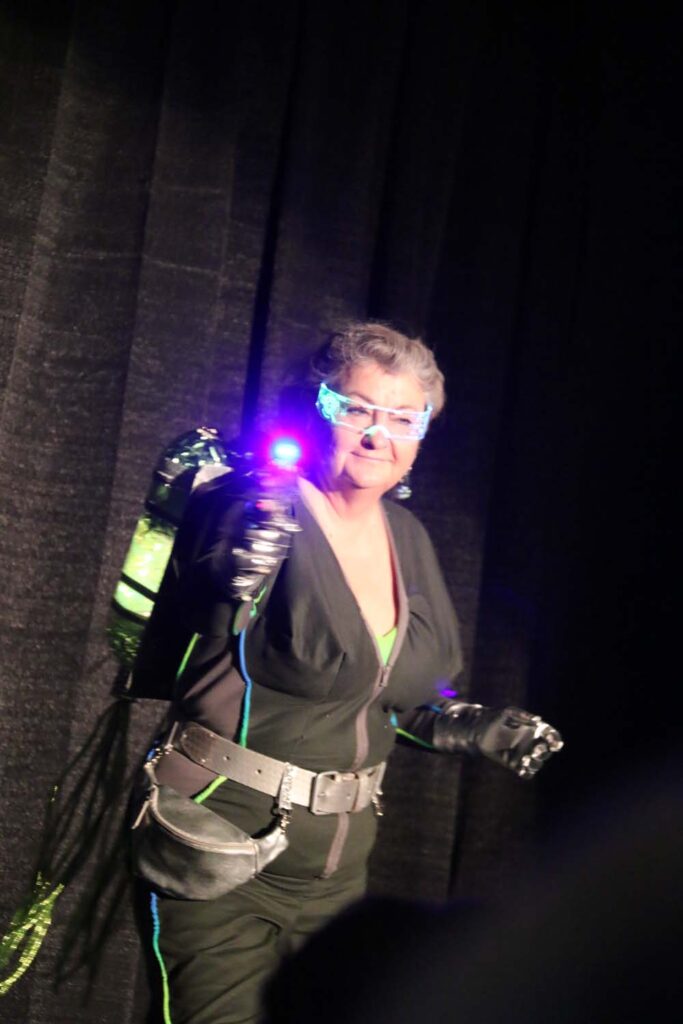
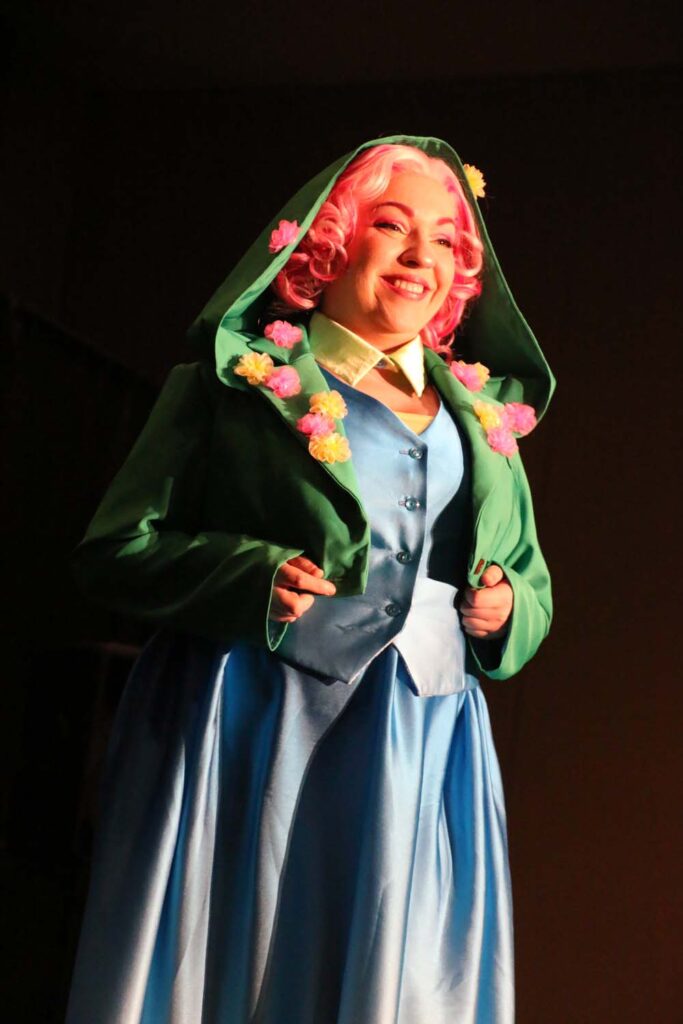
After my initial concerns about a small entry list, we ended up with 25 entries, most of whom were novices under the International Costumers Guild (ICG) rules. My Co-Director, Debi Chowdhury, convinced nearly everyone she saw wearing a costume to enter. We set the run order on Friday afternoon, trying to get a balanced mix of experienced and new, dramatic and humorous, etc. One of our two Young Fan entries withdrew, and the remaining Young Fan decided she wanted to participate as a Novice. Good choice, as you’ll see later.
The day starts with a 10am meeting for all of the participants. We go over the schedule for the day, walk through the stage and back stage areas, discuss missing audio files and other specific issues, and then break to start the tech rehearsal at 11am. Except that the tech crew didn’t think they needed to be there until noon. We hung around until we got someone who knew how to run the lights and audio board, but once we started, we moved along fairly quickly.
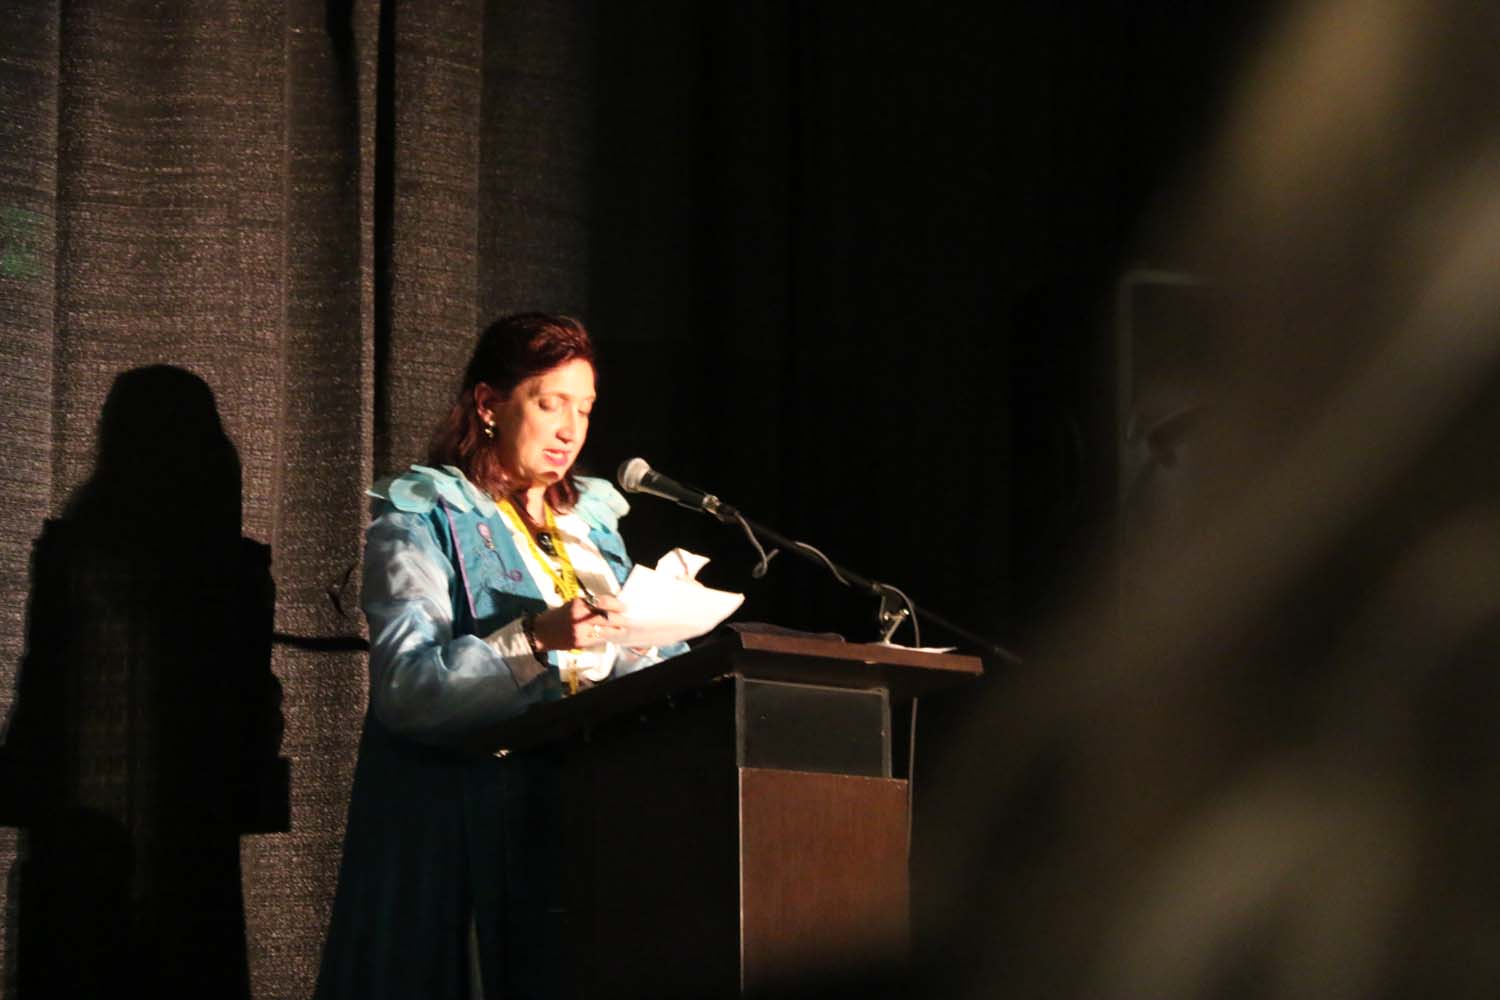
My biggest problem was differences in expectations. Many anime conventions expect a full skit/presentation — more like a variety show with song/dance/etc. A Worldcon Masquerade expects a 60 second or so presentation. The only person with a microphone is the Toastmistress. So folks need to record their script or provide it to the Toastmistress. I ended up as Karen Lord’s surrogate as she was scheduled for several panels during the day. Using my best stage voice, I introduced folks, read (and edited) scripts, made sure that everyone had some sort of audio to play in the background if they didn’t already have something, and helped them figure out their staging. My absolutely invaluable helper was Lori Meltzer, who is an experienced Masquerade stage hand. She coached participants on movement and attitude on stage and explained how we would help cue them during the actual event.
We planned to open the auditorium at 7pm, and start just after 7:30pm. I got the Press Room to print out the revised script at about 6:30pm. And then realized that I hadn’t print out the intro for Karen Lord. Husband to the rescue — I e-mailed the file to the Press Room and got Stephen to pick it up for me. And then when he walked in to give it to me, I grabbed him to become the “Voice of God” — the person behind the curtain who does opening announcements — because all of the Finns felt they had too much accent.
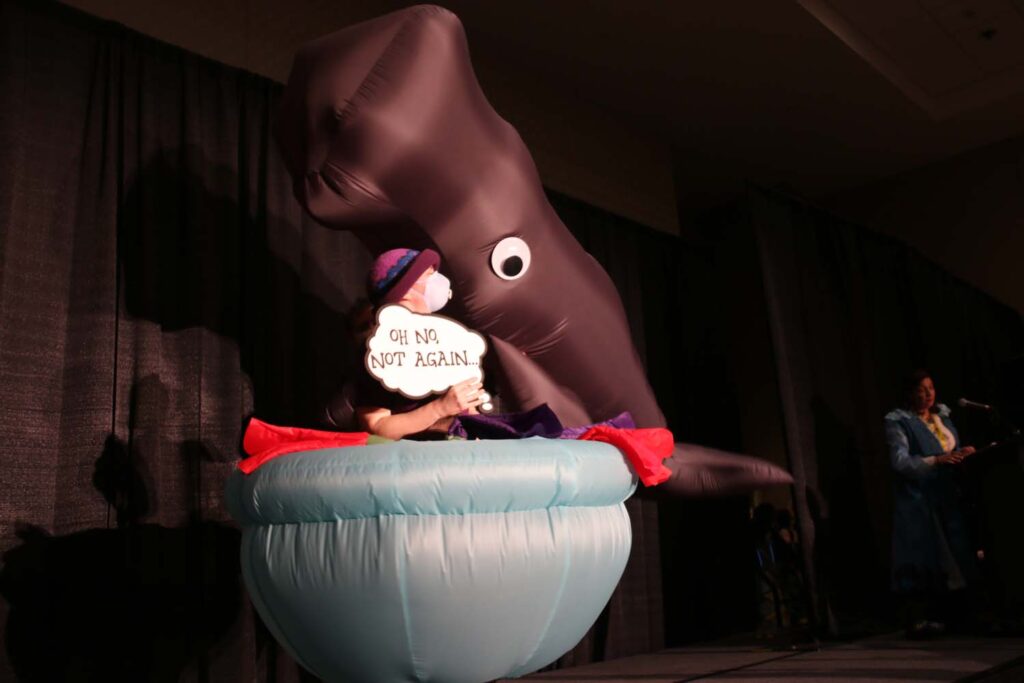
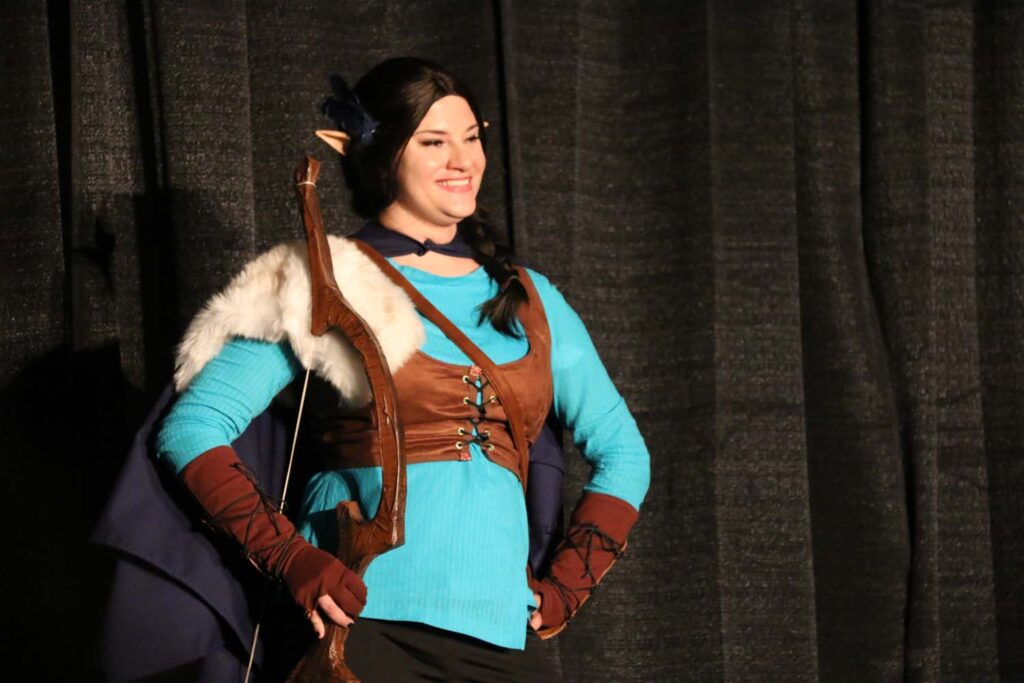
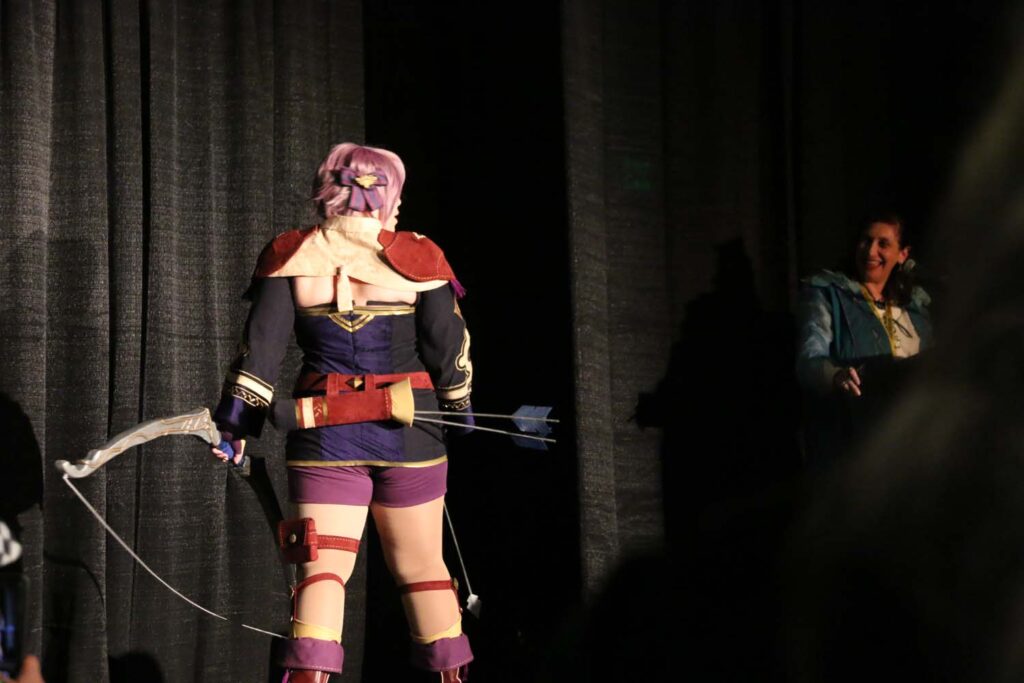
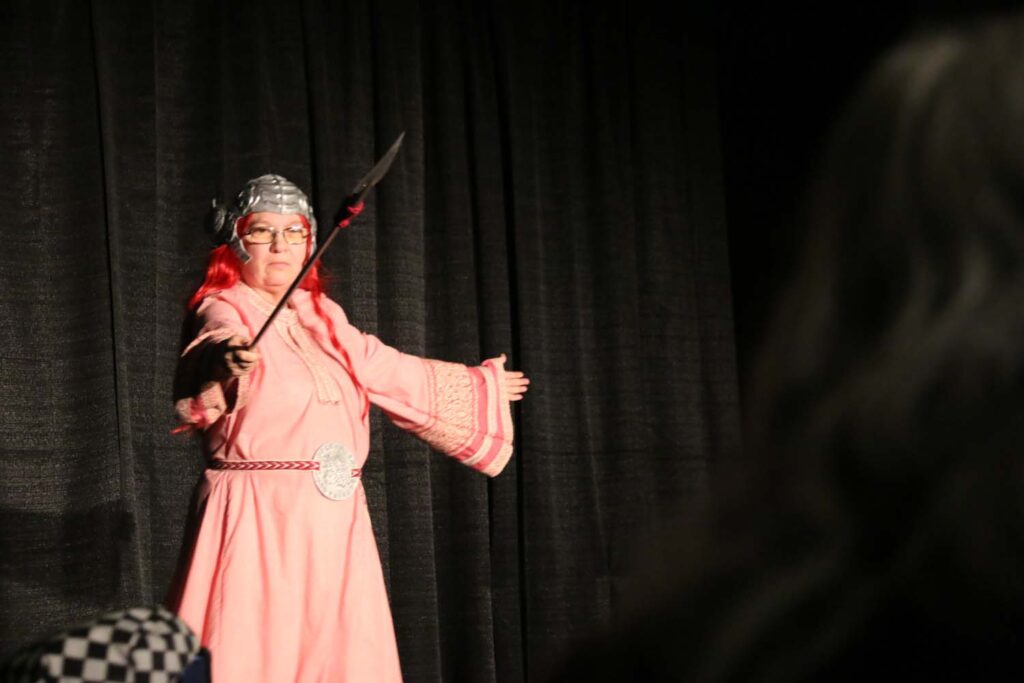
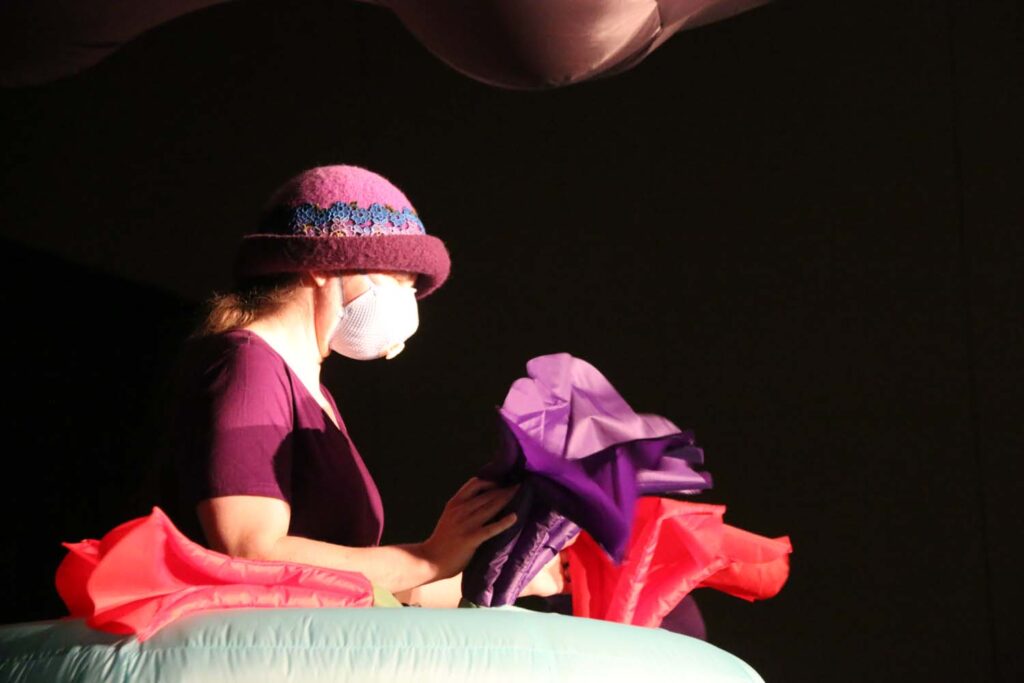
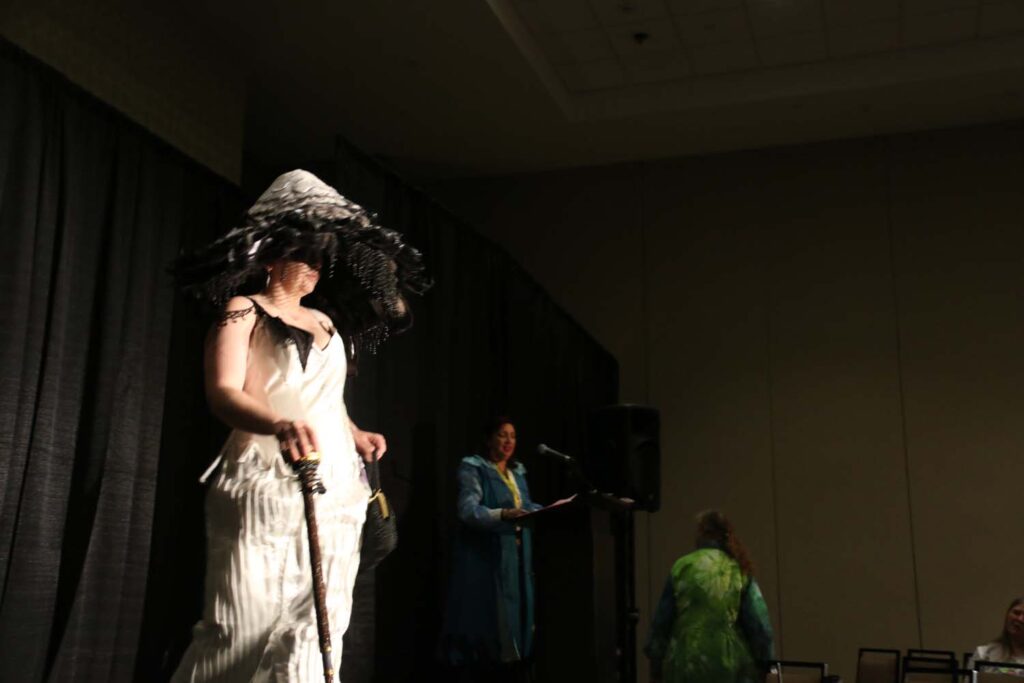
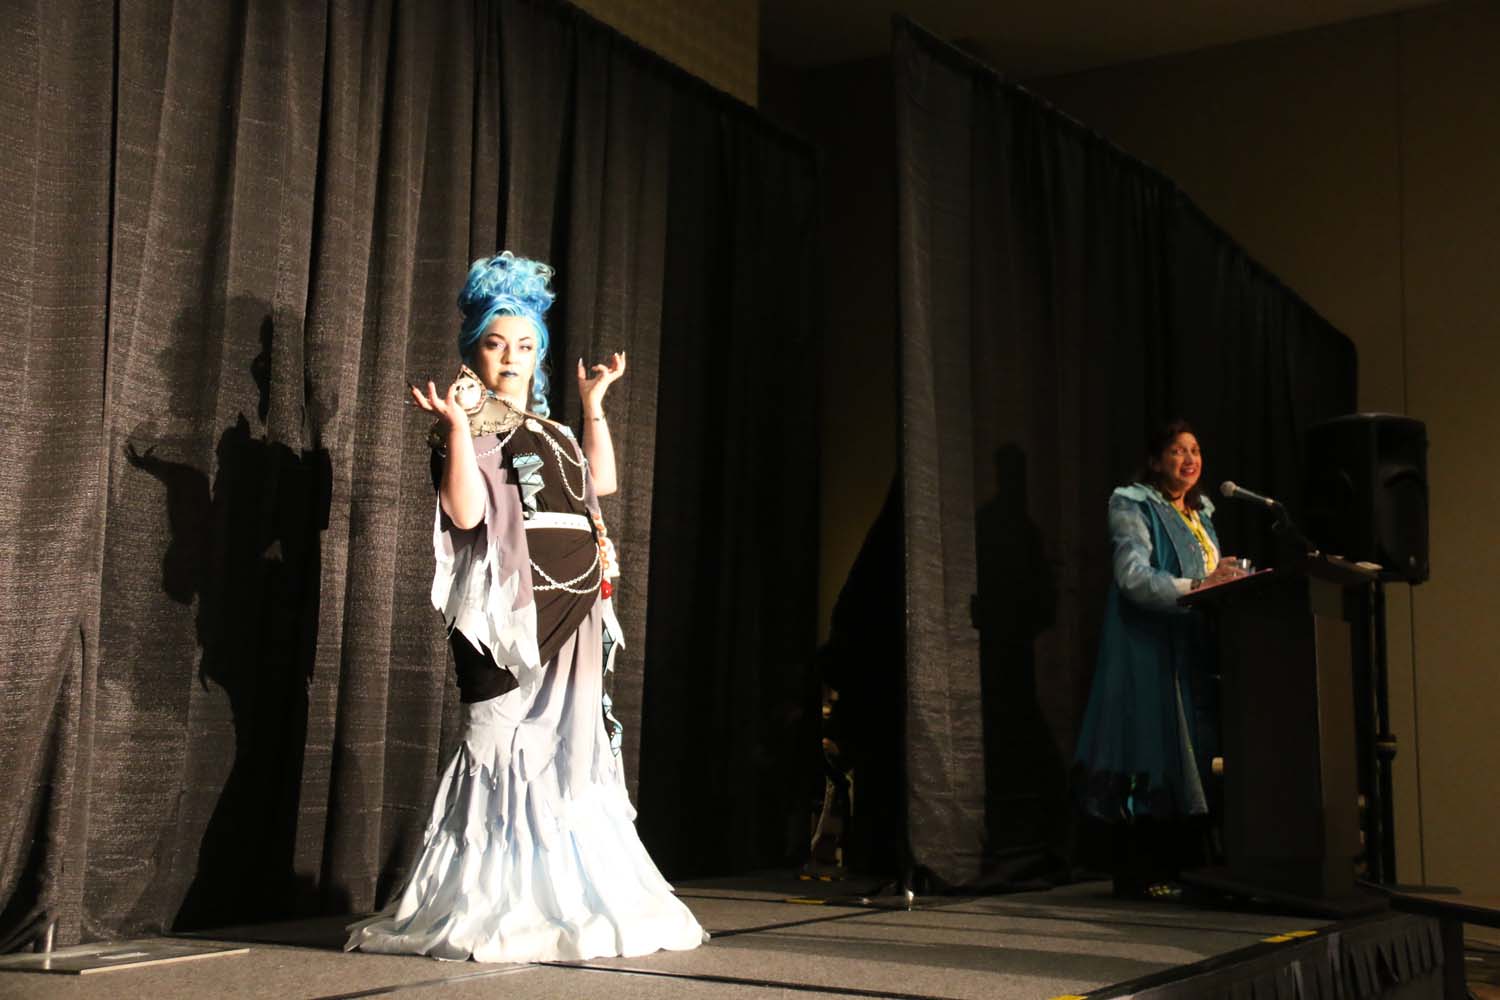
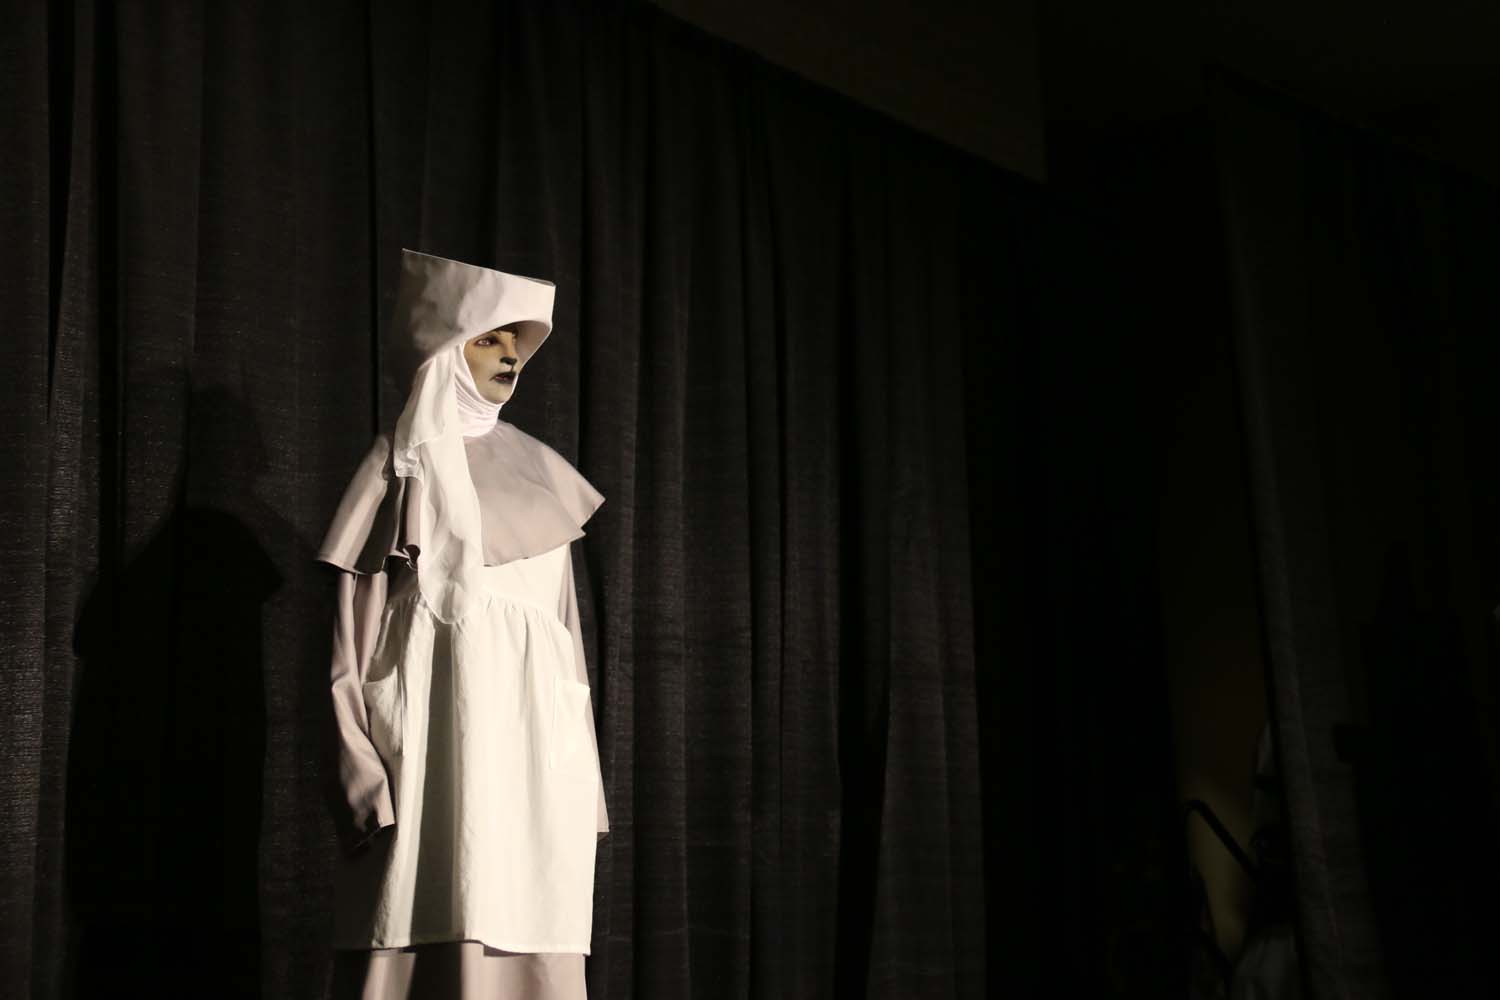
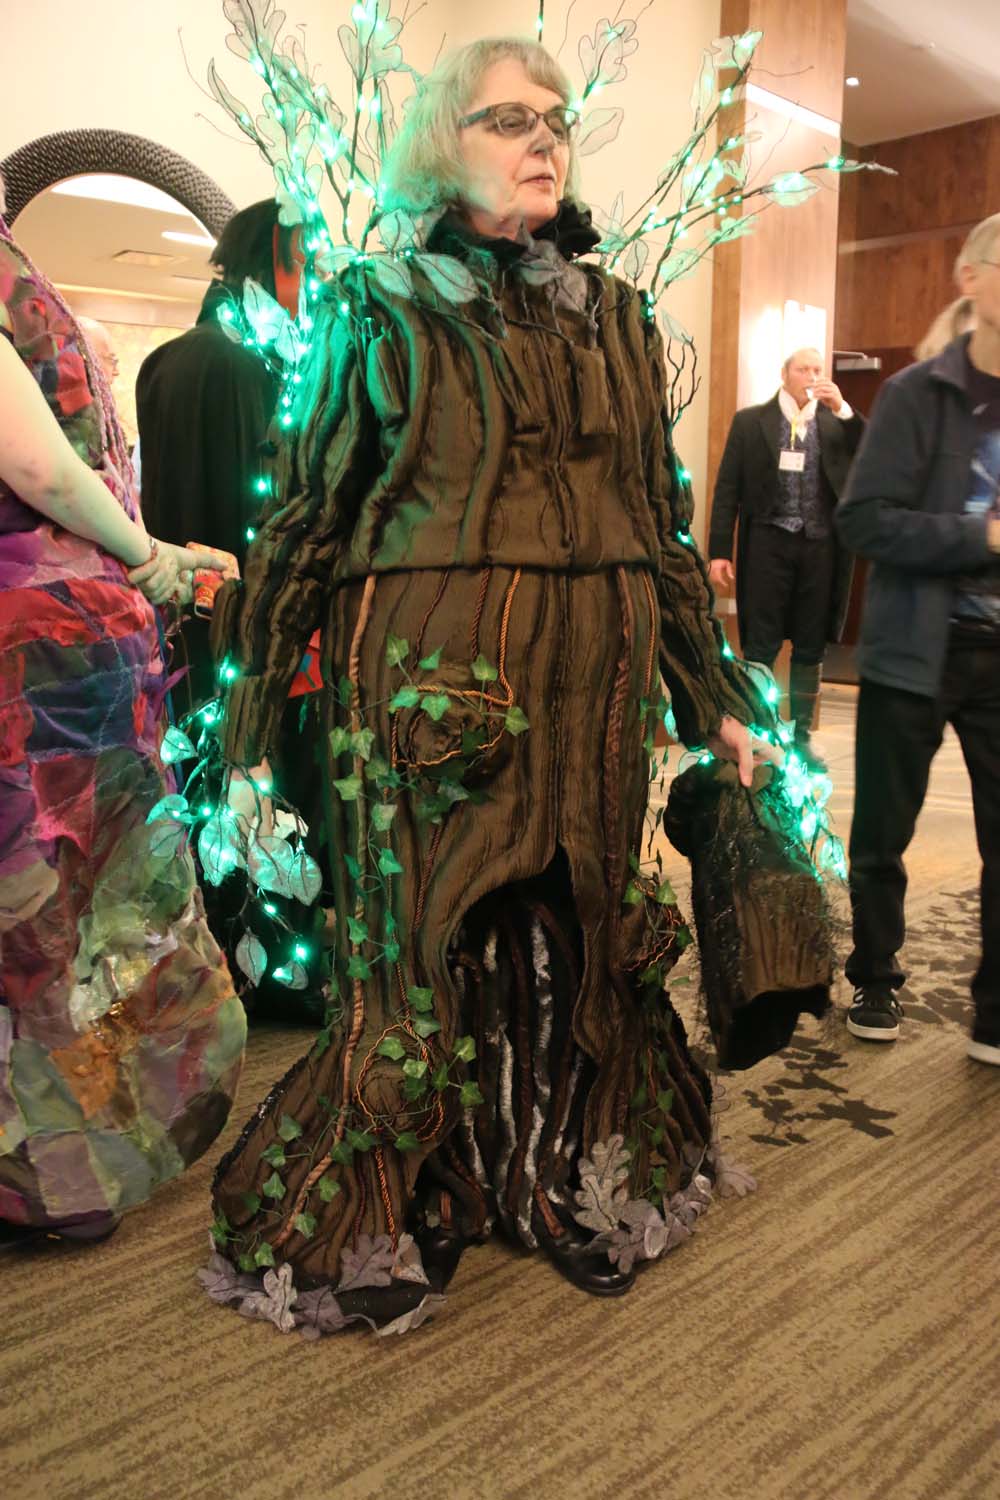
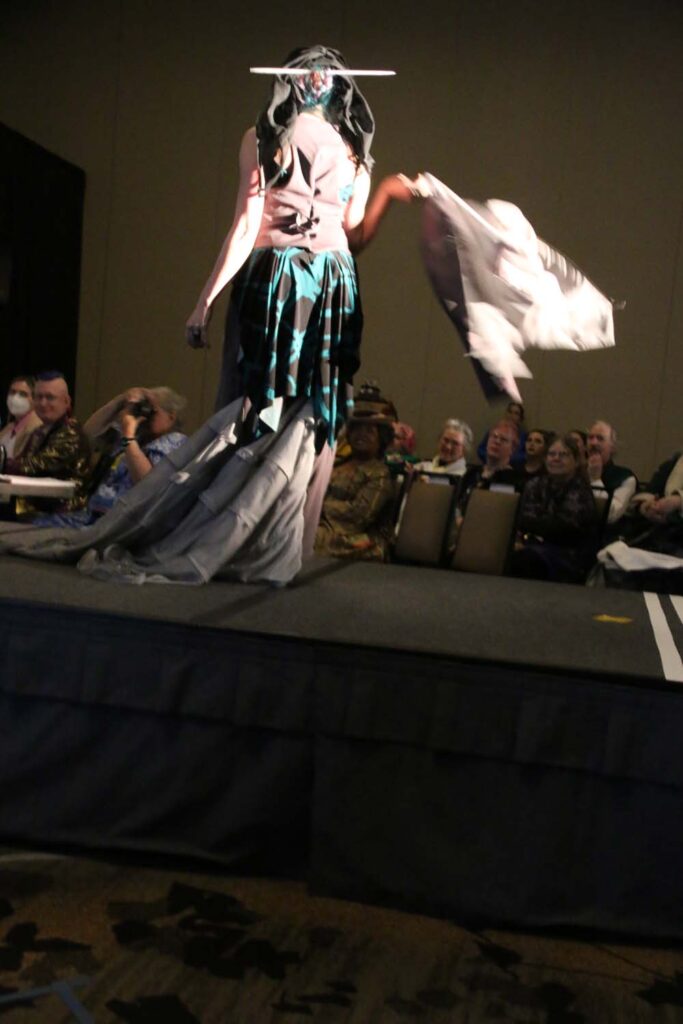
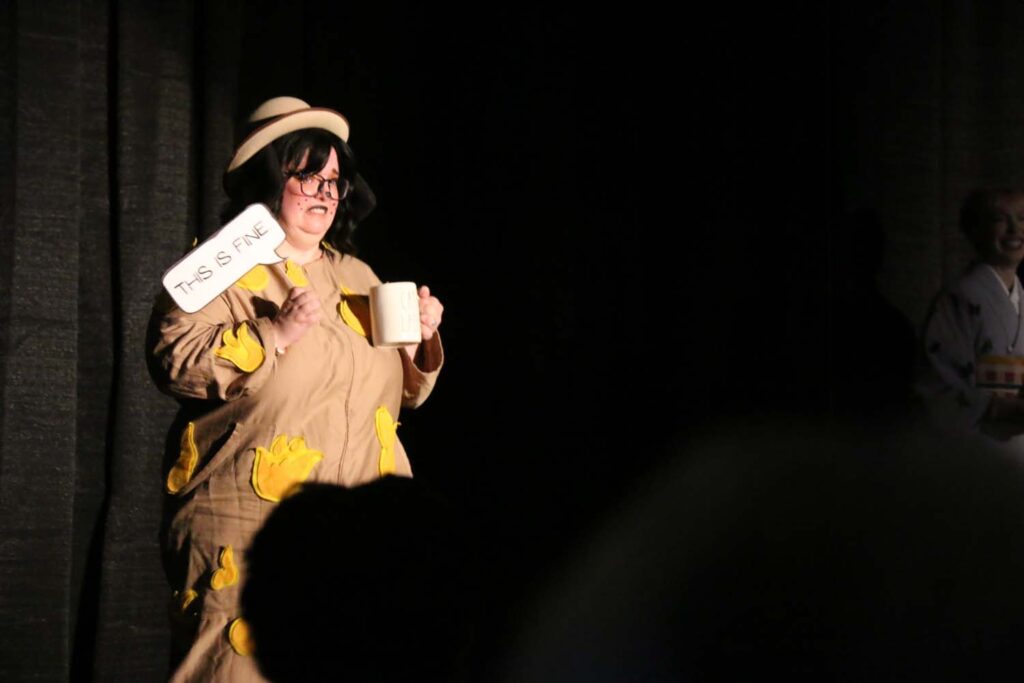
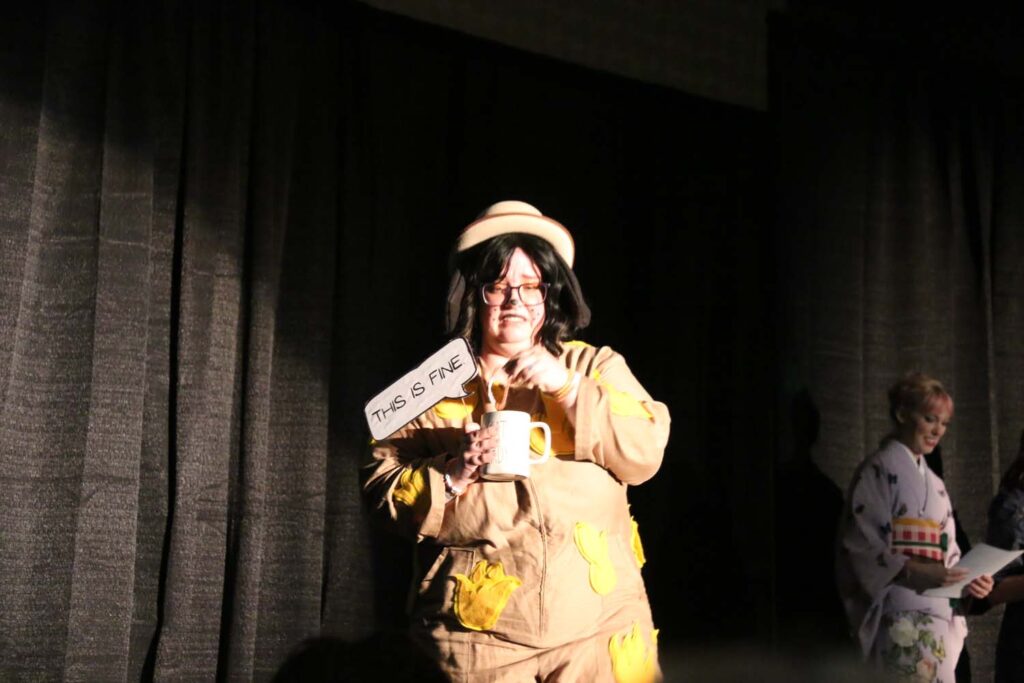
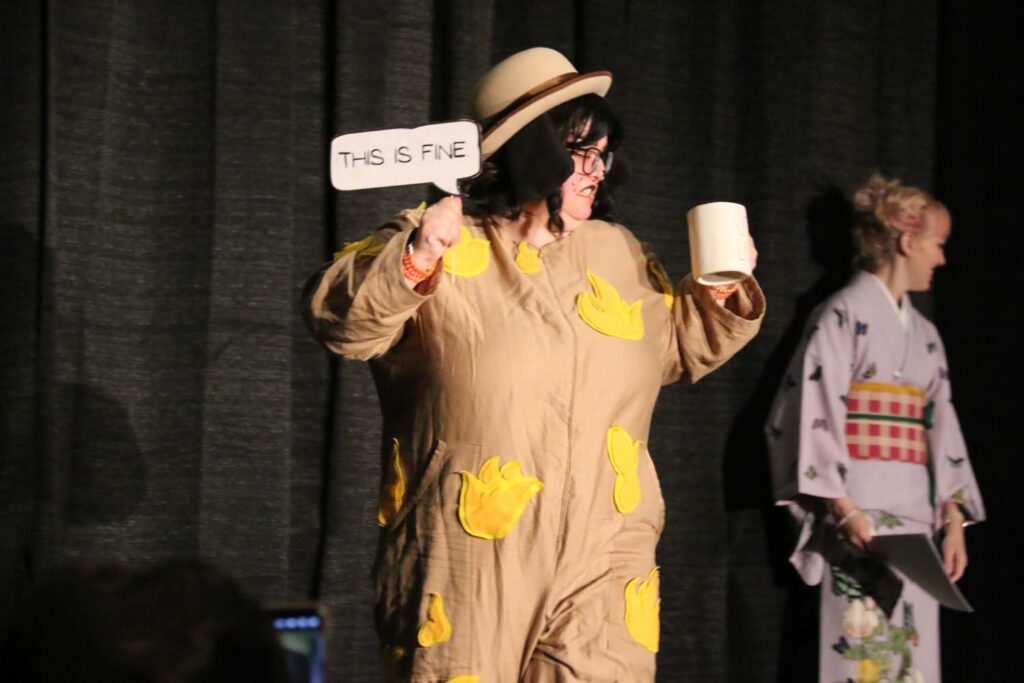
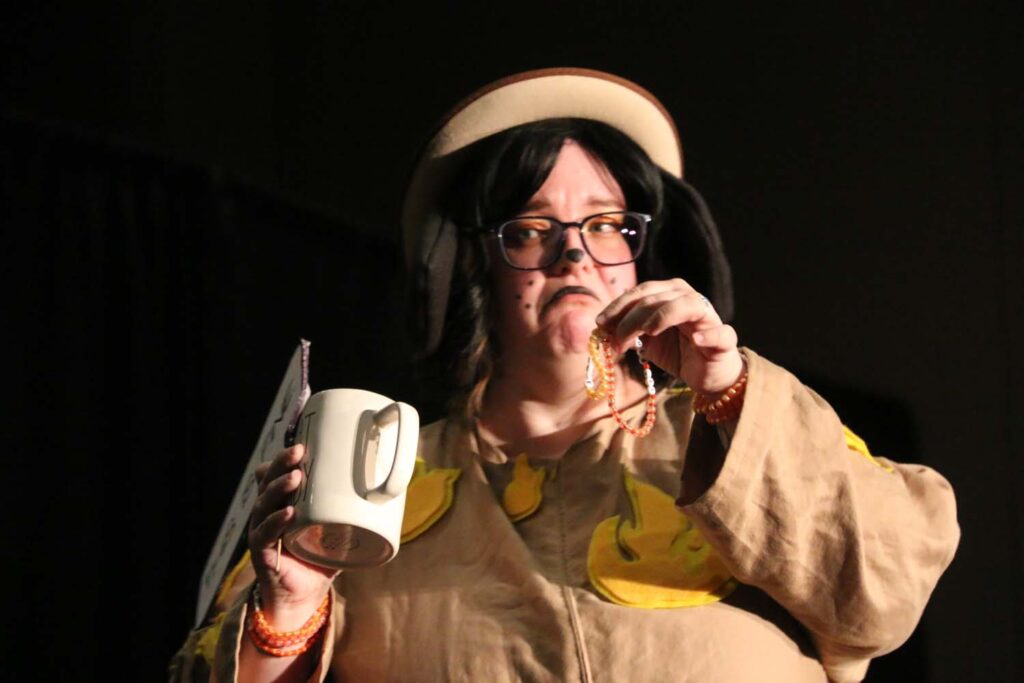
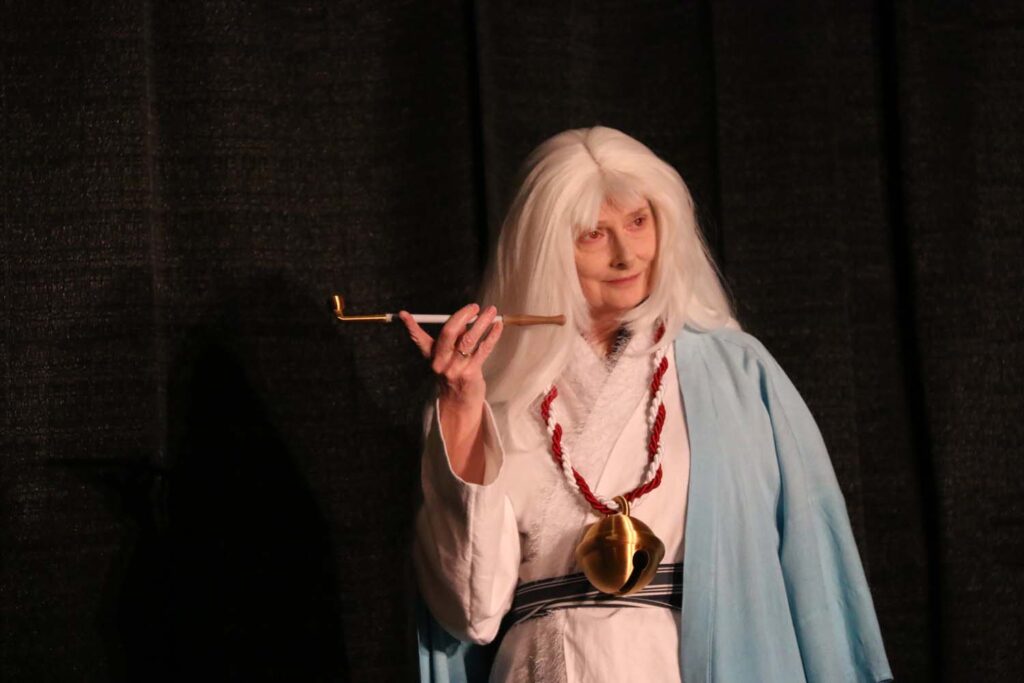
 Our judges included a mix of US, British and Finnish costumers. Both workmanship and presentation judges complained that they had too many good costumes and costumers to pick from. But in the end, they were able to make their awards. Best in Show Workmanship went to Leena Peippo as Dwalin the Dwarf. And Best in Show Presentation went to Olivia Flockhart (the Young Fan who switched to Novice) as When Halley Came to Jackson in 1910 (Halley’s Comet).
We handed out a total of 20 awards. The full list along with links to lots more photos is here on the Worldcon 75 website.
]]>
I started making Stephen’s costume before Halloween and the first of November partners meeting, which was themed “SuperHeroes” (I wore the General Organa costume from last year). Well, it wasn’t really ready for prime time at that event, and got put on the shelf for a bit. Fast forward to February and needing to get it done. I wove an inkle band for the neckline trim on the blue tunic. I figured out a better way to create the Cloak of Levitation (both overall shape and the collar). I broke down and just bought the jacket/vest for Jyn Erso, because I just didn’t have time to do the pleated sleeve insets or fit a jacket from scratch.
Stephen worked on upping our game for the video. We totally rearranged the setup during a test run in the fall, and it made for far better traffic flow as folks were coming in.
And then my mom fell and ended up in the hospital. So I stayed home and Stephen went to the party. I was able to record my interview remotely and Stephen added it to the video feed at the end. It was the most eventful Oscars ever, with the wrong movie being announced at the end. Here’s the CNN article about what happened. And a follow-on article about Why Typography Matters.

]]>