Making Drapes
It’s been years since I last made drapes, but the back-light in my office has become a problem as we do more video conferences. So, I need drapes that will help balance the lighting in the afternoon.
I ordered some inexpensive backdrop drapes from Amazon. When they arrived, they were still too light-weight, and I would need more of them to get enough fullness to get any sort of light-blocking effect. Most of the drapes you can get at any retail store are really designed to just be hanging on the edge of the window — they are in no way designed to be drawn across the window, even when they are advertised as black-out drapes. The panels aren’t full enough, and if you need 2 (or more) sets, then you have the gap between panels.
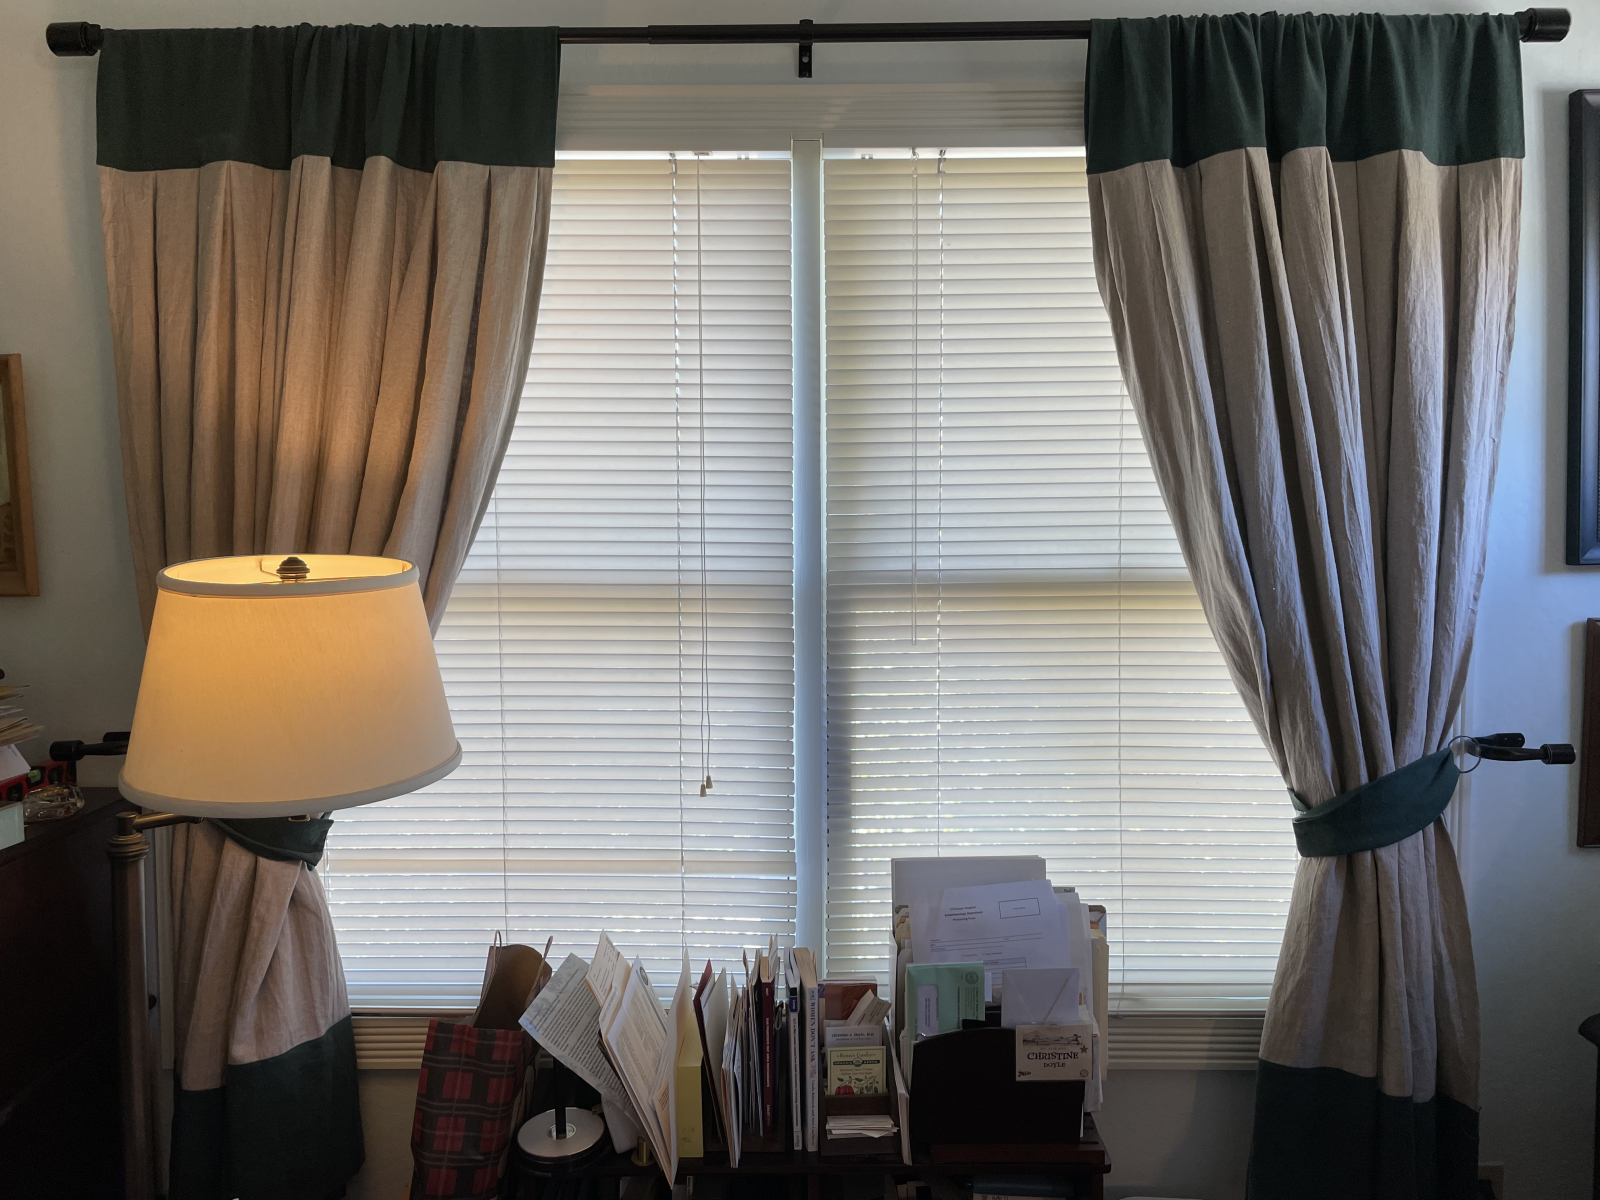
Time to design drapes. In this case, I wanted something full enough that it would give good coverage when drawn, but be able to be tied back most of the time, so I could easily adjust the blinds.
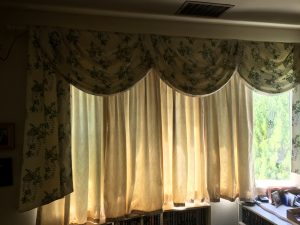
The last time I made drapes, I did balloon shades for my room at parents house, over 25 years ago. Balloon shades can be raised to various degrees or left down. They should be long enough to puff at the bottom when fully down. In this case, I also put a swag and jabots at the top. Because it was a bow window, I ended up doing 5 separate drapes, one for each window, and put the pulls into two batches. These replaced the classic pinch pleat drapes and sheers, which had finally fallen apart from the heavy sun exposure. My mother was concerned that they would “look like a sheet” from the outside, but you can put in enough gather that it looks just fine.
Given the size of the window and the length I wanted, and a deadline for an event, I took a look at what I had in my stash. Natural linen was an easy choice, but would need a lining to get me adequate light blocking. I could use the cheap drapes as the lining. But I would need a bit more length. Color block patterns seemed like a good way to go, and I picked a green that would work well with the walls.
A brief digression into terminology.
– Stack: how wide the fabric is when the drapes are fully open
– Fullness: the width of the fabric in relation to the curtain rod. Usually should be 2-3x.
– Railroading: using the fabric “sideways” or cross-grain. This minimizes the number of seams
See also this nice post: https://www.dwfcontract.com/Drapery–Window-Covering-Blog/bid/34627/Glossary-of-Drapery-Terminology
Fabric ordered, should have been easy. FedEx sent the package from LA to Texas, instead of to Northern California. And then lost it. Deadline blown. They found it a week later, and got it to me nearly 2 weeks after the date I was aiming for having these done. Oh well.
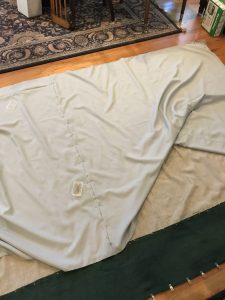
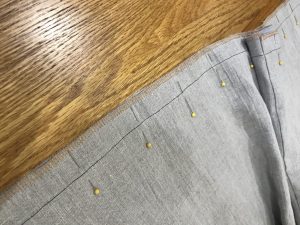
Wash fabric. Iron fabric. Re-iron fabric using steamer. Cut panels of the natural linen. I thought about using it cross-grain, but the natural creases would then have been horizontal, and I didn’t think that would look all that great. On the other hand, the green didn’t drape quite the same way, and was perfect for railroading the contrast bands. Find enough floor space to lay everything out (the hardest part).
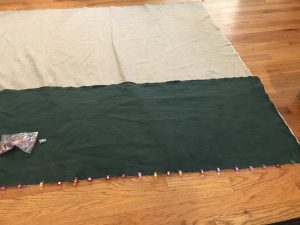
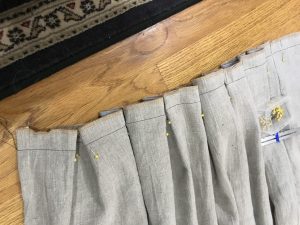
I opted to use a series of inverted pleats. This is what you will see in theater scrims (the drapes on the sides and back of the stage). It provides a lot of volume but isn’t that fussy to do — certainly not like pinch pleats. But I didn’t want a lot of volume at the top on the rod, so added the header block after the pleats were finished. And then finally added the tie-backs to hold them back when I don’t want them down.