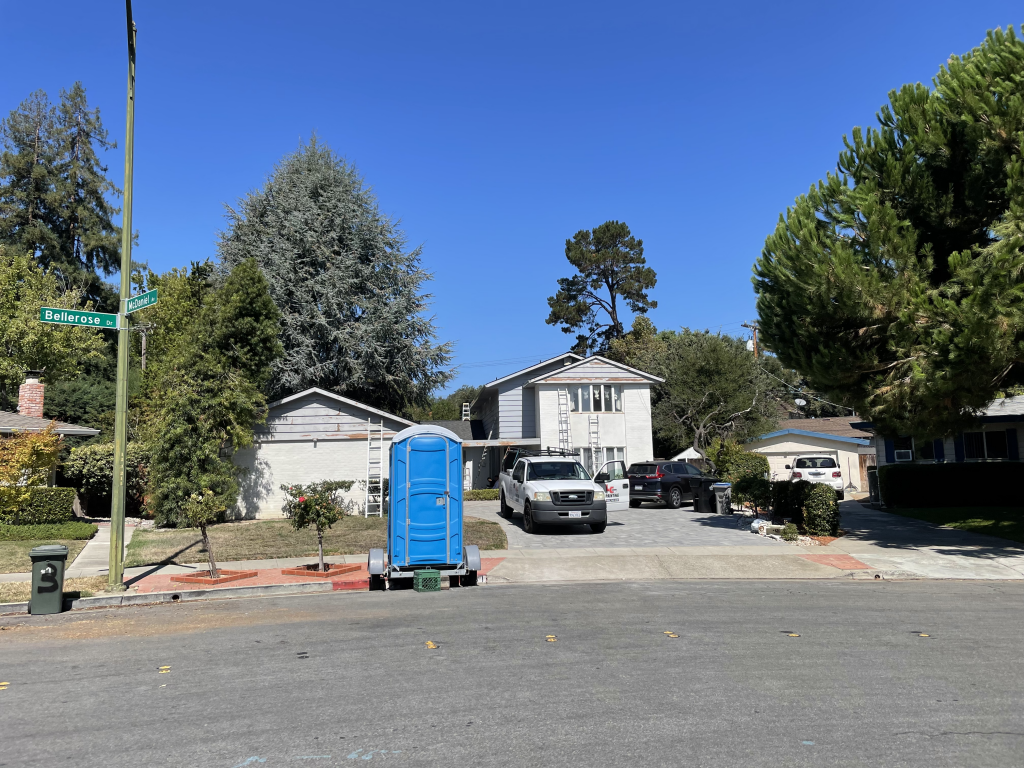
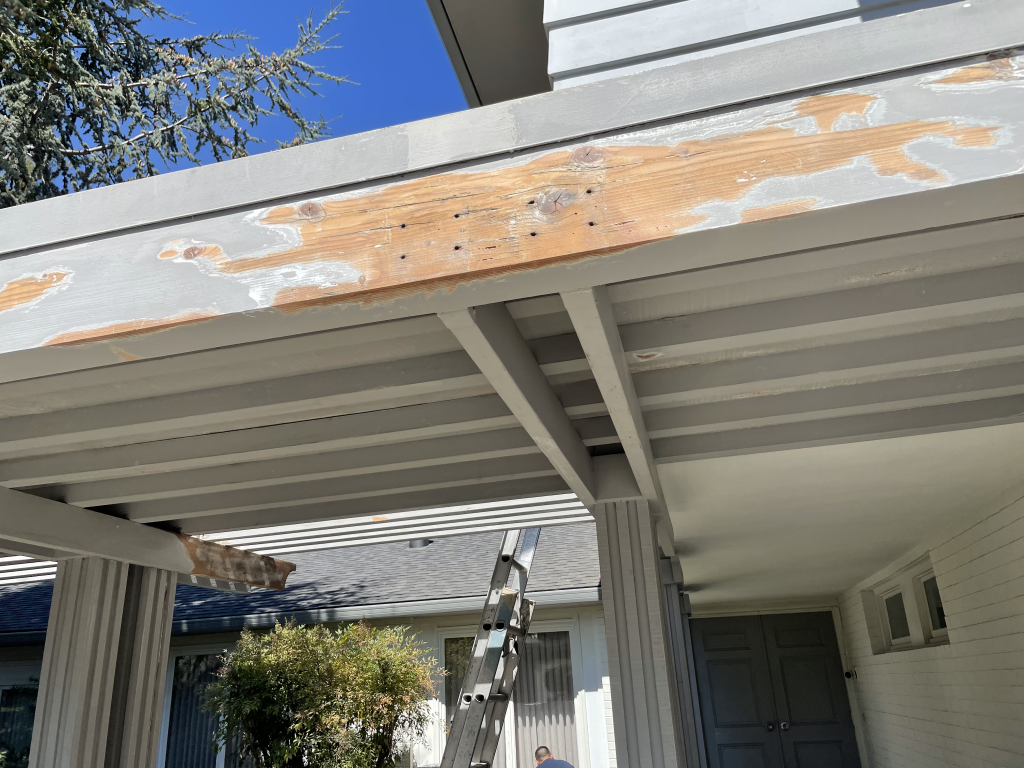
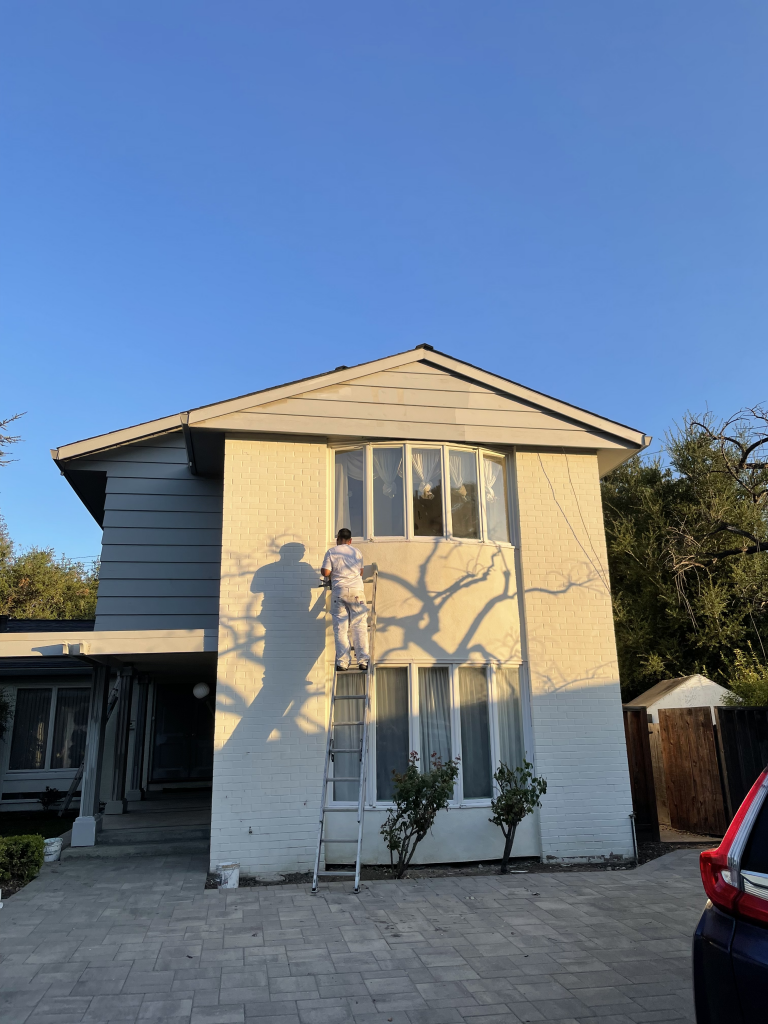
Power washing came first. Sanding and repairing as necessary. Priming again. We didn’t start the actual paint job until the 4th day.
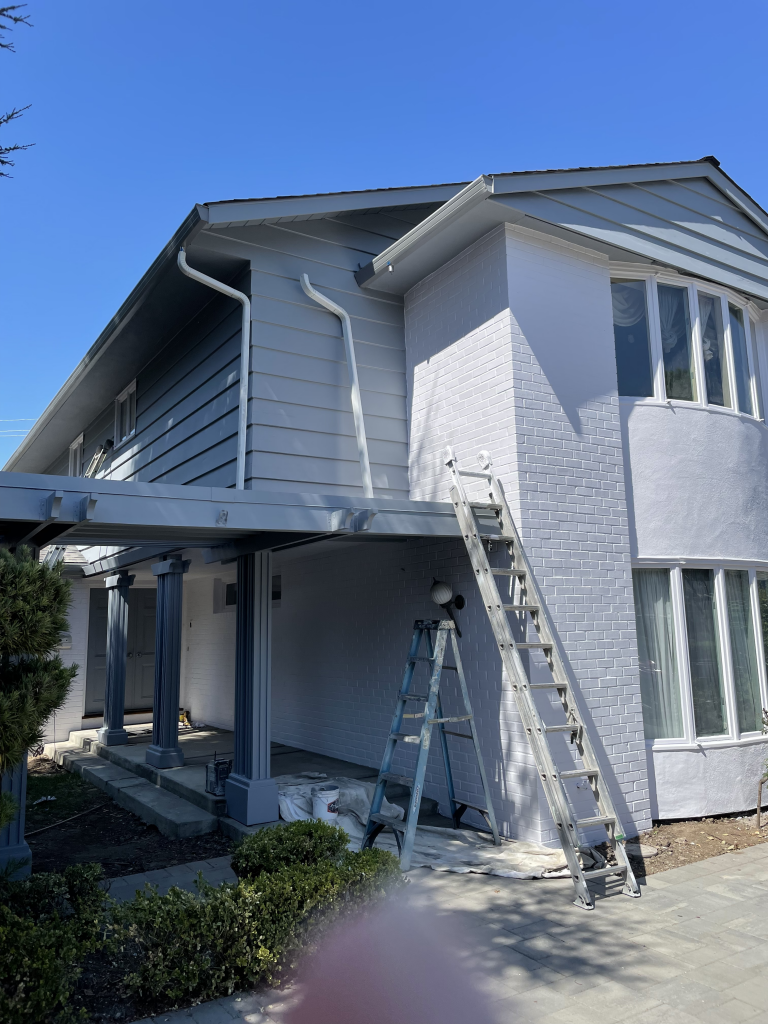
We are very happy with the work, and certainly recommend Lance and his team.

After talking to a variety of folks for recommendations, getting bids, we opted to go with Saratoga Pavers. They had the paver we wanted to use in the color we wanted, and they had a nice gap in their schedule so we didn’t have a hole in the driveway for too long.
Three videos, condensing 9 hours of work each day into about 1 minute, provide a visual of the process. Then we had to wait 2 days before we could drive on it, to let the sealant cure.
We got the plumbers (from Rayne) to clean things out, and add a new clean-out just in front of the house. It took a few days, much of which was just dealing with the office staff to get information about when the crew were coming to work.
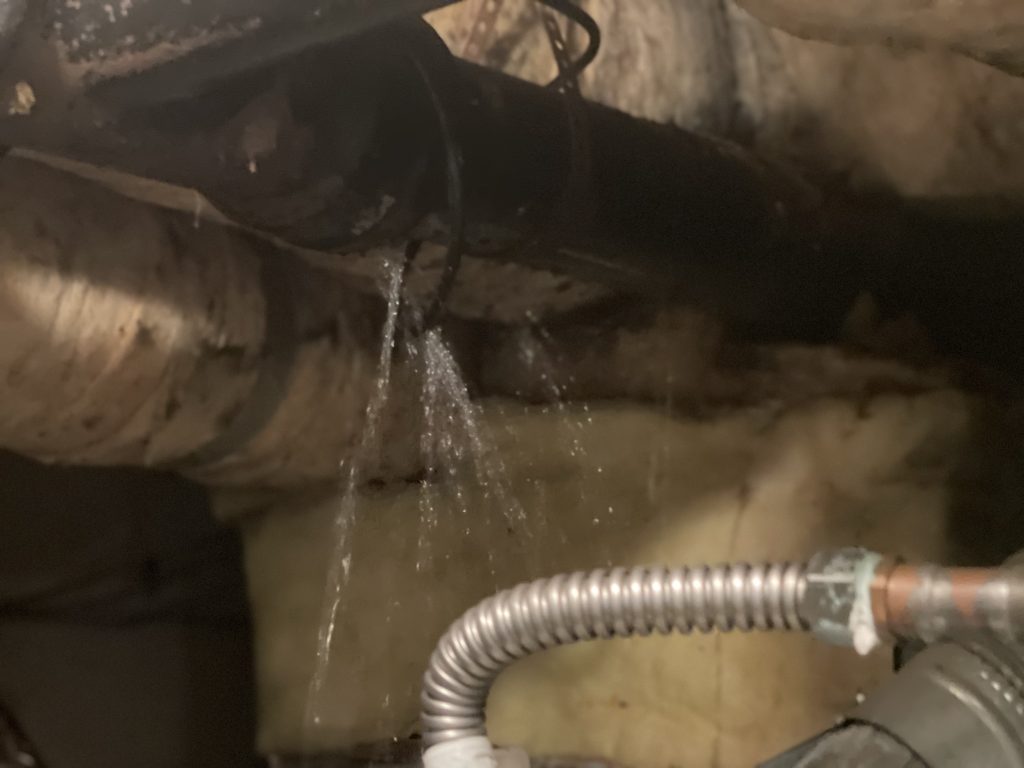
Things were much better… and then it happened again. We realized that the pipes in the basement/furnace room needed to be replaced. So our regular plumber, Dan, did that in early January. Just in time, as the pipes practically fell apart as they were removed.
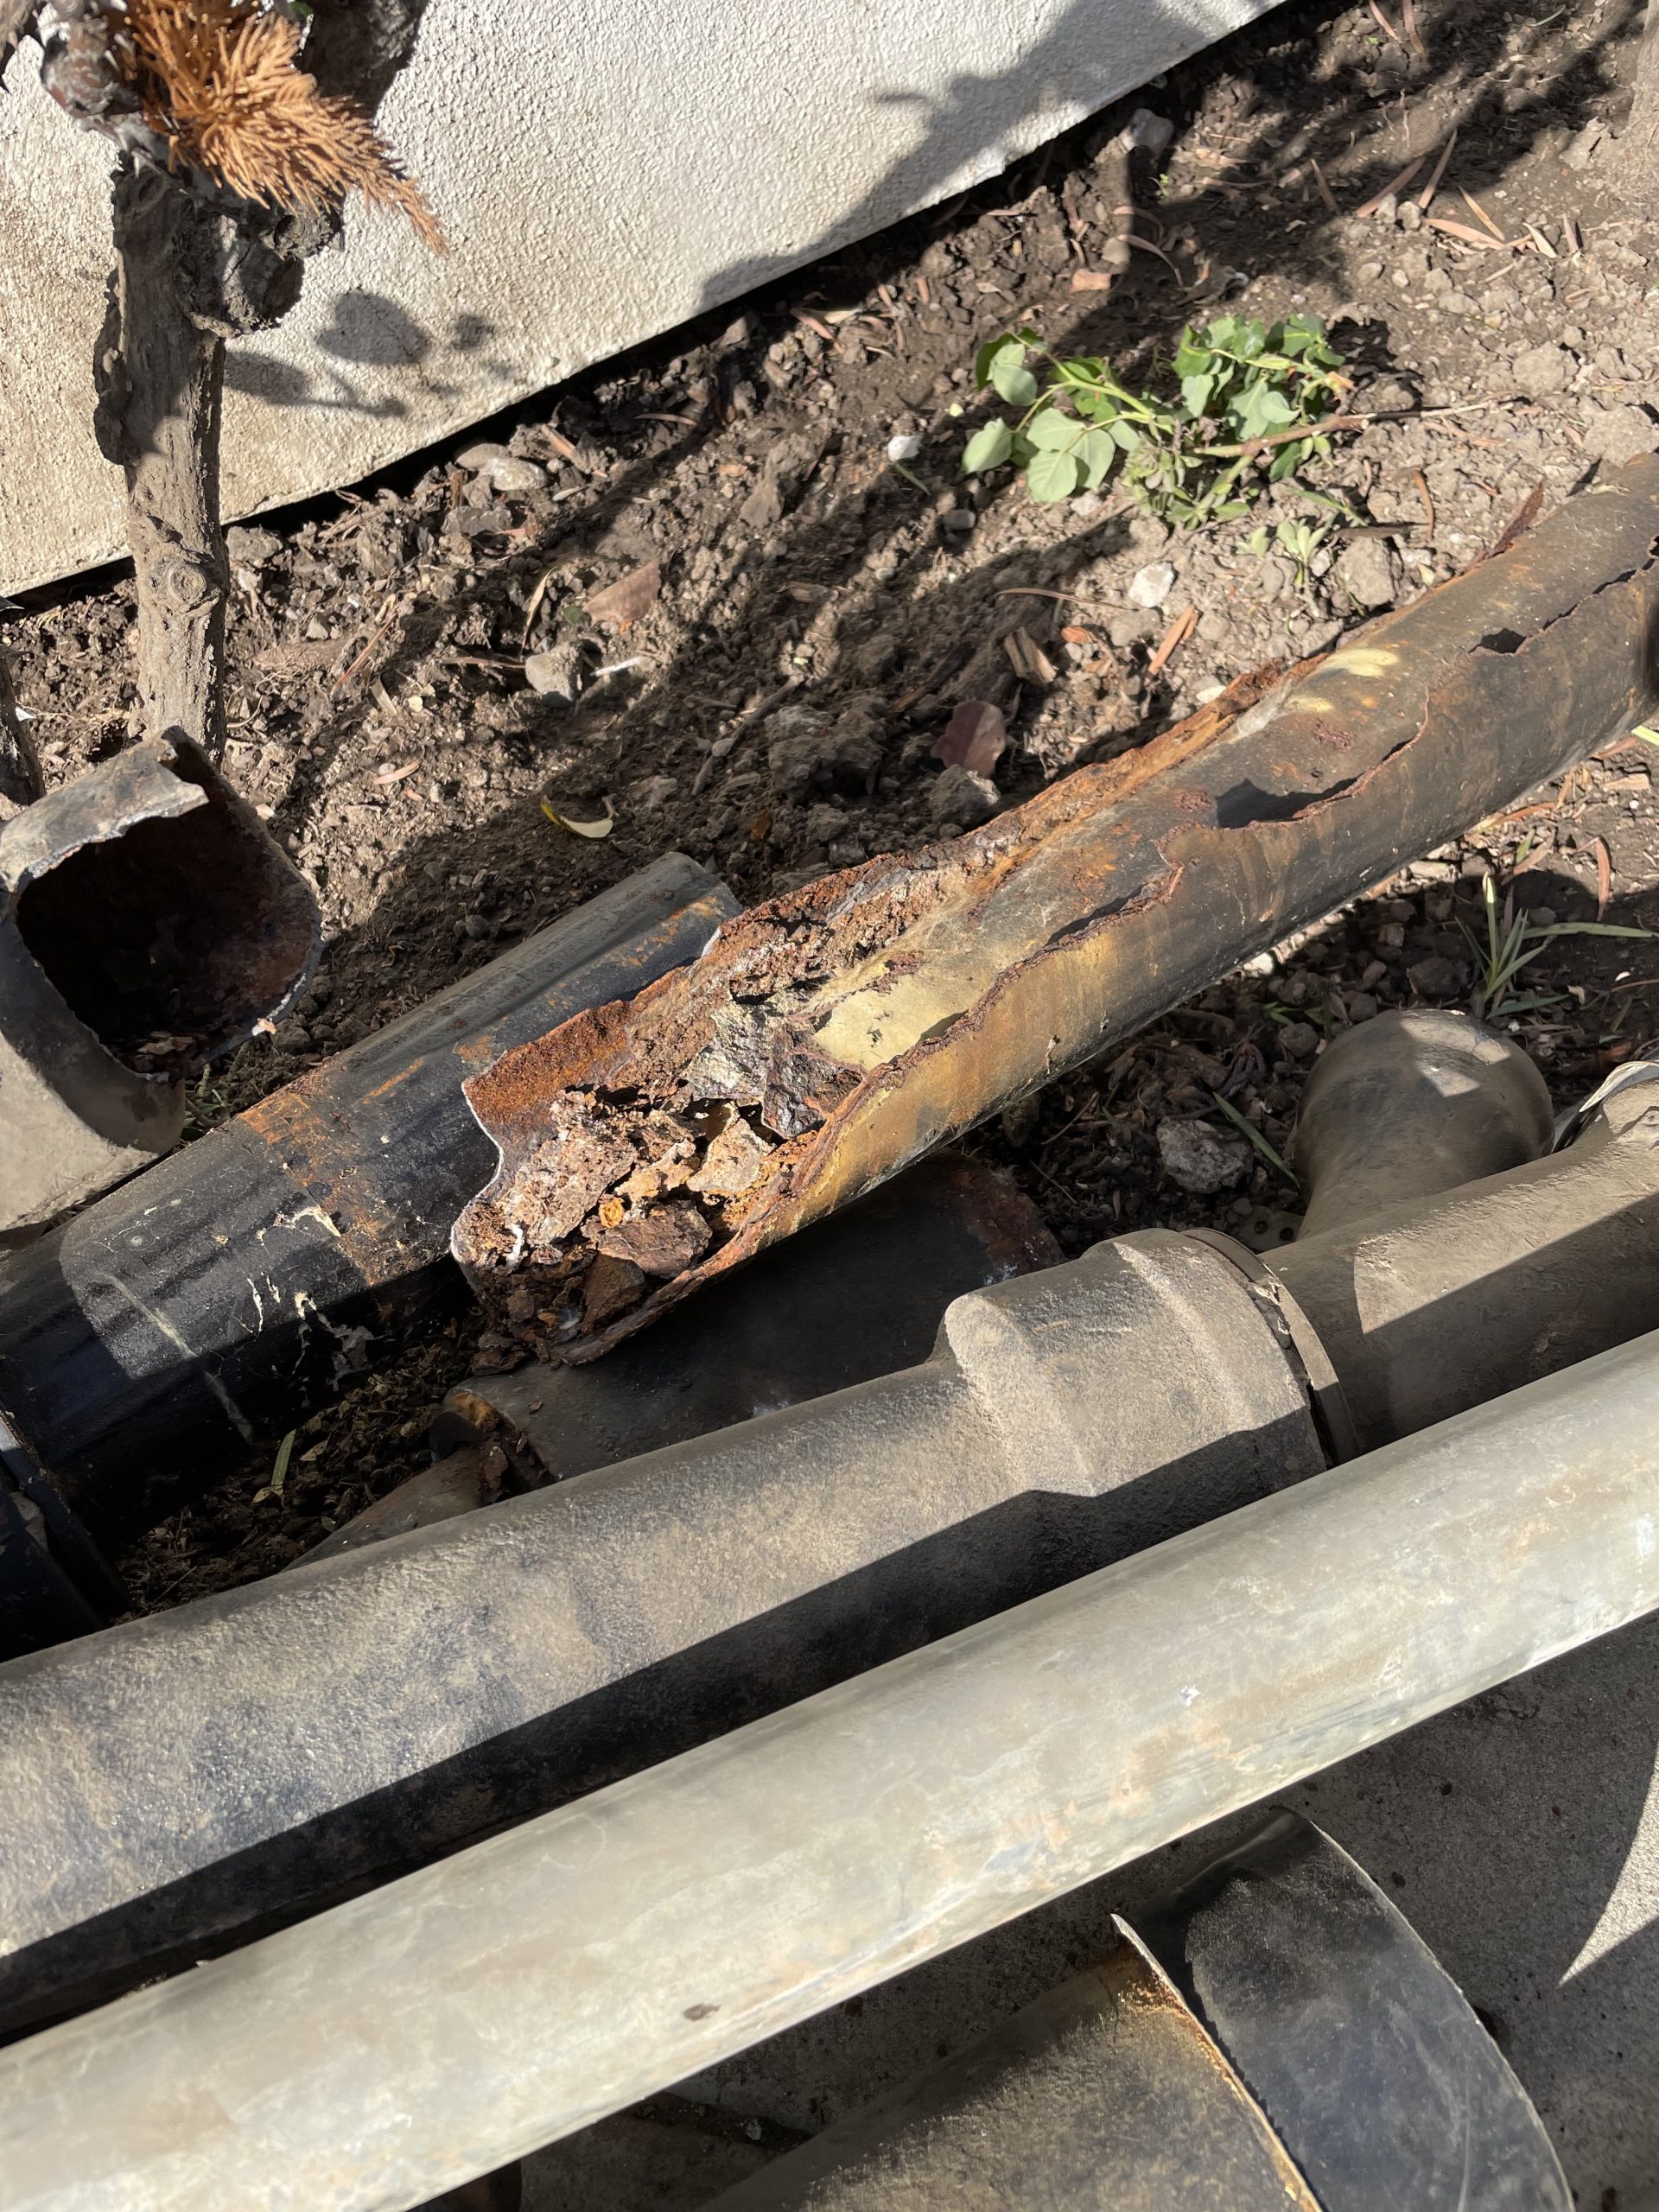
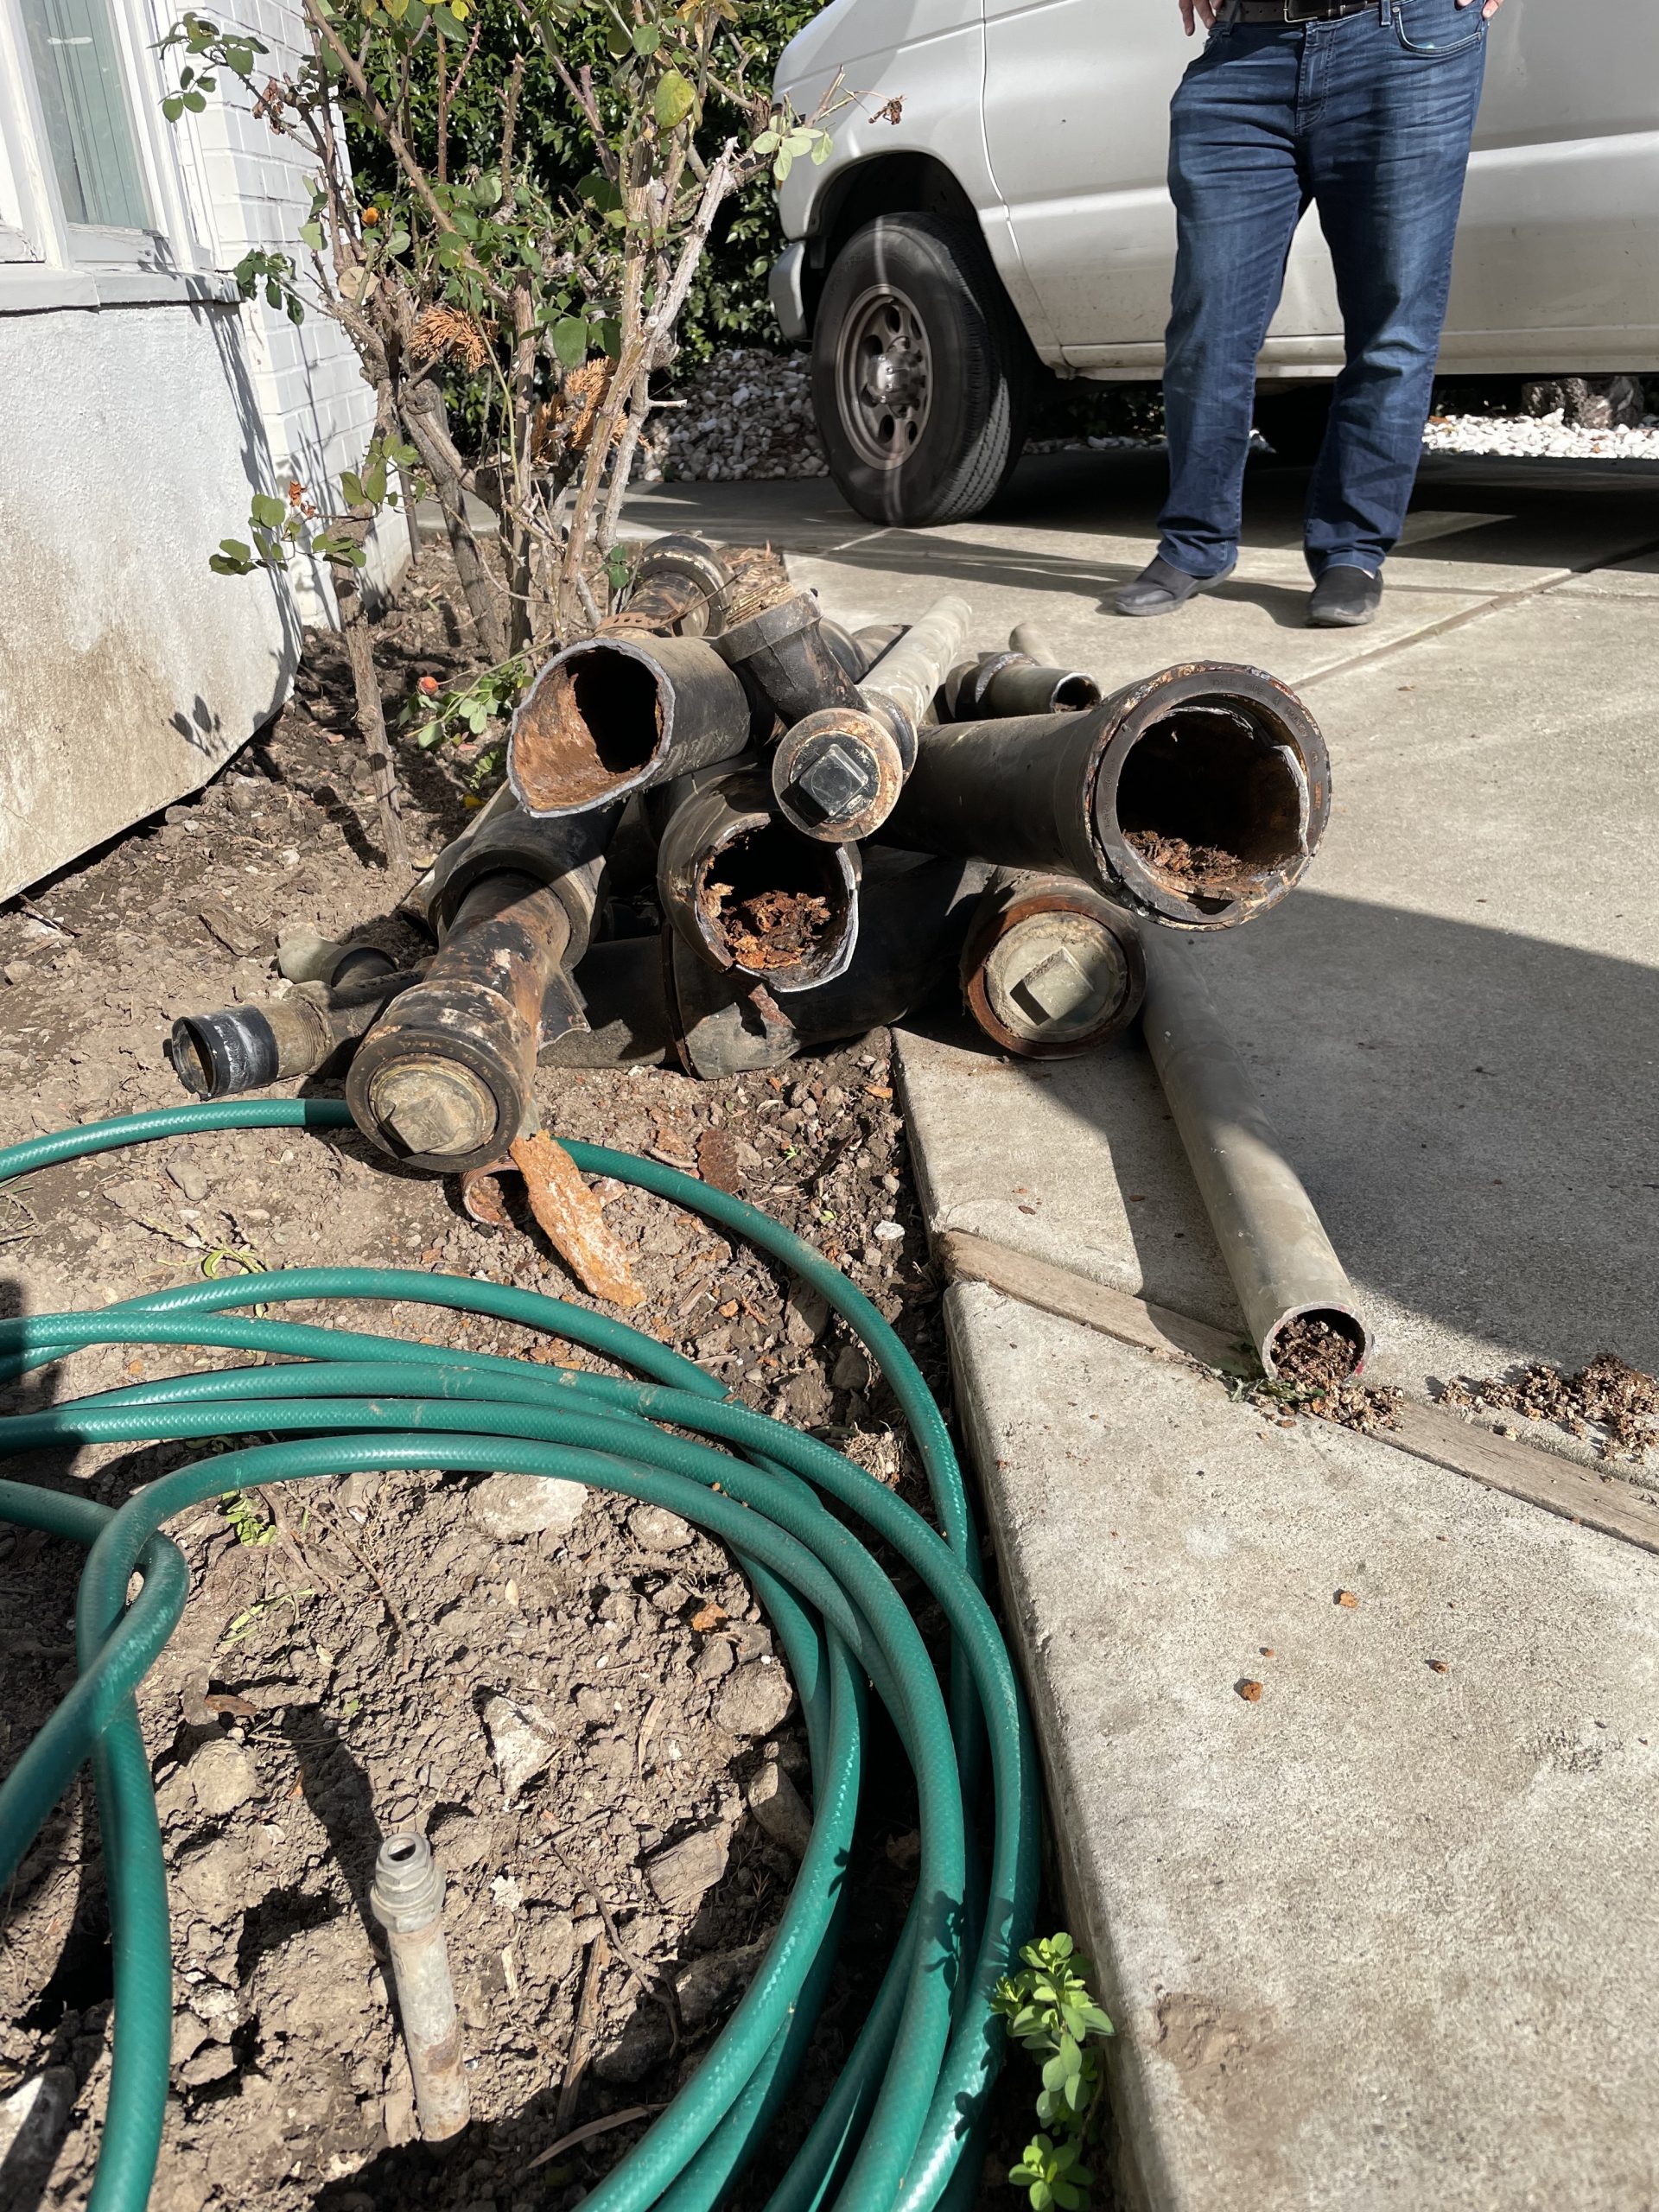
And then it happened a third time, while we were once again out of town. The guy from Rayne said that we should ‘scope the line — which we had asked them to do back in October. They showed up early, so we couldn’t see what they saw. We had to call repeatedly to get both the video and the bill. But once we had it, we could see that there were areas where the pipe was no longer straight. It could be what’s called a belly, where there is essentially a bend in the pipe, or what’s called channeling, where the bottom of the pipe is eroded away. In either case, you need to do significant work to fix it.
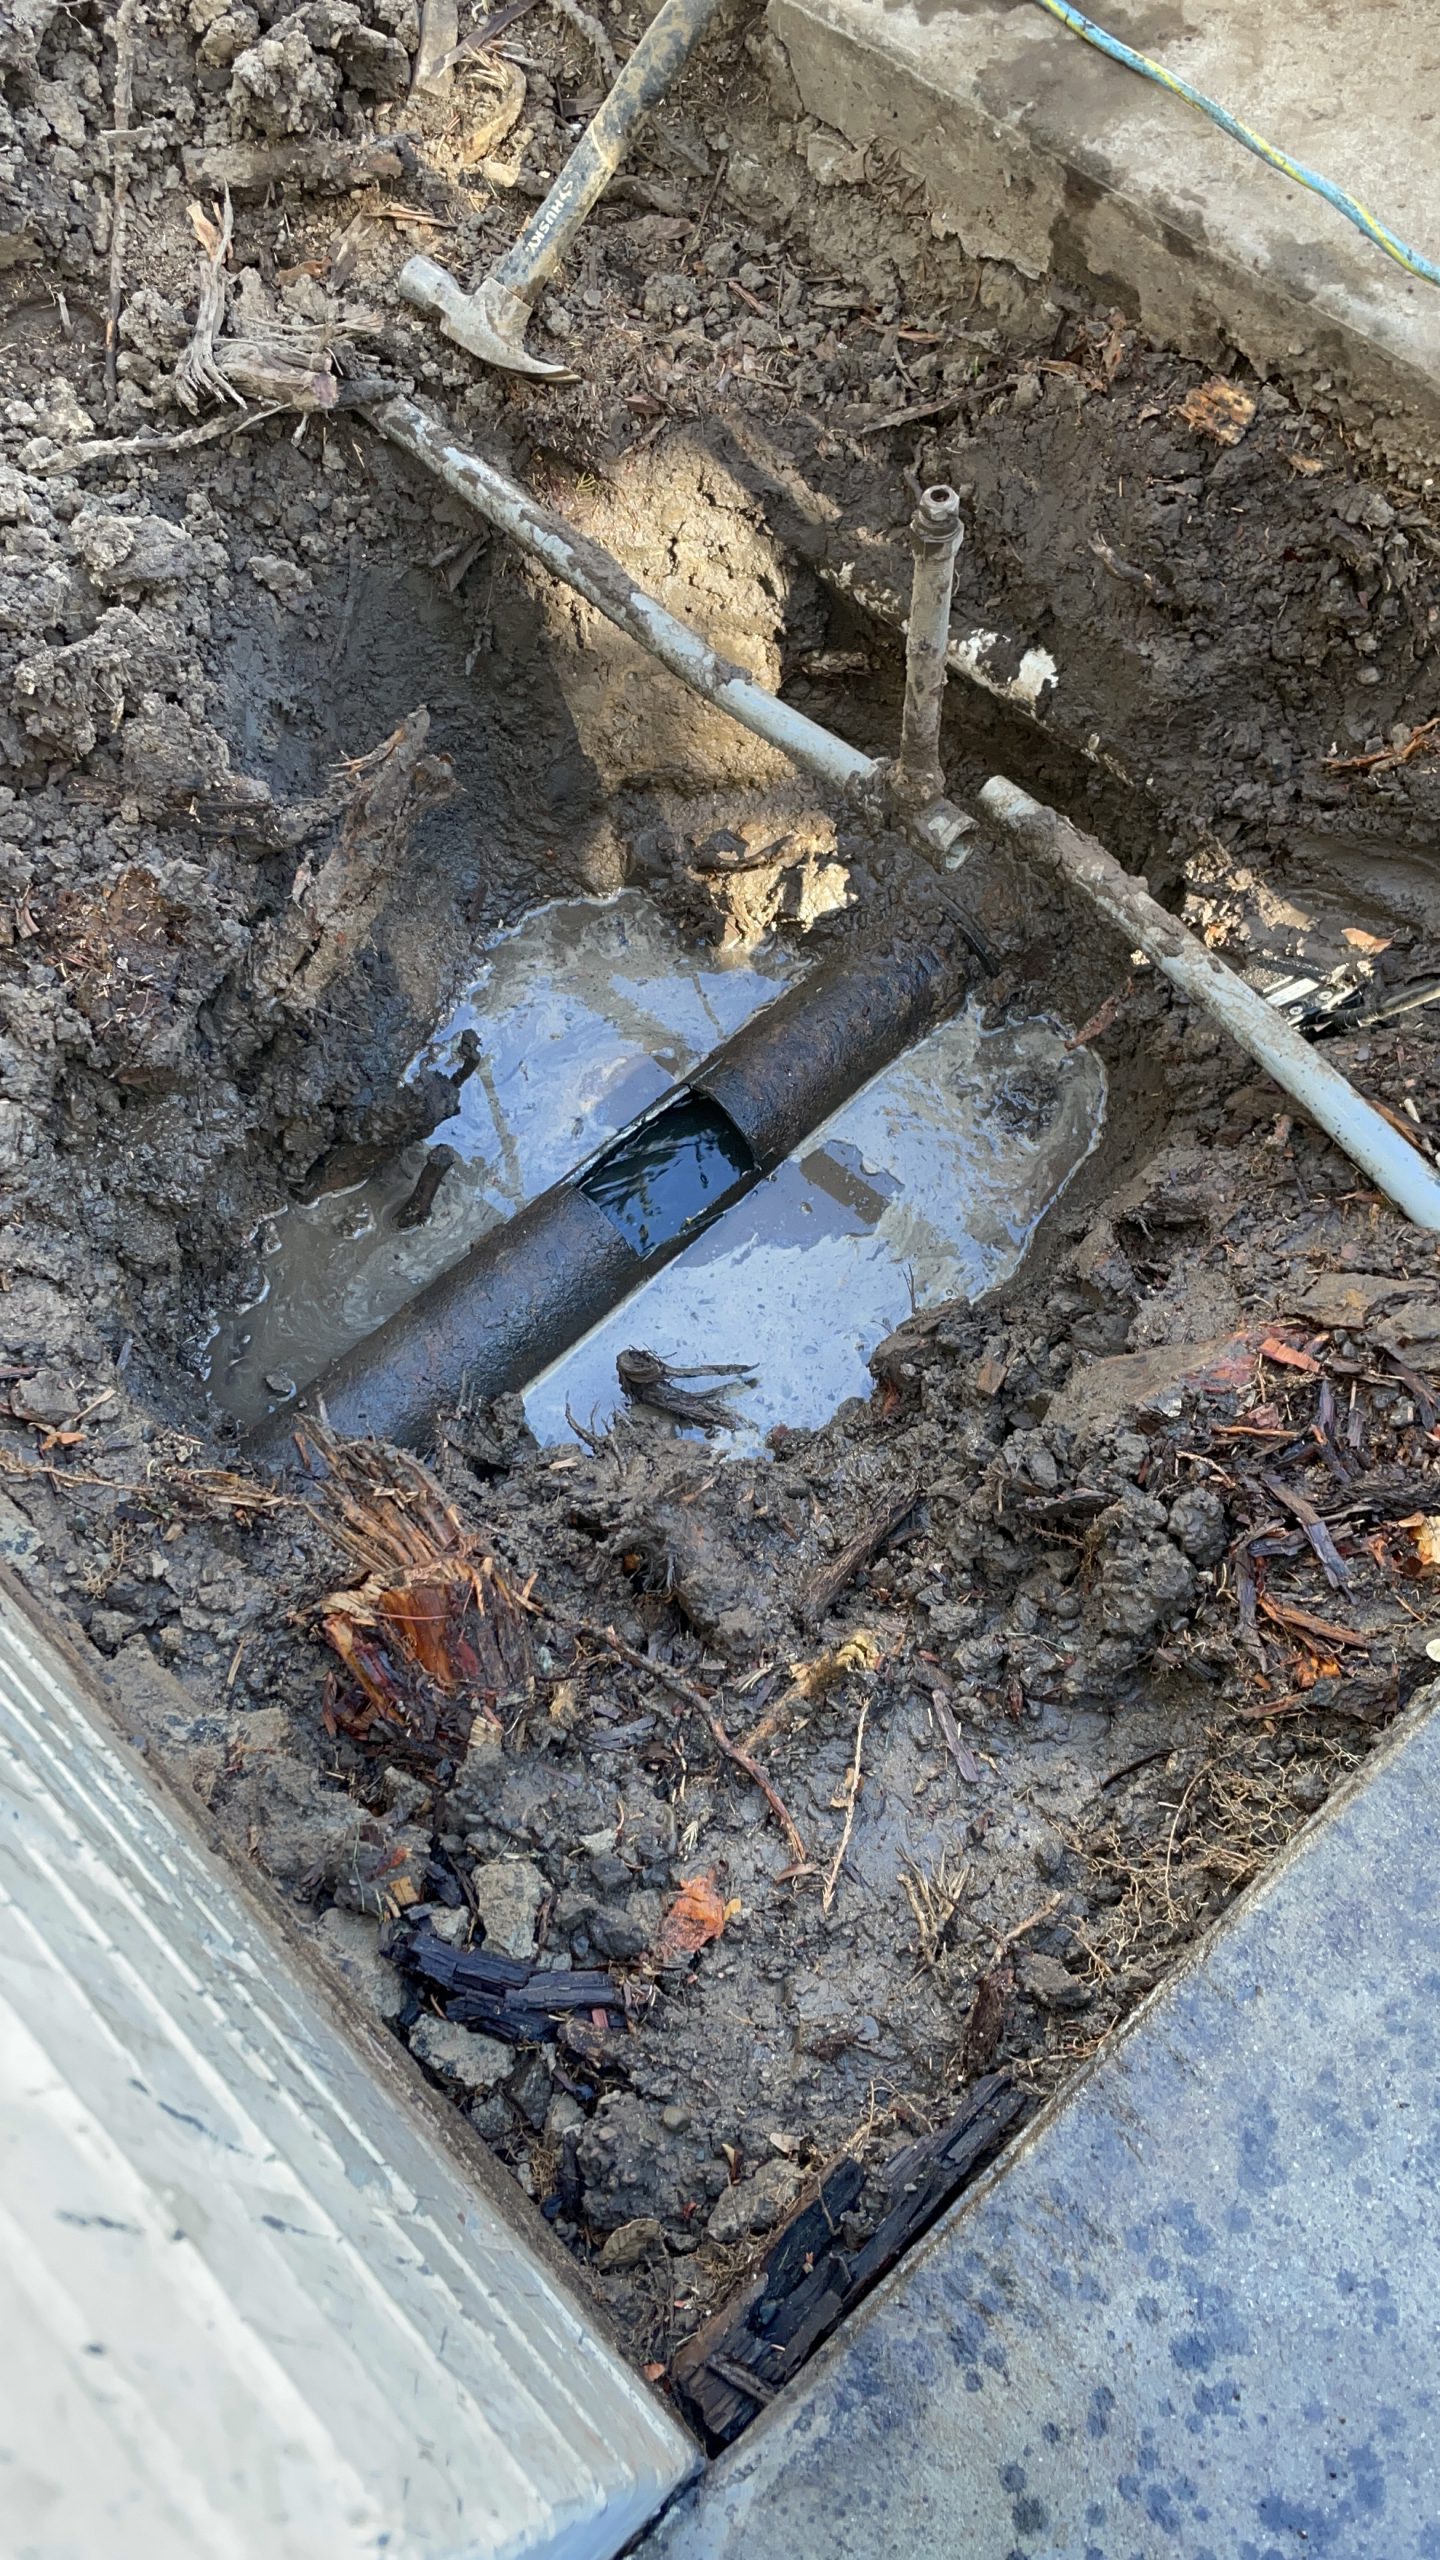
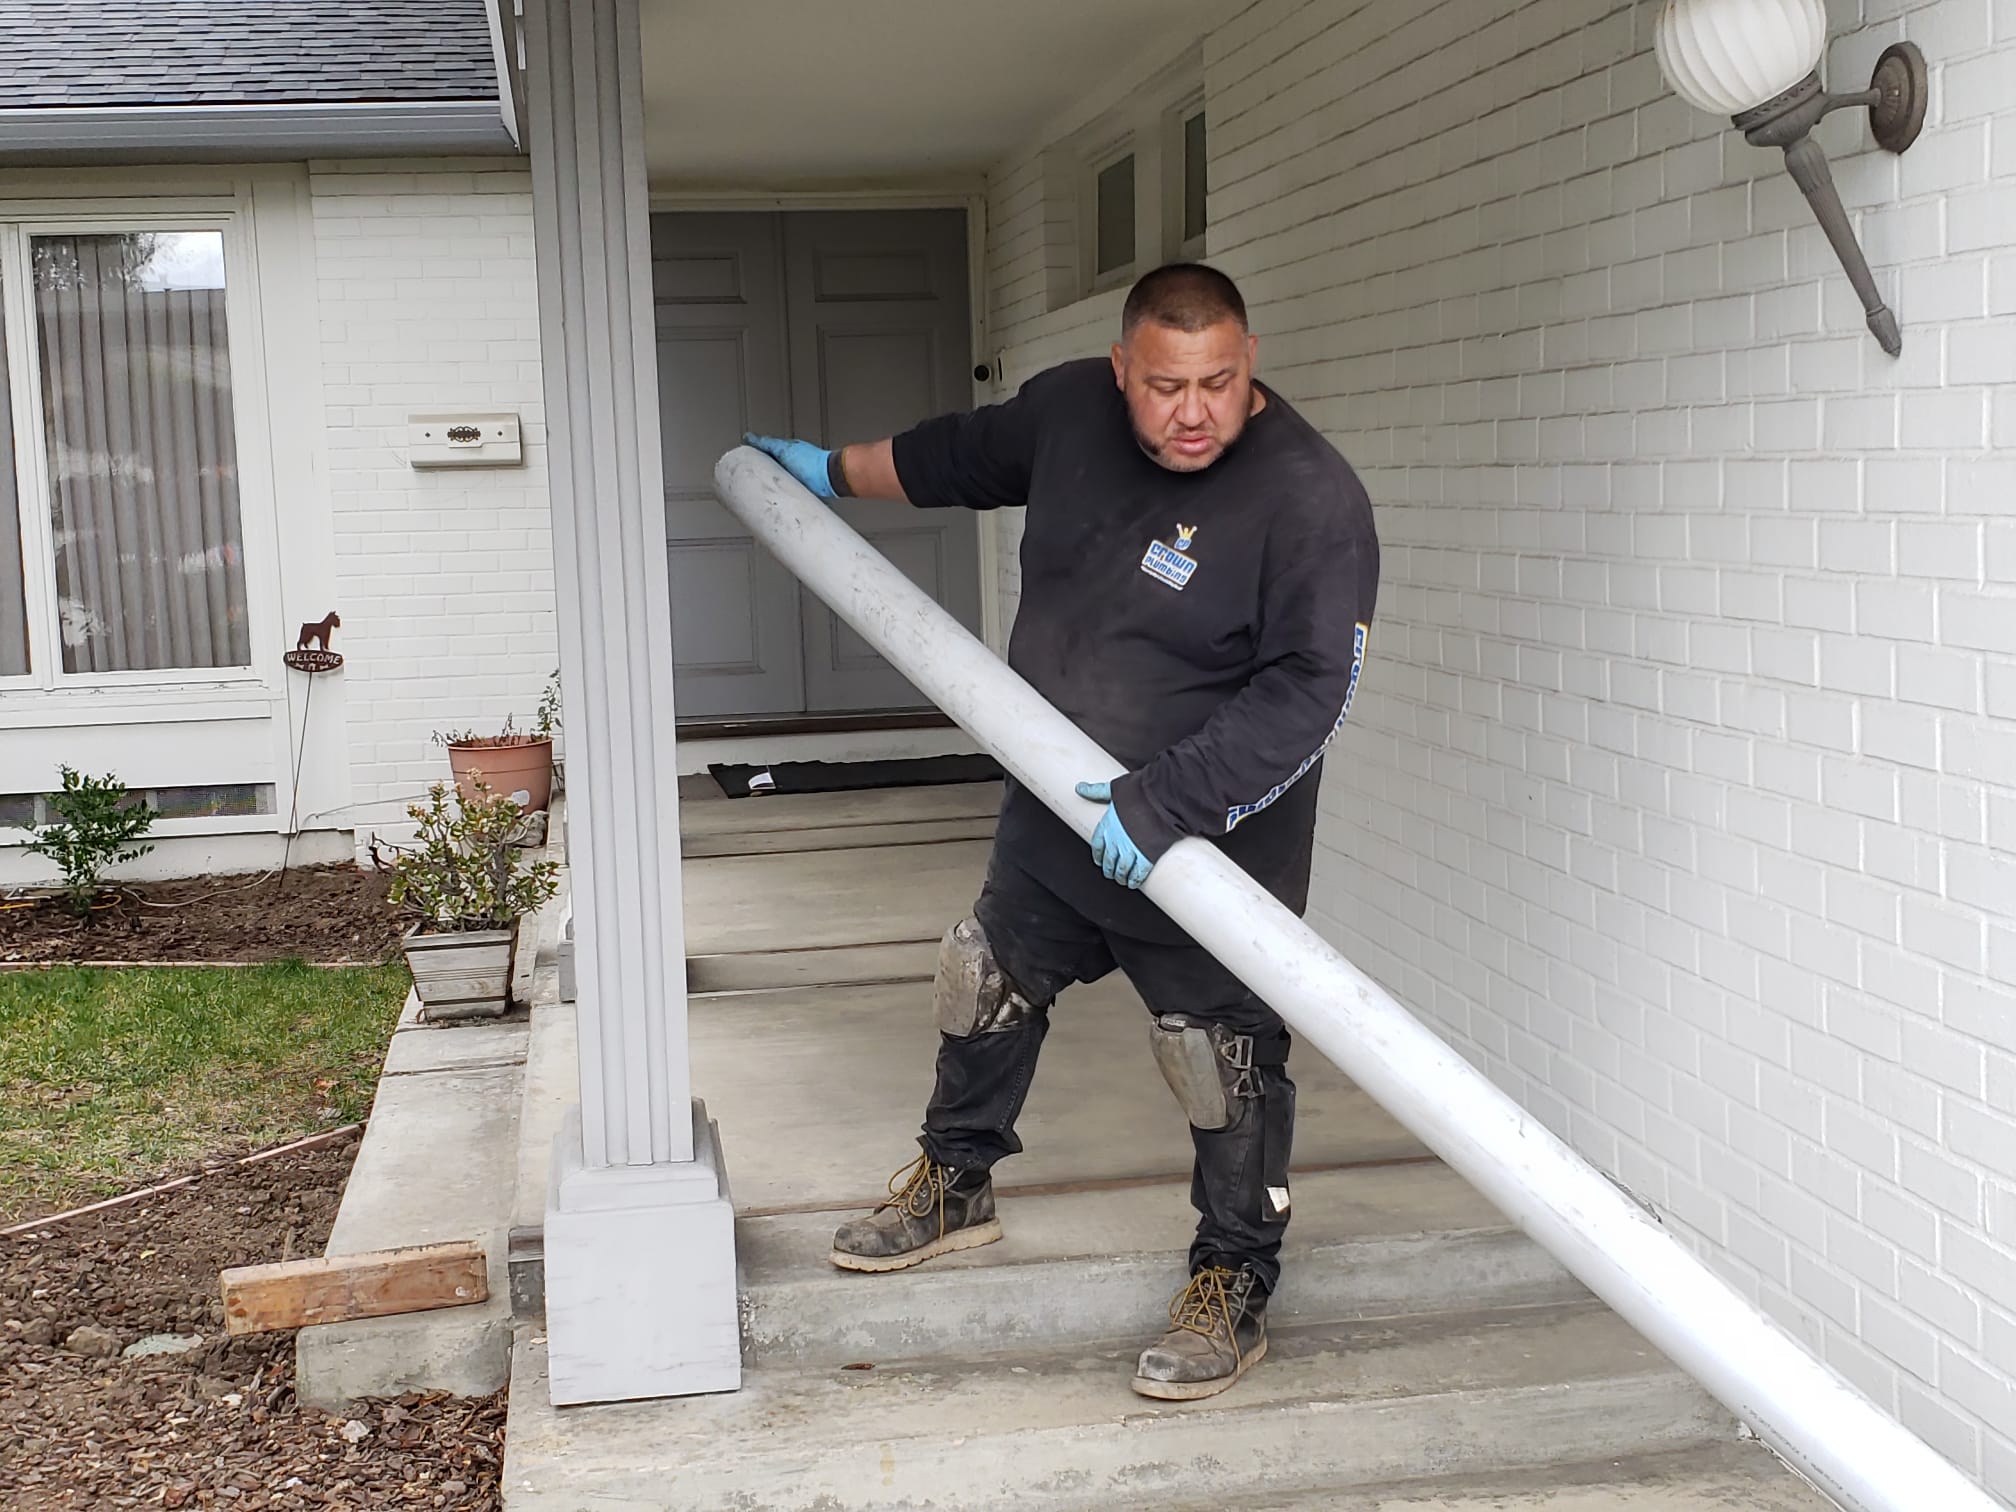
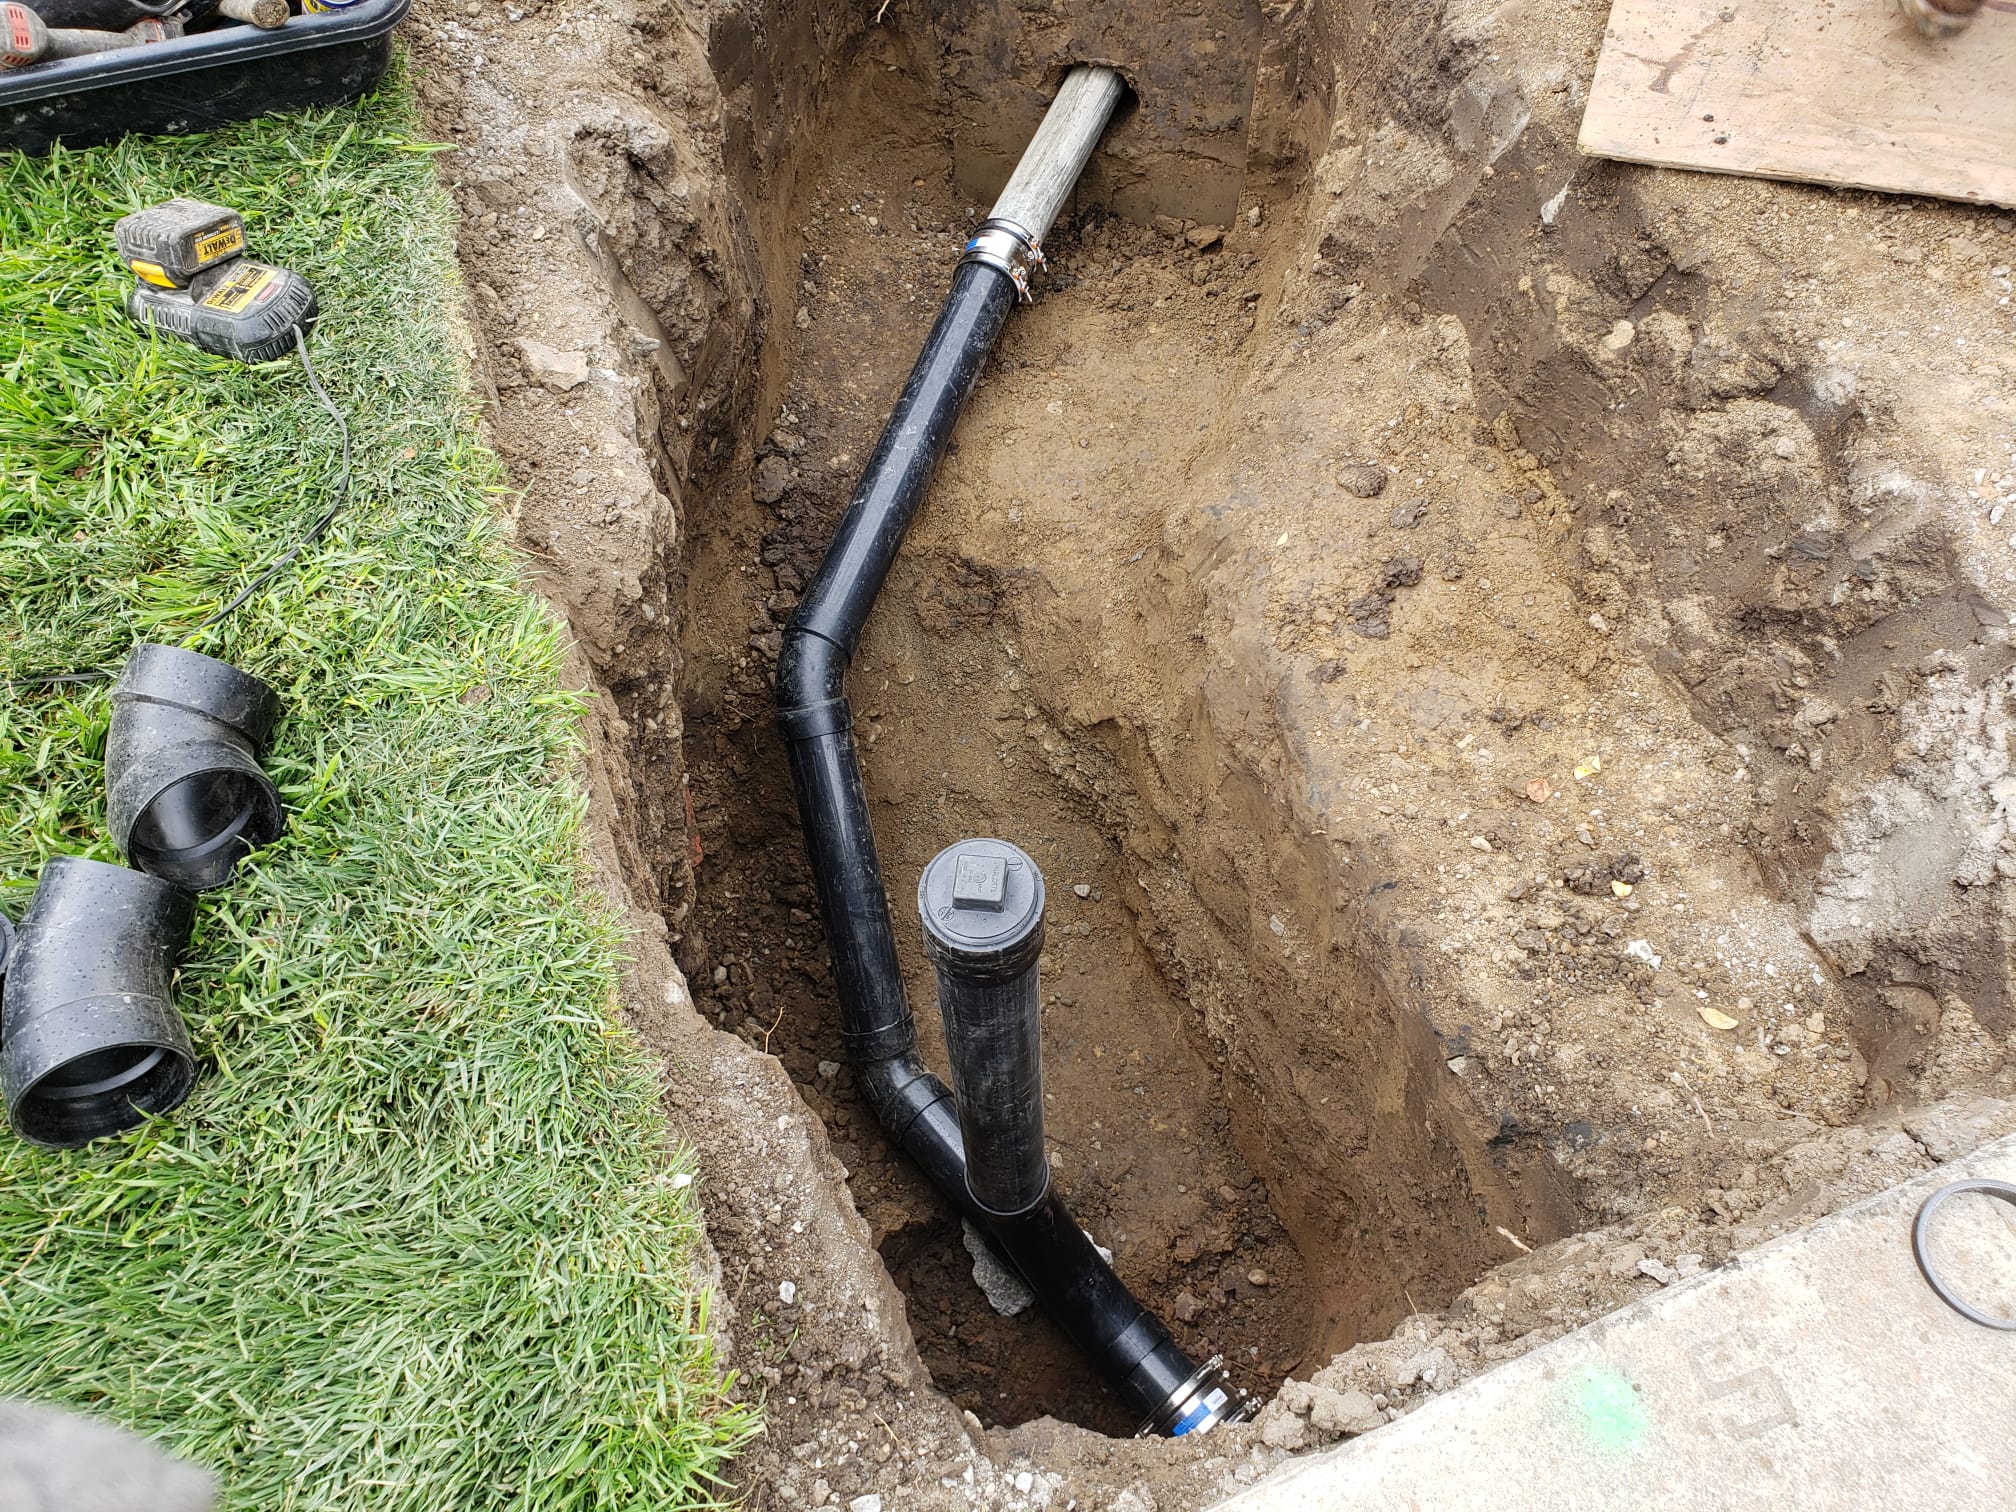
We weren’t sure if we would have to trench the entire line (60′ under the concrete) or could use one of the various techniques that put a new pipe down through the old one and “burst it” from the inside to keep the necessary size. Dan recommended we work with Crown Plumbing.
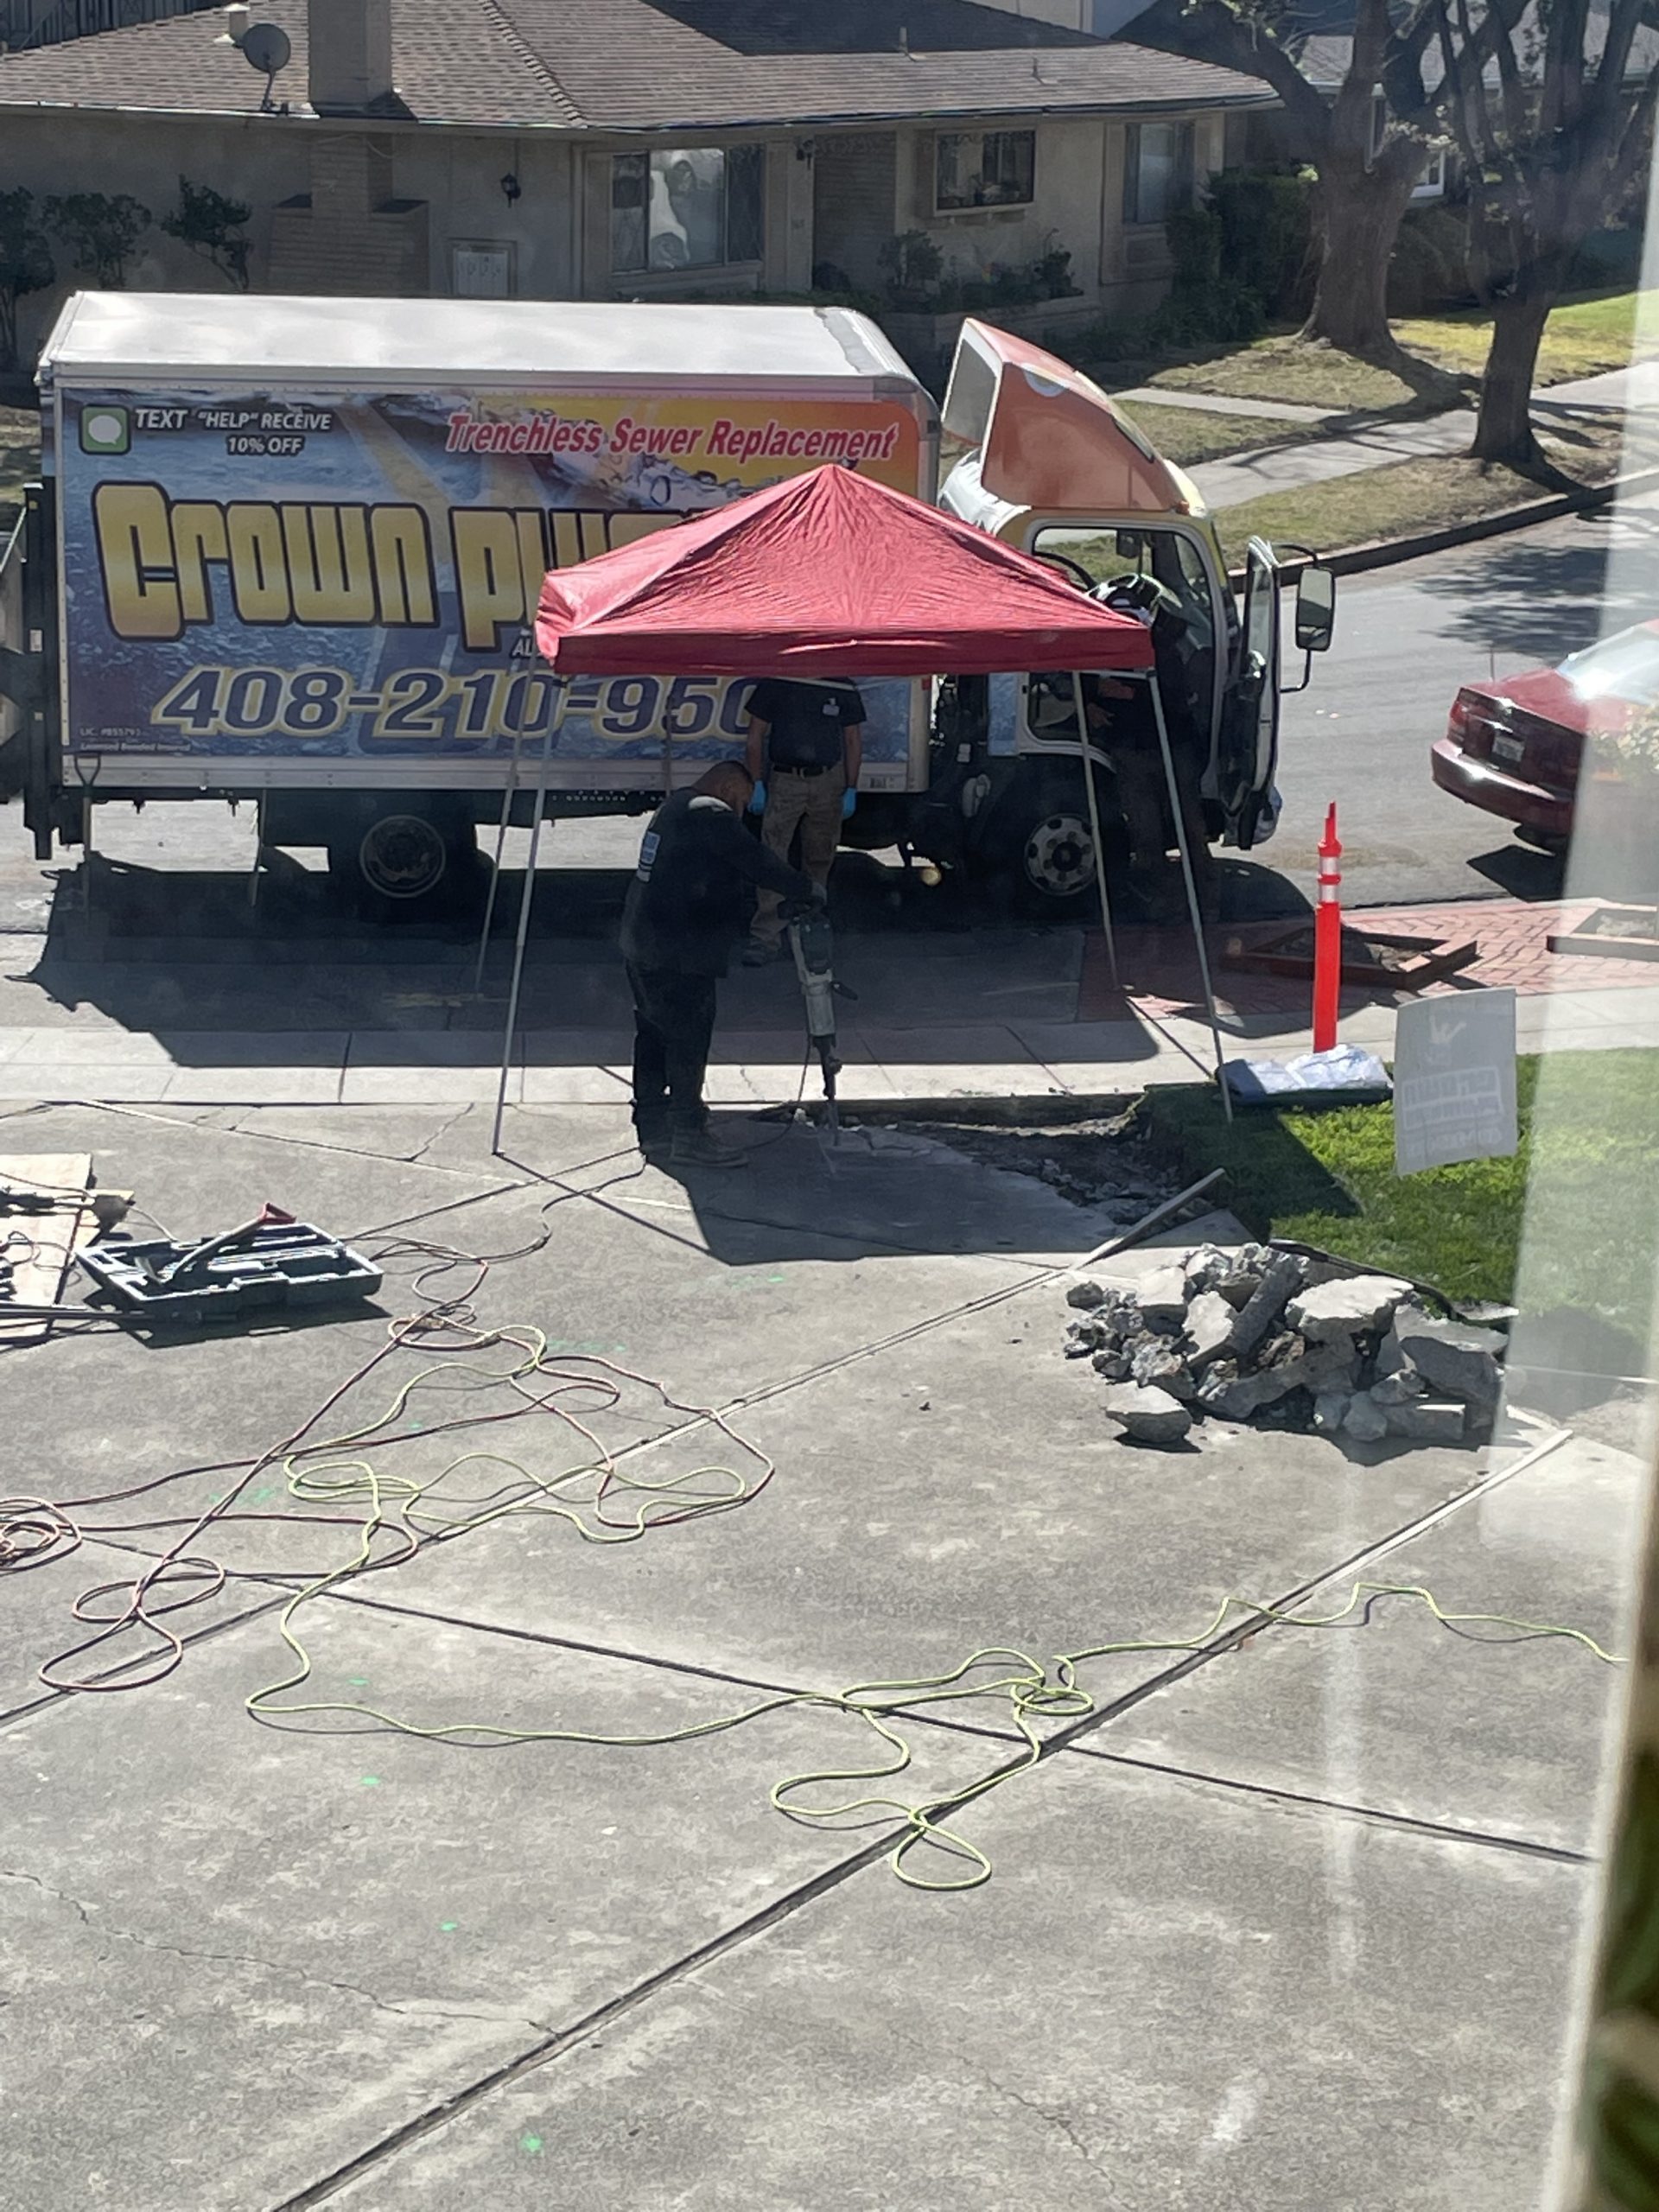
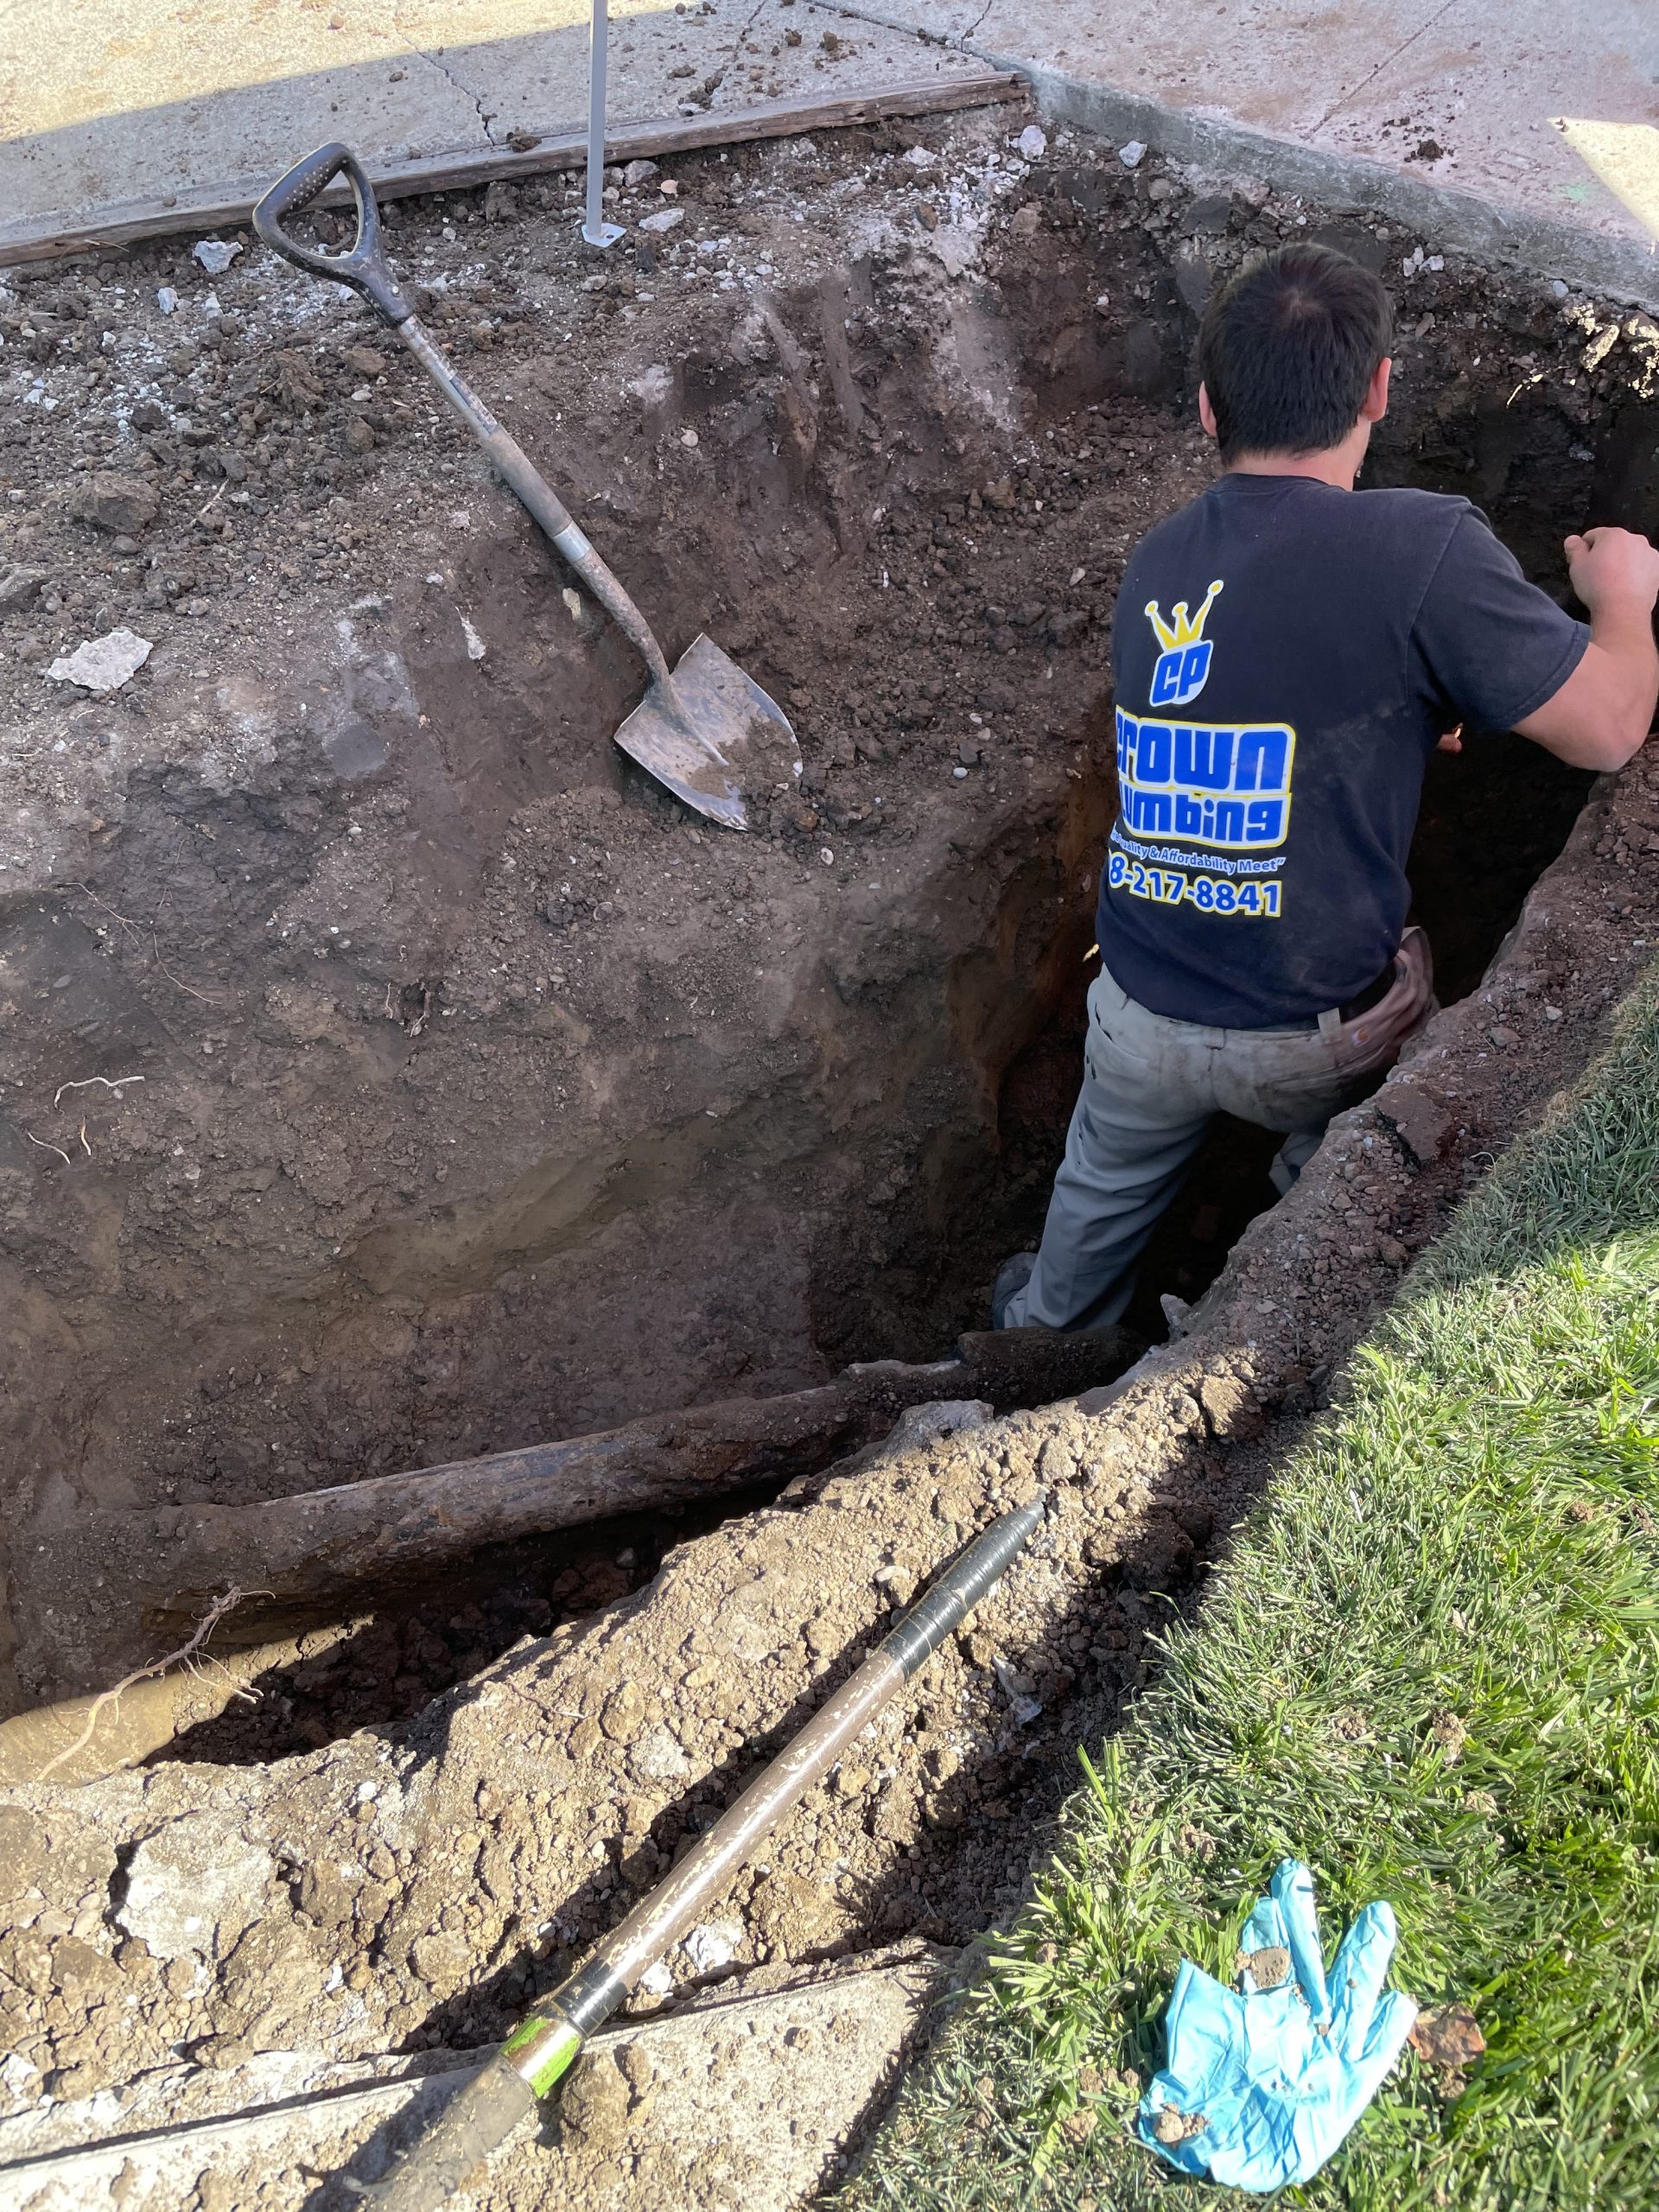
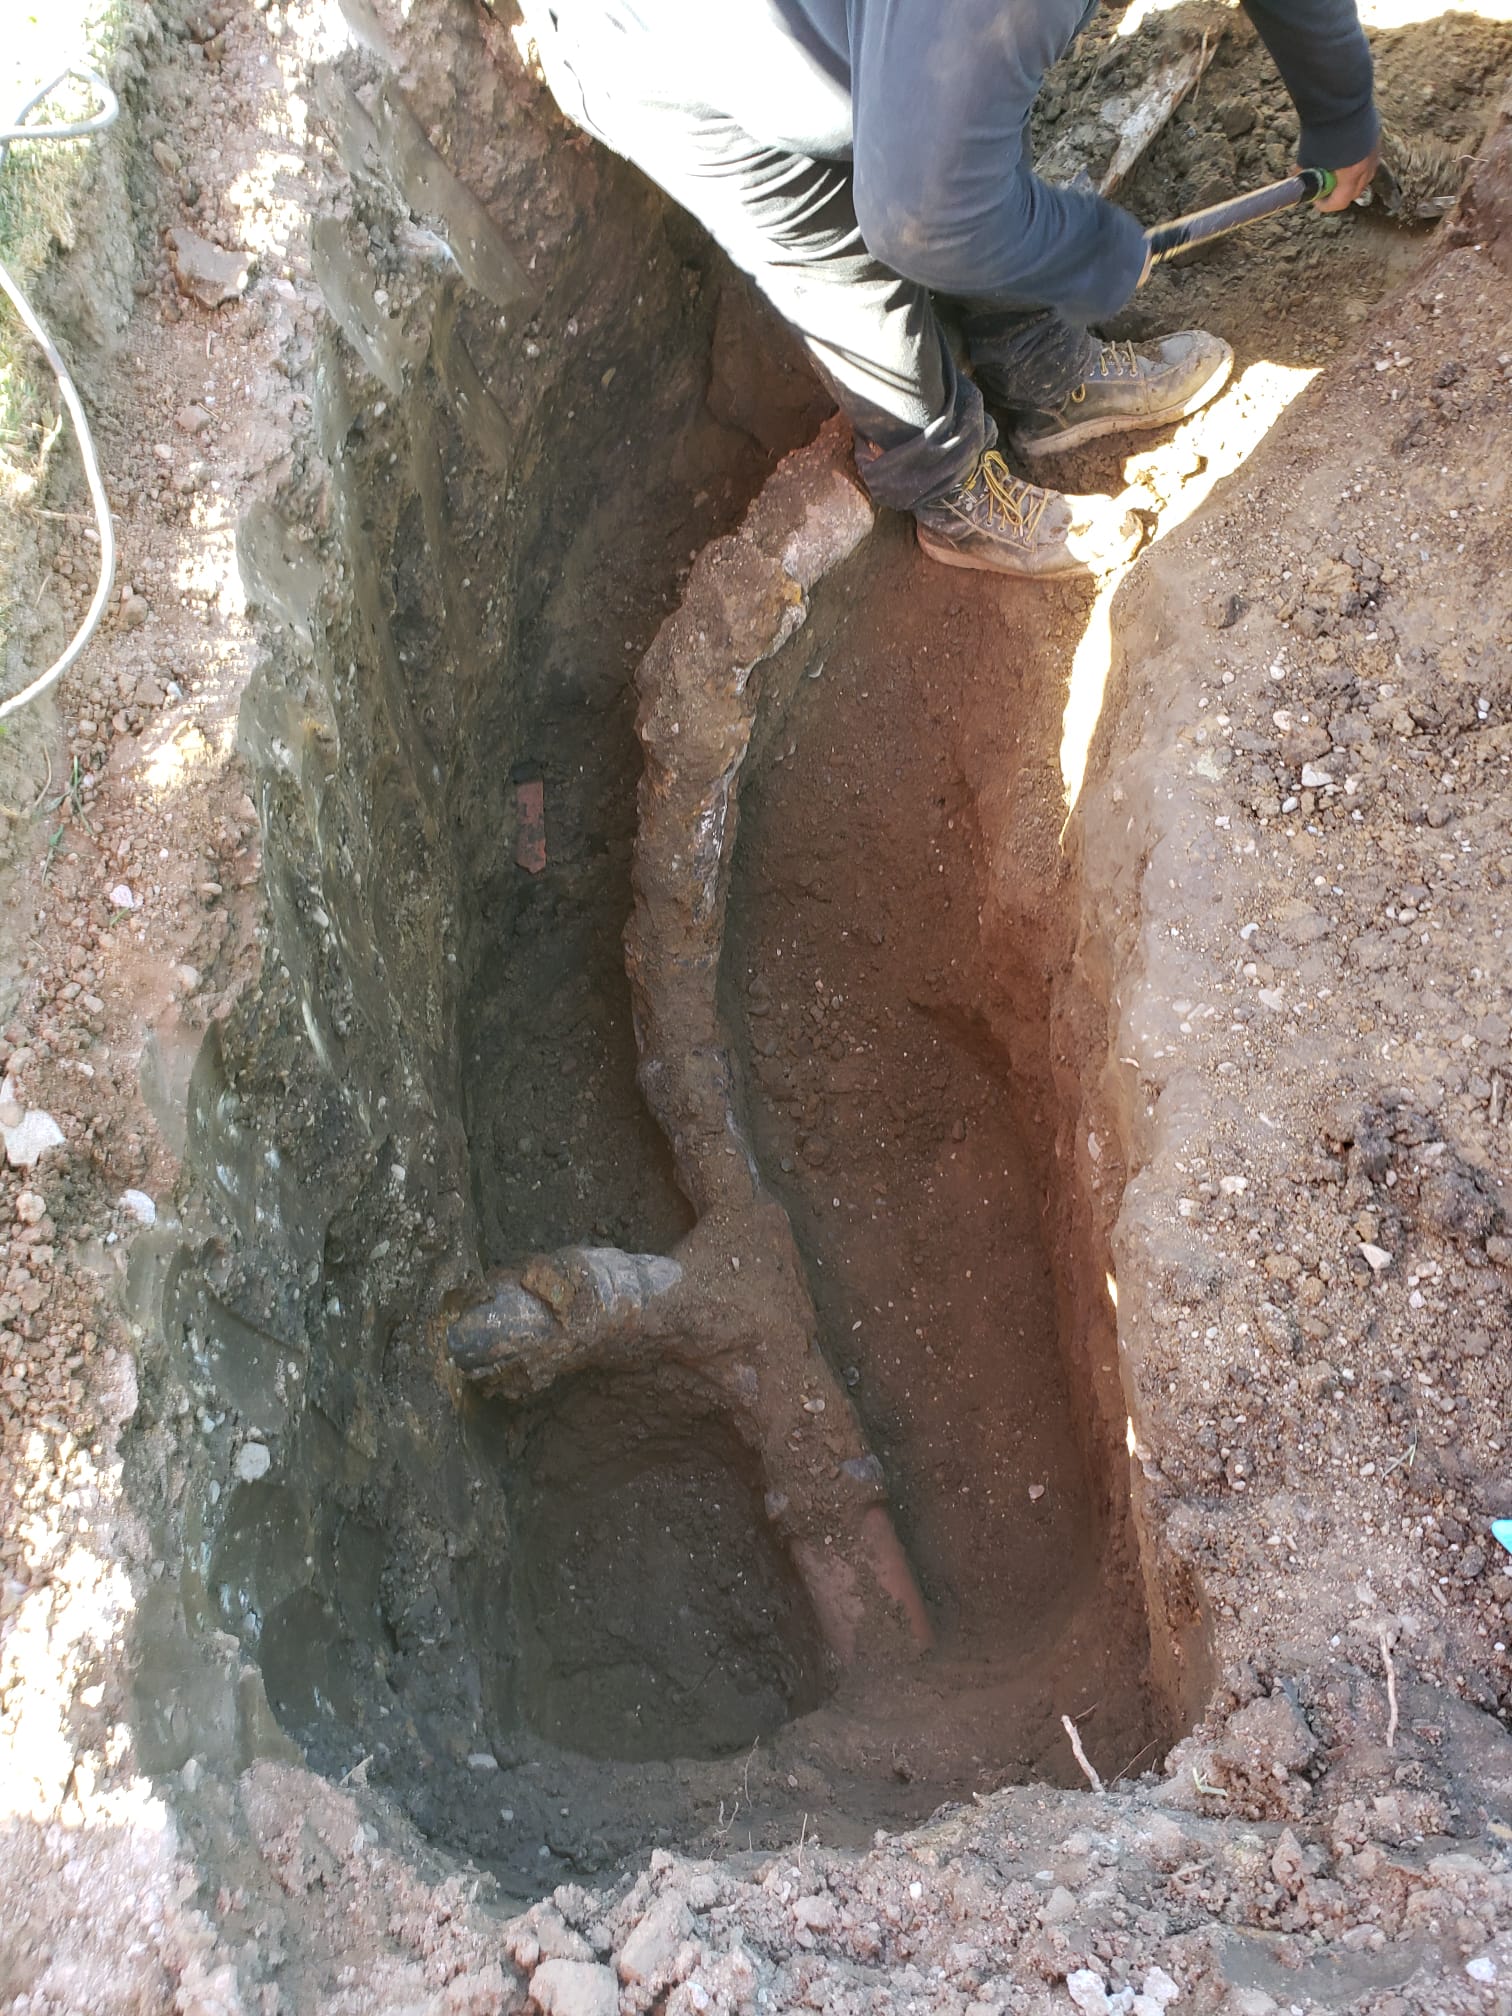
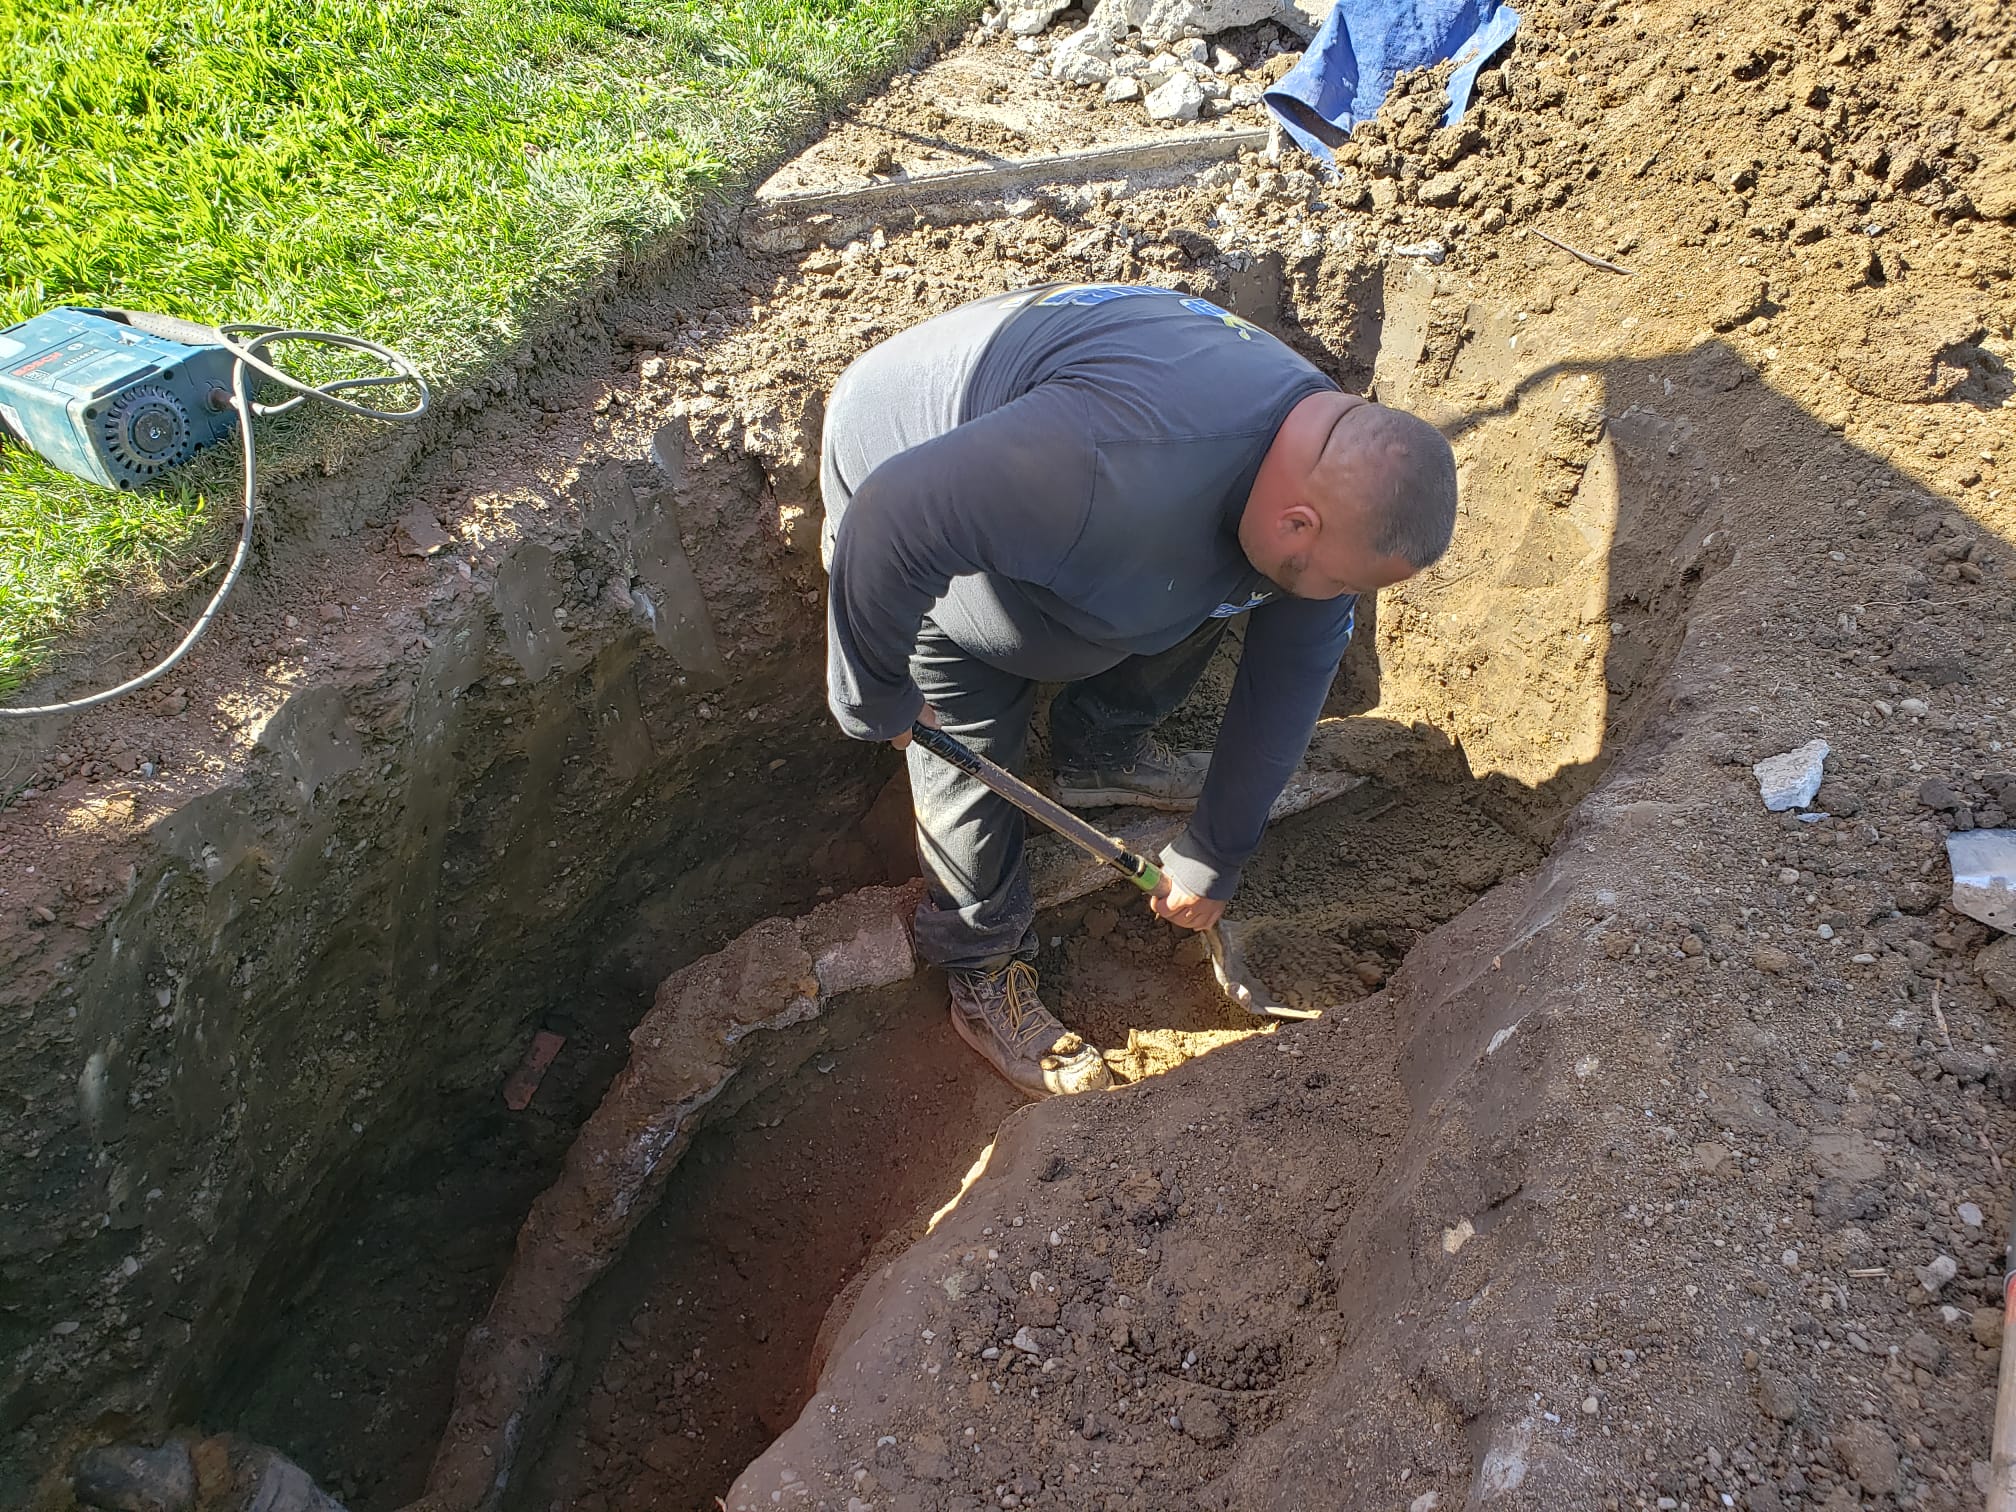
It took them a full day to dig everything out enough to be able to do the work. Crown came back a couple of days later to finish things off. They have a cool device that helps to pull the new pipe down through the old and then “burst” the old pipe so that the new is the same size as the original. I can’t explain more than that – but it’s sort of like what we do when we put in stents in arteries. That process took only about 3 hours. We tested, no leaks, so we are good to use all the plumbing fixtures in the house. Of course, we still have to wait for the formal inspection before we can fill in the hole again, and then will have to deal with the driveway repairs.


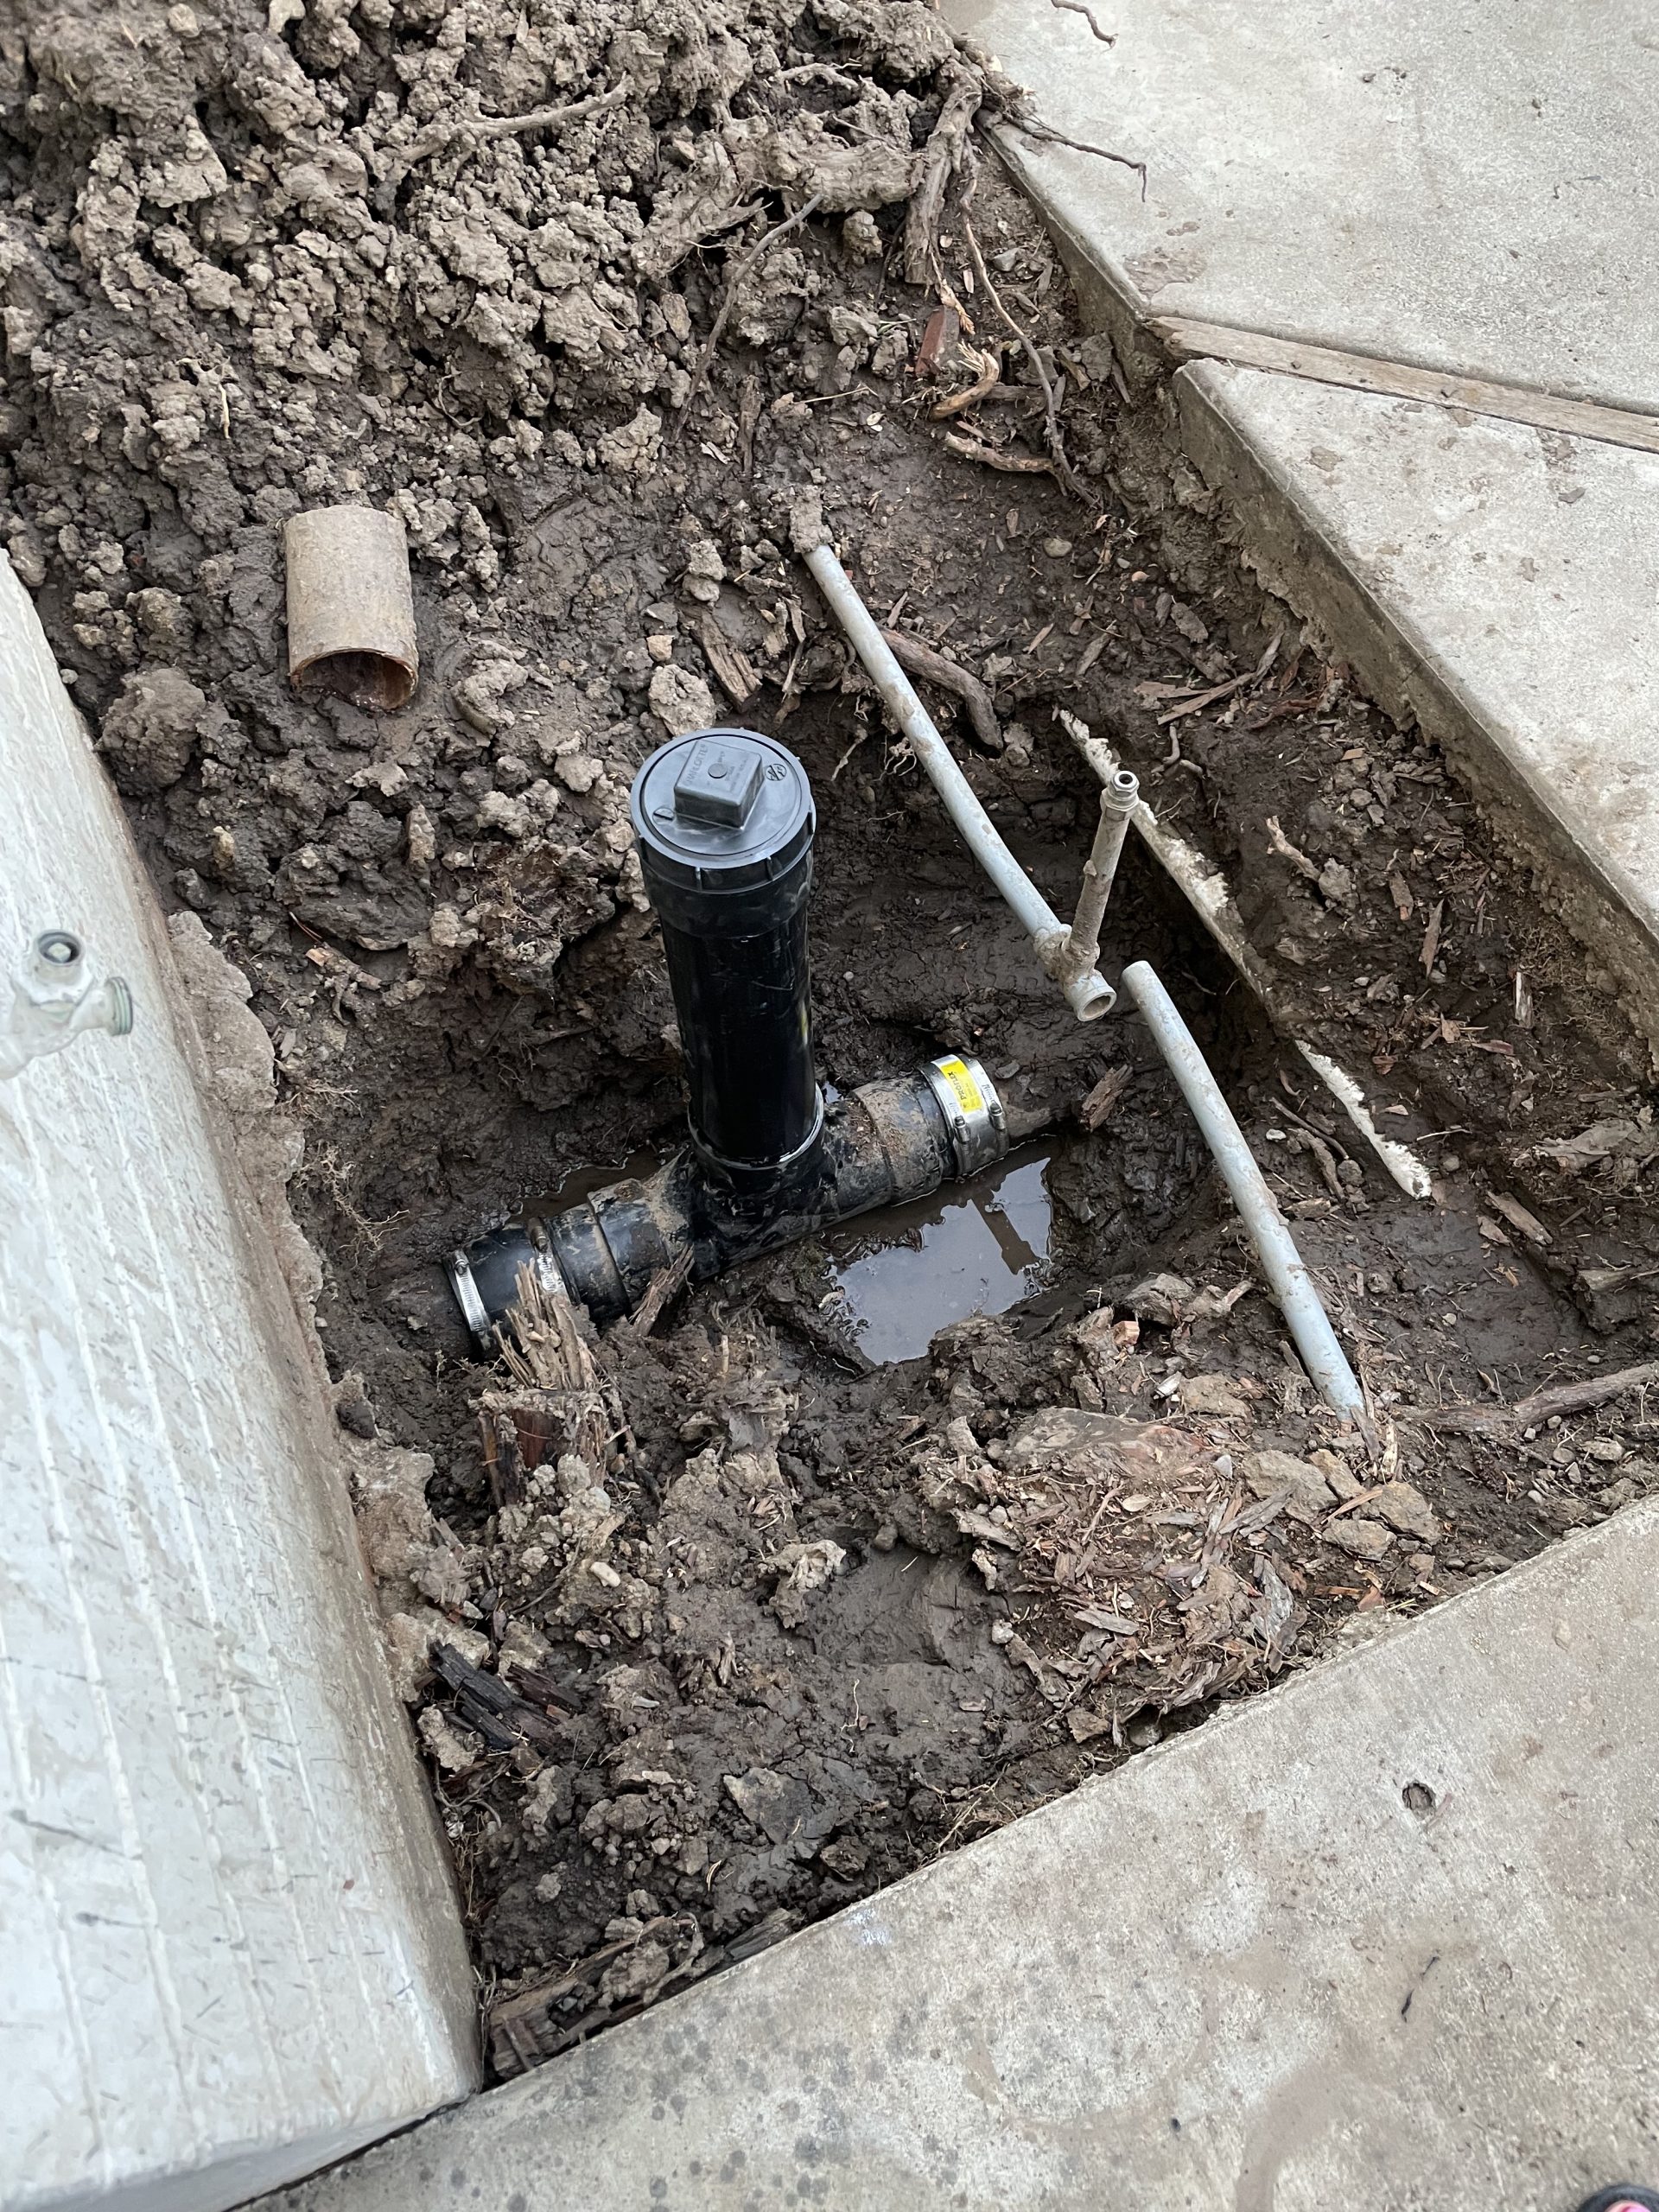
I did some research to figure out which model Rainbird I should get, but couldn’t find anyone who would take out the old and install the new. Fortunately, our original irrigation expert came back to San Jose for a big job this spring, and was willing to do the work between his other obligations.

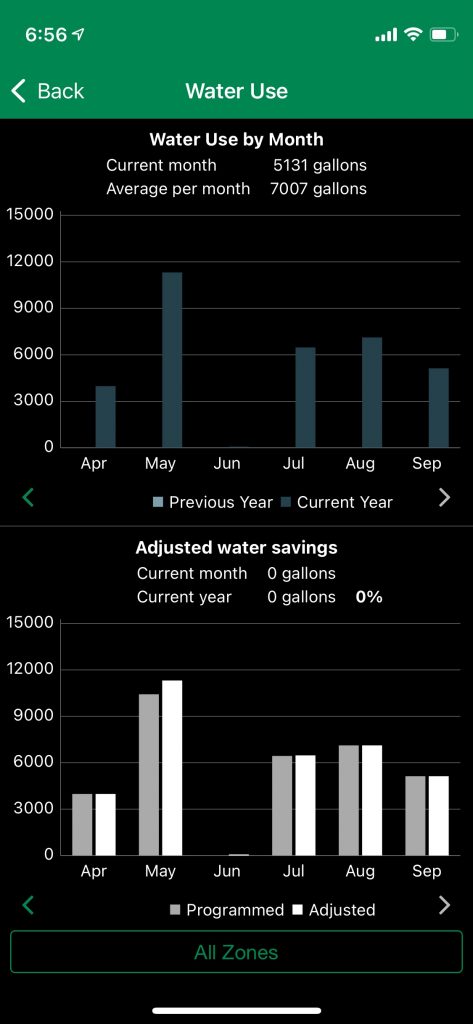
We selected the Rainbird ESP-ME3 series, with the LNK WiFi module, and added a rain sensor. We also added a flow sensor, which can help us determine if a circuit doesn’t shut off, has a leak, etc. After some initial issues with the flow sensor, we got it all settled so that we can track water usage, really important with the current drought. We also put in a “normally off” Master Valve, which will shut off the water when the sprinklers aren’t running, and prevent leaks.
Of course, now I will probably redo mom’s setup so that we can track water usage the same way, not just adjust the programming, etc.
*See also the post Drip Irrigation conversion from 2015.
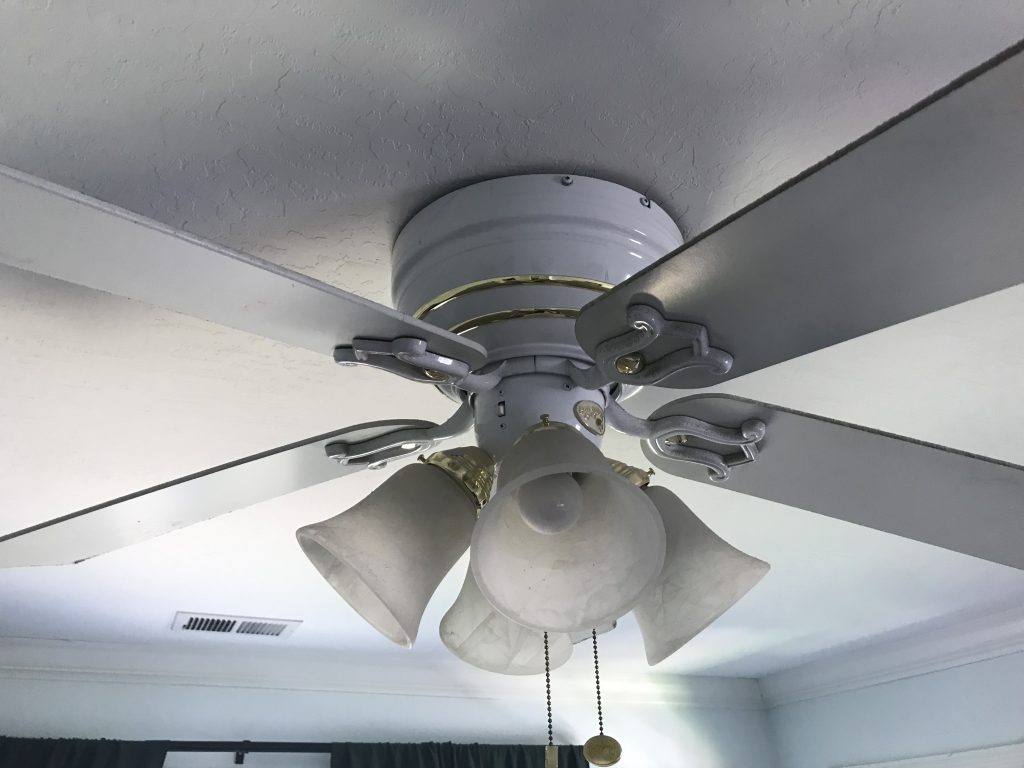
]]>Step 1: Figure out how to disassemble the existing fan and take it down. Of course, we first put it together and hung it up nearly 20 years ago, so we don’t have the manual any more. Total time: 90 minutes.
Step 2-A: Swear at the manufacturer who provides you with 3″ long screws, but doesn’t also provide you with the appropriate size and length drill bit*. Regular drill bits in the 9/64″ size are about 2″ long… which potentially leaves you driving in a full inch of that screw by hand (because a drill driver will just strip the head). All done while on a ladder, and working over your head. We tried, but couldn’t get that last half inch screwed into the joist. Take out the first screw before you totally mess up the Philips head. Use the second screw. Do the same. Decide it’s time to quit for the day, while leaving off the circuit breaker.
Step 2-B: go to Home Depot to get the special 12″ long drill bit, and more screws.
Step 2-C: Bend one screw. Remove it. Break one screw. Shift the bracket location and drill a new pilot hole.
Step 2-D: Return to Home Depot, get more screws. Also get a nifty ratchet screwdriver. Hope that I don’t get blisters on my palm from all of this.
Step 2-E: Finally get the mounting bracket installed. Total time for this first part (not counting dinner and sleep): 6 hours.
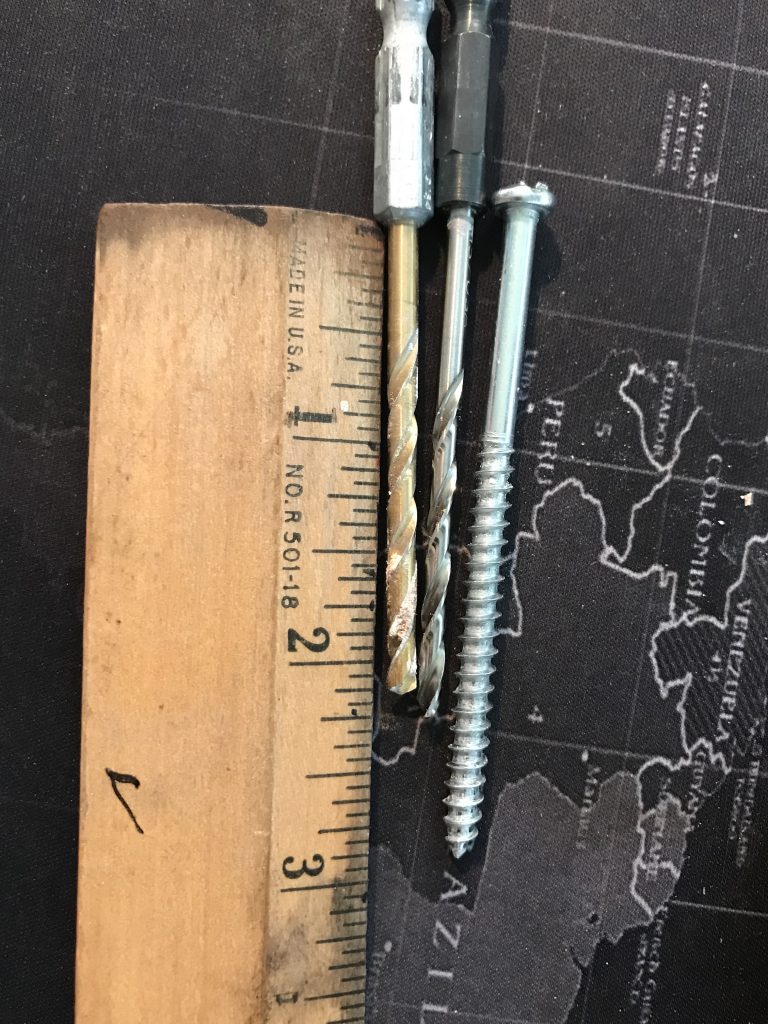
Typical drill bits vs provided screw 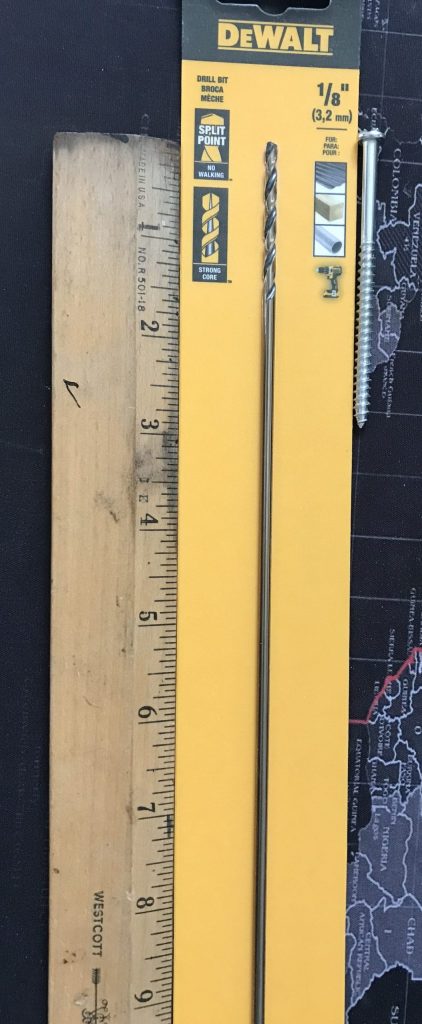
12″ long special drill bit 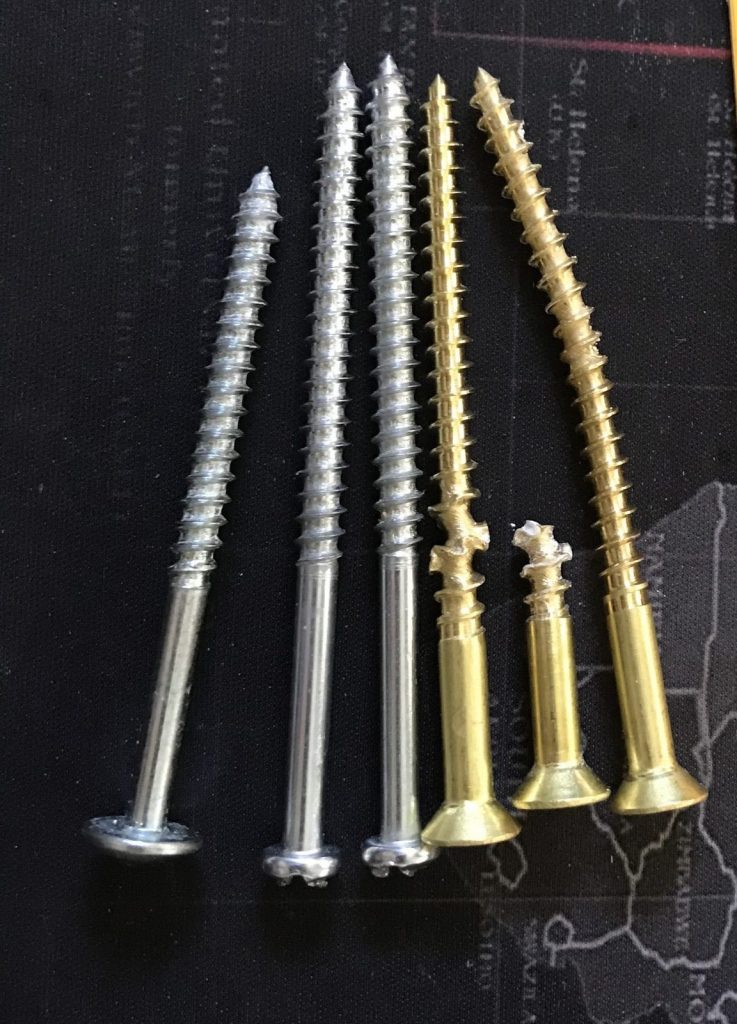
The ones who failed
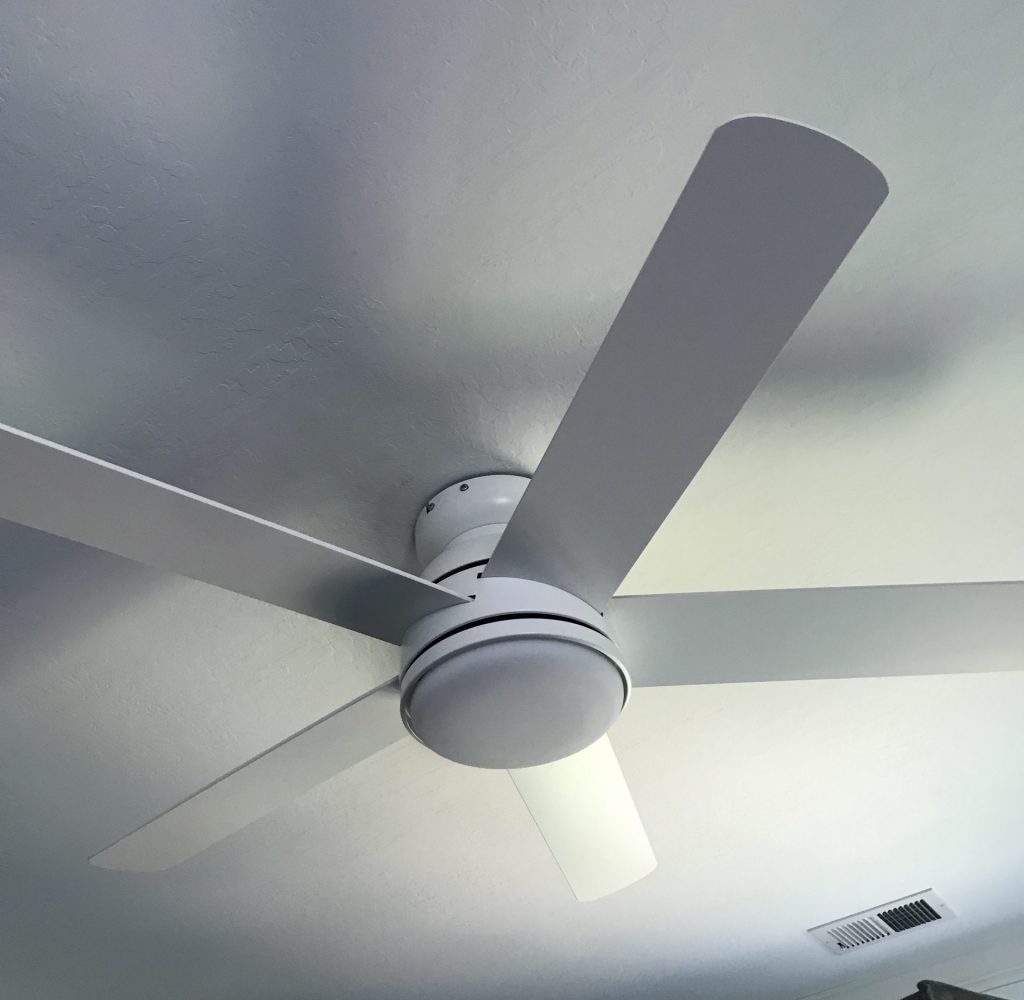
Step 3: Connect the wiring, mount the central unit. It’s heavy, and plan on two people just to get it onto the posts. Everything else is a one-person job. Mounting the blades is a bit fussy, because the alignment is tricky to see when you’re working above your head. Mount the light brackets, light (LED) and glass cover. Total time: 1 hour. Turn on the circuit breaker, turn on the switch, and viola! New fan works like a dream.
Step 4: Setup the app. SIMPLEconnect is not simple. Apparently, many items in the Internet of Things (IOT) only work with 2.4GHz wifi networks. Your phone (or tablet) needs to be using that network for the setup to be completed. Of course, most of our phones nowadays use the 5GHz networks, so the two won’t talk so you can do the setup. You will get an error saying it’s Unable to Pair, and you have “Inadequate Permission” — which of course doesn’t actually tell you what’s wrong.
We had to rename most of our household network to isolate one device that we could force to stay on 2.4GHz, then “forget” the normal network and then rejoin the network, and then we could set up the app. Once it’s setup, however, you can shift everything back to normal.
See also this article: https://pocketables.com/2018/05/how-to-set-up-that-2-4ghz-device-on-your-dual-ghz-network.html
*See also this post: https://www.monty-doyle.com/?p=1240
I ordered some inexpensive backdrop drapes from Amazon. When they arrived, they were still too light-weight, and I would need more of them to get enough fullness to get any sort of light-blocking effect. Most of the drapes you can get at any retail store are really designed to just be hanging on the edge of the window — they are in no way designed to be drawn across the window, even when they are advertised as black-out drapes. The panels aren’t full enough, and if you need 2 (or more) sets, then you have the gap between panels.
Time to design drapes. In this case, I wanted something full enough that it would give good coverage when drawn, but be able to be tied back most of the time, so I could easily adjust the blinds.
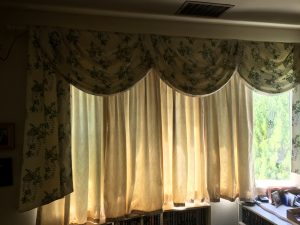
The last time I made drapes, I did balloon shades for my room at parents house, over 25 years ago. Balloon shades can be raised to various degrees or left down. They should be long enough to puff at the bottom when fully down. In this case, I also put a swag and jabots at the top. Because it was a bow window, I ended up doing 5 separate drapes, one for each window, and put the pulls into two batches. These replaced the classic pinch pleat drapes and sheers, which had finally fallen apart from the heavy sun exposure. My mother was concerned that they would “look like a sheet” from the outside, but you can put in enough gather that it looks just fine.
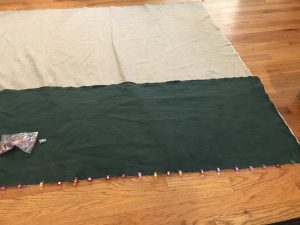
Given the size of the window and the length I wanted, and a deadline for an event, I took a look at what I had in my stash. Natural linen was an easy choice, but would need a lining to get me adequate light blocking. I could use the cheap drapes as the lining. But I would need a bit more length. Color block patterns seemed like a good way to go, and I picked a green that would work well with the walls.
A brief digression into terminology.
– Stack: how wide the fabric is when the drapes are fully open
– Fullness: the width of the fabric in relation to the curtain rod. Usually should be 2-3x.
– Railroading: using the fabric “sideways” or cross-grain. This minimizes the number of seams
See also this nice post: https://www.dwfcontract.com/Drapery–Window-Covering-Blog/bid/34627/Glossary-of-Drapery-Terminology
Fabric ordered, should have been easy. FedEx sent the package from LA to Texas, instead of to Northern California. And then lost it. Deadline blown. They found it a week later, and got it to me nearly 2 weeks after the date I was aiming for having these done. Oh well.
Wash fabric. Iron fabric. Re-iron fabric using steamer. Cut panels of the natural linen. I thought about using it cross-grain, but the natural creases would then have been horizontal, and I didn’t think that would look all that great. On the other hand, the green didn’t drape quite the same way, and was perfect for railroading the contrast bands. Find enough floor space to lay everything out (the hardest part).
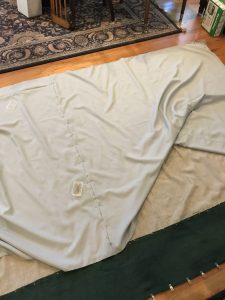
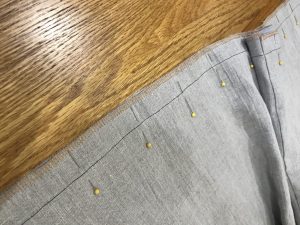
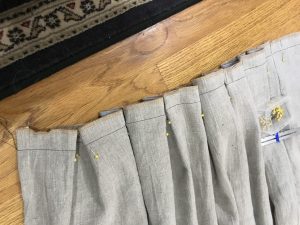
I opted to use a series of inverted pleats. This is what you will see in theater scrims (the drapes on the sides and back of the stage). It provides a lot of volume but isn’t that fussy to do — certainly not like pinch pleats. But I didn’t want a lot of volume at the top on the rod, so added the header block after the pleats were finished. And then finally added the tie-backs to hold them back when I don’t want them down.
]]>
But we were interested in having other options, like orange/purple for halloween, or pastels for spring. Programmable LEDs seemed to be the way to go.
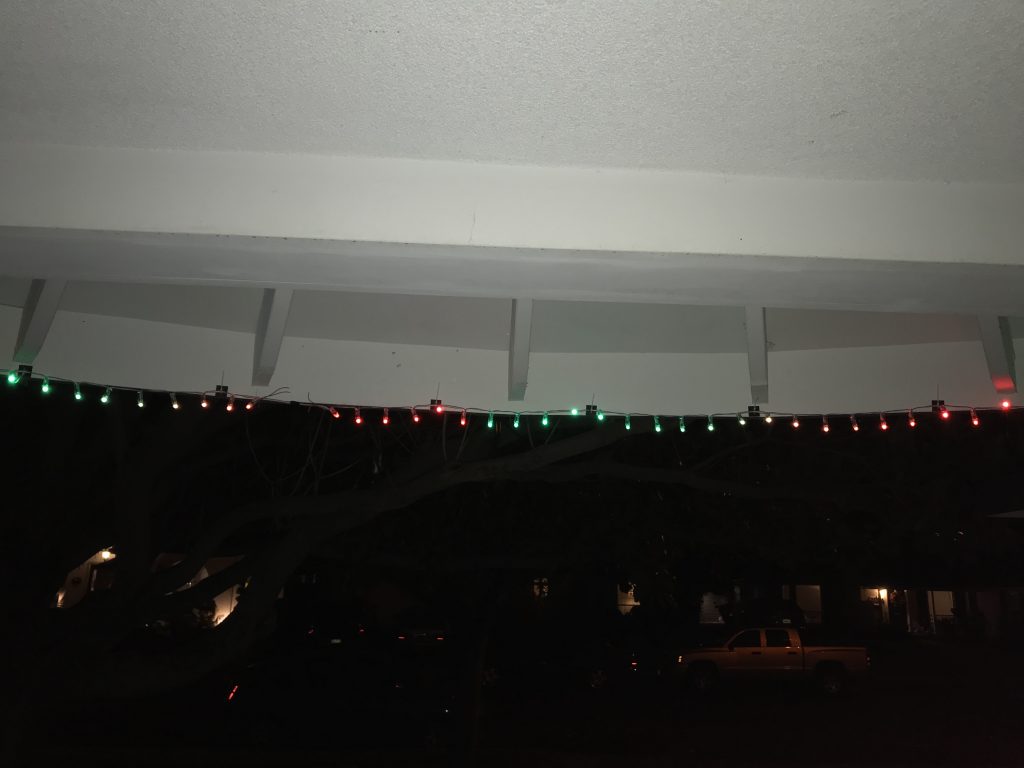
After some research, we settled on the Alitove lights, which are available via lots of on-line retailers. We got the first set last year, and never did anything with them. Finally this year, we put them up and were able to program them with the free app they include, doing a red/green chase. Two strands were enough to do the front porch (about 20-21 linear feet).
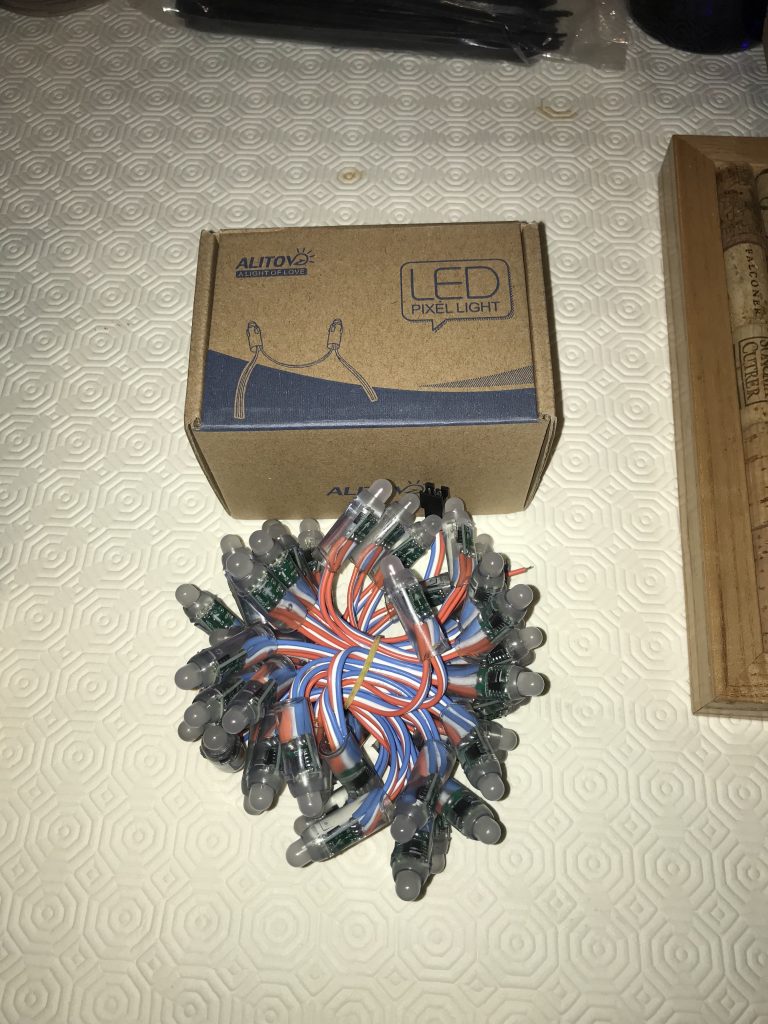
the bundle of lights 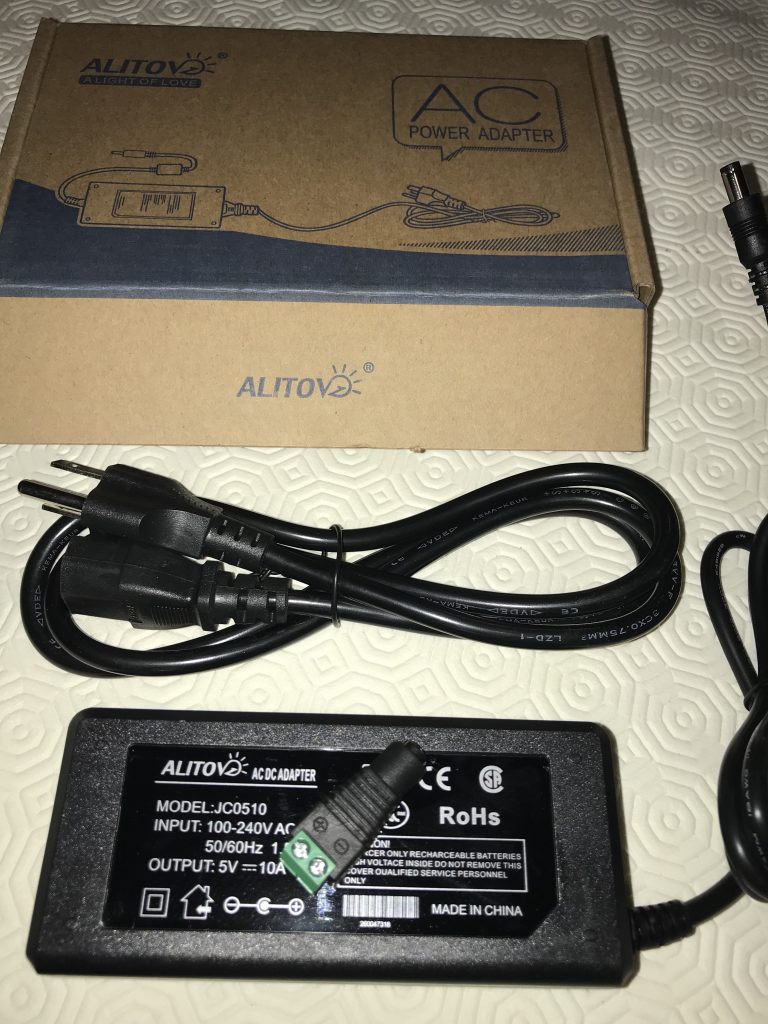
the standard power supply 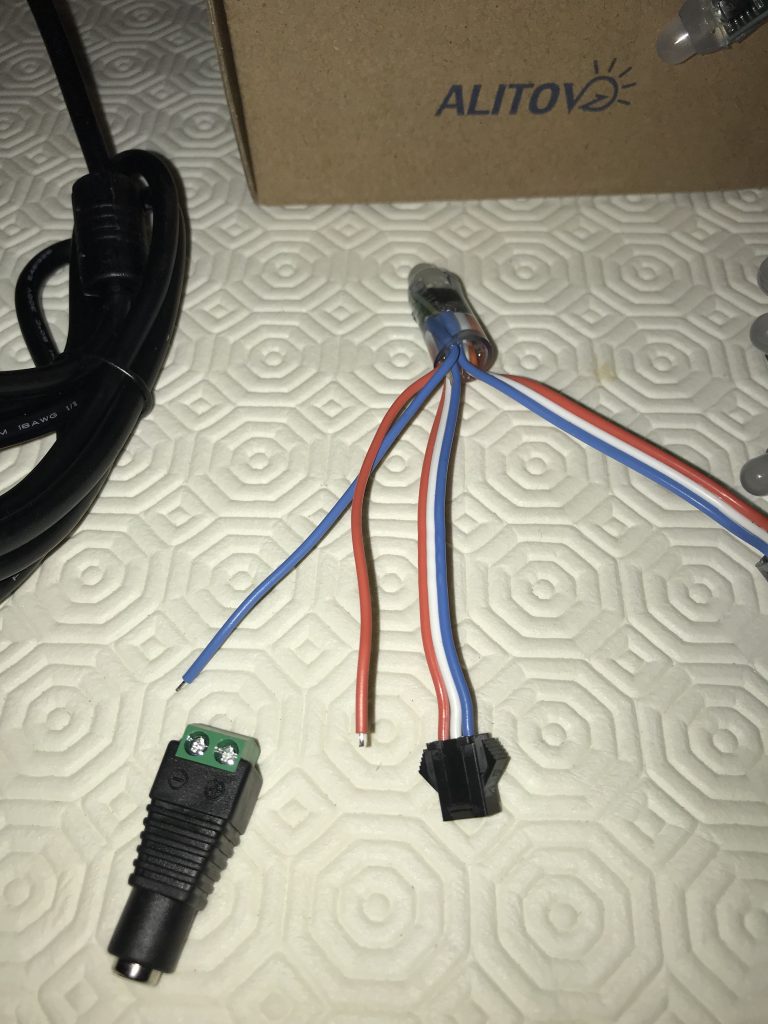
the end of the strand has two free wires
to attach to the power supply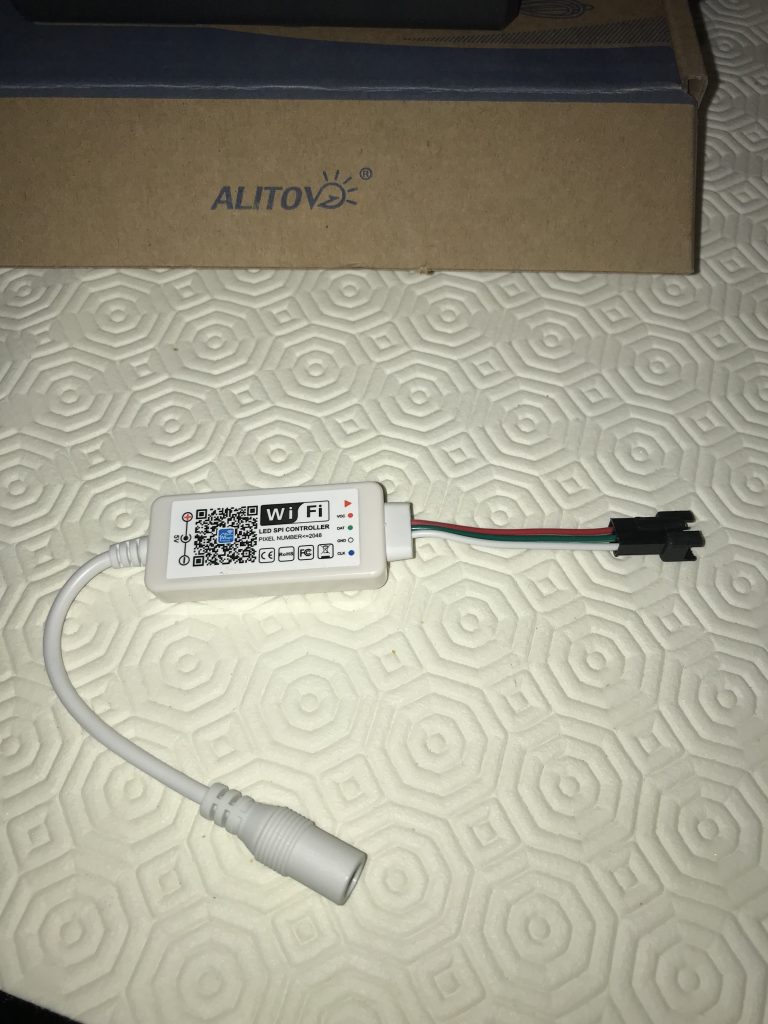
the adaptor to connect to the app 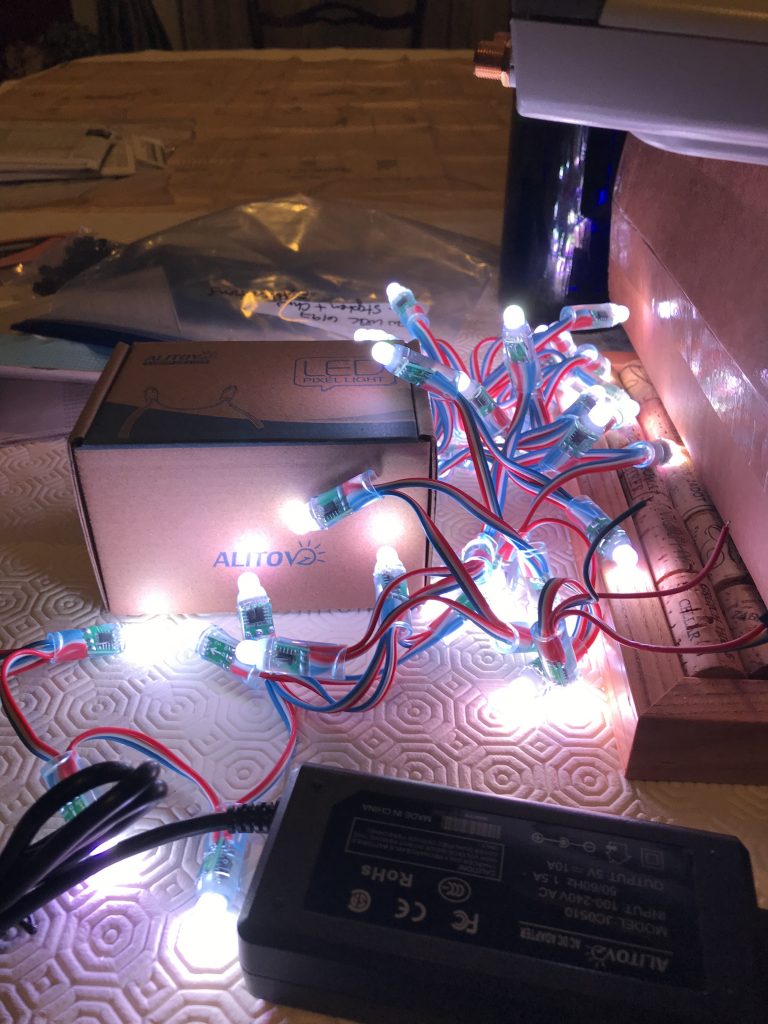
basic white during testing
We used zip/cable tie adhesive mounts with small/short cable ties to mount the lights on the inside of the eaves, so that the lights showed just below the edge.
lights from inside the porch 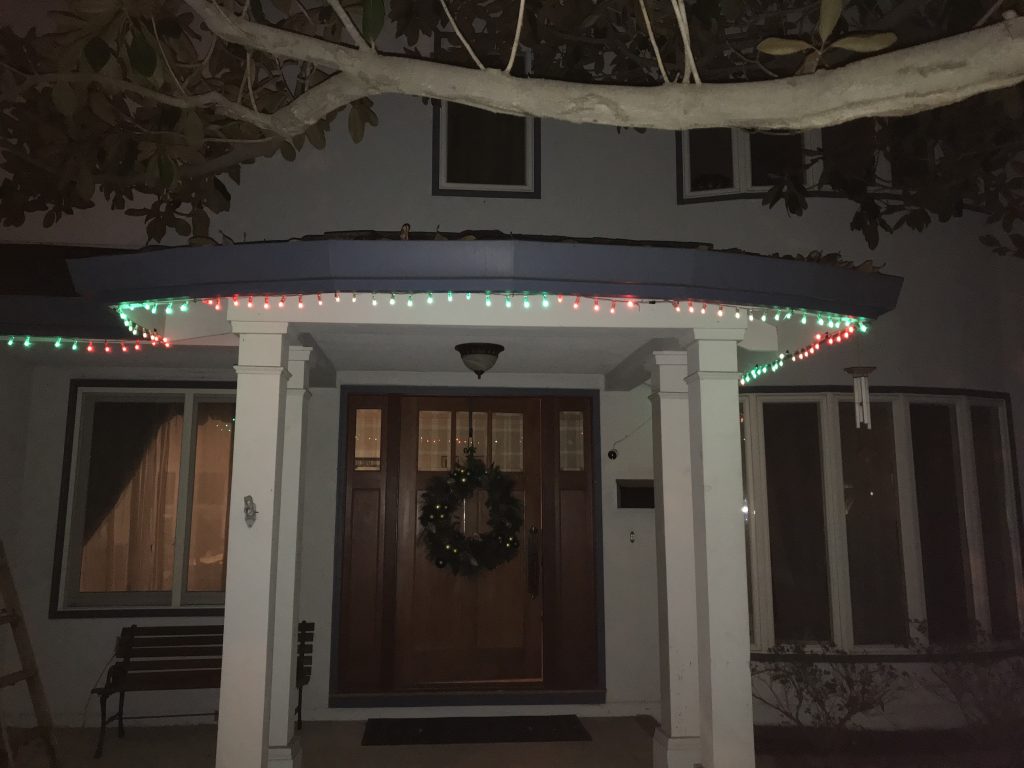
lights as seen from the walkway
The real question was how many lights could be put onto a single power source before we saw fade. The Alitove website doesn’t really say (although they show some impressive displays); the Amazon website description says 3 or 4 strands. Each strand has extra wires for additional power — but what happens if you add power to the middle of a long strand? or do you need to have multiple controllers? (and how do you keep them in sync?) The controller we bought this year does not use the same app as the one we bought in 2018. Now what?
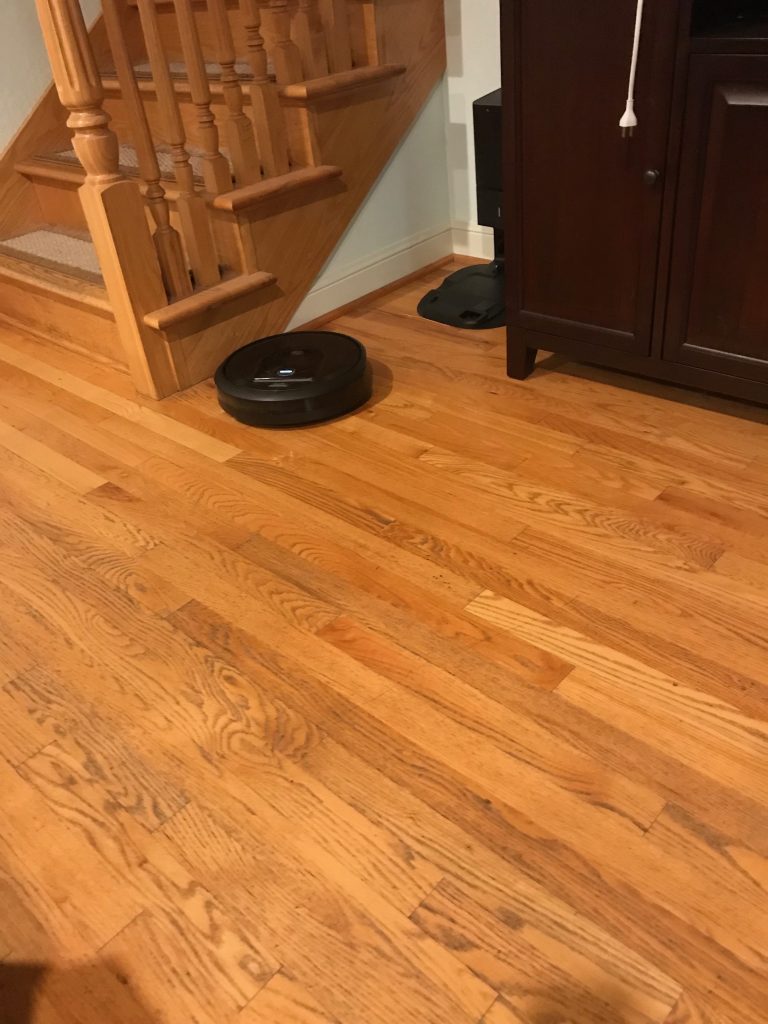
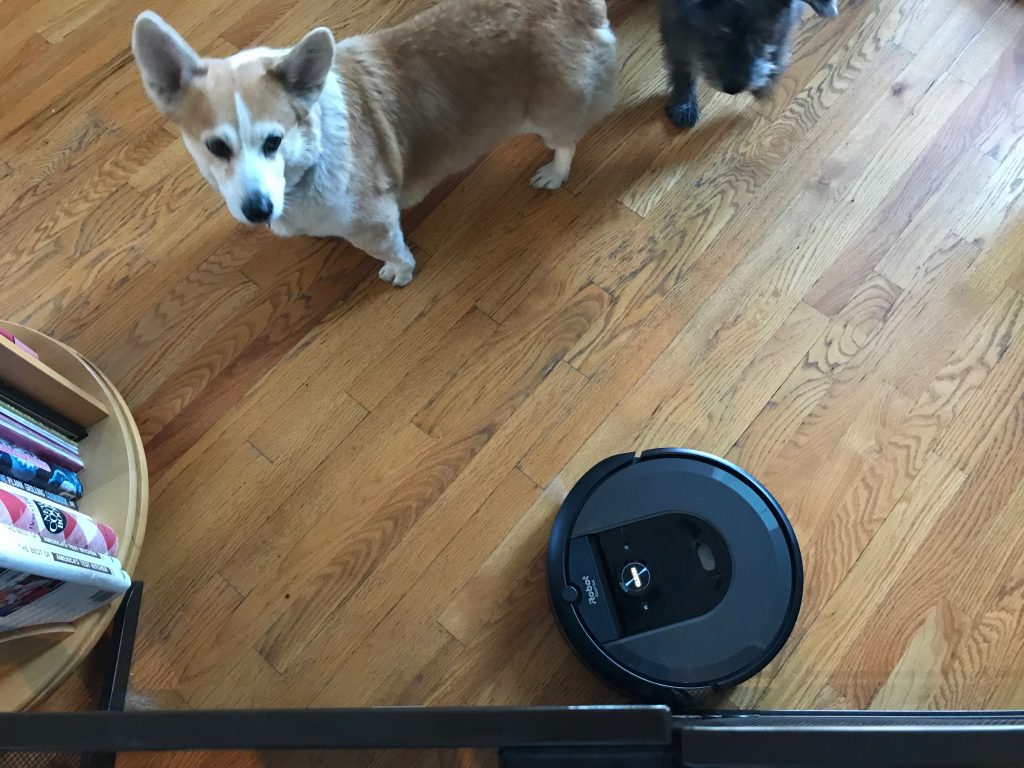
]]>After our cleaning service moved out of the area, we realized that the sheer amount of fur the dogs shed each day was going to bury us alive pretty quickly. We resurrected the Roomba 980 and got it running on a schedule in the family room and kitchen. But it always seemed to have problems finding its dock and recharging. And not surprisingly, the collection bin was full every time it ran. Now what?
One of the Facebook groups I belong to had a discussion about the various cleaning robots, including the new Roomba that automatically empties its own bin. This i7 model is not cheap, but as one person put it, it paid for itself in less than 3 months given the cost of a cleaning service. And it encouraged their family members to keep things picked up better.
By the second week of January, we had expanded our repertoire to include the 980, an i7, and an e5 model, each with a designated area of the house.
The Devices
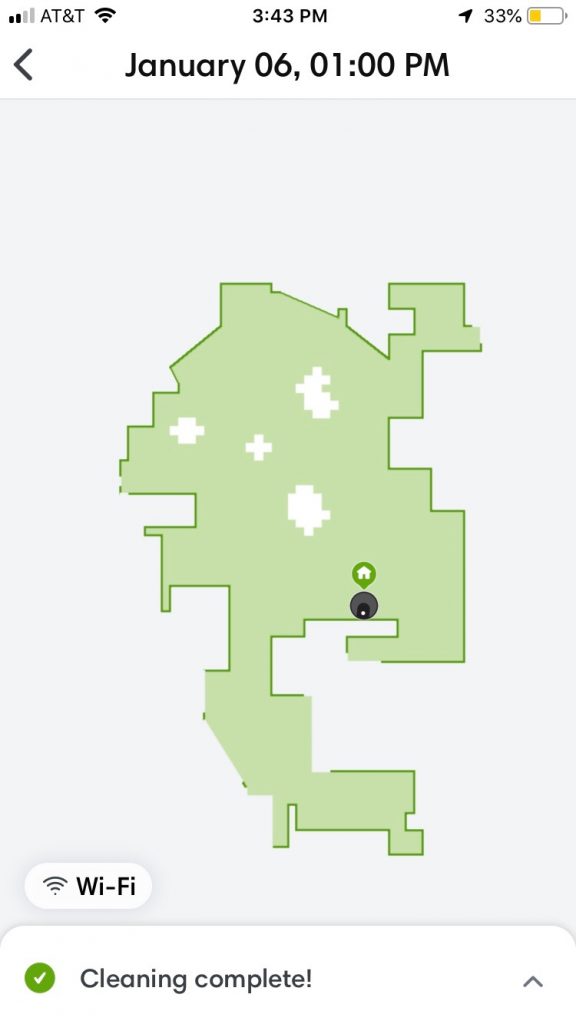
The i7 will create a smartmap of the house, and you can designate specific areas by name. Once done, you can have the i7 clean the entire area, or a specific room. It will tell you what it cleaned on any of your prior 30 cycles, and show you areas that were particularly dirty (like near the kitchen trash can and the dog’s food bowls). It’s far quieter than the 980, and seems to be more efficient, running for about 45 minutes or so to do the primary downstairs areas, which are all hardwood or tile.
The e5 does not have the mapping capabilities of either the i7 or 980. We put it in the living room/dining room area, which sees much less traffic than the rest of the house. Because of that, you can’t see where there are particularly dirty areas that might warrent some direct attention. It also seems a bit more prone to getting stuck. We moved a couple of items to provide a wider pathway and will see what happens as we continue to use it.
The 980 has turned out to be a workhorse once properly located. The device homes in on the charging base much better now that it’s on a long wall, instead of under a corner table. It’s still noisier than the i7, and is taking longer for a smaller area, but it’s working on carpet, and it’s catching up on long-term dust under furniture like beds.
The App
The iRobot app is pretty straight forward. You can download it from the Apple Store or Google Play. The only limitation is that you can only have one login for the household. You can add multiple robots and give them custom names.
The app allows you to control the robots: start, pause, stop a job. It allows you to review what’s been done in terms of time running, “dirt events,” and will show you a map of where it cleaned if it’s the 980 or i7.
You can also now link with Amazon Alexa, and other smart home tools. You will need to turn on the association from within the iRobot app. And then you will need to discover the devices in the Alexa app. The biggest problem is getting Alexa to actually activate the devices. You also need to come up with a unique name that you can say that is recognized by the smart device. And then figuring out the correct phrase to tell Alexa what to do.
Of course… I’m still waiting for a robot that will clean the stairs!
]]>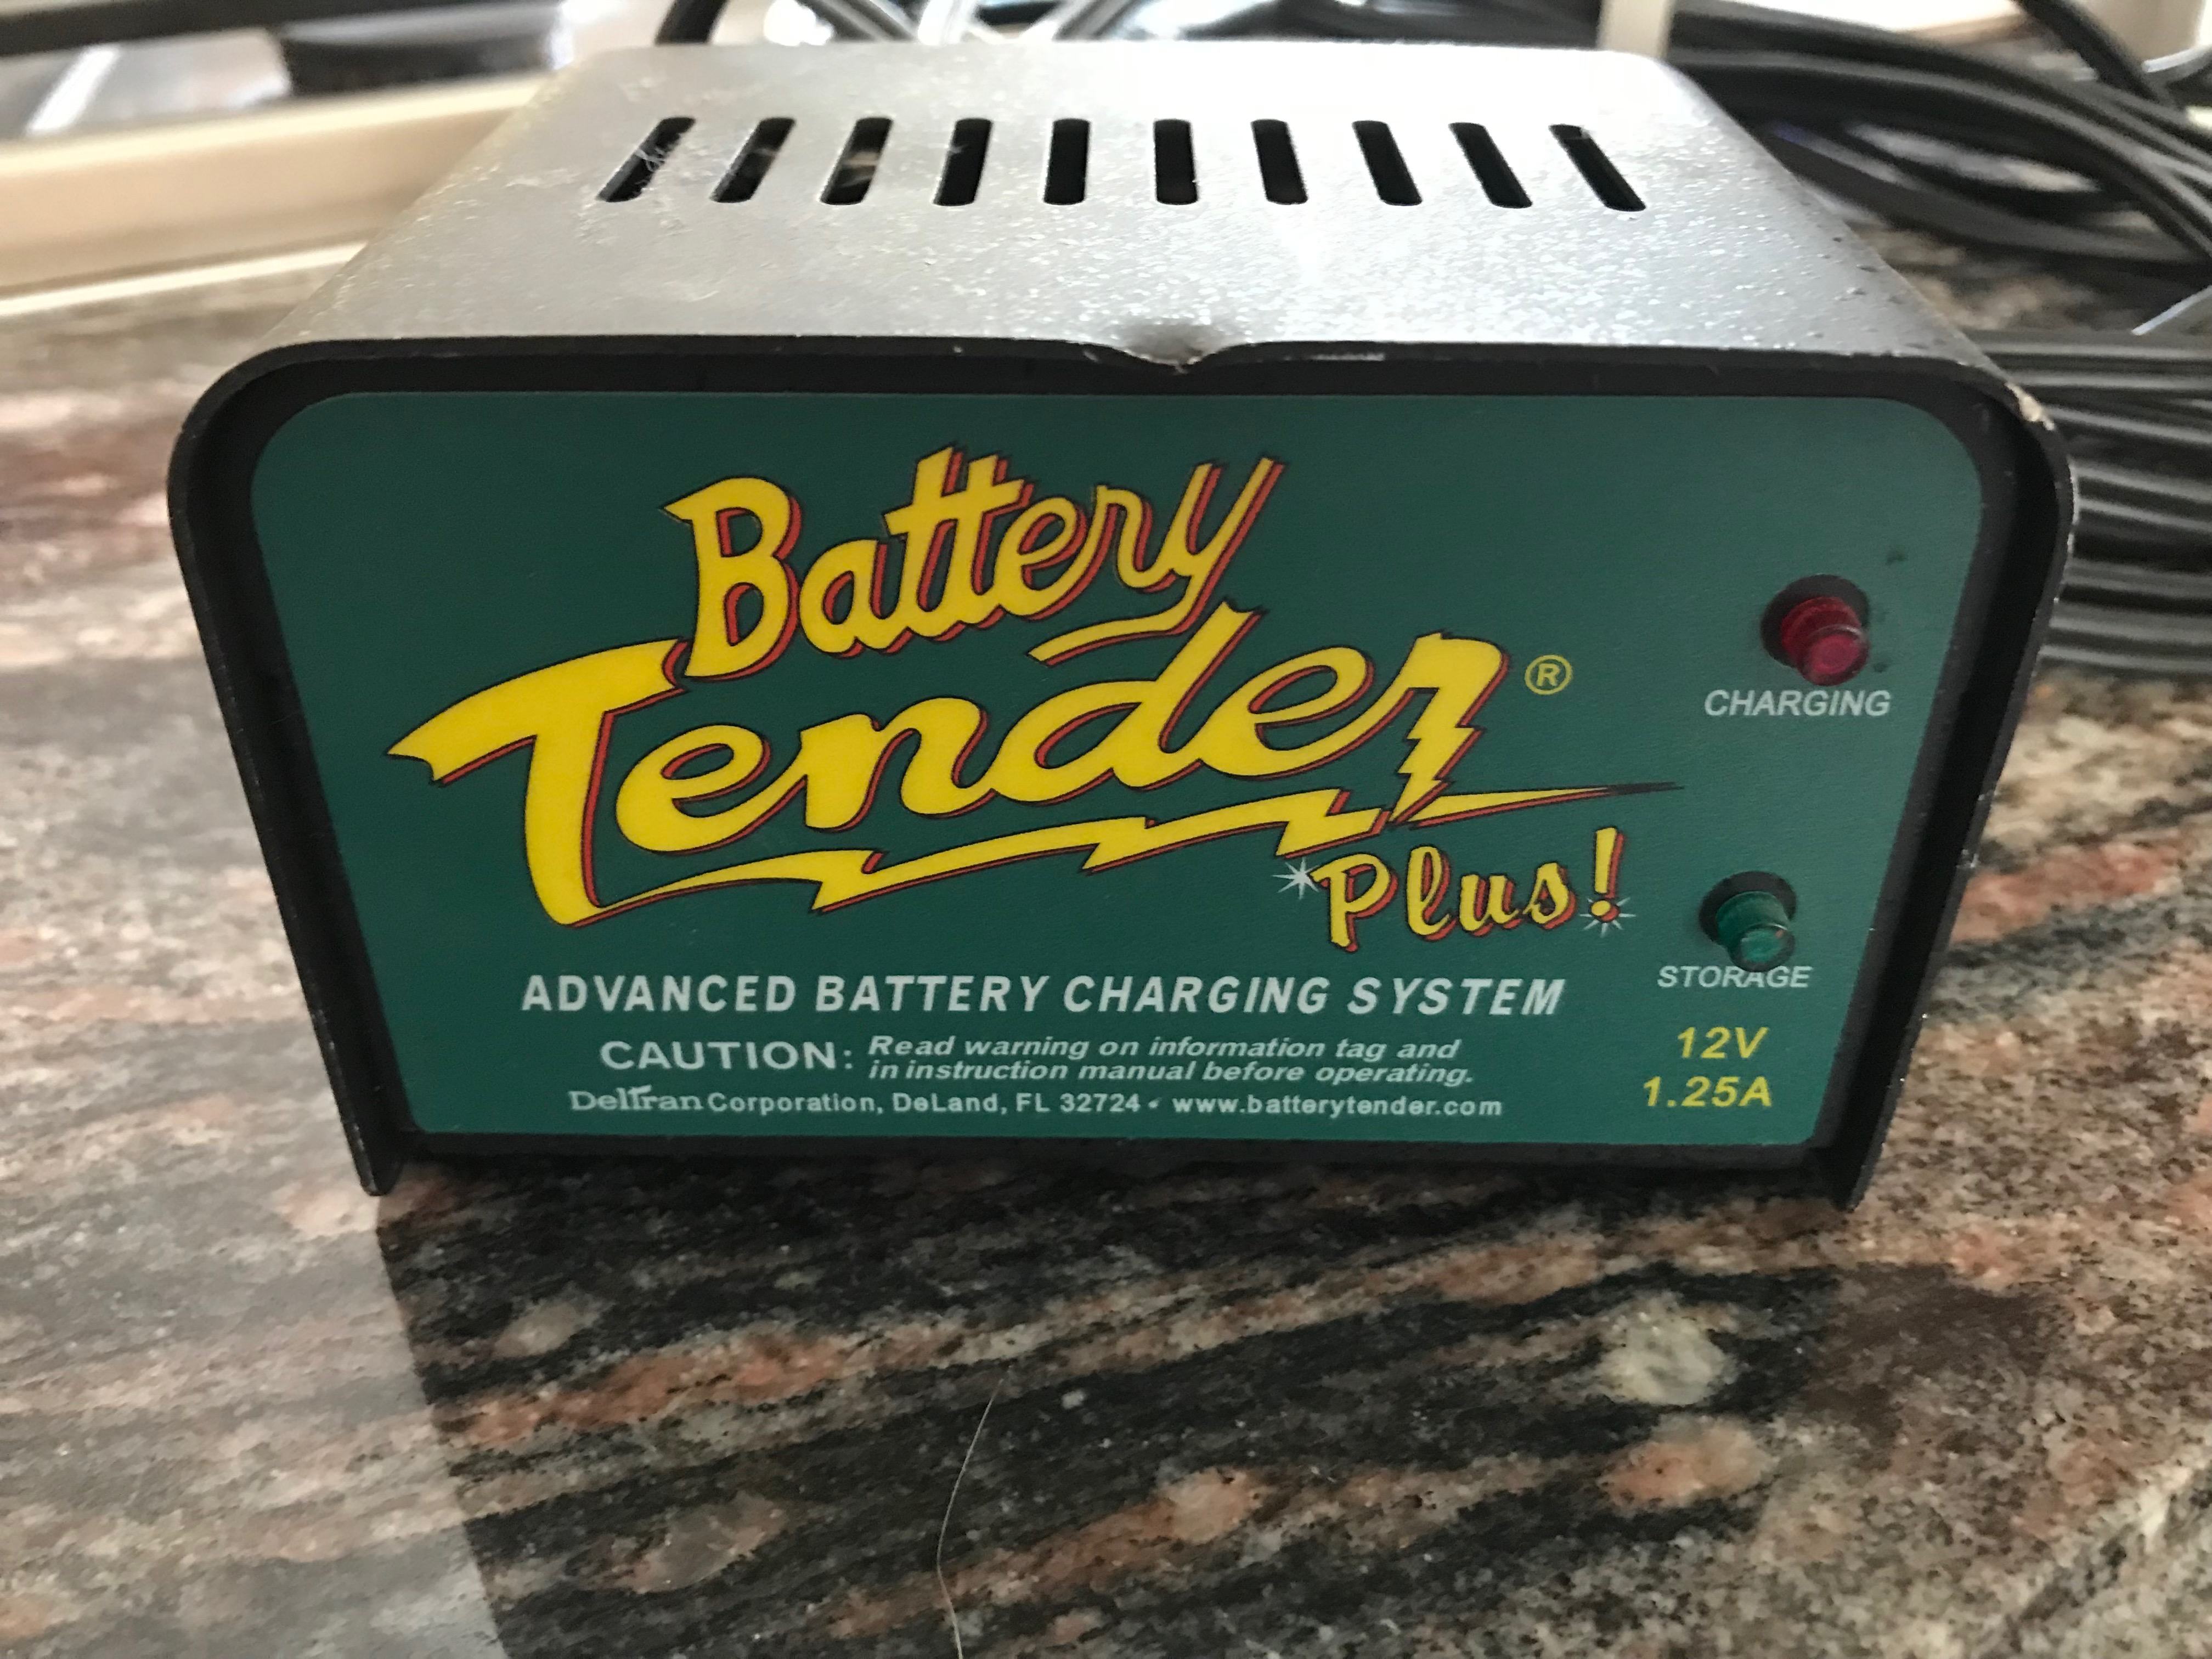
I did some research, and found the Battery Tender line of products from Deltran. You just put the clips on the battery, plugged it in to the wall, and when the green light was solid, you had a full charge. Of course, this required opening the hood to get to the battery. What if I wanted to be able to quickly put the battery on and off the charger? Deltran thought of this, they created the Ring Terminal Harness, which attaches to the battery posts and has a quick connect attachment to the charger itself. I put one on my mom’s car, as she started driving less and less, and we just leave it attached all the time except when we are driving her car. I put one on the truck, as we drive it infrequently, and it would be nice to boost it easily… but then the battery died. The quick connect was not capped, and we could not figure out if this was the problem, or if it was just that the battery was old and at end of life.
So then I got their Digital Voltage Display accessory. You attach this to the end of the cable and it will tell you what charge the battery has. What we figured out is that the truck needs a fairly high voltage, definitely above 12V, in order to start.
They have several other accessories, including a USB port, a wireless battery monitor, a DC power connector and an ODBII connector. All can be seen here: http://products.batterytender.com/Accessories/
]]>Over the years, we have had ongoing problems with ice buildup in the freezer section. And it became clear that it was water running down from the upper section. We had defrosted it, to the point of being able to get the obvious ice dealt with, every couple of years. Earlier this year, we got a pair of TempSticks, which let us check on the temperature and humidity in both compartments. The humidity always seemed a bit high, but there was no information in the user manual or on the web about what should be “normal” in either a fridge or freezer.
I did some searching on the web, and found this video by Dion Hock about his solution: https://youtu.be/nGdIS1uLAto. I remember having a standard freezer-over-fridge that did something similar years ago, so the whole concept of taking off the back of the upper unit was not foreign to me.
This is what I saw once I finally got the back off:
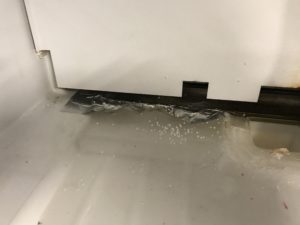
The entire back area was frozen solid, and this was 2 hours after I pulled the plug and started to let the freezer defrost!
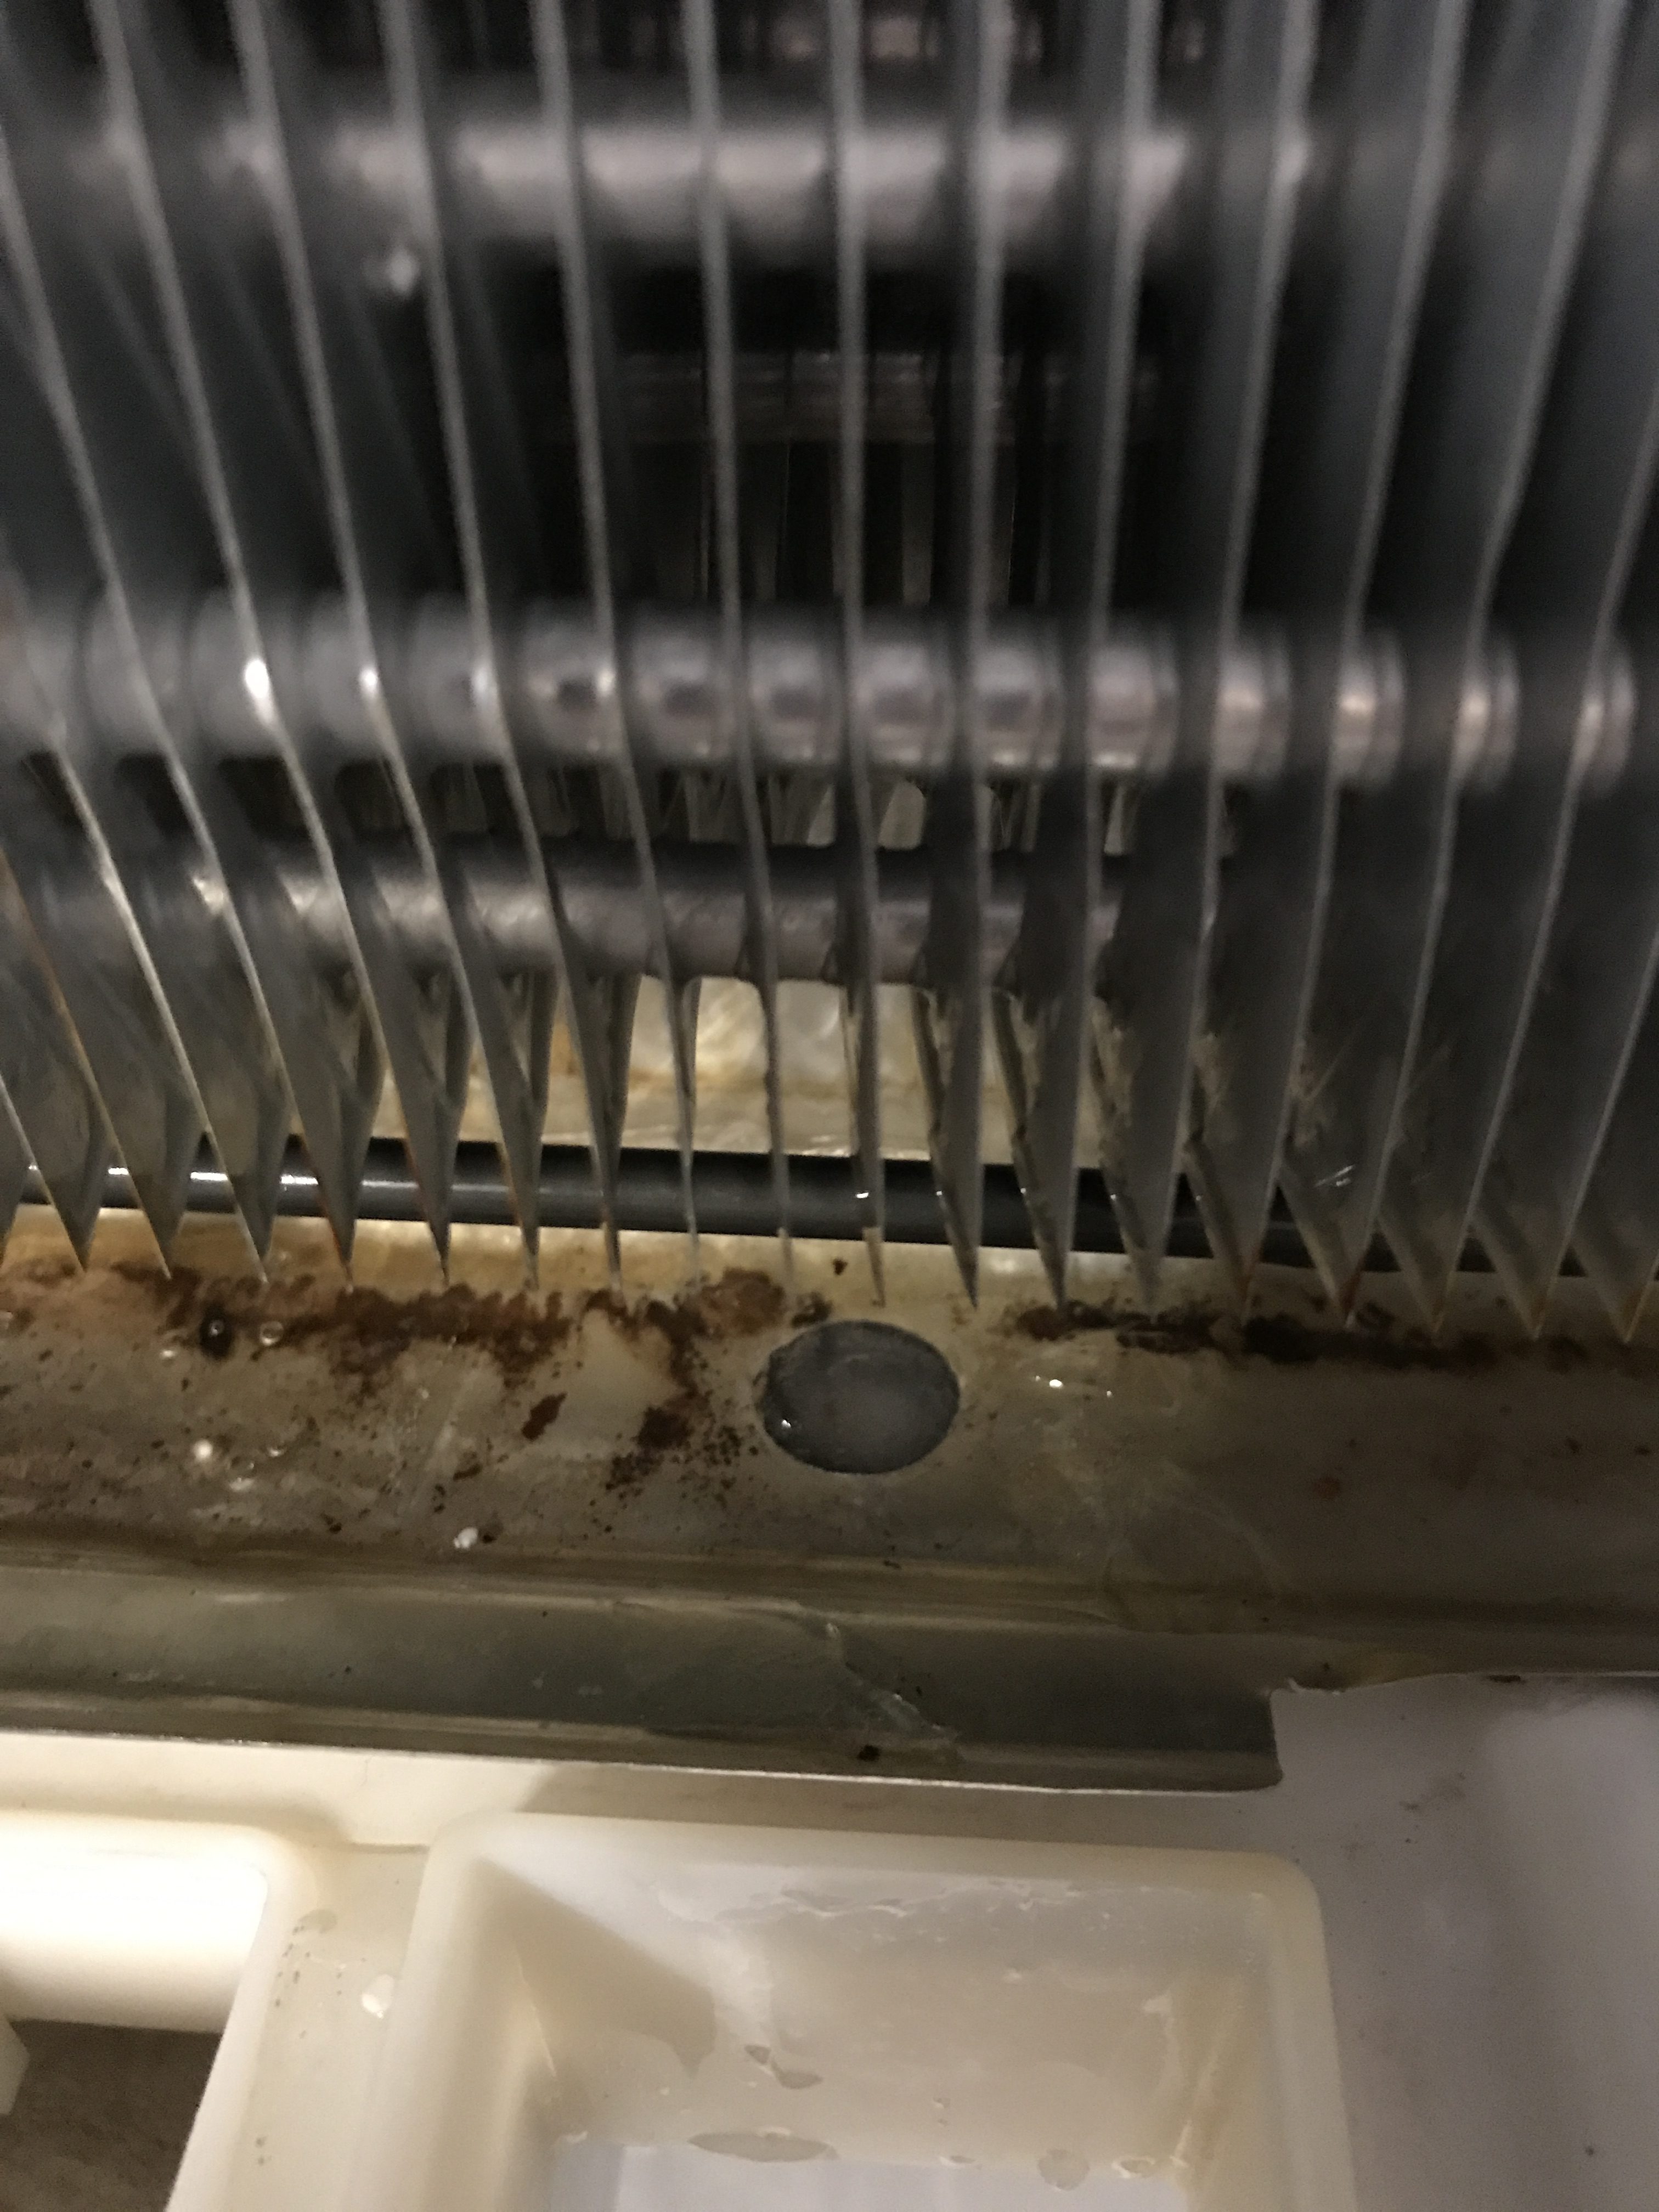
 Once I got the next layer off, I could see the drainage area. The entire thing was full of ice still, and the actual drainage channel was a solid plug of ice. That drain tube goes all the way down to the bottom of the device, to drain into the evaporation pan which is under the freezer compartment.
The basic defrost was done in about 2 hours, but it took over 6 hours and the application of some hot water using a turkey baster and straw directly into the top of the channel to get the ice to melt and the water to drain.
Now to see how long it takes before it gets iced over again.
]]>